WWII Facade – First Steps
- Tutorial Type Master Sculpting, Techniques
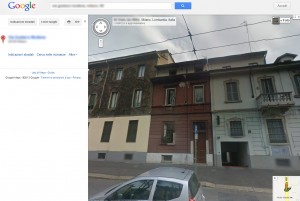
Hi everyone! This project is one of the most dear I have, and it somehow changed my way of modelling. It all started in the the distant 2010, with a real building. Every day, returning home from the university, i saw that building from the bus, and it really caught my inspiration.
So, i returned there with Google Street View, and took a screen.
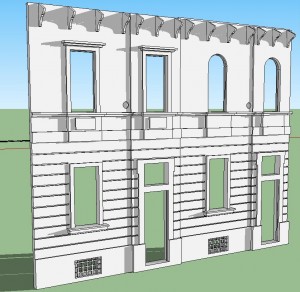
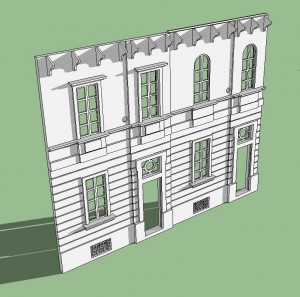
The photo was clearly deformed and undetailed, but through Sketchup it was easy to realign it and create a rapid layout, that then become a 3D model and a 2D plotting plan. 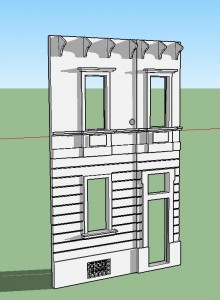
Varying on the basic shape i prepared a second version, not much different, to have a little more variety when placing the models next to each other for a larger building.
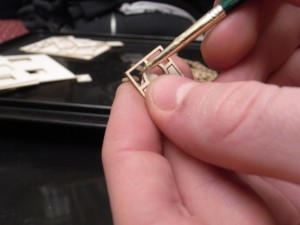
Then I prepared the windows for the model: since resin isn’t great to work with when it gets too fiddly, I’d rather use directly the laser-cut cardboard for them, painted with regular acrylics.
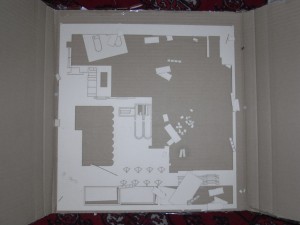
I prepared the 2D CAD plans, and after a couple of weeks i had my laser-cut pieces ready. I used VectoRealism as cutting service, and i strongly reccomend it, although the svg processing could be tricky sometimes and the site generally slow.
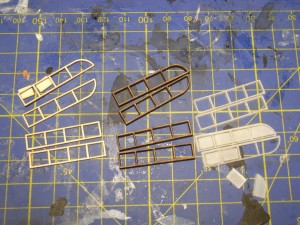
I wanted to explore the various options in terms of materials they were offering, so i cut the windows lattices in MDF, cardboard and PETG acrylic. The MDF cuts were sharp and detailed, but the thickness of it made them look clumsy on the frames, and the PETG cuts resulted rather blurry and wavy. I went for the cardboard cuts, that although a little fragile worked great when glued on the faux-glass sheet behind.
I removed the offcuts from the cardboard structures, and kept them aside for the final cast piece.
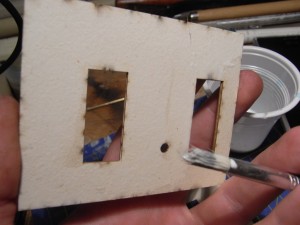
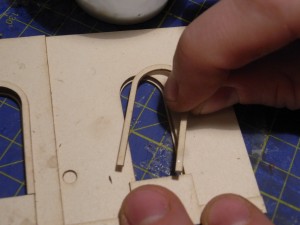
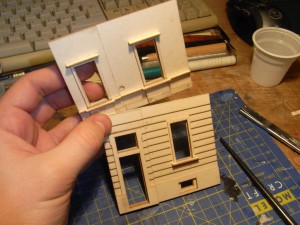
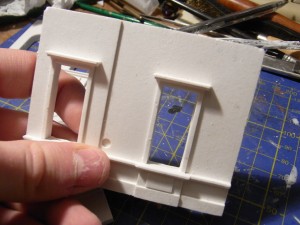
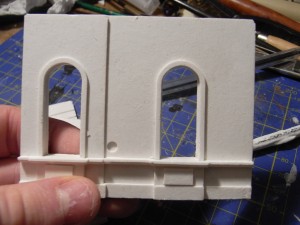
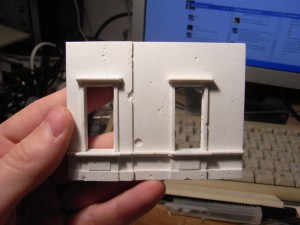
Other than the lattices, the rest of the cuts were meant for the first step of the master sculpting. The layers were studied in Sketchup to overlay to create tridimensional levels, and I glued them with a diluted PVA mixture, applying it evenly on the surface minding not to let the carboard to bend while drying.
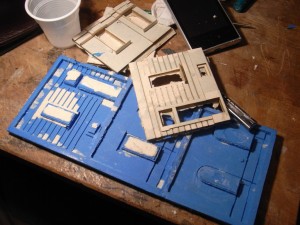
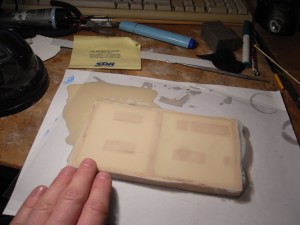
The three parts then got fixed in place for the molding process. The box around was built with cardboard scraps, and a cheap silicon was used for the first-step mold. I didn’t use a better silicon since only a few copies of this should be cast, for the master production.
For my process i needed a flawless ceramic cast, which required a bit of work and a few attempts, but i finally got to have a handful of bubble-free pieces. The smaller impurities were used as base for the bullet holes, so no casting vestiges were left at the end.
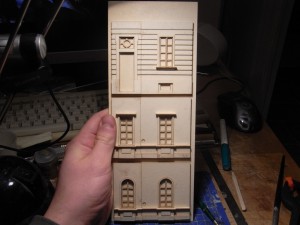
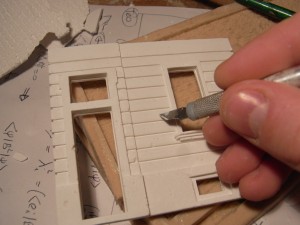
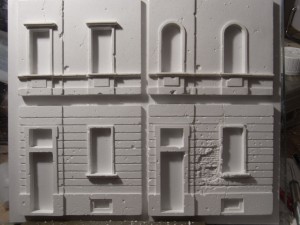
The real sculpting starts in this phase. I had to add weathering and battle damage to the building, and it isn’t that complicated; however, it’s always hard to balance the amount of damage without making it look too even, with a pleasant look at the end.
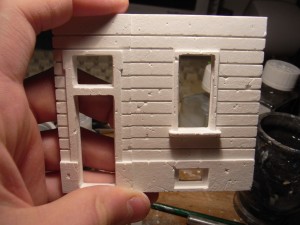
On one of the ground floors I wanted to add a little more character, and I sculpted the effects of a concentrated fire (maybe a HMG) that removed the plaster and revealed the bricks behind. This makes the two versions different enough to be put in a line without any issue.
The final mold was ready, and the first casts were out: Unfortunately some bubbles ere left in the silicon, which and i had to redo the molds more than once. Using
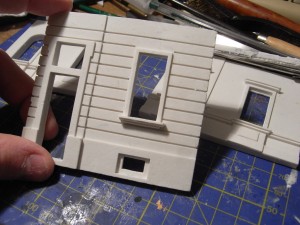
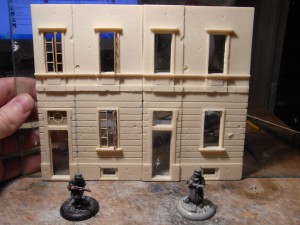
I took the window parts that Iput aside before, as now they could glued in position. I’m aware that the realistic position for the sashes should be more recessed and should open on the inside.
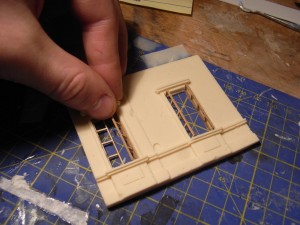
That is the result of the first casts, with and without windows.
Although this project didn’t take that much time, it really changed my perspectives about the modern buildings sculpting processes. I don’t consider myself as a fundamentalist, and i don’t mind using new technologies if that could help having a better result, so this solutions were really the game-changer for me at that time.
By now, i’ve experienced other solutions to create the initial volumes to work with, both technologic and traditional ones, but still this little project remains in my memory as a turning point for my sculpting career.
The Lazy One

