Bunker and Concrete
- Tutorial Type Gaming Scenery, Master Sculpting
Hi everyone!
Today I’ll share with you a new technique I’ve “invented” recently, although it just takes inspiration from the most obvious place: reality.
As often happens, in order to recreate a good material or construction style it’s good to simulate the entire process. What shouldn’t be done is to stick to the same materials, or to the same scale. To simulate concrete, plaster is a valid alternative. It brittles if you break it apart as real concrete, it’s fast to set and easy to find. Once dried, it’s solid enought to be used directly on the table and keeps the details enough to be used for a master sculpt. For the wooden beams used normally in a concrete pouring, I know that (thanks Roger) usually pouring depht is around 2 feet or 60 cm, but I decided to go out of scale enhancing the beaming pattern with some slightly irregular balsa rods. At the end the whole texture will be more chaotic, but for a quick-built WWII bunker that sounds reasonable to me.
Starting with the tutorial:
Before doing a large piece, I wanted to do some tests with single pilons, and I’ve to say that I encountered quite some problems. First of all, the molding box has to be clean on the inside. That’s unusual, since in scenery pieces the inside is tipically left uncured where the outside must show no trace of glue or scratches (other than the one meant to be there, of course). Thinking about the inside requires a different mind-set, and it took me a while to get used to that.
Secondly, since the box is made of balsa and cardboard (that’s pratical to glue and cut), it drains the water. A LOT of water, to be honest. My first results were hollow in the inside, in a goof manner. Furthermore, once the plaster has drained of its water it gets more brittle and doesn’t cure properly. Thus, once the wooden mold is removed part of the plaster remains attached to the wood.
To solve this problem, after a couple of failures I decided to wet the whole box before pouring the plaster. However, since I used PVA glue for my structure I had to be careful to let it dry completely before dipping the box in water. Also, the whole thing has to be watertight to prevent the plaster to flow out. Ouch, so many things to keep in mind.
Anyways, that was the result.
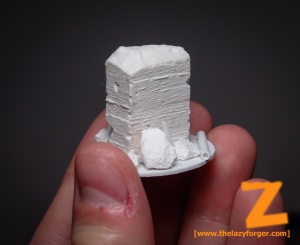
Excited by the encouraging result, I aimed to something more…ambitious. However, since I had no client commissioning me anything, I opted for something not too large, although as much elaborated as possible.
The project had three props and two trapezoidal windows, as well as non-vertical side walls. I wanted to test all the weaponry to be prepared for a next project and to explore as much as possible.
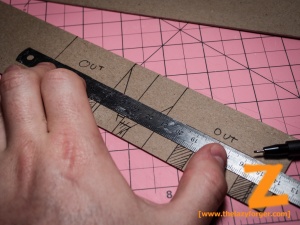
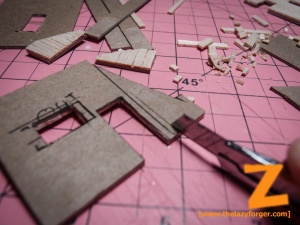
So, I started drawing the first shapes as usual. Since I had no strict constraints regarding the exact sizes, I just kept an eye on the parallel and hortogonal lines, that’s all.
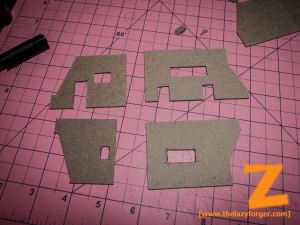
This way I cut the first shapes. They do coincide, but there’s the balsa thickness to keep in mind, so I had to correct them afterwards.
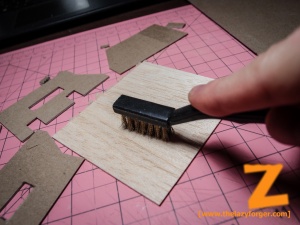
Speaking of balsa, I prepared a few panels, enhancing the wood grain with some metal-brushing. I did not push too much, but without that the plaster would have only a flat surface.
Instead of following the cardboard shape closely I rather covered all the area with wood, Once the balsa was dry, I cut along the edges, with a good result.
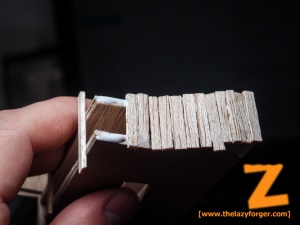
Making the props wasn’t easy at all: the convex angle required to hide the cardboard part (and, possibly, the balsa part too) in order to have the plank texture reaching the corner. I did a compromise, removing the cardboard around the edges, although the cut balsa will remain afterwards.
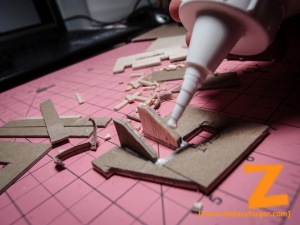
To fix in position the props I then glued wooden planks on the open side, completing the props structure.
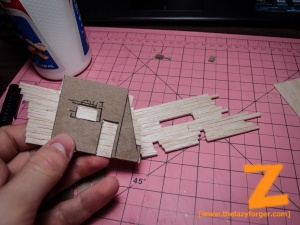
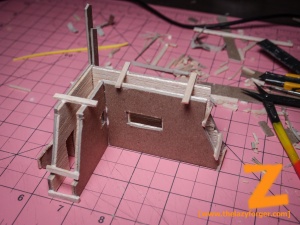
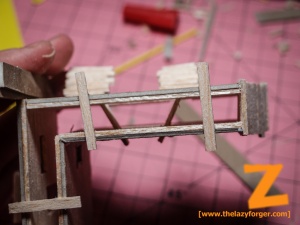
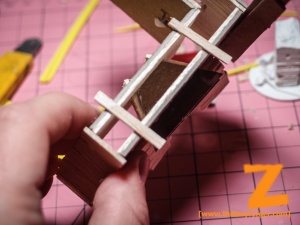
Once the two sides were completed, I fixed them in position with some trasversal plancks. I had to cut a 45° side on the inner faces to extend the pattern to the corner.
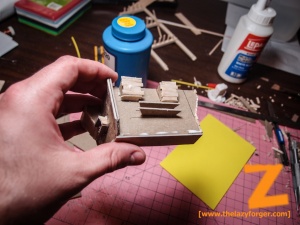
You can see that the structure is now solid, and the inner faces are all covered in wood.
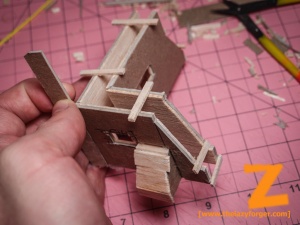
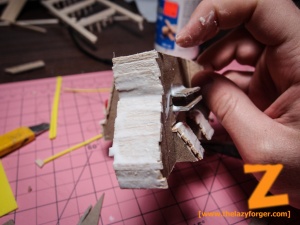
Then I started covering the sides. I put short planks all over, leaving intentionally some tiny gaps between the beams.
For the windows, I wanted to make them trapezoidal to challenge myself. that was not very easy. As always, the problem was not the geometry itself, but the fact that the inner faces must be clean, without glue or non-wooden areas.
For the vertical faces I used some cardboard. It’s not wood, but for the horizontal surfaces it’s ok. I did the same for the top of the wall, afterall.
Once the sides were finished, I had to seal them. I spread with my finger some PVA all over, being careful not to let it pour on the other side.
For the top I used cardboard. Basically, in a real construction the top surface is modelled by the gravity. However, here I’m pouring the plaster with the mold upside down (due to the geometry of the mold), so I closed it with some cardboard. Once dryied, I texturized it gently with a metal brush.
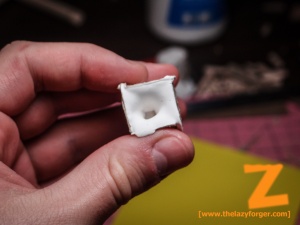
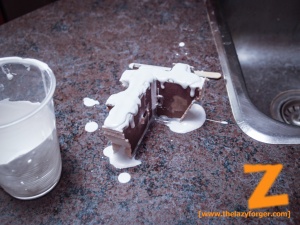
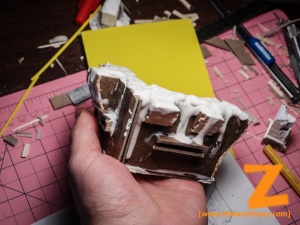
It’s time for pouring! The first problem was that my construction was NOT watertight mesh. Actually, it wasn’t that bad, but still some plaster leaked from the bottom. To prevent the water drain into the cardboard I dipped it in water for a while, but apparently it wasn’t enough: I still had to add plaster several times to fill the hole that was growing in the centre.
To speed up the drying process I baked it into the oven for around 20 minutes at 80° (170° F for you americans), since the water trapped inside was still a lot.
I usually put a plastic sheet on the top side of my molds to prevent the overflowing, but since this time I had to add constantly plaster to fill the hole, I had to cut the excess afterwards. I hate it.
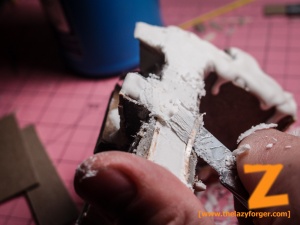
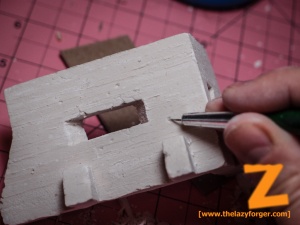
Once the wooden mold was extracted, some minor bubbles were spread all over the model. I found a quick way to fix them: Since the cured plaster tends to suck the water from the fresh one, I prepared some very wet plaster and I applied a drop over a bubble. In a second or two the plaster was then quite dry, and I pressed it into the cavity, removing the eccess with the finger. The half-dry plaster requires a long time to cure, so with a brush I removed the material from the surface (re-enhancing the texture) leaving the part that was in the hole. Ok, that is not really clear, but I did not make photos of the process. If you like, you can use the bubbles as starting points for bullet holes.
Speaking of bullet holes, once the bubbles were filled I started scratching my own holes. I use a tool that I made with a pin, carving star-shaped cracks near to the window (the enemy guns weren’t accurate enough!)
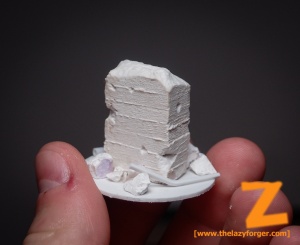
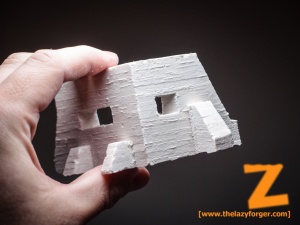
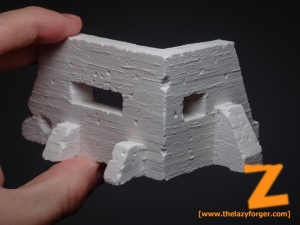
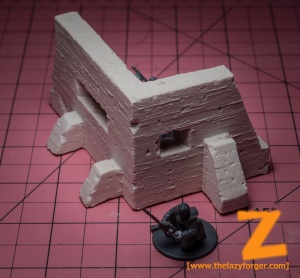
And… That’s the result!
Front:
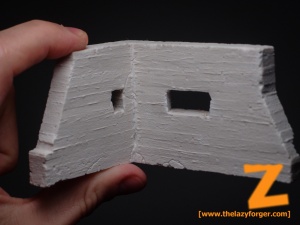
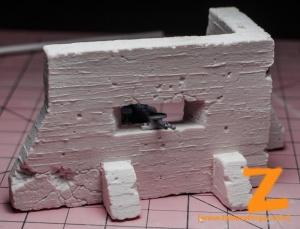
Rear (with ho bullet holes, the ally’s aim was NOT that bad!)
Here with a couple of modded WG plastic russian taking cover.
Here I build a quick LMG stand. It’s available with the bunker, if anyone is interested.
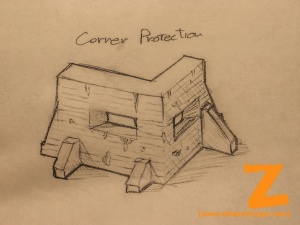
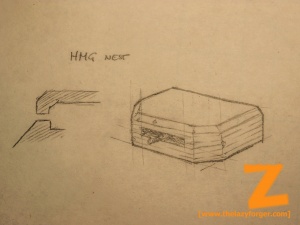
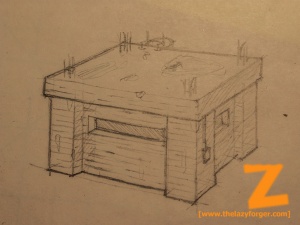
So… What next? Here’s a couple of drawing I did, but I’m open to suggestions!
Conclusions:
The technique works pretty well, and if the structure isn’t too elaborated it’s also pretty quick to do. Besides, building a larger construction doesn’t take much more time, and that’s good for anyone who wants to build some huge scenery this way.
I hope you’ve enjoyed the reading and maybe learned something from this experiment,and stay tuned for my next tutorials!
Cheers!
The Lazy One

Thank you for the tutorial. It looks like a lot of work but the final result is awesome.
What type of plaster are you using?
Thank you!
I did this experiment back when i was in Canada, and i bought a ceramic plaster there. In general, aim for the hardest, most expensive plaster you can find. Of course there’s a trade-off between strenght and easiness of sculpting it, but in this case the sculpting part is negligible: you need sharp and defined textures!
Go for it, i’d love to see your outcome! 🙂 Please share it!