Miniature Bases in Stone
- Tutorial Type Gaming Scenery, Master Sculpting, Techniques
Hi Everyone!
Today I’ll publish a very quick tutorial. That’s something I always wanted to try, and I’ve to say that the results are satisfying. It requires some time, sure, but so does sculpting the cobblestone with greenstuff. And, to be honest, I still haven’t seen a single greenstuff base that really convinced me. And I’ve seen plenty of those. As always, each material has is own purpose and use, and misusing them will lead to bad results, in most cases. This plaster technique is great to sculpt stone bases, from the large slating to the fine cobblestones. I’d say that the result deserves a molding, but that’s up to the reader to decide.
At the time of this tutorial I was using exclusively round lipped bases and the process is shown on them. However, using the classic GW-like bases is pretty much the same. For this technique the base is first hollowed, then filled with plaster and sculpted. This provides the depth to better carve bricks and allows holes, sinks and cracks to reach deeper than the “ground” level that usually is set at the top of the base.
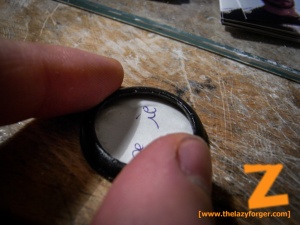
The first thing to do is remove the flat region from the base. You don’t have to be too accurate, but it’s better to leave all the lipped edge around, possibly without even scratching it to leave the surface smooth. Below the base I’ve glued some paper to keep the material in position. To do so I used PVA glue, which doesn’t stick efficiently on plastic and can be removed in a second time without leaving trace..
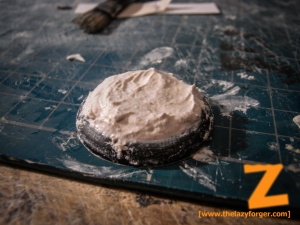
Here we are: the plaster is poured in the base. I’d suggest not to add too much water in the mixture, because you want a creamy fluid that can stack up on the base. Don’t worry about the edges in this phase: you’ll remove everything as soon as it dries.
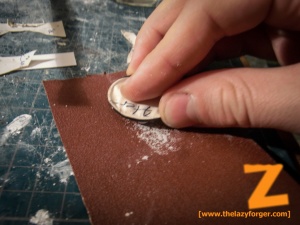
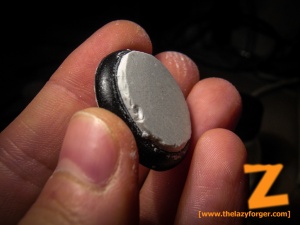
Using some medium sanding paper I flattened the top of the base, leaving a flat horizontal plaster surface approximately 1mm above the edges.
I let the plaster hardens partially, but I didn’t wait more than a few hours. I wanted to work with a slightly brittle material, since after a day the plaster tends to become solid rock.
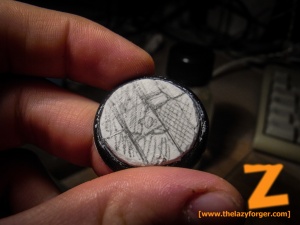
I took a pencil, and drawn the patterns of the flagstones. Remember that the plaster is now deep poured in the base, so you can make holes or cracks that reaches below the original base surface.
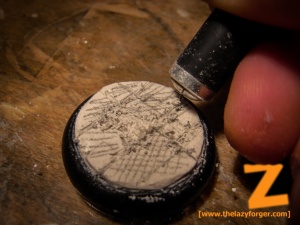
Using any kind of sharp tool (i choose a cutter holder with a pin fixed on it) i started to define the various shapes. Passing with the pin several time on the same path will create a clean rift.
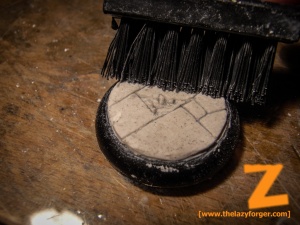
Once you’ve defined the lines, I removed the dust with a brush.
I repeated the process several times, removing some material from the damaged zones and levelling the stones to slightly different heights.
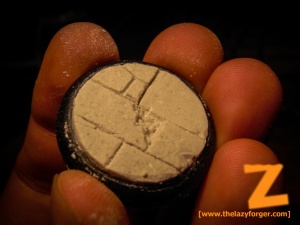
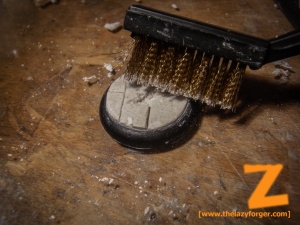
When I achieved the desires look, I gently started brushing with a metal brush to enhance the texture. Be careful to move the brush in small circles to hide any directional scratches. This adds small dents in all the directions, and reduces the sharpness of the edges.
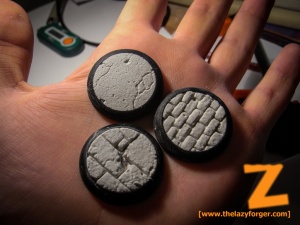
And that’s it! I cleaned the lipped base using my fingers, and the base was done. It was certainly much more work than adding some sand on a plastic base or a penny, but it definitely worth the effort! I did a couple of other experiments, with a concrete pavement and a cobblestone one, and in all the cases the results were great!
However, painting the plaster is always tricky, and coating it will remove details from the base, which is bad. I’d strongly suggest to sculpt a bunch of those and then cast them in resin for your army, they will be much better to paint and the production time will be immensely reduced.
That’s all for today, stay tuned for new tutorials soon(ish)!
Cheers,
The Lazy One

