Repeating Crossbow
- Tutorial Type Techniques
Hello everyone!
The other day i saw an amazing and inspiring video about making crossbow with hairpins, popcicle sticks and a short rope. The result was fairly simple but really appealing, and made me want making one. However, as always, i overdid. The result was a bigger crossbow with trigger, meant as a gift for a friend.
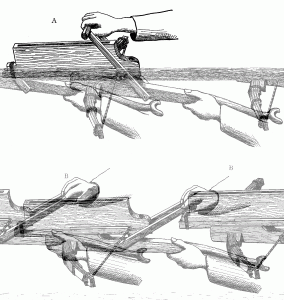
But it wasn’t enough. I wanted do build something more challenging, and i stumbled across this picture.
From that moment i couldn’t think of anything else, i WANTED a repeating crossbow, and even though the picture was decades (or centuries?) old, that was clear enough to start building something.
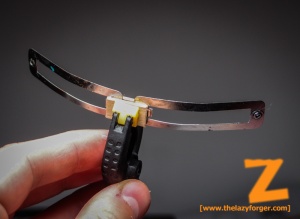
First of all, i needed the bow. I used two rectangular hairpins (i’m not sure that’s the right term for those) for the flexible parts, glued together with some cyanacrilic. For the rest of the construction i used only PVA glue.
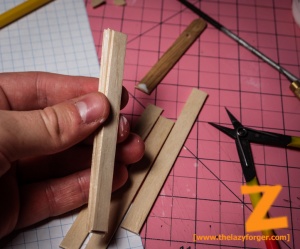
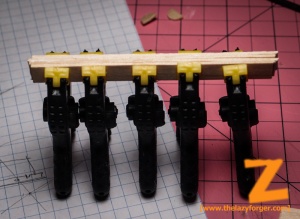
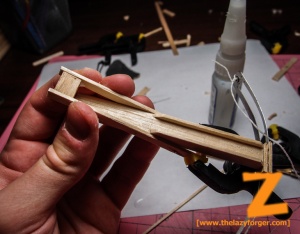
Meanwhile, for the body of the crossbow i used some popcicle sticks glued together, kept under pressure until dry. It took only 10 minutes to have a solid structure.
I glued on the sides another two sticks, this time a little elevated to create a rail.
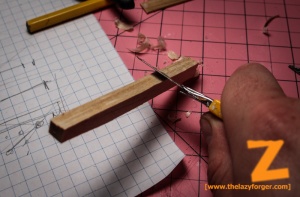
On the back side, i cleaned the irregularities with a cutter, then i finely sanded the surface to have a smooth finish.
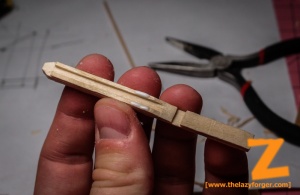
I removed part of the rail, where the grip will be, then i glued the bow on the tip of the body. Now the crossbow shape is clrealry visible.
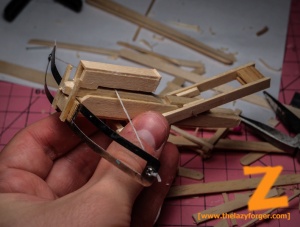
The recharging mechanism is really similar to the one shown in the ancient illustration. I used two sticks to make the beaming, taking the measurements before cutting them in shape. Note that for the whole project i didn’t use any ruler. Just relative measuring.
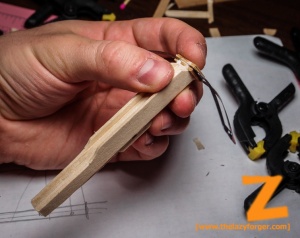
Using a metal rod obtained from a paperclip i fixed the two joints of the loading mechanism. The central moving part is visible in the photo, and has a gap where the rope will remain blocked turing the loading.
To prevent the two beams of the loading mechanism to move indipendently, i blocked them on both sides. After the glue was dry, they were a single piece.
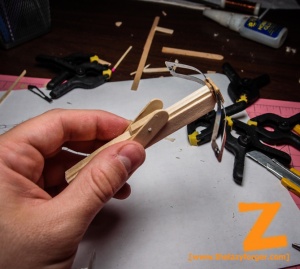
Let’s take a closer look to the moving part in the center. Note that the “arrows magazine” is still not in position. If i had to make a second repeating crossbow (and i will), i would have added the magazine from the beginning. However, that is what i have: the frontal part has a smaller railing to keep the arrow (in this case, a matchstick) in position. Behind that there’s a gap for the bow rope. The rest of the beam on the bottom is very important, because it will push the whole piece down, releasing the rope and shooting the arrow.
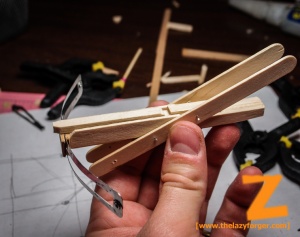
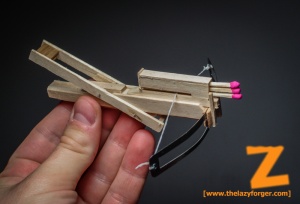
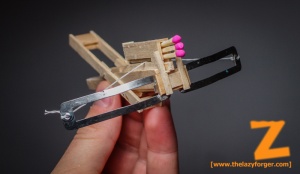
Once placed the arrow magazine, the crossbow looked like this:
You can see that there are two small beam on the front to guide the moving part in the right direction, preventing trasversal deviations.
I had to try the crossbow several times (many, really) and tweak a few minor issues. Mainly, i had to add a small wooden piece on the back of the magazine to prevent the arrows to slide behind when loading, and i had to sand all the critical surfaces to have a smoother movement.
the result, however, was amazing. Today the crossbow had the first debut in the lab, and all my colleagues played with it.
Badass.
Who could ask for more? Well… ME! I wanted a video, and i did it!
Ok, that’s not properly modelling. But it works, and shoots arrows! I could virtually light the three matches before shooting too, with an even more awesome result!
…Maybe next time.
Stay tuned, and cheers!

This tutorial was amazing! i didn’t think i would be able to make a chu-ko-nu without expensive handtools and wood, but i looked for tutorials and found a couple, including yours, which showed that you can use the hairpins as the bow part, and then it was trying to make the measures according to your pictures. It took me hours but i did it and i added some modifications, and now its going to be a gift for a friend, so many thanks to you!
Thank you Diego! Do you have any picture of your result? I’d be thrilled to see it done and in action!
yeah sure, i can send you some photos through facebook, and thanks for the reply!
That is so cool I want one!!!
Grab some coffee stirrers, glue, hair clips and a lot of patience. That can be done! 🙂
It’s sad that we can’t have the plan anymore!
Sincerely
True that, I made my own measurements in an approximative way and it worked, but it would be lovely to get some proper plans!