Sashimono and Banners
- Tutorial Type Accessories, Gaming Scenery, Techniques
Cheers everyone! Nothing new under the sun with the techniques I’m showing today, but the process and the tricks I’ve learned might still be of some interest for y’all.
I’ve been using for banners both foil and liquid resin (that’s for another tutorial though) since forever, but most of the banners are generally square pieces of cloth fixed somehow to a stick.
Here, in a spree of Japanese sculpting inspiration I wanted to make some good-looking sasimonos for my samurai. This is mostly because lead (or plastic) sashimono are terribly fragile, bulky and often expensive too.
So: what is a sashimono?
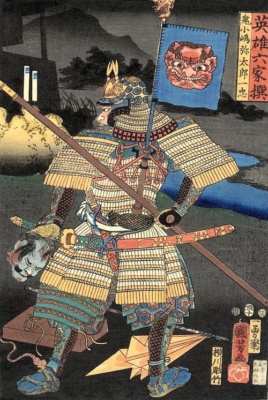 source: https://en.wikipedia.org/wiki/Sashimono
As you can see in this perfectly realistic and proportionate representation of a doormat-man-warrior, sashimono were the most uncomfortable way ever conceived to show your colors in battle, possibly while acting as target practice for any weapon capable of ranged shooting.
With a long stick poking on your hip-bone and attached to your shoulder, you’d have to balance it against the bulky armor plates, hoping that the wind would not rise too much.
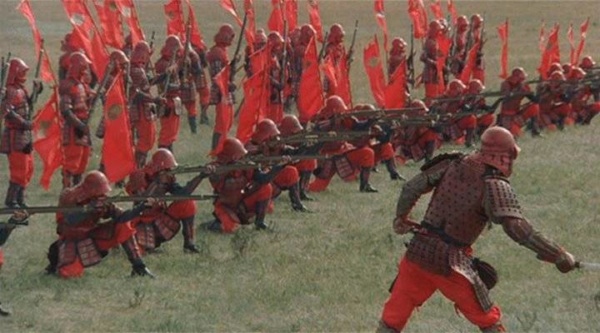
Apart from that, it’s also an incredibly cool piece of equipment for miniatures, both useful to recognize them on the table and to show-off your free-hand or wet transfer skills.
Back on the tutorial:
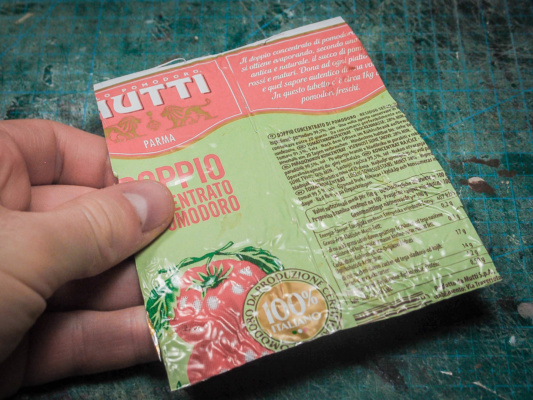
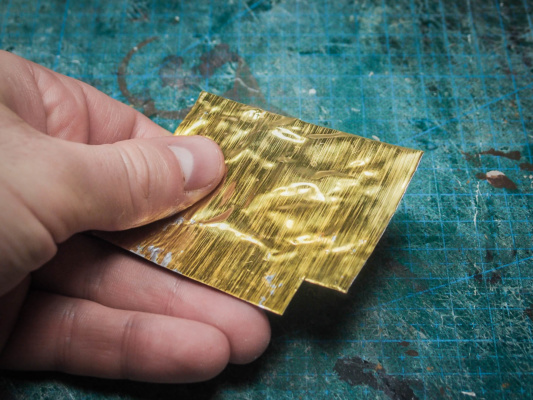
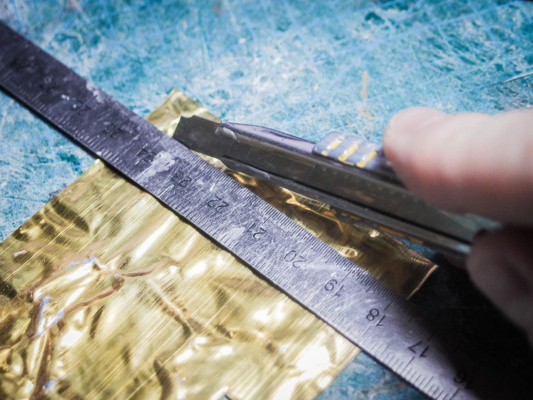
As a material for these flags I used the tomato pureè tube foil that is now pretty common in most of my works: it is easy to deform (not too elastic), thicker than the standard metal sheets and being coated in plastic it is also easier to glue in place.
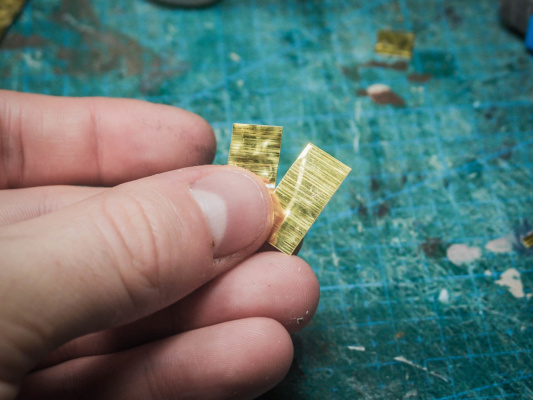
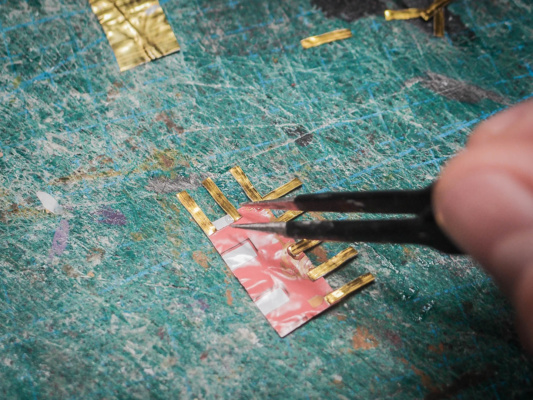
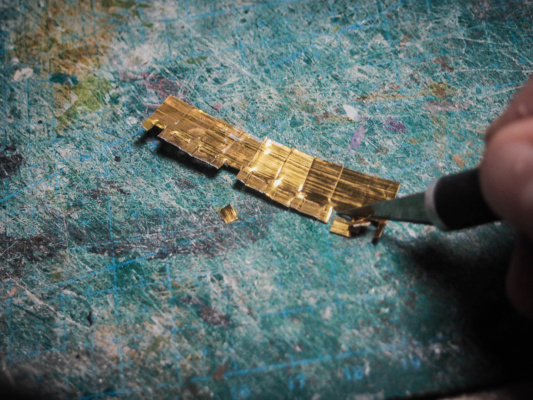
The starting shape of the sashimono is a 10×20 mm rectangle.
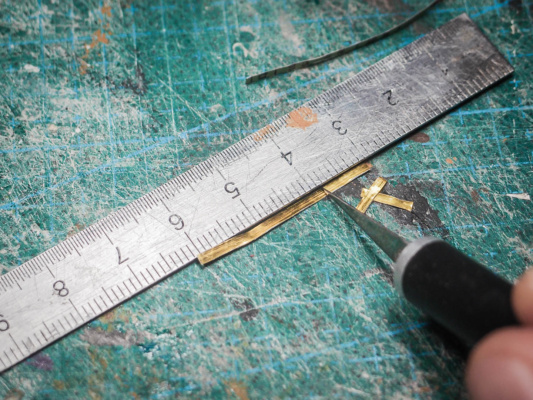
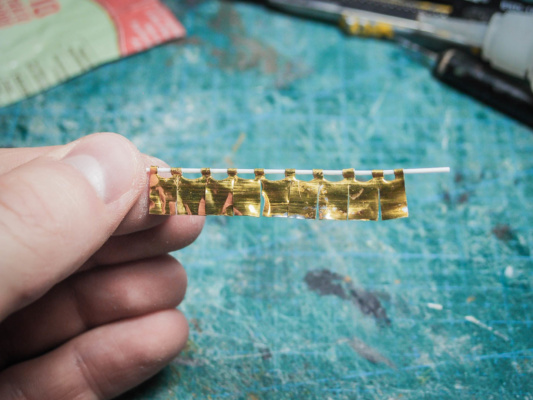
For the straps that link the flag to the frame, I cut a 2 mm wide and 8mm long strips from the same material. I reckon that a 1 mm strip would have been even better. I might change that for my next pieces.
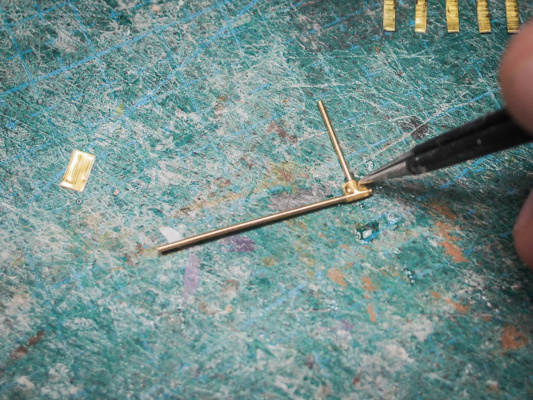
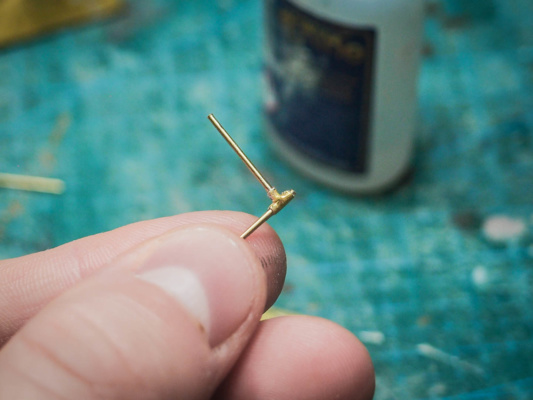
Meanwhile, the brass rod had to be cut in two pieces: The vertical beam is 30 mm tall, while the horizontal about 12-13 mm. To join them, a U-shaped piece of metal will make a good socket.
IMPORTANT: before doing anything else, consider that up to this point the main 10 x 20 mm flag is free from bounds, and if you want to add battle damage, folds or any other worn-out effect now it is the time to do that. However, the “wind creases” will be added once assembled, since for the gluing the whole flag has to be approximately flat.
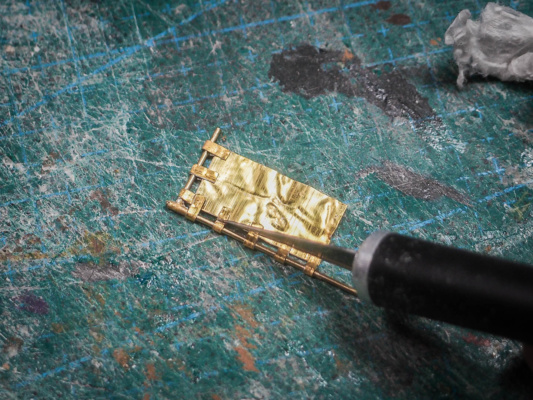
The strips must now be glued in position. As long as the frame is orthogonal, it will fit well: focus on gluing the strips properly on the main flag, and worry about the fitting later.
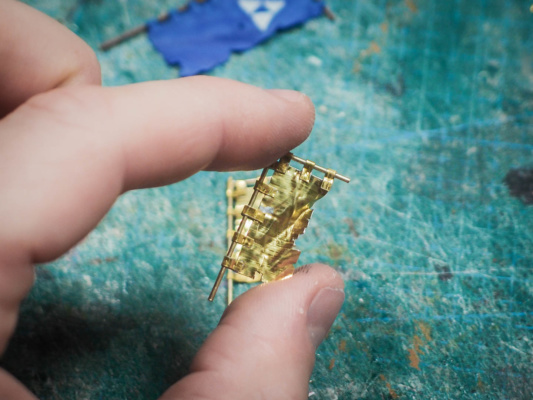
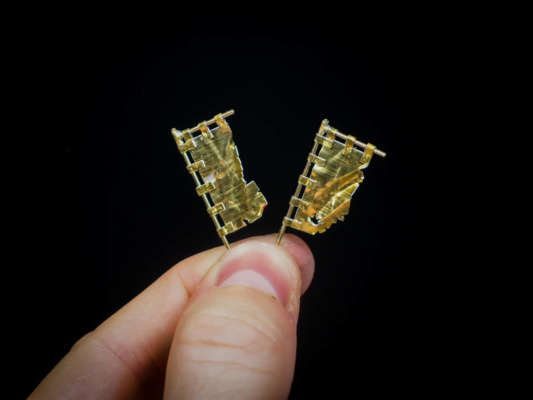
Then, position the frame, fill the side of a few strips with glue and bend them to block the frame. Then glue all the others until the parts are solidal. If you hold the flag and look it from the two sides, you’ll notice that the strips have a different fold on the two sides. Push them on both sides until the flag will be symmetrical in respect of the beam frame.
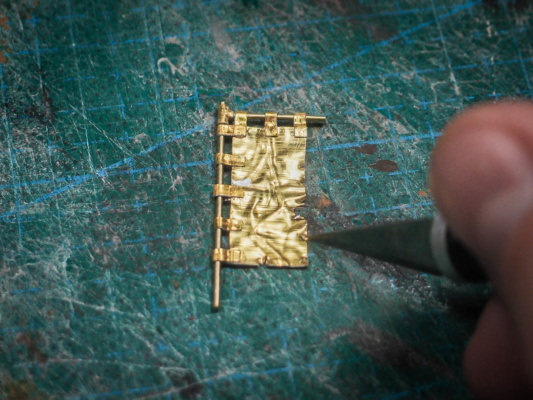
If you want to add more battle damage, it is still possible to do so. I used the x-acto knife to remove parts of the flags at the edges. Being thin cloth in reality, that’s pretty accurate.
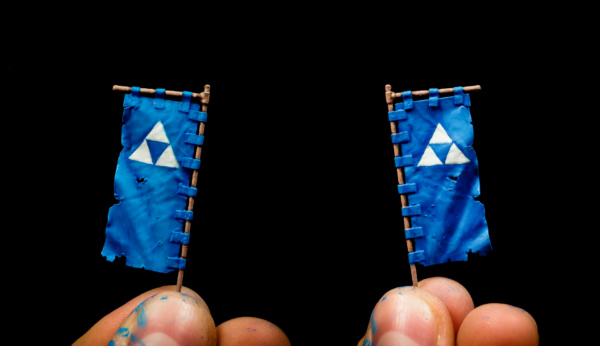
Finally, add some more larger folds on the cloth, as if moved by the wind. Notice that two sides are now fixed, so the folds will necessarily follow a bottom-left to top-right direction, which is the desired effect.
The sashimono are done!
With the same approach it is possible to make larger flags, or even “norens” (which are the entrance tents in most of Japanese doorways).
With a similar process larger flags (still called sashimono if I’m correct) can be done too.
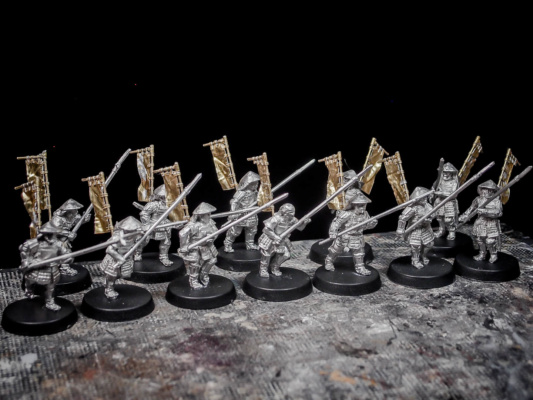
Below, a group of 12 Ashigaru from Perry Miniatures that I pimped with fancier sashimonos.
Cheers,
The Lazy One


Awesome article. I am going to try some of my own. What kind of pink glue do you use? What is the diameter of the brass rods?
Thank you! I’m using standard cyanacrilic glue for this, since the metal requires something strong to stick in position!
The brass rods are probably 0.8 or 1mm thick – ways too thick to be realistic, but still looking nice 🙂