Undergrowth Miniature Bases
- Tutorial Type Gaming Scenery
Hello everyone! I’m writing this tutorial both for y’all and for myself, since I definitely need to record a standardized process for one of my common style of bases.
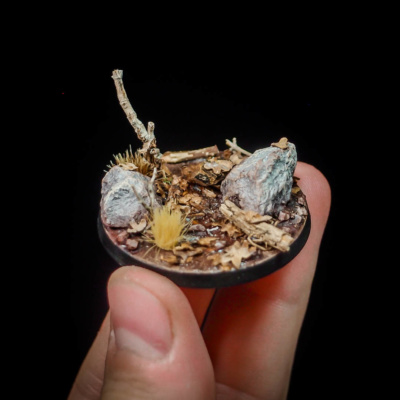
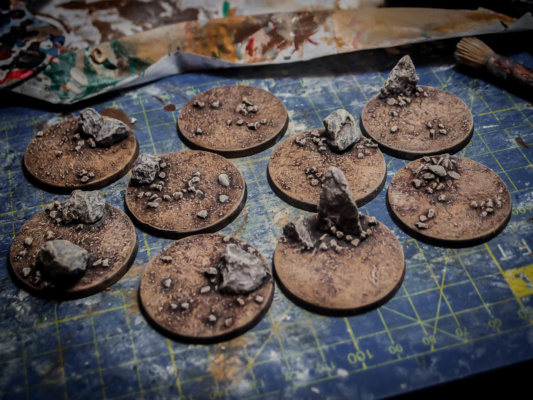
Starting with my Mormont Army (there will be a link when the army will be at least partially painted!), I’ve decided to base all the Saga-related figures on 25/30/40 mm GW-standard bases, with an autumnal look, as if standing in a wood. The Undergrowth style turned out to be very successful, and I took the chance to track down the steps while preparing a handful of bases for my Mormont light cavalry.
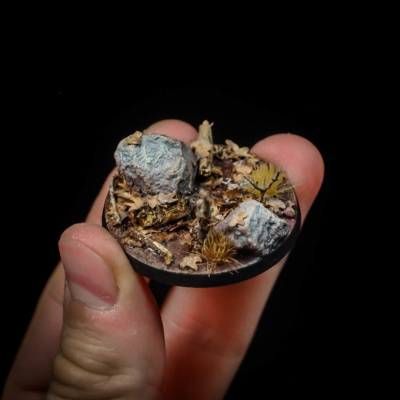
The main ingredients of the undergrowth are rocks, stones, dead branches and trunk pieces, and LOTS of dead leaves. Birch seeds was my choices for the leaves: they always look the same and a bit “cheap”, but it is an easily accessible resource and it has a lot of shades, that are perfect for the autumnal feel.
Starting from the beginning:
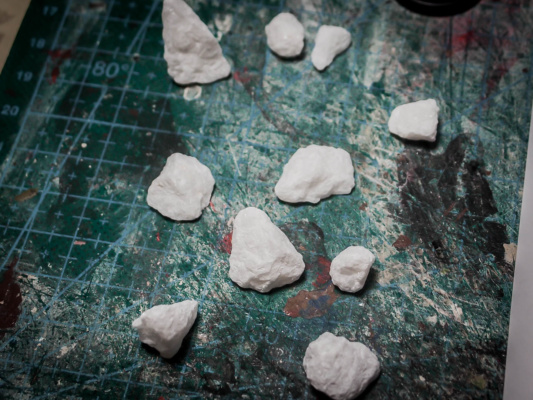
From a jar of flower decorations I took a handful of rocks. I preferred the ones with a bit of a dramatic shape, and possibly with a flat side.
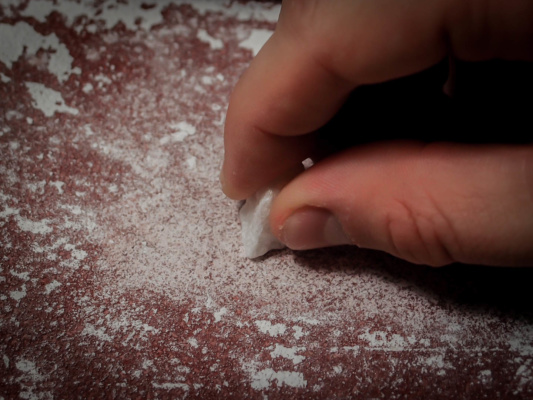
To ease the connection with the base, I sanded down the chosen side to increase the contact area.
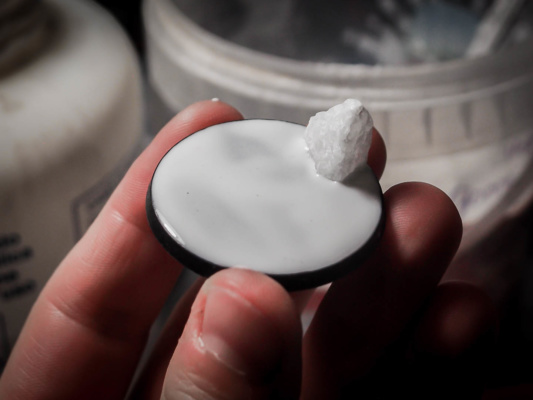
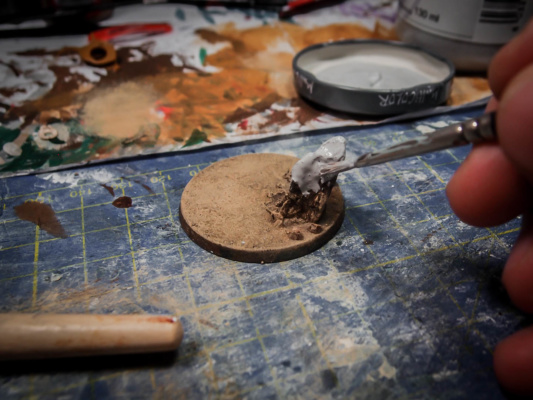
Then, I filled the base with an even layer of PVA glue (applied with a finger), and started attaching the rocks first. A small drop of cyanacrilic glue in the bottom of the rock did help keeping it in position while the slow but more reliable PVA bond cured.
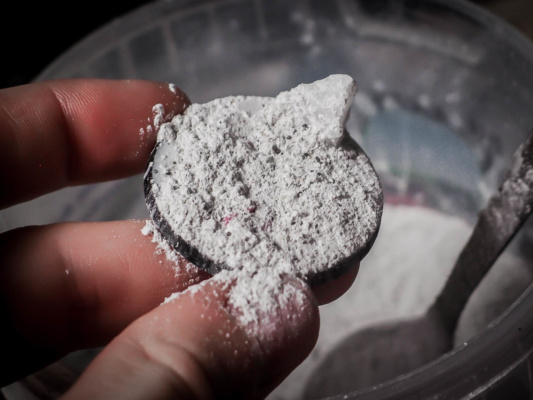
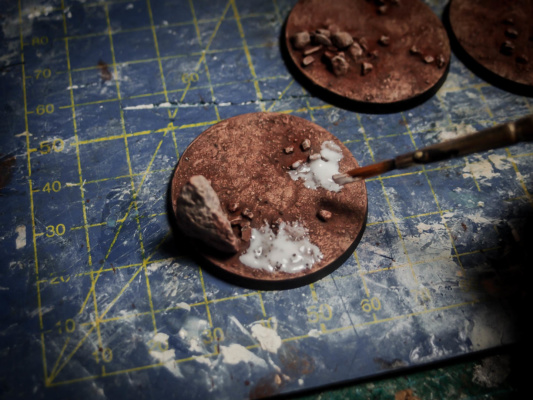
After adding a few smaller rocks I covered the rest with a mixture of fine sand, rougher sand and plaster. The latter helps in making the surface not to “evenly rough”. It is not a gravel road, and the soft ground is essentially flat.
Once done, I let it dry for an hour or so.
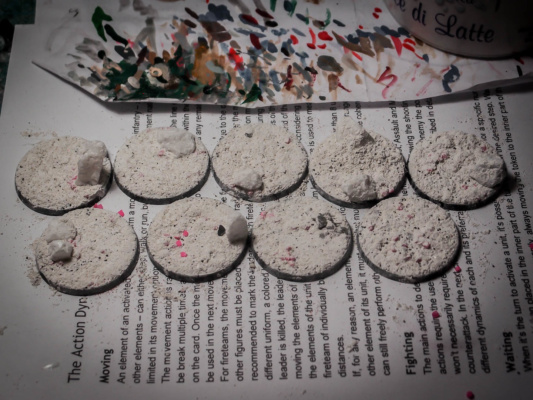
Then, shaking the base and hitting it from the bottom, I removed all the excess mixture. Spraying it with water made the plaster react, bonding it all together and simplify the next phases.
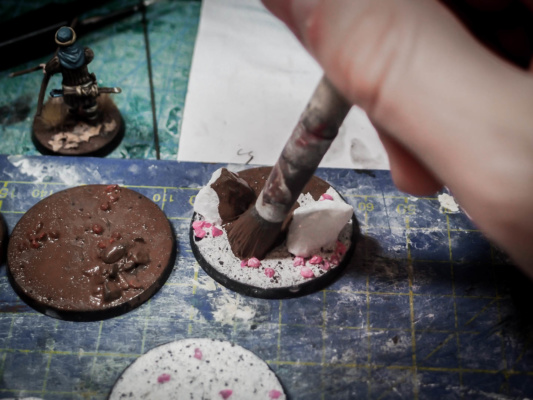
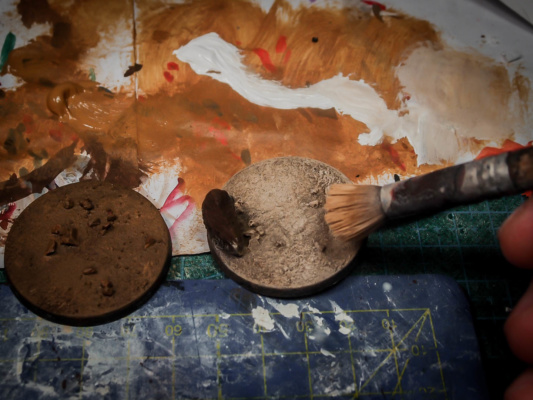
First, a dark brown coat…
…followed by a lighter yellow-ish brown, and finally a blend of the last color with some pure white. The result must have a lot of contrast and doesn’t have to be too accurate.
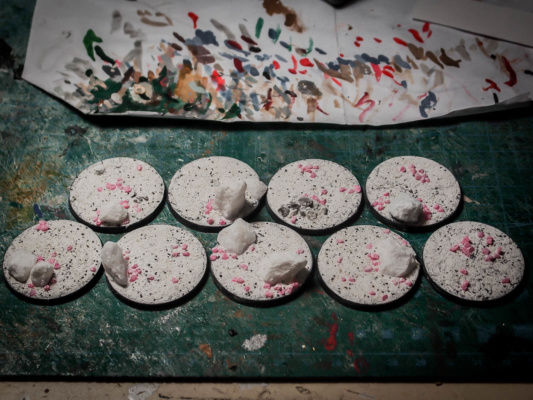
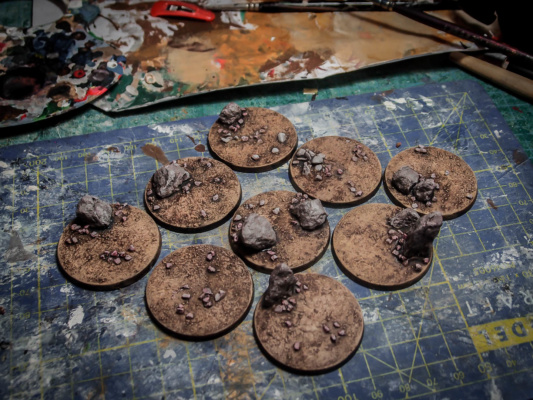
Then, time to paint the rocks. There will be several layers of inks in the later steps, so a light grey coat is enough for now.
Diluting black ink with Pledge Future and water, I applied a few passes on all the bases.
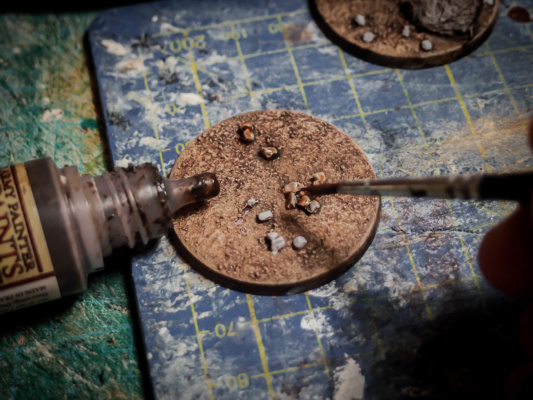
To enhance the smaller rocks, an aimed pass with some light brown ink.
Now the bases were looking ok already. But since I wanted subtler tones, I decided to move forward with pigments.
This was not an easy choice: apart from the obvious additional time required, some of the hard-work on these would necessarily got lost by adding more layers. A good compromise for me, but not an easy one.
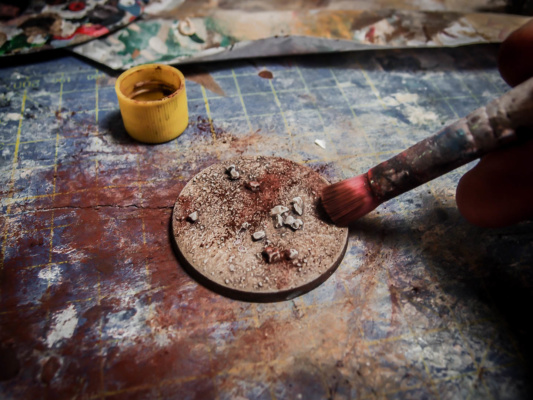
Dabbing with a flat brush I applied pigment all over the base, trying not to put too much of it.
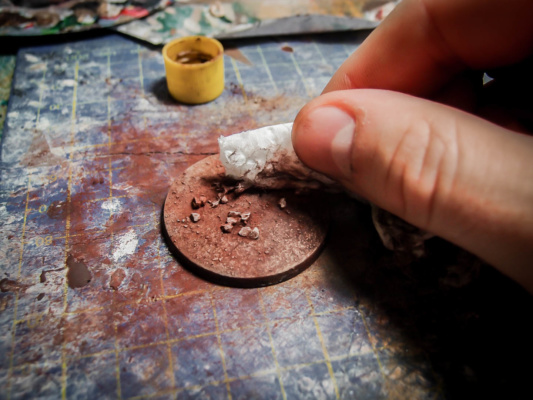
By passing a damp cloth, only the pigment in the recessed remained. However, all over the piece the tones got blended together nicely.
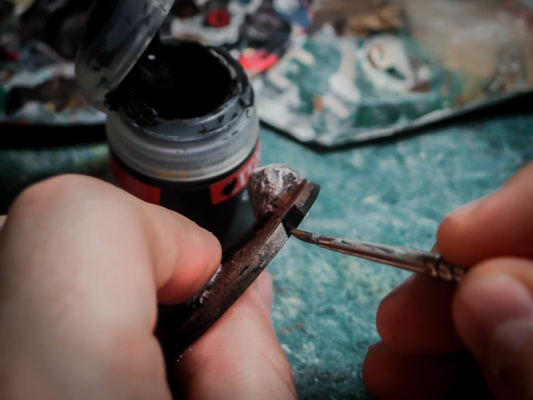
As a last step in the painting, I applied a thick coat of black on the edge of the base, to clean all the mess and give it a cleaner look.
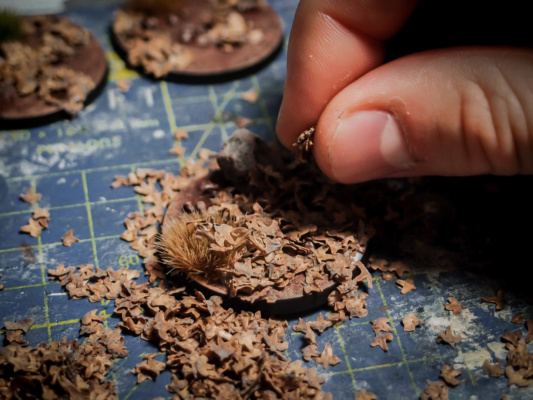
Moving on to the leaves and other elements: With a layer of PVA I poured a first coat of leaves on parts of each base. Once dry, it is necessary to add some 2-3 strategic leaves covering exposed PVA areas or other unconvincing points. I also added dead branches and other pieces of vegetation (such as turfs) in this step.
The resulting piece was however a bit fragile. The solution is one coat of isopropyl alcohol, followed by sprayed on diluted PVA glue. Once dry, all the leaves were solid in place.
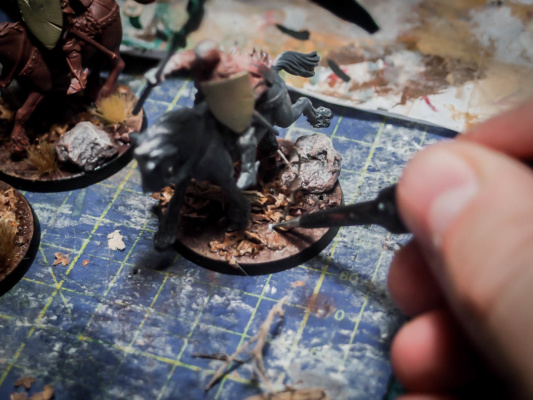
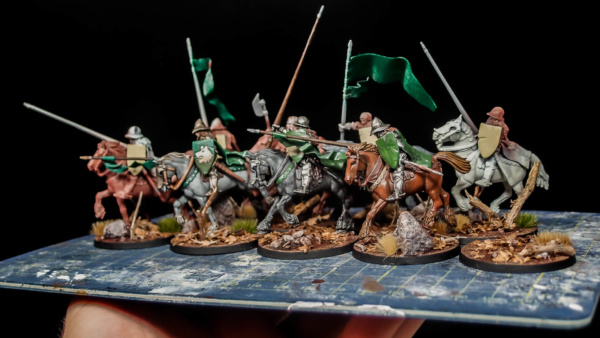
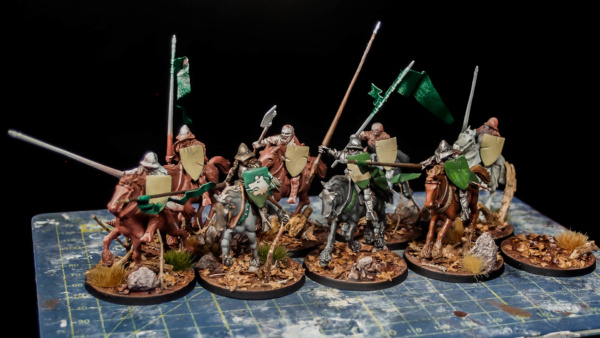
After pinning the knights on the bases, some additional tree branches could be added. Adding them beforehand would have limited the positioning of the knights on their bases.
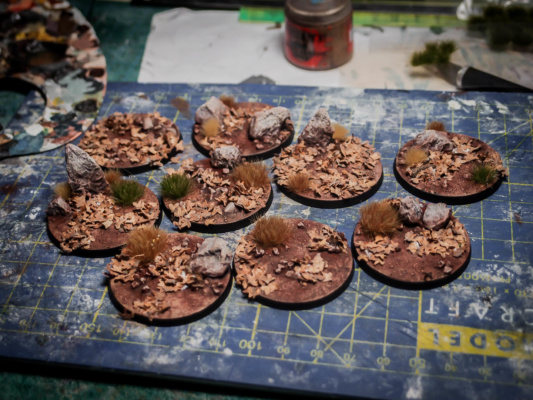
And here is the result. A lot of details, with a relatively simple and streamlined process.
Of course it’s not a “glue-sand-drybrush” kind of base, but it’s pretty repeatable and serializable. All in all, the preparation time of the base was a small fraction of the painting time for the army. If you ask me, well worth it.
Here some pictures of the (unpainted) knights on their fancy new bases.
Cheers,
The Lazy One

