Small Warehouse Step by Step
- Tutorial Type Gaming Scenery, Master Sculpting
Hello everyone!
Today’s tutorial will cover the sculpting of my second building for Spectre Miniatures. This building started as a personal experiment to test the outcomes of a form cast with foamcore sheets, and from its start to the completion it took more than a year. As it is common with many experiments, I started this project without a clear idea of how it was going to end looking, and I paid for this in the later phases, where I had to work on several fixes to make it look right. On the bright side, those fixes gave the final model a more improvised look, which is one of the reasons why I’m liking it now.
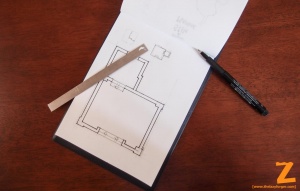
As hinted above, the original shape of the building started as nothing more than an outline, hand-drawn on a sheet of paper as little more than a doodle. I tried to give a consistent width to the walls of the building, but I had no idea of the roof shape or direction when I concepted it. Something I was really after was the possibility of having several floor heigths in a single building, which is something common in real buildings but generally overlooked in models.
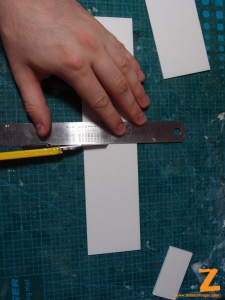
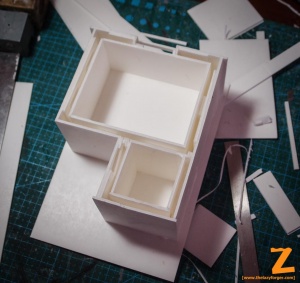
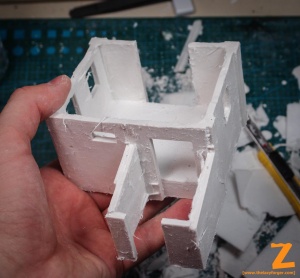
With that in mind, I started to build the form shape where to pour the plaster. Using the original drawing as a template for each piece width. As a general trick, I always suggest to cut long strips of board before starting the assembly. The exact heigth of the strips is not critical, as long as they keep it along their length. This way, the only thing to worry about will be to cut straight along the vertical, simplifying the whole process a bit.
A very important thing that is often overlooked when building modern scenery is that workers now have levels and tools to keep a high level of accuracy. Thus, although irregularities and damages still remain the focal point to provide the desired character to a sculpt, the initial shapes have to be as precise as possible to be believable, with sharp corners and straight lines.
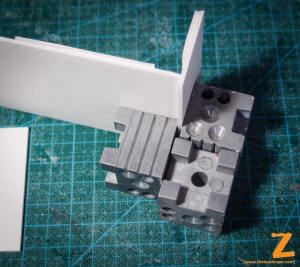
With the help of some metal cubes bought on Ebay the parts were put together easily, and the resulting shape was solid and accurate enough.
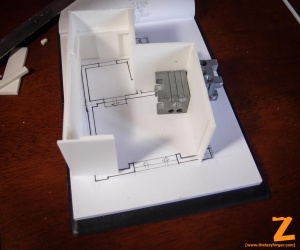
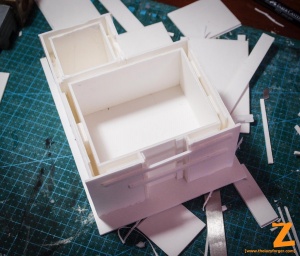
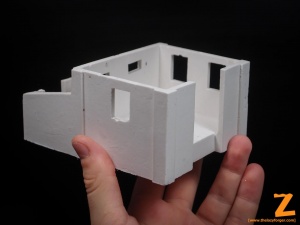
The thickness of the walls was kept even with a template, while putting together the inner side of the form. It is not strictly mandatory to have an equal thickness throughout the whole building, but bricks tend to have a fixed size (at least for a region of the world). Windows and doors holes were simply done by inserting the shaped rectangles between the walls. This also helped to keep the thickness constant, and does improve the solidity of the form, that will be indeed stressed when the wet and heavy plaster will be poured in.
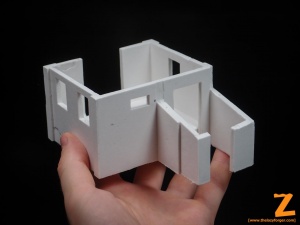
I initially meant to give to the building a flat roof, with a sloped part on one side, as a sort of additional element to the main structure. For this purpose, the walls of the sloped parts had been cut diagonally and covered on top, to shape the poured plaster as desired.
At this point the form could be considered as completed. It needs to dry completely and to be properly sealed, as the plaster does remain soft and wet for a while, compromising any weak spot in the glue. Moreover, compared to resin, plaster is far heavier, and the mere weight of it can deform the walls too. For this purpose, in case of thicker and larger walls it’s recommended to add reinforcements on the outside of the form to prevent warping.
I poured the plaster slowly, adding layers of it and tapping the bottom to remove bubbles in the process. I let it dry for long enough after that: since the foamcore is basically waterproof, the moisture had to escape from the top aperture, which slowed the drying times considerably.
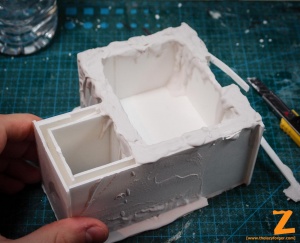
Once reasonably solid, I removed the outer part of the form, and let it dry it completely for a day or two.
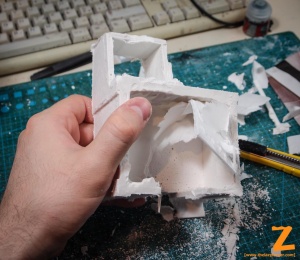
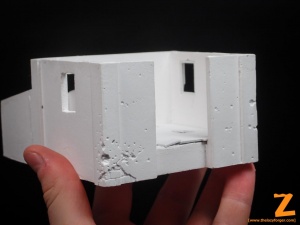
A basic problem of forms is given by the material those are made of: plastic and water-repellent materials might seem the best choice, as they are easier to remove, leaving a smooth surface. However, being waterproof reduces the adherence of plaster, which often causes bubbles, air sacks or minor defects. On the other hand, cardboard and similar materials transfer the texture to the plaster at best, but are also very tough to remove completely. In fact, after removing the entire foamcore structure from the newly cast sculpt, I spent a rather long time scraping off the remaining parts of cellulose fibers from the surface. The resulting texture was great, but i wonder if there isn’t a quicker solution for this.
Anyways, that’s the “raw” plaster piece I started to work on.
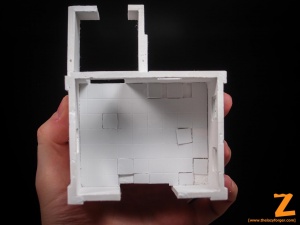
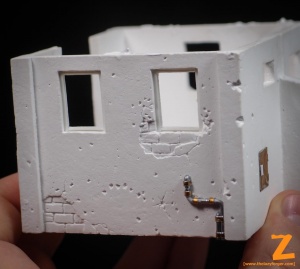
From here, it’s mostly a matter of practice and experience. With various scraping tools i started to remove part of the surface coat, sculpting the bricks being revealed behind. Bullet holes are a joy to sculpt in plaster, and the long hours spent preparing the mold get repayed rather soon.
About the floor, I wanted to keep the same style of the previous sculpt I did for Spectre Miniatures, and I used the same 1-cm squared tiles pattern. The result is rather simple, but allows miniatures to walk on it without issues while still giving a bit of character. A few bullets and wires on the floor might be due too.
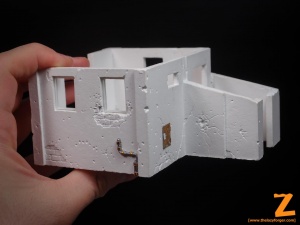
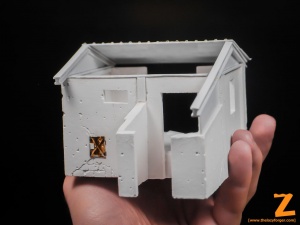
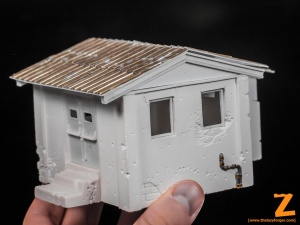
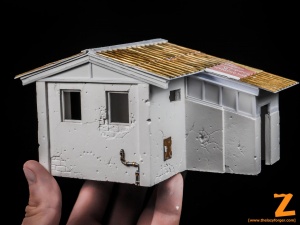
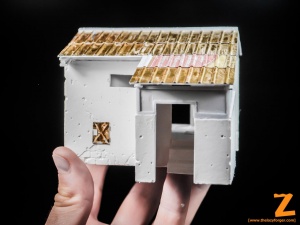
I then kept detailing the walls, with more cracks, exposed bricks and additional elements. In particular, a few tubes and a metal hatch opening what could be a gas valve or electric panel on the outside wall.
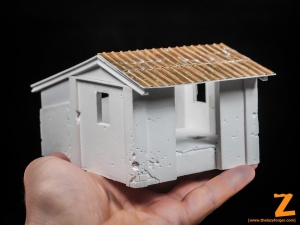
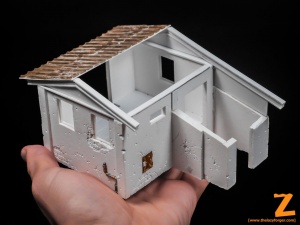
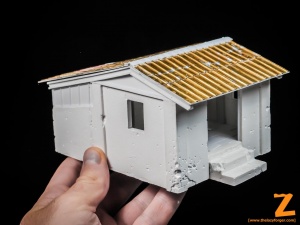
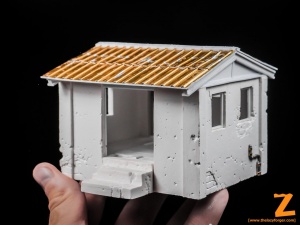
The roof required some considerable extra work: I went for a corrugated metal pattern, sculpted using my own technique and shaped to cover the entire building. this required to align the top edges of the walls and, as it’s common with industrial buildings, the triangular shapes will be done in metal. Once preparing the rough volumes with extruded PVC i started to detail them with styrene strips and a few strategically placed bolts. The result is irregular enough look soldered by cheap workers to fit the roof on it, and the parts join well together with little or no gaps.
The last touches have been added to the structure. I thickened the top of the roof both for realism and to simplify the assembly of the resin pieces, added several minor details around and a few extra battle damages here and there.
That’s the resulting piece, right before being shipped to Spectre’s headquarters!
Cheers,
Jack

