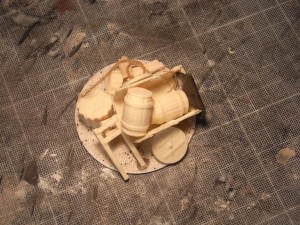
Cart Vignette
- Tutorial Type Dioramas
Hi Everyone!
This is a little step by step article about a small vignette i made with several of my own resin pieces. As usual i also made good use of a piece of rope, cloth and balsa. This kind of vignettes can be used as markers for games, or as more elaborated bases for special figures. I generally enjoy building a story behind a sculpt, and each piece put together somehow tells something in the overall composition.
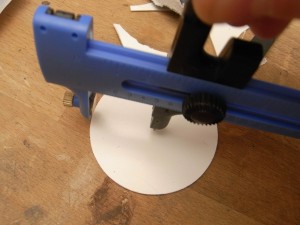
All starts with the base. I used a round cutter to prepare a circular piece of Forex. From what i gathered, Forex is expanded pvc, lighter and easier to cut than plasticard, but enough sturdy and rigid to be used as a base.
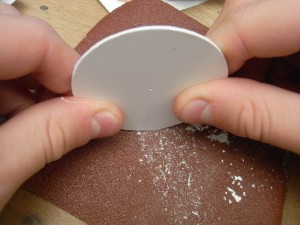
After the cut the edges were sharp, so I sanded them in order to have a smooth edge. Using more than one sandpapare helps to improve both the final smoothness and the working time.
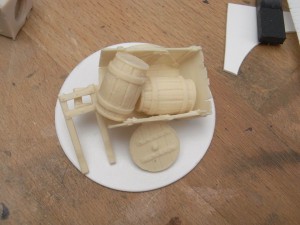
The vignette represents a broken cart that has been left behind. The wheel collapsed, the goods on it were too heavy to be carried away, so the donkey was detached and everything abandoned.
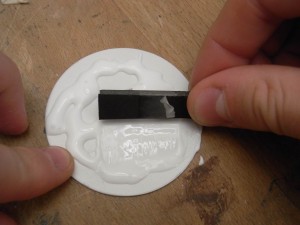
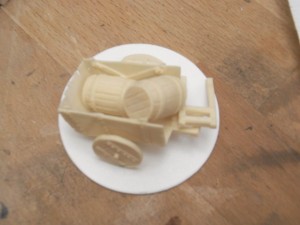 However, before gluing everything in position I had to prepare the texture for the base. I spread the PVA glue on the round surface: i really like using PVA for its curing time and non-toxicity, but the vinilc glue doesn’t have a good grip on plastic. On larger areas this must be kept in account, and a rough sanding on the plastic can increase the grip without changing the overall look.
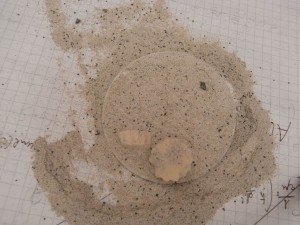
For the ground texture i used my usual mix, that works well for generic dry ground: 1:1 river sand (very fine) and plaster (basically without roughness) plus a little touch of rougher sand and small rocks. I also added a resin column in this stage, which it might be supposed to be there before the cart, and a little ground texture on it wouldn’t be a problem..
The rope i used is from a 1:100 naval model kit, and the cloth piece came from a pair of old jeans.
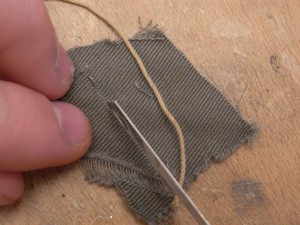
To make it more rigid I dipped the cloth in some diluited PVA, while cyanacrilic is fine for the rope. However, due to the high capillarity of the rope thread the glue reacts almost immediately, and it must be applied with the rope already in its final position..
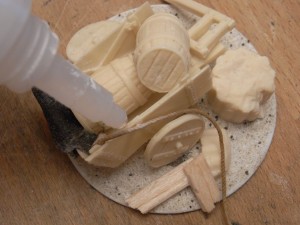
And… that’s the finished piece! Painting will come soon!
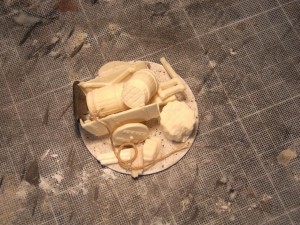
This is nothing but a little showcase of resin pieces, as I did other times before. But still, it was fun to assemble and even though it is just a “collage”, it has a good character.
Cheers
The Lazy One

