Glassworking – Part 1
- Tutorial Type Techniques
Hi everyone!
Here we are with a brand new tutorial and its sequel.
That’s not an advice about how to do something already known. That’s something new. Actually, I’m likely not the first one who thought about it, but I might be the first who did a tutorial about it, from what I’ve seen online.
Have you ever wondered how to have medieval windows with a realistic feel? With each glass part refracting the light in a different way? Something, say, like this?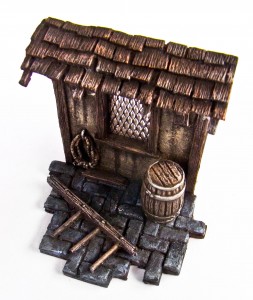 Well, that’s how to do it!
First of all, let’s say something about the material used: I’m quite happy with this product from Prochima, which is one of the main resin distributors in Italy. I imagine that around the globe there are several other brands, offering the same product, with some slight differences.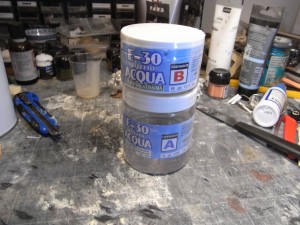 The product is really transparent, and mixing the parts doesn’t require much time, even though the components ratio (5:3) is pretty strange, and you might need a precision scale to calibrate the portions accurately. Beside of that, the resulting mixture is liquid and you can pour it easily and spread on a surface, or dip objects in it.
Or, if you like to have some wonderful looking windows, use it as shown in this tutorial.
Now, for the windows!
First of all: the mesh. To experiment the technique and its applications I used some various meshes i found in my lab, mostly scavenged from the kitchen. The lattice of the garlic bags is perfect, in fact the only thing you need is a plastic net: thread nets will work as well, but to represent metal lattices they have to be very thin and compact. I also tried with an onion bag pattern (a bit larger) and some tulle, which can be bought in most of the craft stores, or scavenged from fancy – and generally useless – garments. for all the materials above, I cut square shapes. The smaller they are, the better you can manage to move them on the resin, later.
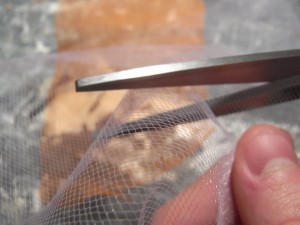 For some of the meshes I had to prepare a frame to keep them in shape, and heating the fixed plastic gently reduced the warping within the frame.
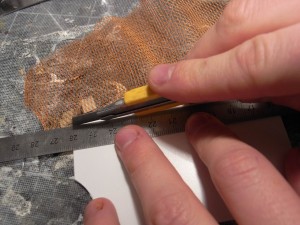 Now the resin.
Unfortunately, the jar was highly impractical, as it was filled almost completely, and I had to figure out a way to extract the right amount without making a huge mess. I choose the “scientific way”, like in a bio lab, but with an old BIC pen used as a pipette to move the resin from the can to the little glass used for the mixing.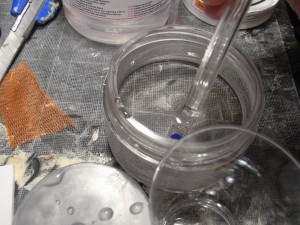 As i mentioned before, the components ratio was unusual and I decided not to worry too much about that and use my instinct. As a result the resin remained a bit elastic for a few days, but even though I probably missed the right proportions, the final resul is still totally transparent and solid.
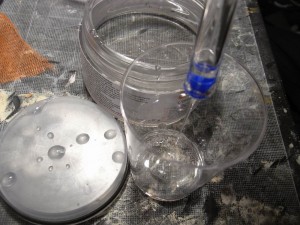 Just an important note: MIX CAREFULLY! If you don’t, you will create a lot of bubbles. I mean, a lot. Maybe in a glass panel a few bubbles should be good, but if you are planning to pour a lake those should be vaoided.
I poured the liquid mixture on a plastic sheet. Then, I spreaded the resin on the surface with a stick.
After that, I just waited a couple of hours.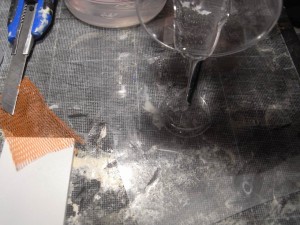 The waiting time is very important, since after a couple of hours the resin will change its hardness. Then, it’s time to lay down (and push!) the net lattices painted in black on the resin. When adapted on the surface, the resin usually has some bumps and irregularities. Just pulling around, and pushing with a sharp point on the imperfections, you will be able to have something like this:
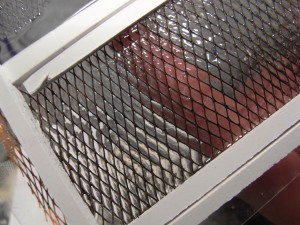 Once completely dried (one night will be fine!) you will have a surface of glass. I did a small piece, but you might make a bigger one with no trouble. The light effect is certainly remarkable.
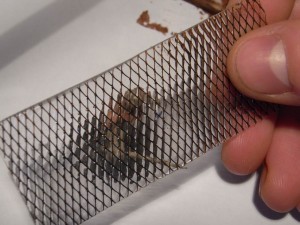 Now, I took one of my window frames, and cut an appropriate panel of resin glass for it.
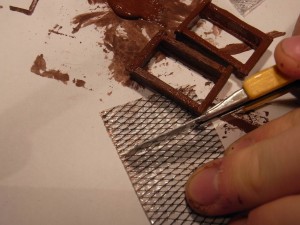 Some small wooden beams can help to hide the edges of the panel while applied.
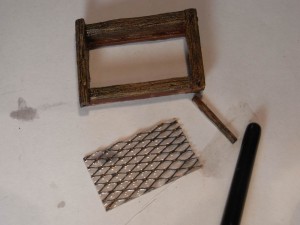 …and that’s the result!
 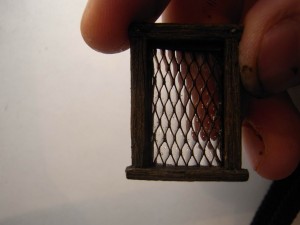 Conclusions: This method is pretty useful, and allows all you to create quite realistic windows, but all the work is a bit time-consuming. Actually, making bigger batches might take much less time, if you plan to make windows for a whole city!
Cheers,
The Lazy One

Consider using Citadel Washes to create Colored Stain Glass!
Thanks Andy! I did try to use a few washes, and the results were not bad at all! however, the clear resin is not the easiest material to apply washes to, and tends to create stains.
Two things that I think might wort better on this material than washes. 1. Tamiya Clear paints (probably thinned), and 2. and old stand by from tinting clear acrylic plane cockpits, ink in acrylic floor wax liquid.
Ohh, using Pledge Future with inks seems like a great idea! I haven’t experimented much more in this direction, but I most definitely should!