Glassworking – Part 2
- Tutorial Type Dioramas, Techniques
Hi everyone!
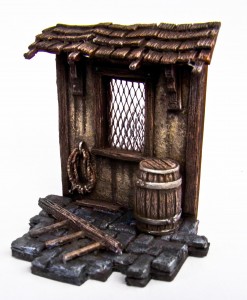
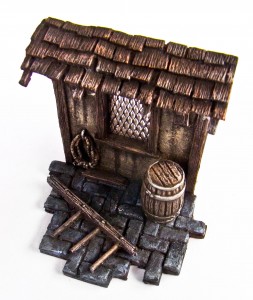
After the previous tutorial about making this splendid glass, I share now a little article with some steps of the making of the little diorama featured in it.
The objective of the tutorial is to show you all that it is a simple task.
No secret weapons, just some PVA and cyanacrilic glue.
And some of my own resin parts, which could be easily replaced with your own stuff if necessary.
Now:
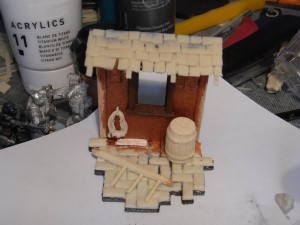
I started with some foam core for the structure, and a small area of cobblestone for the ground. I glued it on the board, together with a barrel. Vertically, i glued another foamboard piece, and made a hole for the window frame (also a resin piece, even though is painted)..
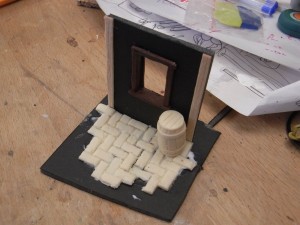
I added other two pieces and a balsa piece to hold the future roof piece
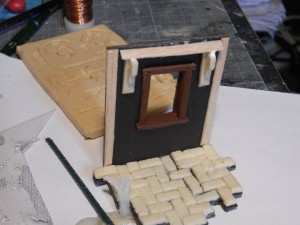
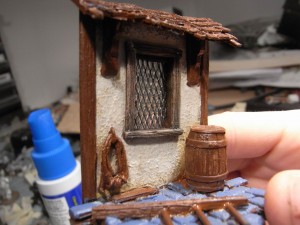
Hint for the wall: I’ve tried several different pastes and putties to texturize the walls. Actually, what I’ve found is that using some abundant acrylic tipped with the point of an old hard brush does the job quickly and with a convincing result.
Searching in my bits box, I found a hanging rope, a piece of a broken ladder and some bits of balsa. All together assembled is shown here:
Then, I started painting the bases. For the wall I went for a light brown, then ocra, then white. For the stones i used some dark blue-gray, then light blue. with a final layer of pigments, that’s a good colour for the stone.
Since i didn’t take any other photo of the process, just close your eyes and imagine, while your best friend will read it for you.
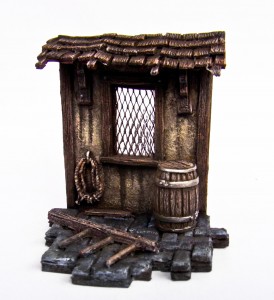
Start with a light brown, and pass it all over the wooden surfaces. Then, wash all over with a blackish ink, and then let it dry. Once dried, just pass another light brown drybrush, and then pink (that’s right: pink!). For the stone, just put some whiter spots, then a wash.
After everything is dry, start to apply a black pigment. My is from Mr. Hobby, but for this rough task any pigment might do the job. Take some abundant doses and spread it in every corner. Then, remove the excess from all around. The result have strong shades, which is the effect Iwas after.
The end.
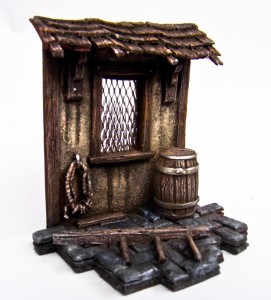
That’s the final result: I put a miniature behind to show the light effects through the glass.
Hope you like.
The Lazy One

