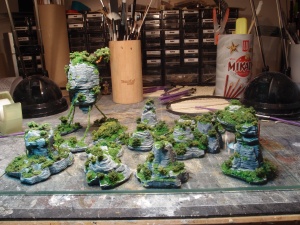
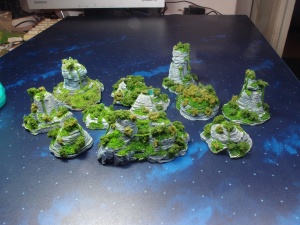
Jungle Islands
- Tutorial Type Gaming Scenery, Techniques
Hi Everyone! While working on my Iron Clouds game i thought it would be nice to have appropriate scenery to game with. Since the game is set in the sky and doesn’t actually rely on ground scenery for the game purposes, I had full freedom about the choices. Naturally, a sea board would be easier to produce, and the islands can be easily moved around to change the ground setup when needed.
Islands – I mean, real islands – tend to be enormously big even in 1:1200 scale, but I wanted to have smaller objects to move around. You can either see them as rocks protruding from the dephts of the sea, or as a down-scaled scenario for the flying ships.
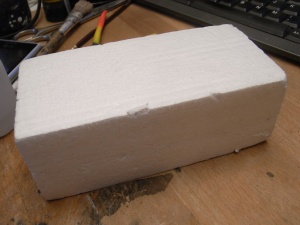
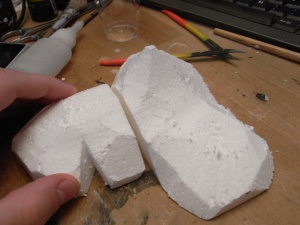
In this tutorial I’ll show the process for the larger island, although the ones I used for the conventions were smaller and more versatile. The island core was a block of styrofoam. It is used to lighten the final build, as a solid block of plaster is an issue to carry around.
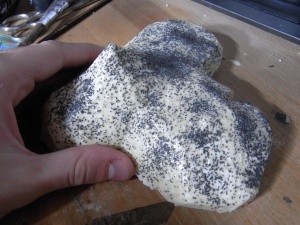
Once defined a reasonable shape, i covered the surface with glue and sand, to enhance the grip of the plaster. After all, this step probably shouldn’t be necessary, a thick layer of plaster should be able to hold itself.
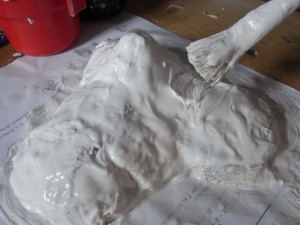
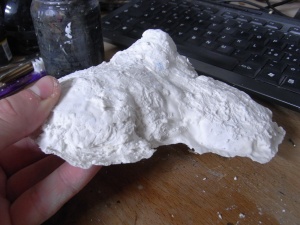
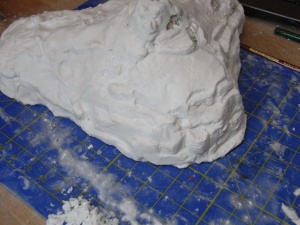
The first layer of plaster was applied with a brush, since it needed to adhere to the surface completely. Besides, plaster-on-plaster sticks easily, but a thick layer applied on a flat surface tends to flow, which is not what I was after.
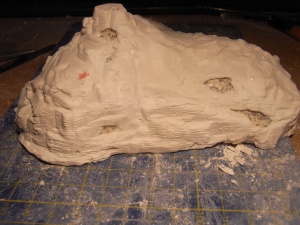
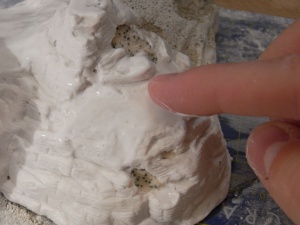
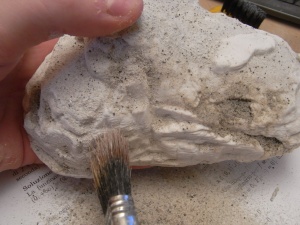
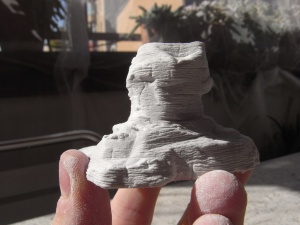
The real deal starts here: once the plaster solidifies it is time to define the rocky shapes. First of all, with a cutter I removed some vertical portions of the plaster, in order to create cliffs alternated with small horizontal planes. The walls needed to be textured with strokes of a metal brush, until the horizontal lines pattern resulted evident enough to represent sedimentary rocks.
On the top of the island, meanwhile, I left some sloped ground, to be textured at a second moment, but I put here and there some rocky spikes sprouting from beneath the ground. Unfortunately i didn’t add enough layers of plasters over the foam structure, and while sculpting in some areas it came off. That was not intentional, but those parts are going to be coverd with sand and vegetation.
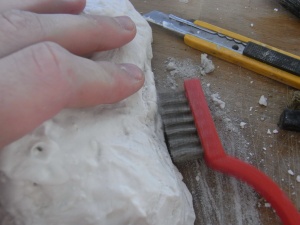
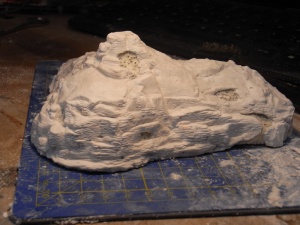
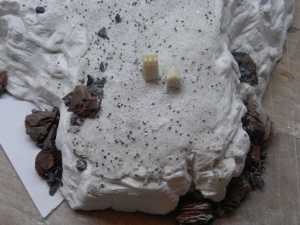
Now, to differentiate the rocky surfaces from the ground ones – that will be then covered in vegetation – I applied a sand mixture on the latters with vinilic glue.
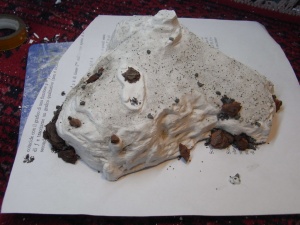
Once all is dried, the excess of sand and any residue of the carved plaster can be easily removed, and rocks and rubble can be added here and there for a bit of irregularity.
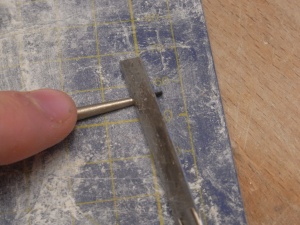
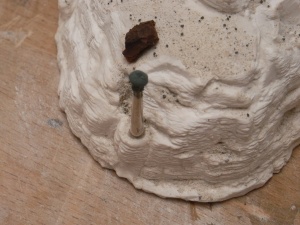
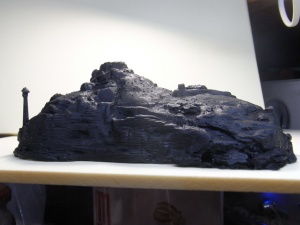
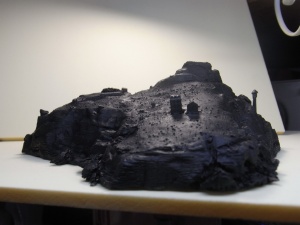
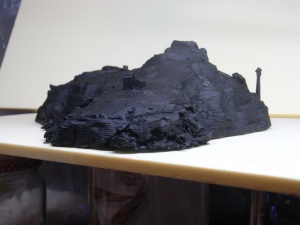
A little of human presence is always good, and more importantly adds a scale reference that is crucial to make the model believable. I quickly sculpted a lighthouse from the tip of an old brush and added a few buildings from my naval range village set.
Once everything is primed, the parts blend together better, and the profile of the island starts to be much more believable. Apologizes for the crappy pictures, the conditions at the moment weren’t the best.
With the same technique i built other smaller islands, more audacious in the shapes and rich of vegetation. The process used is exactely the same, although with such a smaller size the foam required inside was much less.
Together with a couple of flying islands (held above the ground by copper beams disguided as lianas and creepers) they formed the scenery for two Iron Cloud tables i brought to MilanoWargames 2014.
This approach to rocks and islands isn’t viable for any project, due to the particular scale of the pattern, the time required and, erm, the messy effect on the room you are working in. However, it is a useful tricks to know, that can help you with various types of rocky formations to achieve a “wow” effect without much effort!
Cheers
The Lazy One

