Land Battleship Painting Guide
- Tutorial Type Painting
Cheers everyone!
While painting the Enlisted army for the MMF release I knew that people would ask for tips and directions on how the models were painted, and I decided to start taking pictures of the painting process. I did that on one of the last models on my workbench: the smaller Land Battleship, which goes with the large one in the same kit.
Preparation
The printed models come with a few minor parts detached: the main turret and the side guns. I decided to glue the side guns in position (since it wouldn’t complicate the painting process much) but the main turret remained separated until the end. In fact, it is now magnetized and free to rotate on its socket.
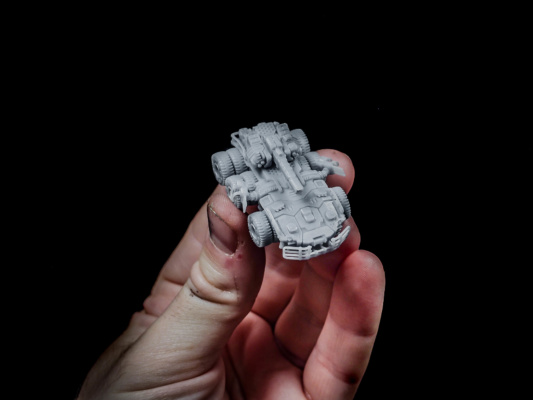
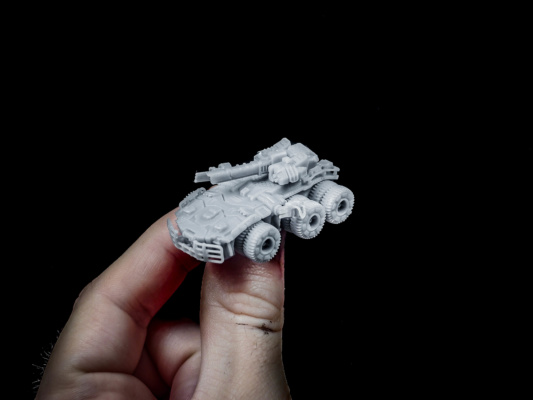 Other than that, the piece came out from the printer fairly smoothly and did not require extra cleanup. After curing (around 3 minutes under a nail UV lamp) i directly applied a black undercoat (GW Badab Black) before starting with the painting.
Color Blocking
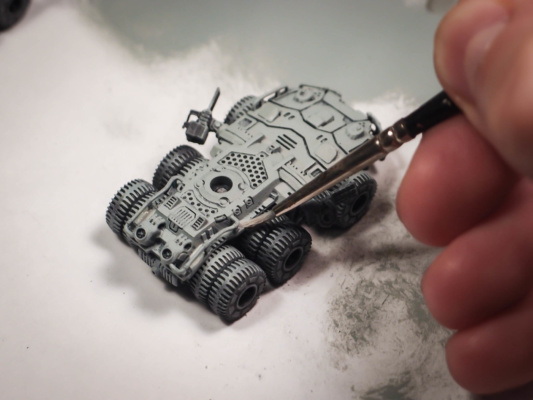
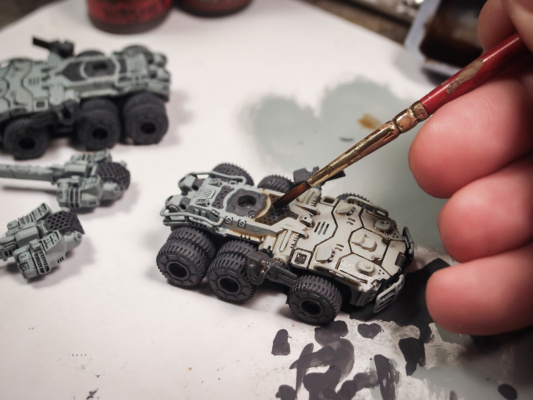
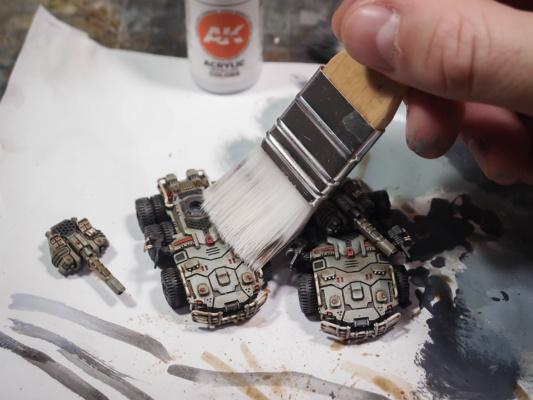
The application of the base colors of these vehicles is extremely simple, and the very same process was used for the Infantry (Here and Here) and for the various vehicles (Here, Here and Here!). In fact, it mostly uses drybrush. I applied two colours in succession: first a layer of GW Mechanicus Standard Grey, then one of GW Celestra Grey.
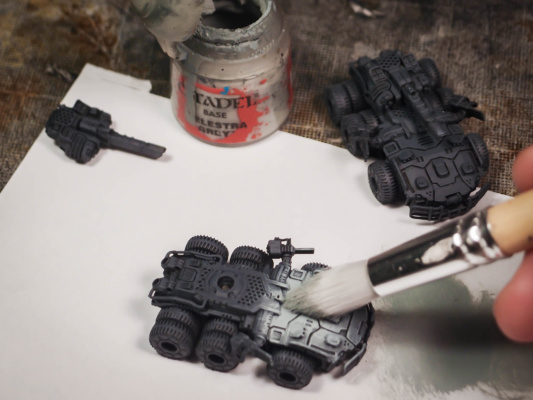 From the photo you can notice how heavy the drybrush is. I’m using some cheap (and surprisingly good) IKEA brushes for these steps, and even though the layers are thick and rough, they really help building up shadows and, more importantly, recesses.
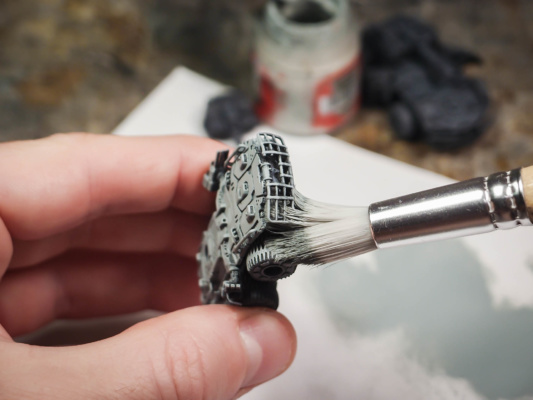
It’s equally important however to make sure that the flat surfaces remain perfectly uniform in colour. Especially if the print is a bit rough and print-line are showing, an extra layer of paint should be applied to cover such lines at this step!
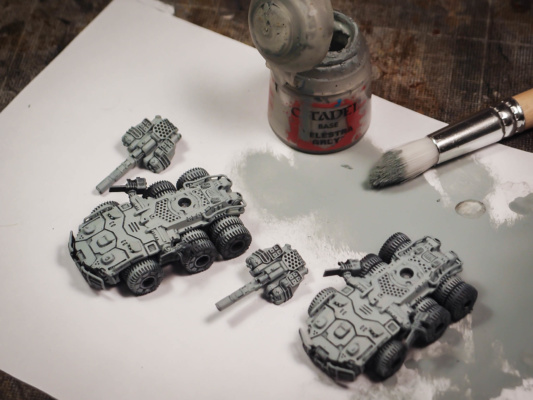
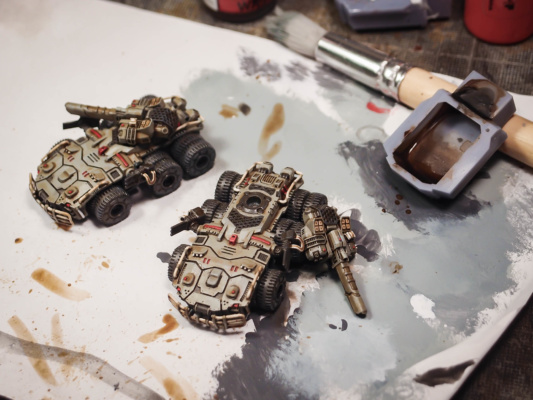
This should be the result of the first rough drybrush:
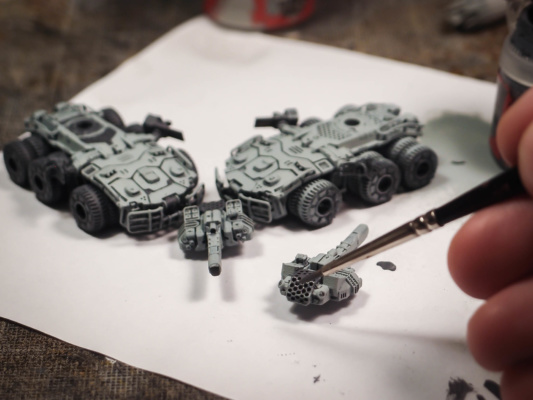
From here, all the parts that are not of the main material should be re-painted in their proper tones. I try to choose my model colour schemes in a way that I won’t have to add too many different colours on the piece. It’s both harder to read for a viewer and takes considerably longer in the grand scheme of things.
The first colours to apply are the darker ones. In my experience darker colours tend to handle well extra layers of washes, so they come first.
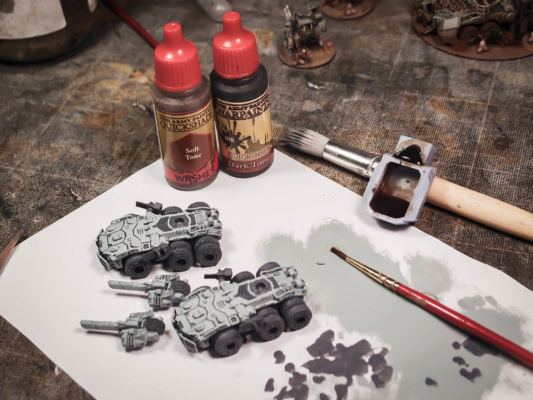
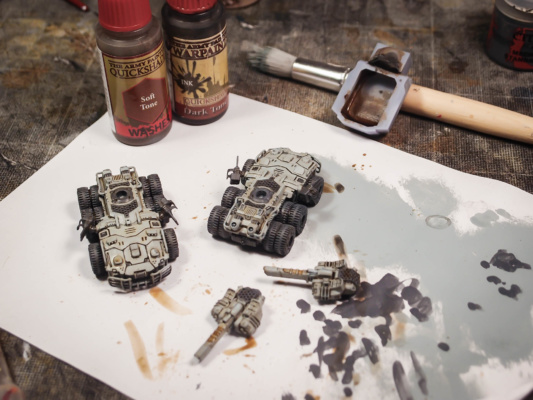
And, as anticipated, I apply the first wash. I usually use the Army Painter Soft Tone (which is the only good AP wash in my opinion, for some reason all the others have a different crappy formula!) mixed 1:1 with water, adding dabs of dark tone on the wet wash in a very primitive colour blending fashion.
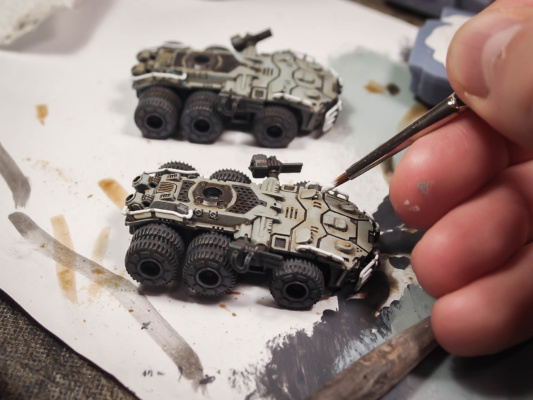
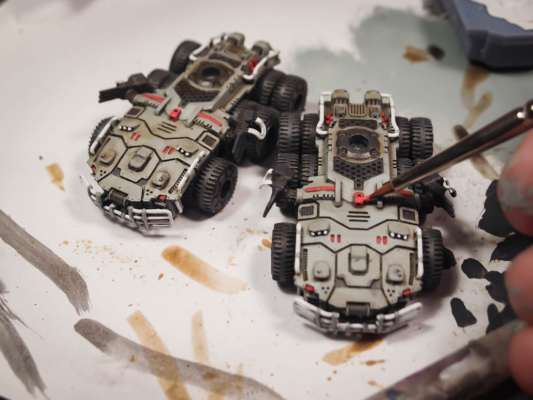
That first wash helps enhancing all the individual parts, which helps then with the white and red details (which I chose for my colour scheme).
… And another wash. In fact, more than one: as many as you need for each part. If properly diluted, washes really work well in this small scale.
A final very light drybrush helps then enhancing all the edges of the model, without reducing too much the saturation. The print-lines that were showing in the few flat spots should be hidden by enough layers of paint at this point, and should not be a problem.
The brush is from the same ikea set of before. It’s very large, but delicate.
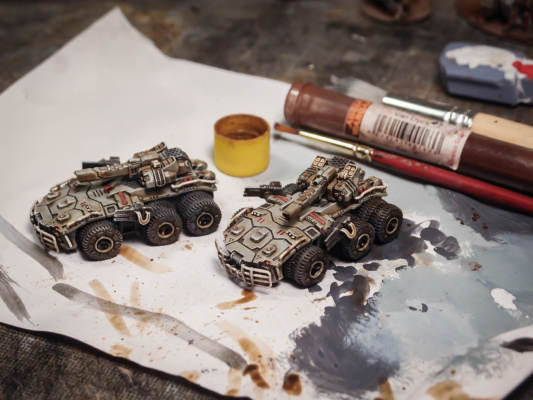
Finally, the last step for the painting and to blend it better both with its own base and with the terrain of my table is some pigment applied on the bottom and on the wheels. I used a red-brown pigment bought at a local store but any would do, really. On the wheels especially I went with a heavy hand, all the dust and soil getting trapped in the tyres’ grooves.
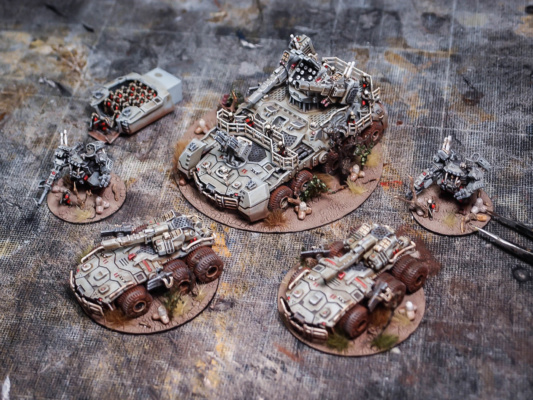
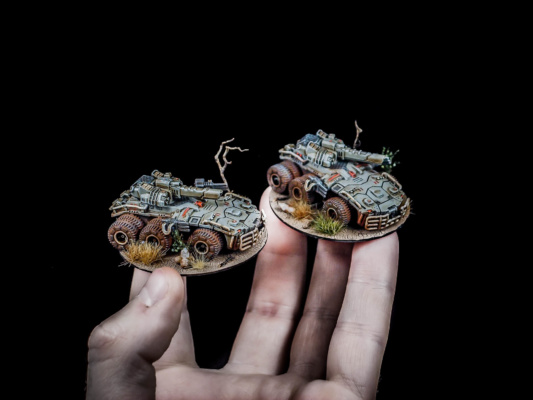
And… voilà! The models are completed, and as soon as I based them on the 1mm thick acrylic bases I had prepared for them (with GW Agrellan Earth, a few scavenged roots and some of the terrain that are available in the Army Bundle) they immediately blended with the rest of the army!
Here a better “in hand” photo:
And that’s all for today!
Cheers,
Jack

Quick and very effective. Great job, and thanks for sharing.
Many thanks! Happy to be useful!
What software do you use to make your models?
I work with several softwares at once, including Blender and Sketchup. This model was almost entirely made in sketchup, though! 🙂
It’s an old and frustrating piece of software, but it is great when you want to mess around with shapes without a super clear idea in mind!