
The Lazy Forger / Gaming Scenery / Techniques
Paved Road – Part 1
Ever wondered how to make a paved road in a quite simple way?
Don’t use cork tiles, don’t use cardboard, but simply use one of the most common materials you can find around, MDF!
If you don’t know MDF, you should: it is a sort of … I don’t know how to explain it. That’s why I link you to the Wiki!
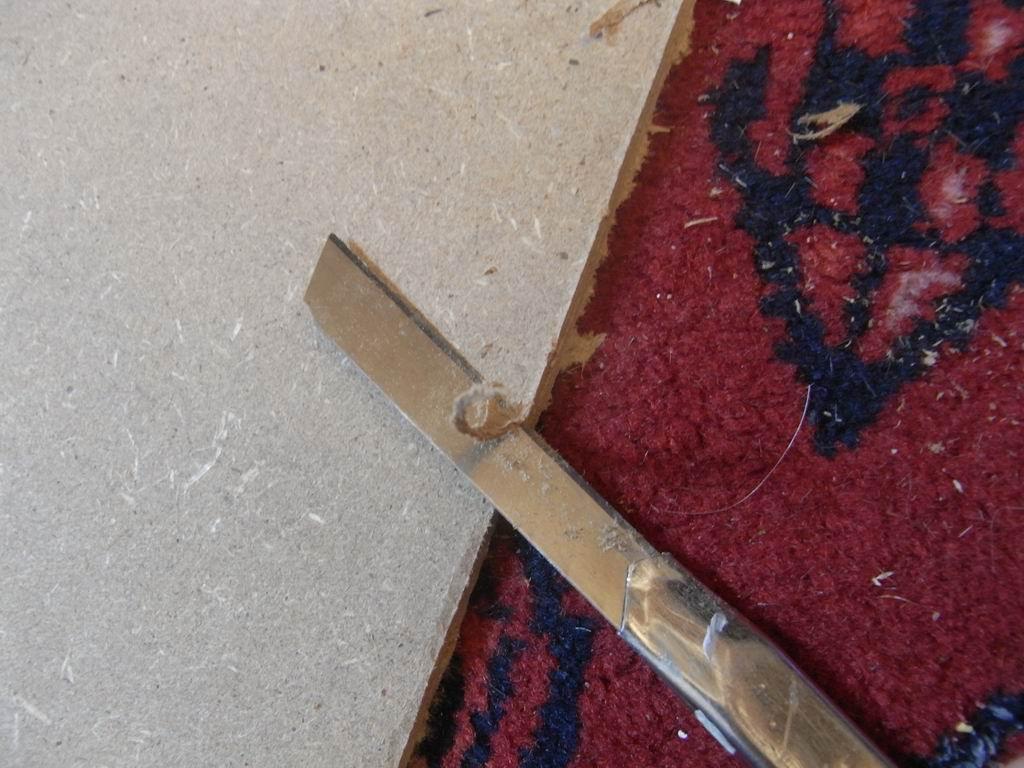
Anyway, this material could be bought in any craft shop (brico, leroy merlin or similar for the southern-europe readers) for 3-4 euros per square meter. I use the 3mm thick one, which is much lighter than the 5mm one, but it tends to bow when painting the surface. I have a solution, as shown after. The nice thing of that material is that it is damn resistant, so you don’t need any base for it, and if you need modular streets you can simply put them on the tabletop. If you need a more specific road, you can cut it with a cutter, with no trouble: just smooth with some sanding the cut edges, since they are a bit … rifty.
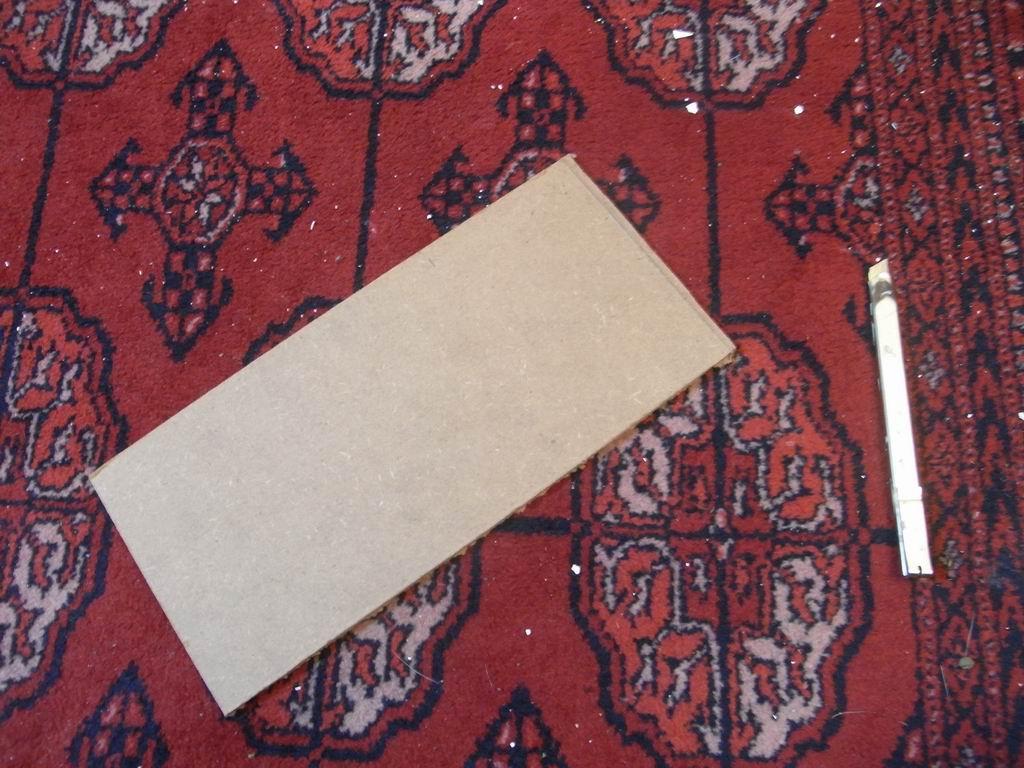
Now, I’ve cut a simple rectangular part for the tutorial. I don’t mean to use it anyway, but soon I’m gonna use a lot for some projects and dioramas! As you see, with a simple metal ruler and a cutter you can make nice cuts on the MDF. It is not the best material for high precision works, but still it is suitable for simple stuff – as streets. After that you have – as I said before – to smooth the edges, since the cutter makes two ridges on the cut edge. I suggest some sanding paper after the cut.
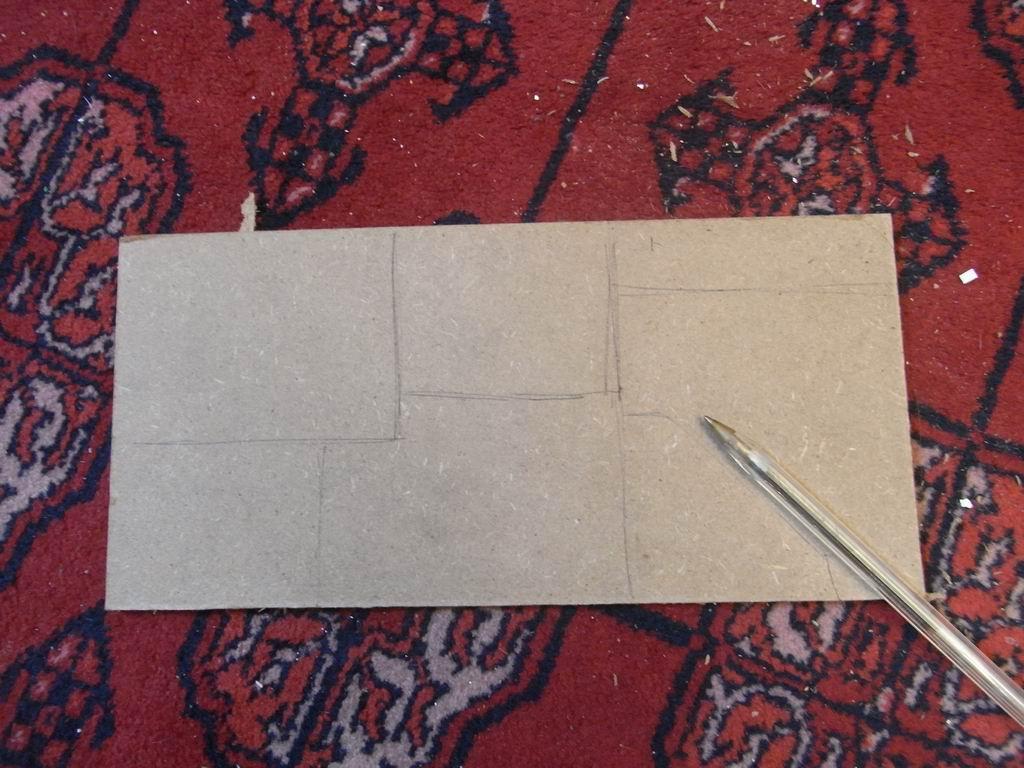
Now, it’s time to make the project – on the board itself! Just take a pen and draw some panels of asphalt, to give a more irregular look to everything.
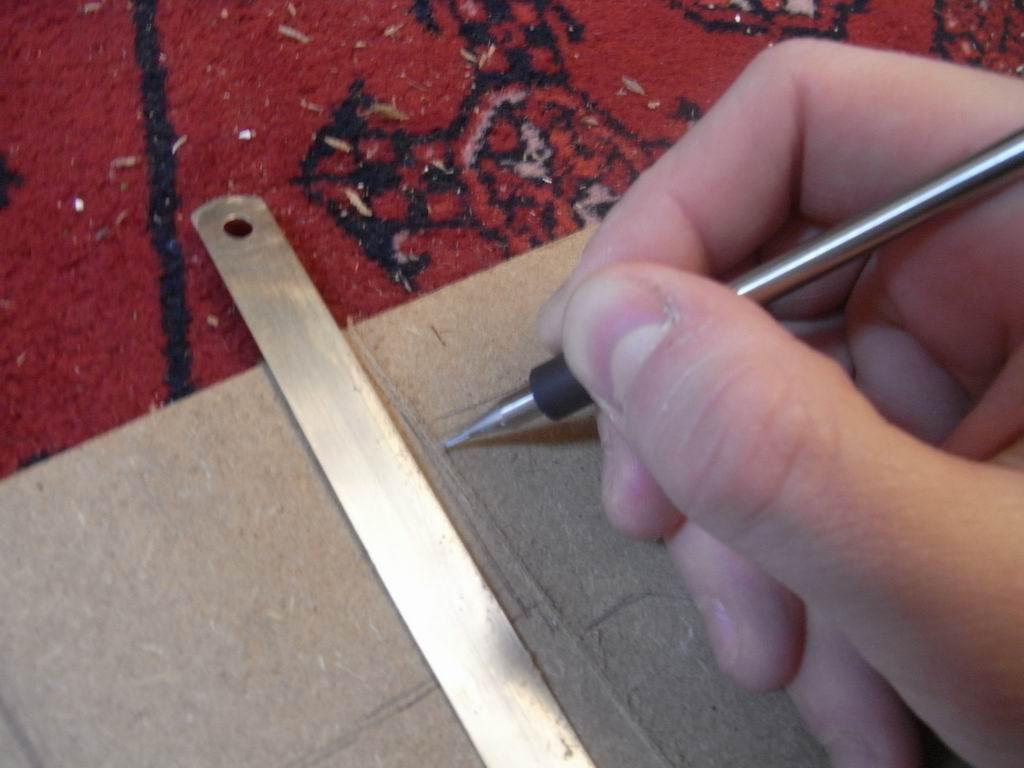
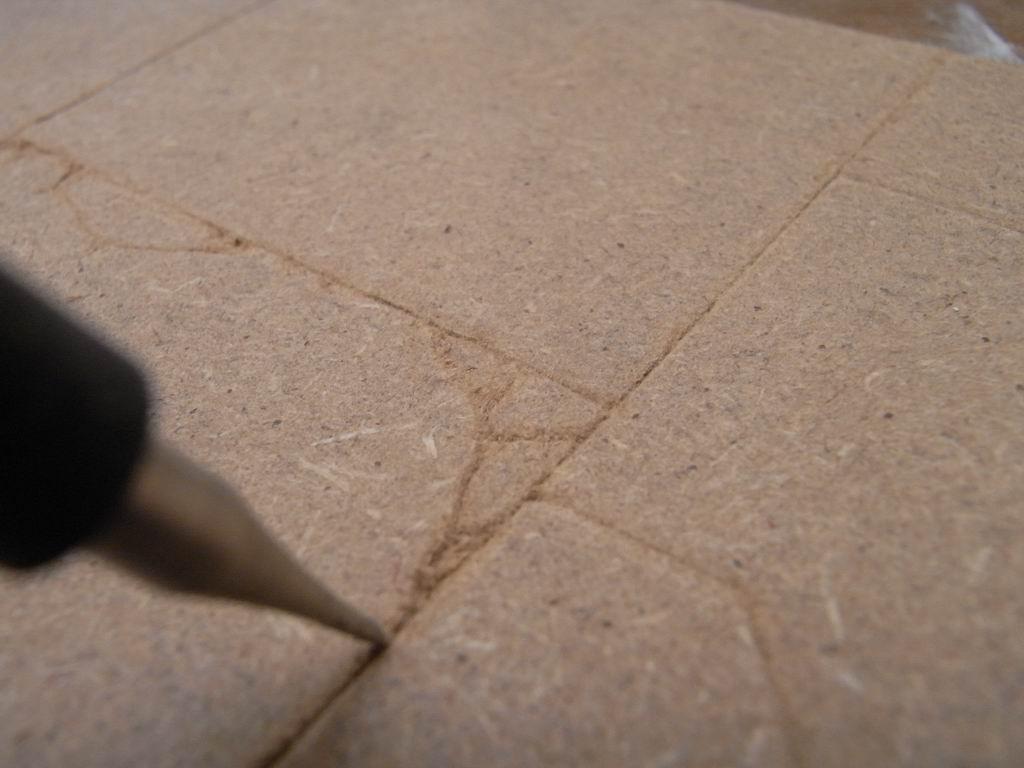
Then with the metal ruler and a sharp tip ( I use a modellistic one, but a icebreacker or a nail on the top of an old brush should work as well) I passed on the lines, adding creeks and scars all around. No precision needed, those are cracks and fractures after all!
After every passage I use some sanding paper to remove the unwanted parts, then another tip work, then sanding… until you are satisfied of the depth of the engravings. (you see the cracks?)
To emphasize the work I used a metal brush all around, like a toothbrush on really dirty teeth!
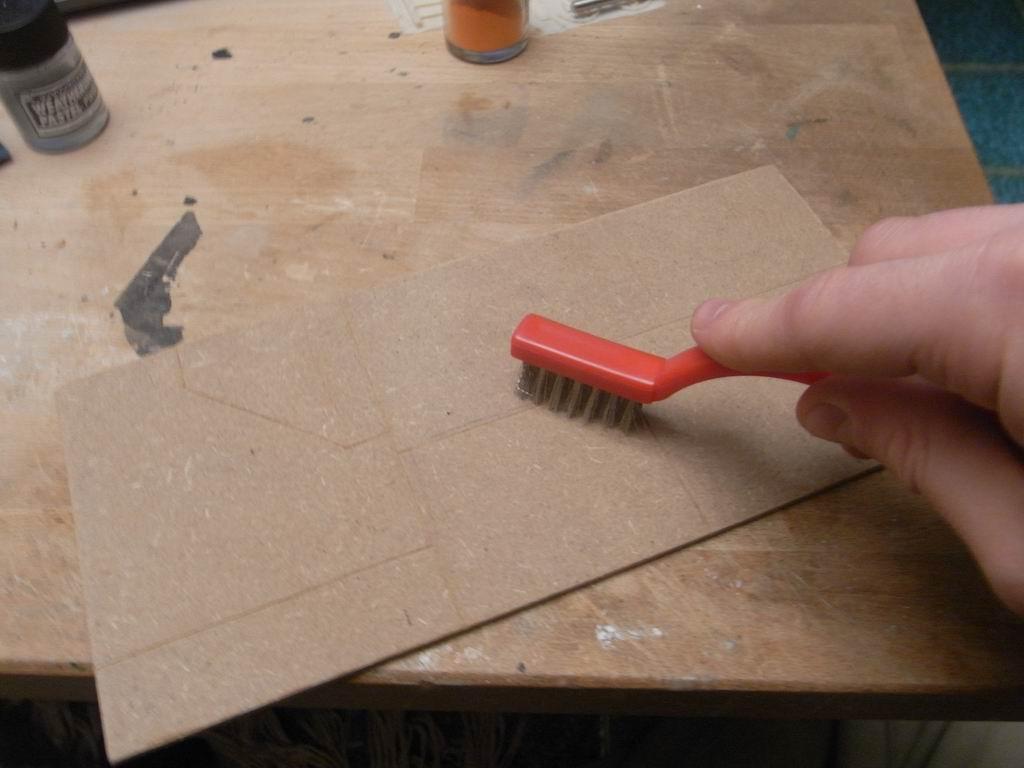
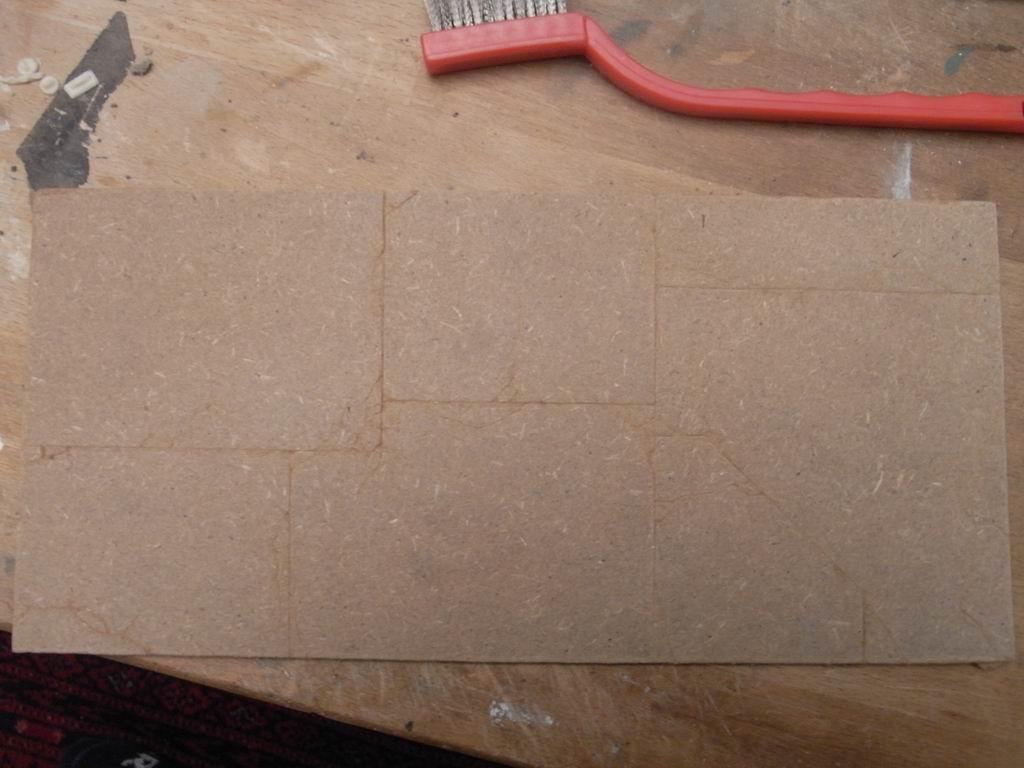
….And that is the final result!
After a black priming I put it on my super technologic drying machine!!!
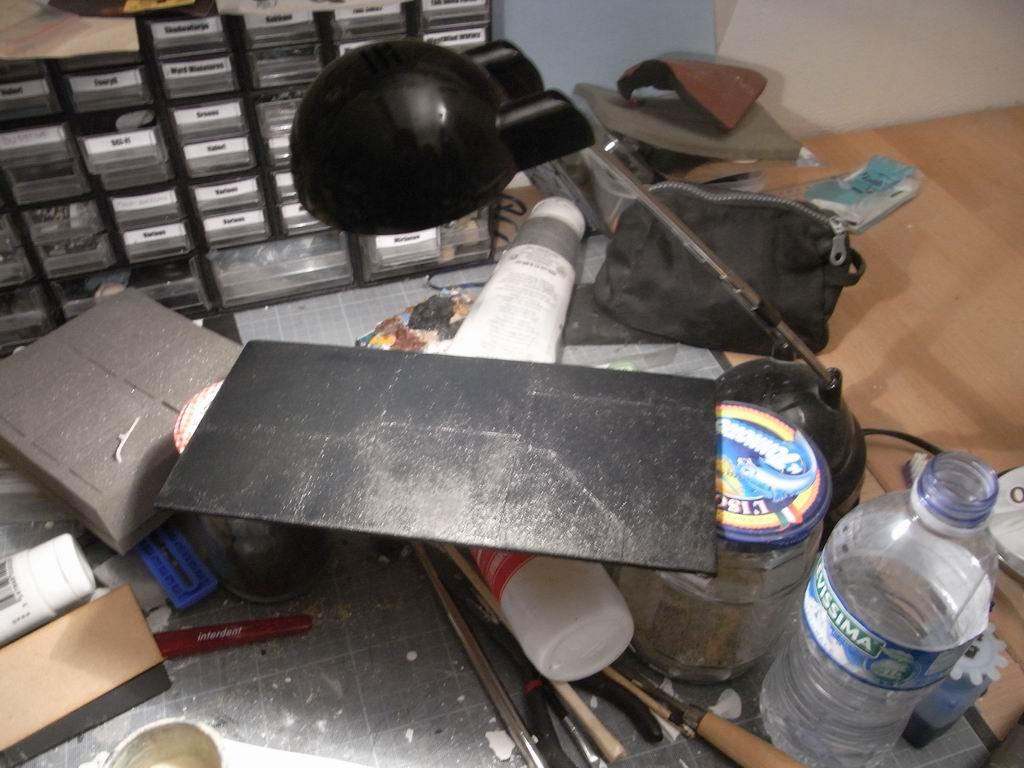
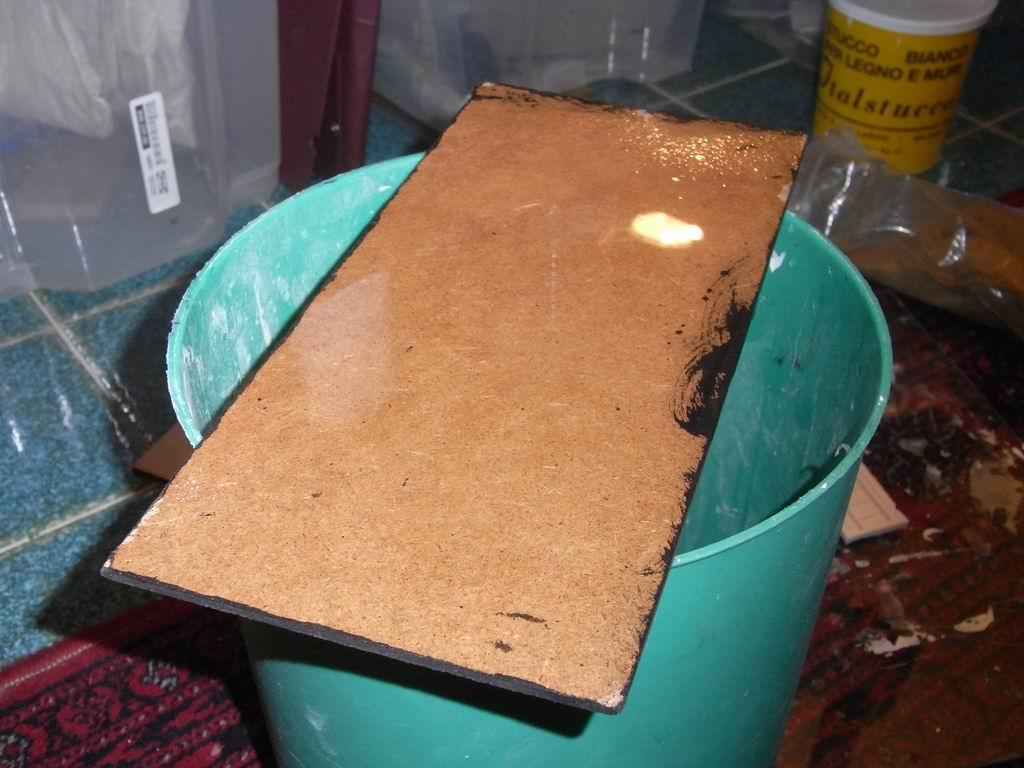
Important Note about the painting: The MDF tends to bow when wetted on a single side. What I suggest is to prime one side and, when it is relatively dry, totally drench the whole board on the other side with some water, and then leave it to dry on a flat surface with a big weight on it.
Here is how I wet the board: since it is already bowed by the primer water, I use it like a bowl, until it changes colour to dark brown
NOW… For the painting: read the next tutorial! I’ve separated the two parts because in the painting section I will explain the sponge method.
Hope it will be useful to someone! Cheers,
The Lazy One