Paved Road – Part 3
- Tutorial Type Gaming Scenery
Hello everyone! Here is another MDF road tutorial!
actually, it is pretty similar to the other Pavel Road Tutorial, but i tried to develop some ideas to make a whider experiment.
Success? I don’t know. i have to confess that i’m not totally convinced by some aspects of the result, and i hope that you all will comment it telling me what to improve! 😉
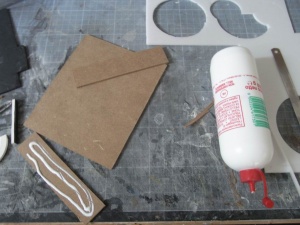
As in the previous work, i started with a piece of MDF sheet. Cutting it with a knife is hard ,but not impossible.
If you are planning to make very long cuts maybe you should thing about an elettric jigsaw, but for me the cutter is enough.
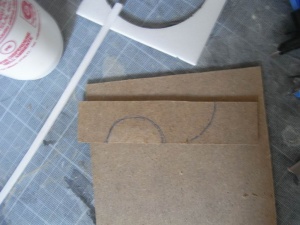
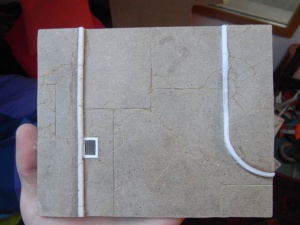
For the sidewalks I cutted another piece of MDF, and glued on the previous one. I did it before making any engraving, since i wanted to see the overall effect before. One of the sidewalks will have a curved corner (just for making the experiment more useful!) Again, maybe the cutter wasn’t the best choice for the precision, but i managed to make this cut pretty clean an regular!
Now, for the borders of the sidewalks i used some Depron, wich is really flexible, even if it is not so fine as it seems. it has many bubbles that makes it not a really good material. But for simulate simple plain rock is quite good, and it was what i had in home at the moment! At least it is really easy to cut and to blend, so i spent a really short time for the borders!
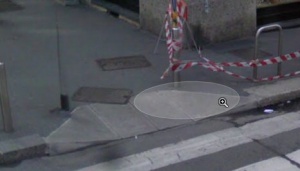
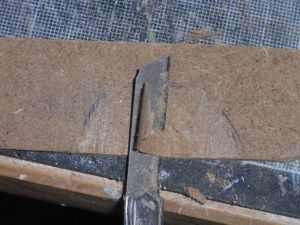
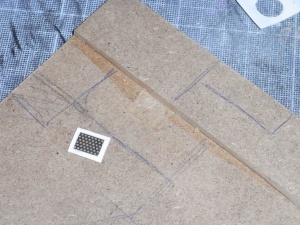
I wanted to make a ramp for the crossing, as in Milan is pretty common to see, so i tried cutting and carving the MDF with the cutter… I’m not really happy of the result, but it is still a try! 😉
Now is time to draw the cutting before carving!
I prepared a manhole, and i made a sort of hole in the ground in order to glue it at the same level of the ground.
After 15 minutes, this is the result!!!
Then Primed, Pressed, Painted!
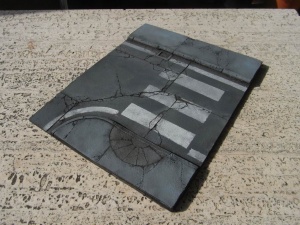
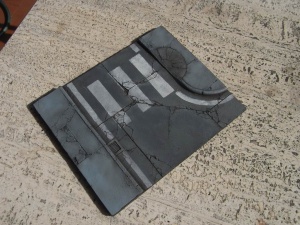
Conclusions: The work was pretty fast, and since now i have a bit of experience about mdf i think that if I will need to make some large areas it will be quite fast and fun, but for the moment i’m ok, and i would love to swap for something else!
The depron looked a bit different from the mdf, but nothing that couldn’t be covered with an accurate paintjob. I also tried to make a Zebra Crossing, with the same method of the previous tutorial, and it worked pretty well. I’m not happy of the masking work i did with the stencil made from a tape piece, but the colour went exactely where i said!
Just one suggestion: when stenciling i reccomand to use an already used piece of sponge, enough hard to paint only the surface, avoding any hole or carved point. In the reality the cracks will arrive after the painting of the lines, so the holes must be black even if there is a painted stuff on them!
The Lazy One

Ciao,
Devo dire che l’hai propio colpito nel segno col mdf ed altri materiali.
Infatti puoi fare molto di piu …. se aggiungi carta, cartone ecc …..
pero penso che l’Mdf sara piu durevole se lo dipingi con una miscela di vernice e terpentina.
Guarda qua…
http://castrarunis.blogspot.com.mt/2014/04/scratchbuilt-hover-vehicles.html
Boun lavoro