Preparing a Plaster Board
- Tutorial Type Techniques
Plaster boards are something really useful in scenery sculpting. Although it is quite a complicated way to work compared to foam boards or MDF, the results are superior by far.
I started making and using the first plaster boards around 4-5 years ago, when I really wasn’t aware of the power of silicon molds and all the other cool casting stuff. Even if i was quite young (16) i did some experiments, and the results were satisfactory, all thing considered! Back then i mostly painted directly on the sculpted plaster for my works.
I have to say, even if the plaster is not known as the most durable material on a battlefield, I carried around some of the scenery in a backpack with no protection for a long time, and the only things that broke were the balsa-wood parts! =) Nowadays i’m using the plaster pieces as a part of my master sculpts, where in some specific cases other techniques are preferable.
So, let’s Start the tutorial!
Part 1: Pouring
First of all, let’s start with the materials you need for this job:
- Strips used to define the final thickness of the board.
- A glass sheet or anything really flat and hard to bend, in order to have a flat surface at the end: since the plaster is quite fragile, if the back of the board is not flat you will break it when trying to engrave or work with it against a cutting mat!
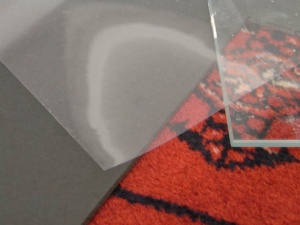
- An acetate sheet or any hard plastic transparent sheet. I like it because it is transparent but quite rigid. you will not find any “wave” on the surface, you will find them if you use any thin plastic film instead!
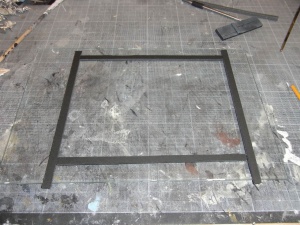
Now, I started cutting four thin strips from the foam board. Two of them are placed between the others, so you can reduce the area of the board sliding them if the plaster is not enough.
Time to pour the plaster! I prefer it with a bit more of water than the standard for this purpose, since you have to avoid any bubble, which can make the board useless. The final mixture will be more fluid and the resulting plaster a little more brittle. While this can be an issue for gaming pieces, it is not for master sculpts.
Just try to pour it all around, trying to figure how much you will need to make a board of the desired thickness.
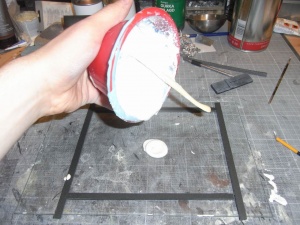
Be careful of being abundant with the material, since a lack of plaster will produce huge bubbled areas, a failure for our purpose! As you can see, while taking the photos I didn’t pay enough attention to the plaster, bubbles appeared and I panicked. That’s the failure. Indeed. >.<
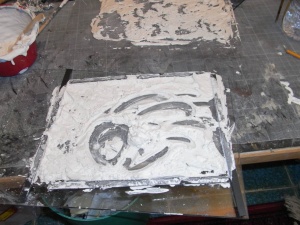
It is qute normal to find some difficulties, so don’t worry… just make it again. Luckly the plaster is really cheap, a whole board should costs around 30-40 cents in materials!
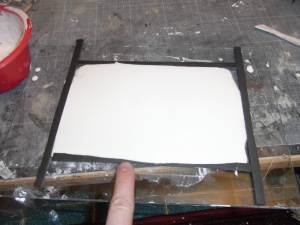
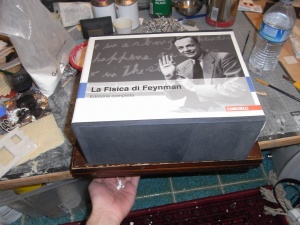
As you can see, with a finger i just pulled the inner strips to make shure that the area will be full filled with the plaster. Better to have a smaller area but with no bubbles! Now just put on it the acetate, then something else quite flat (an old cigar box found in the attic) with something really heavy on it… in all directions! (I actually love Feynman, but it is not the best book to read when you are tired… and it is really heavy indeed!)
Part 2: Shaping
Once dryed (half an hour is enough) I removed the book and the acetate sheet from it. Then i left it dry a whole night: the removal is quite risky, so I wanted to be sure that the water was gone from the plaster!
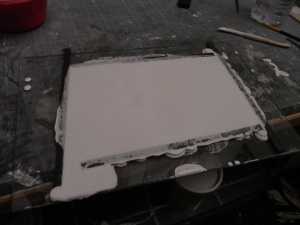
Here is the board! But its shape is irregular, and I usually need a sharp and accurate size. In this case, i’m sculpting a tiled floor for a building.
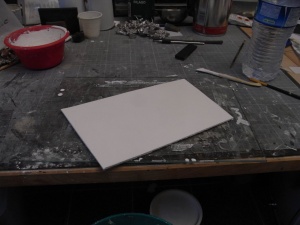
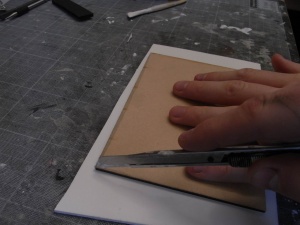
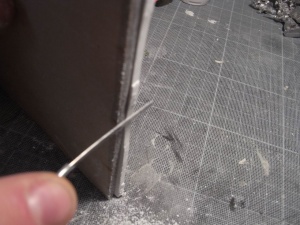
As a template to cut the proper shape, I had a mdf piece (cut from Sarissa Precision) with the desired shape. Since a single clean cut is not a viable option with plaster, I had to scratch a line in the surface, keeping a margin around the final profile. Be careful of leave those 2-3 millimeters per side around, since the cut will be slightly irregular!
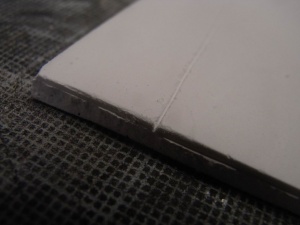
Here is the close-up of the ridge: around 30% in depth is cut.
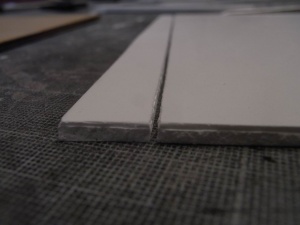
Now you have just to make practice before making the decisive move: with the right pressure you can easily make a clean cut, with only small irregularities on it. Of course it works only for convex shapes… I really do not suggest to anyone to make concave cuts with the plaster.
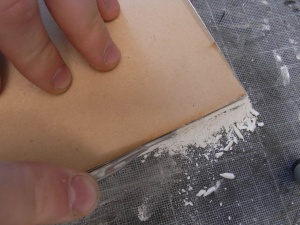
After the first rough cut, with several successive cutter movements you will reach the exact desired shape. First with orizontal cuts, then vertical ones.
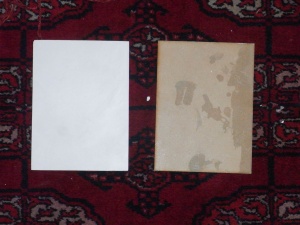
And that’s the result. it follows the original shape, and opens a new range of techniques for your sculpts.
Conclusions:
The use of plaster boards is pretty complicate and I do not suggest you to use them unless you want to achieve a sophisticated result. Especially at the first tries you will find it frustrating (i still do), because the plaster is really freakish and it will behave randomly. With the experience you will learn how to interact with it, and the results will start to be satisfying! Sincerely, I find it a bit time consuming for scratch-building projects, but for the mold masters is a really fast method, compared to green stuff or other putties and for concrete-rocks-tiles the effect is, in my opinion, a hundred times better!
Cheers,
The Lazy One
