Quick Medieval Builds
- Tutorial Type Gaming Scenery
Hi Everyone!
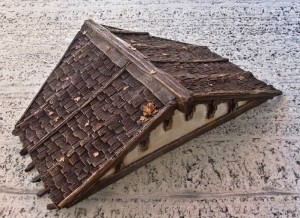
This was a Christmas present for a shop nearby, that sadly closed after less than a year, and i never saw this building painted.
Ok, that was quite sad, but not that terrible. I had fun making it, and it was a very good exercise and benchmark for my 28mm fantasy buildings method.
So, from the beginning: All started with a panel of foamcore.
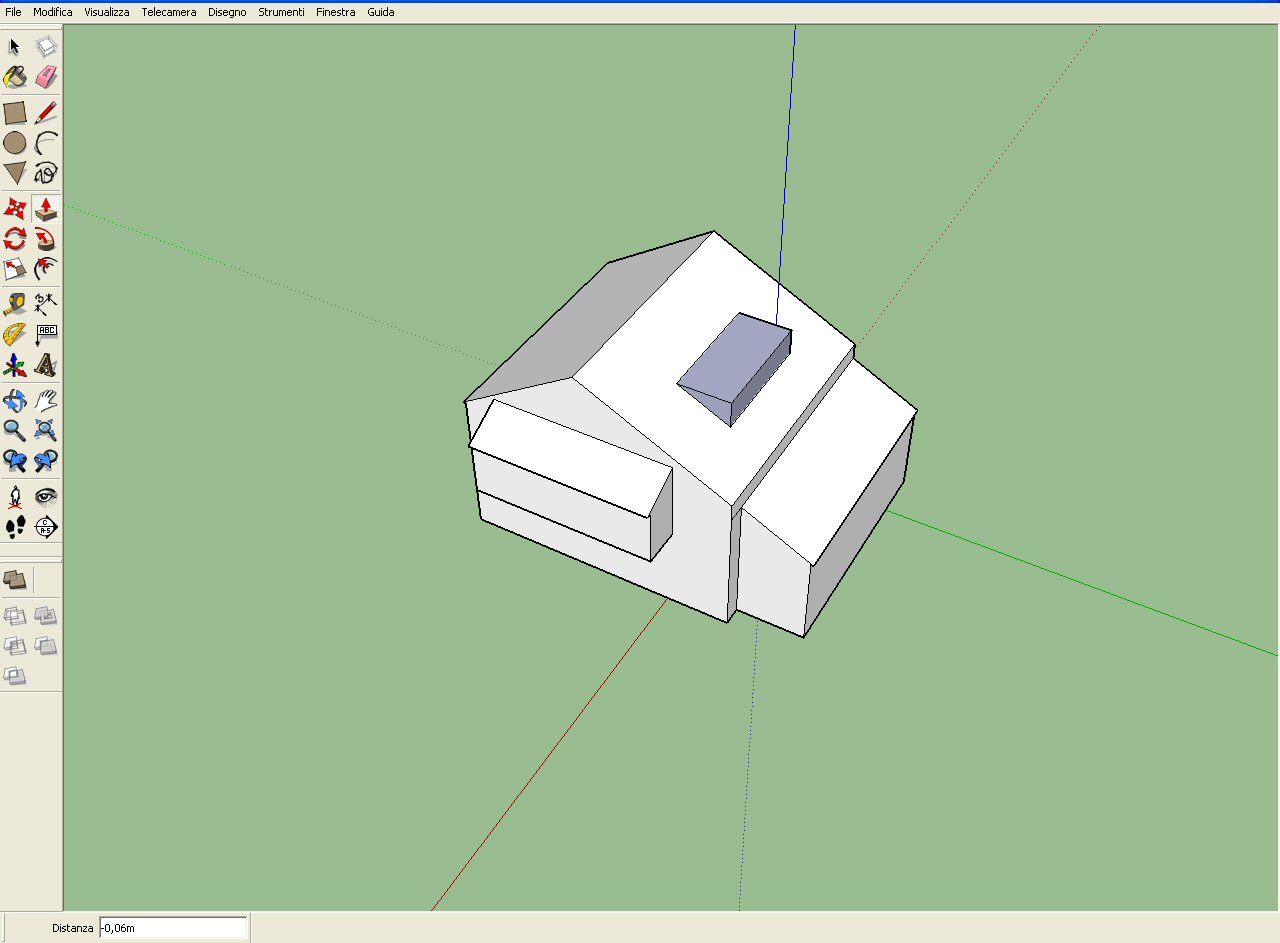
To be honest, i actually started on PC. I made a Sketchup sketch, just to have an idea of the proportions and of the general shape.
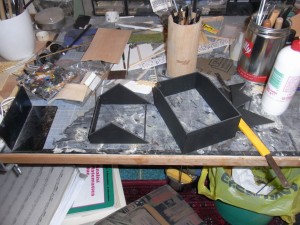
So had an idea of the final shape, so using a ruler and a generic tool i drew the shapes on the paper. I don’t need much precision, but if you are working on walls sections with the same height, you should cut them from the same “strip” of board, in order to avoid unwanted steps.
Then i used a very cool trick to make a better central shape. The basic idea is to make a hollow corner in one of the two sides, and it’s much better explained in various websites (Antenociti for sure).
First i made a cut 3-4mm from the edge, without reaching the lower paper, then a horizontal cut in order to remove a squarish column of foam.
The result is an angle, where the other panel can hide, leaving only the sharp edge with no foam exposed.
After gluing together all the parts, using some ol’ good PVA glue, the two parts of the building were completed. Another advantage of this method of cutting the edges is that PVA reacts pretty solid in no time, since there’s much more surface to glue.
Once finished the wall structure, it’s time to work on the roofs. I used my old modular roof mold for that building, but since i didn’t want to waste resin, i made a very thin cast. Thus, i had to glue it on some paper in order to avoid holes in the roof. First i spread the PVA with my finger.
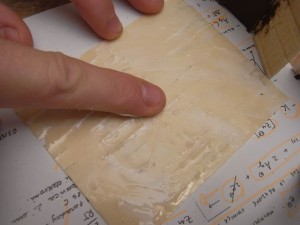
…and then glued it on some Quantum Mechanics papers.
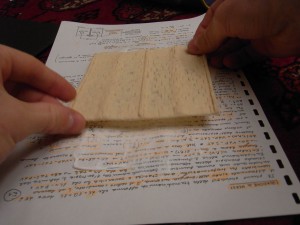
Then i just put some PVA on the edge of the upper wall section.
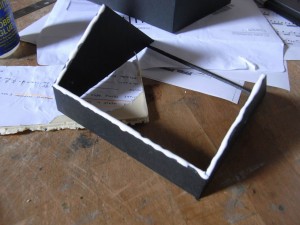
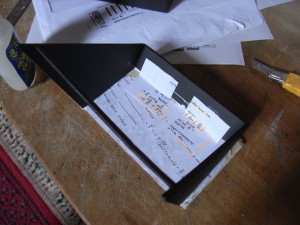
Once glued, i put some more paper inside to make it more solid. Then i continued with the other roof section.
I then put some balsa wood to cover the edges. First i scratched each plank with my usual metal brush.
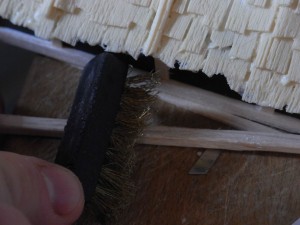
Then i made the corner planks and glued in position.
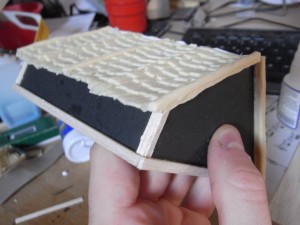
Once finished, it was a little more detailed. I even cut a frame for a tiny window on the side.
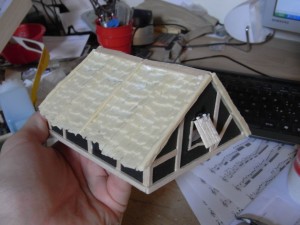
In order to finish the upper floor with a last detail, i cut some Styrofoam in a “chimney” shape.
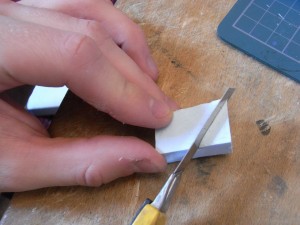
But you’ll see the final result later. Now, let’s go back to the ground floor. I had to put some windows on that floor, since it’s the living room of the house! I used my own resin windows, so i cut the shape in the foamcore. Those windows are pretty useful, and they have a small step so the cut will be hidden behind the frame.
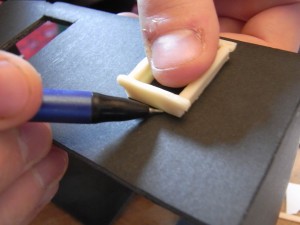
After adding all the planking (i won’t post pictures of that, i’ve done already for the upper floor!) it looked like this:
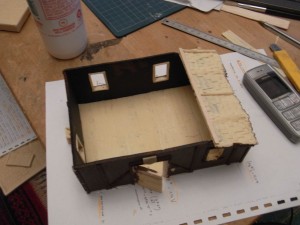
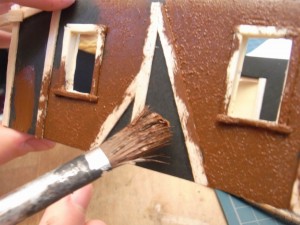
Then i started texturizing. I used some acrylic paint. I’ve a huge tube of it, and that’s a great cheap texturizer. I’ve used also Pumice Stone in the past, but it’s too… rough. With acrylic paint it’s everything softer, but with the right paintjob on it it will get a great result!
Aaaand voila! I completed the work with a few details, some decoration and a wooden box or two. The finished piece looked pretty nice!
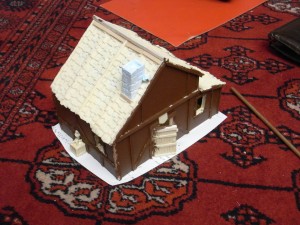
Unfortunately, as i said at the beginning of the article, i never saw it painted. But well, that’s what i have to show you. I’ve just some other pieces i did with quite the same technique, and they looked pretty badass:
And, of course, the Pirate Diorama!
Cheers,
The Lazy One

