Sanding Tools
- Tutorial Type Techniques
Hi everyone!
Today I wanted to share with you an idea I had a while ago for a tool to better use sanding paper.
When you have to sand a small piece, you can just lay the sanding paper on a flat surface; however, when you have to sand a larger area, such as scenery pieces, you might need to bring that flat surface with you. However, hard surfaces aren’t always the best option if the sanding has to be smooth, thus something softer could be used behind the sanding paper.
To hold the paper i tried with several materials, such as cardboard, wood… all of them lacked the grip and the steadyness i was looking for. To fix the sanding paper in position i needed something more tacky, and possibly removable. I then found the answer: leather! Not any leather, but suede, the inner part of.
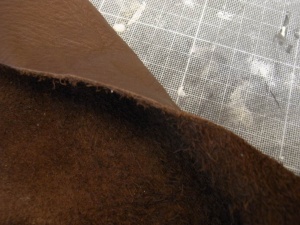
So, let’s start with the tutorial!
Materials:
- Some MDF sheets – i used 3 mm ones, but a thicker one is even better.
- A well sharpened Cutter.
- Bolts and Screws, Butterfly-shaped, like the one in picture.
- Leather, with a suede side.
- Any kind of glue that works on leather, like UHU or similar.
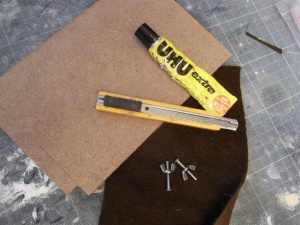
First of all you have to cut the shape of the tool desired. I wanted to create a a shovel – spoon shaped tool, but I think that in the future i could go with other shapes – maybe tridimensional ones! Cutting the MDF is quite easy, but don’t be too hasty, it is better to make softer 10 strokes with the cutter rather than a couple of violent ones: otherwise the blade will break and so will do your hand!
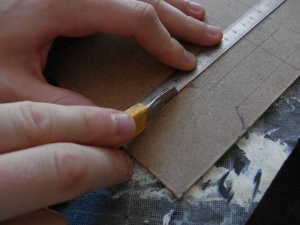
I wanted a smooth shaped tool, so I cut off all the corners and rounded the handle.
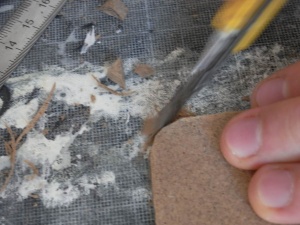
That is the final shaped I aimed for.
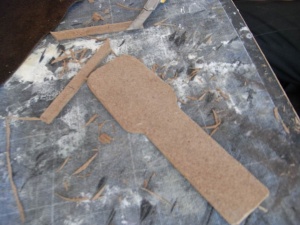
Now, I made a hole on the center of the larger part. There I glued the bolt.
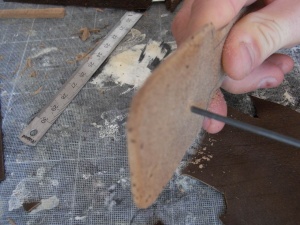
First, I sanded the flat surface of the leather, to improve the grip. Just a bit for removing the polish finish, leaving the mat surface of the leather.
Then I applied the glue. UHU-Bostick glues need you to wait around 10 minutes before joining together the parts, so i just poured it on the faces, and then I applied on the whole surface. After a dozen of minutes I joined the two parts, and I pressed them for a while.
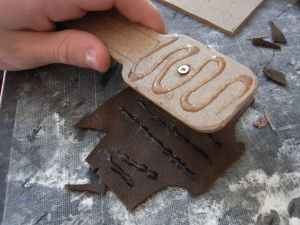
Then I did the same for another piece. I just covered with leather one side, which will press the borders of the sanding paper to immobilize it.
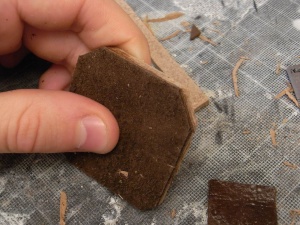
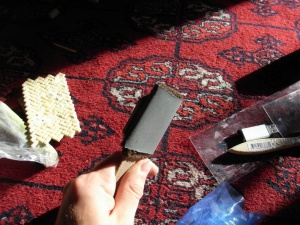
And that is the final result! Apologies for the bad photo, but here you can still see how the tool is working: the paper covers entirely one side, while on the other it’s blocked between two pieces of suede pressed together. It can be used for multiple applications, and varying the shape it could be customized.
Cheers,
The Lazy One
