Sculpting a Tiled Floor
- Tutorial Type Techniques
Here we are with another tutorial. Following the previous article where I described my technique to prepare plaster boards, I’ll now make a tiled floor out of it. The resulting sculpt will then be cast in resin.
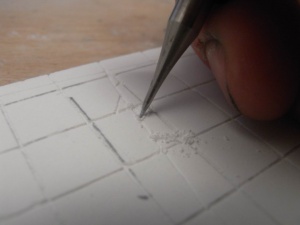
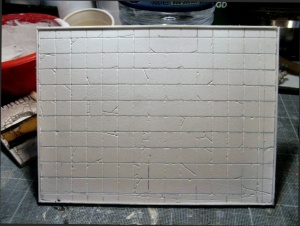
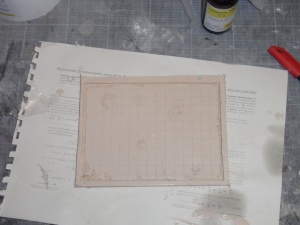
Now, Starting from the Plaster piece I made, I drew some lines in order to make a 1 cm spaced grid. Those tiles correspond to approximately 50 cm tiles in real life which is rather big, i know, but I prefer an unrealistic pattern which can be painted easily with better results: with smaller patterns anything but a drybrush would be time consuming. After tracing them (with a marker) on the board I started to carve the lines with a powerful and simple tool, as you can see in the picture. A needle on the tip of a brush or a proper cutter could work as well.
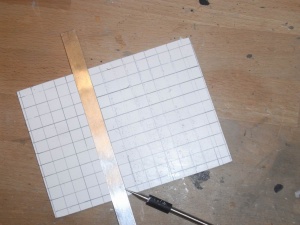
For the first stroke I used a ruler for preserving the lines, then I moved to free-hand, to give a bit of irregularity to the pattern.
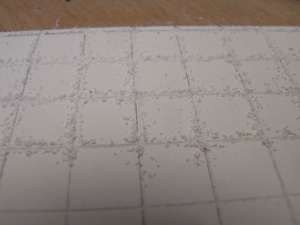
Of course, I made some mistakes while inscribing, but I covered them by adding some cracks around the unwanted lines. Moreover, everywhere else I added some cracks on the tiles. Again, quite unrealistic but cool!
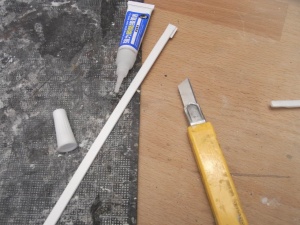
Then I made some plastic strips and glued around the plaster sheet. it gives a nice edge to work with and a it is a small step before the wall.
After carving and gluing, this is the result! Quite a fast work, i’m sure I could make it better but… still enough.
Now it’s time to add some texture: First i used a metal brush to add some generic soft texture to the overall piece, then i poured a bit of thinned PVA glue (almost water) on the plaster, and i put sand on it. As you can see, i also made a small protection on a corner, since i wanted to add a small pile of rubble.
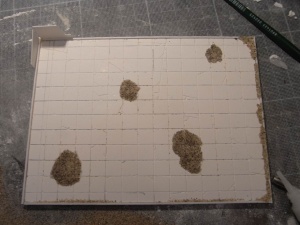
Now i made the box for the silicon rubber. You can see that once dried most of the sand went off, so that the patches became less defined.
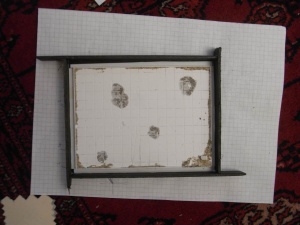
After the silicon has been poured and cured. i removed the outer structure, and the mold was ready for casting!
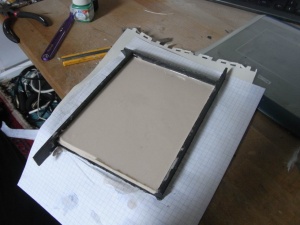
Here is the silicon mold after some cleaning, usingscissors:
Important tip: The resin is quite a cool material: during the 20 minutes from the liquid to the hard state, it passes through many other states (not strictly physically, of course!), and you can work with it in many ways if you know when to touch it. For example, if you need a curved wall (for a castle’s tower), you can bend the resin when it is almost solid (15 minutes) and then wait the last 5 minutes keeping the shape, or you can use it almost liquid for making alien bab or waste! I don’t really do alien-esque stuff, but i love to use it for making banners for the soldiers – far better than the GW ones or than the lead sheets! Soon or late i’ll make a tutorial about that.
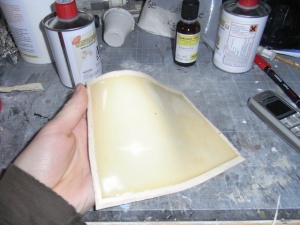
After removing and cleaning, that is the final piece.
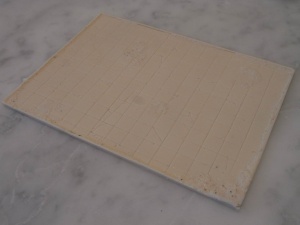
The details are quite good, even though there are some small bubbles, that could be probably avoided if i spent more time in the pouring phase.
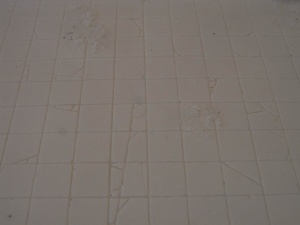
And now, all that’s left is painting it!
hope you like it,
The Lazy One
