Sculpting Bricks on Foam
- Tutorial Type Techniques
Good day,
It’s been a while since I made the photos for this very short tutorial, as I wanted to merge it with other parts for a more complete article. But after a while I decided that a short tutorial could work good as well, and the technique that I experimented here can be of some use to many of you.
Inspired – as always – by the articles of Emmanuel Nouaillier, I wanted to use his approach for bricks with some different and more proficient material. What I noticed on his article is that – even if he is a god of painting – he uses only some fairly simple materials. It could be considered as a merit for some people, but for me it is not. There are so many materials around to be exploited, i think that each one has his own use in the modelling world.
Now, I came across this wonderful material from Abbiati Wargames (really kind and professional people, I highly recommend them!), and I decided to give it a try!
About Eulithe
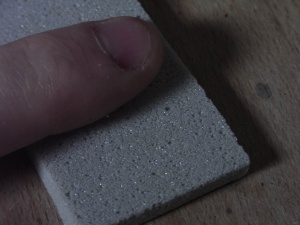
Eulithe is a kind of expanded polyurethane (from the site: a rigid polyurethane polymer foam), really dusty at the touch. It looks like it’s made from lots of little crystal grains, and when you work it with a carving tool, instead of deforming, the touched part simply wears off. That’s a problem if you are planning to use it like a standard styrofoam, since you won’t have any smooth curved surface just by pressing it with an old pen.
On the other hand, it opens a new range of uses, allowing to engrave proper cracks, or sculpt a complex shape prototype for a preliminary mold,… well, that’s really really good for that.
There are also many negative aspects of this material. First of all, the dust is quite thin and annoying. I can’t tell about the harmfulness, but if you work with a big amount of this you’d better to wear a mask. Secondly, it will remain quite fragile after the sculpting. that doesn’t mean an imminent break, but with the use it will smooth the edges and the relative paint, so if you’re planning to use it for gaming scenery rather than masters you will have to protect it with some diluited PVA glue to make it more sturdy. Otherwise, if you want to use it for molding, you’ll have to know that the master will be lost after the mold extraction. That is not a problem, since you can keep the first cast as a new master. But you’ve better to know it before.
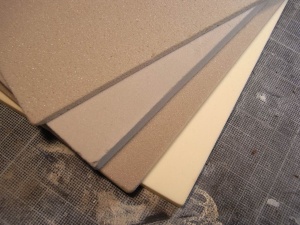
As you can see in the photo, the panels come in very different thickness, colours and grain (density). I found some different ones, but at the moment only one version is available from Abbiati, which is the best for the wargaming scenery. I think that a heavier density is more accurate for sculpting, and if you ask them they can send you the more dense pieces they have among the bunch
That is an example of what you can find if you are unlucky. Pretty poor quality, this time, but mr. Abbiati told me that it was an old stock, and now all the stocks are more dense.
Working with Eulithe
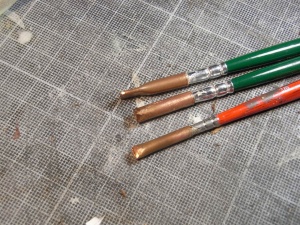
AsI said before, you cannot just press the material with an old pencil, deforming it. All the deformed parts will become dust, so you need a hard point to carve it properly. It will not make cracks like plaster, and it is much softer. I made for myself these tools. I used an idea from the Emmanuel’s article, but i decided to make the tools more resistant, with a solid copper tube, deformed and sanded to the desired shape.
Another tool I used was this… Thing. I really don’t know the proper name but works great, since it allows to draw or cut parallel lines on a flat surface. I used it during the high school art (technic drawings, actually) class, and now sometimes it is still useful.
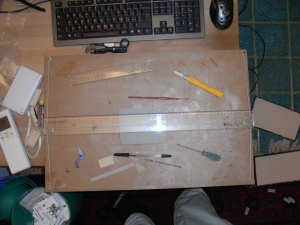
Now, I started cutting some parallel lines on a Eulithe panel. The distance between them was determined by the shape of the brick tool. In this case i used a 1,5 mm high brick tool (approximately), and so was the distance between the lines.
Then i started carving bricks.
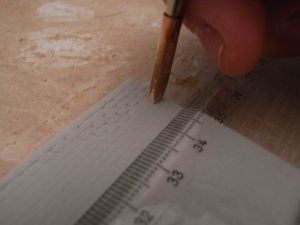
The hard part is to keep a regular pattern: the bricks tend to have different shapes, but you need to keep a pace.
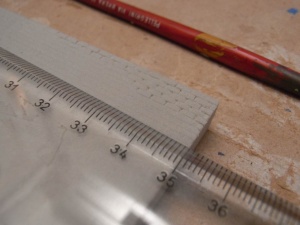
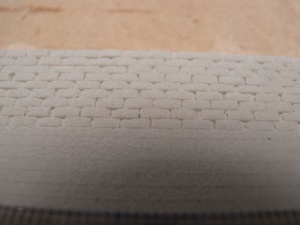
After completed, it was easy to make a mold. I left the border 1 cm high, but when i cast the wall pieces i tend to use only 1-2 mm of resin thickness.
Here is an example of the result, still soft and weak after the demoulding:
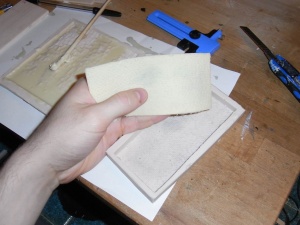
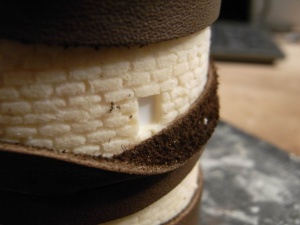
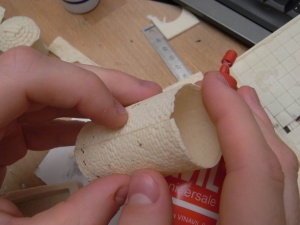
While this soft, the resin can be easly deformed, with great applications! For example, you can cut a line of bricks for a curved border, or just bend the panel to make a tower, as i did.
Conclusions:
Eulithe will never be a valid substitute for styrofoam, since its properties are really different, but still it can be used for a lot of really unique techniques, and it is much faster to cut and softer to carve than the plaster or other kind of hard materials.
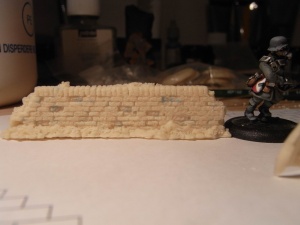
I did this little wall in 10 minutes. The mould was made with a poor-quality silicon, so i cast only 2-3 pieces, but it was a test. A success, in my opinion!
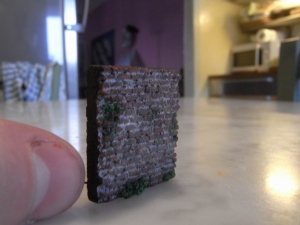
I also tried to paint a piece of Eulithe. As suggested by Mr. Abbiati, I passed a hand or two of diluted PVA glue before the painting process, and the surface became harder. I have to say that it was the first piece of Eulithe I found, the poor quality one, and even if it is the only test I did painting directly on the foam, I’m sure that with the other better quality Eulithe it will be much better.
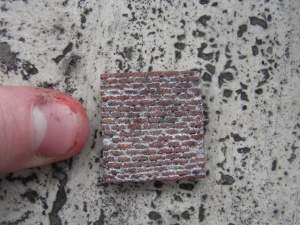
Cheers,
The Lazy One
