Shanty Hut
- Tutorial Type Gaming Scenery
Hello everyone!
Today i’m sharing the step by step tutorial of a 28mm shanty hut i built a while ago for a diorama. The volumes weren’t really studied, as expected from a third world hut, so i started the build with just a vague idea of what it had to look at the end.
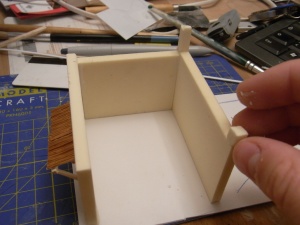
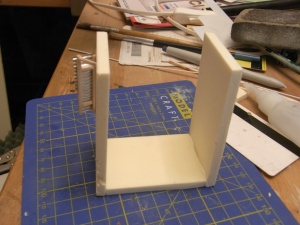
I wanted to give a solid starting structure to the core of the house, three sides of a never completed building that has been repurposed in a second moment with additional walls to create a shelter. The material chosen for the walls is Eulithe, a polyurethane foam which is very similar to balsa-foam and other less known types of prototyping materials. It is easy to carve and to texture, and although it doesn’t have the same realism of plaster it is much quicker to use, especially to create shapes whitout a clear idea in mind.
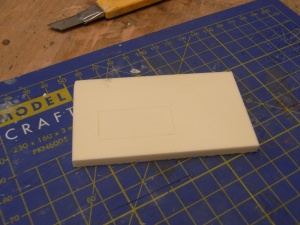
Carving it isn’t hard, virtually any tool is good for that, it all depends on what you are after. I personally went for a plastered wall, with small areas of bricks coming out. The texture isn’t exactely what you should expect from a plastered wall, but it isn’t that inappropriate either.
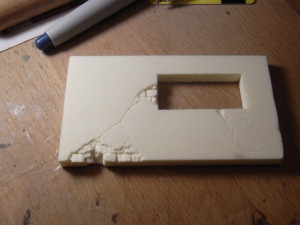
Unlike styrofoam, Eulithe doesn’t react with cyanacrilate, and it is the preferrable glue to place it in position. If glued properly, the junction between the panels will result barely visbile.
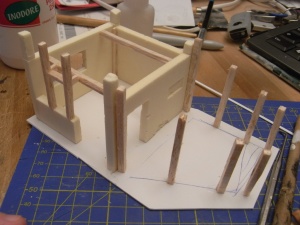
Now, the solid structure of the building has been completed. Rather simple in the execution, but also with a quite common shape, easy to find all over in asia.
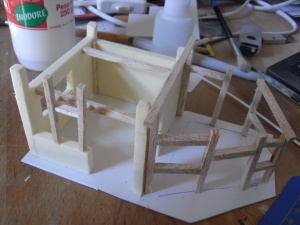
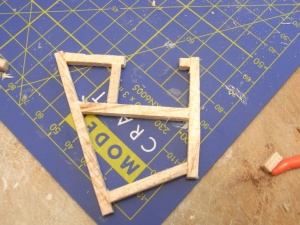
Although in my scale modelling I tend to keep the component sizes as close as the real ones, for this beams I choose to elnarge them, mostly to give some structural integrity, but also to follow a cartoonish style that the building was supposed to have.
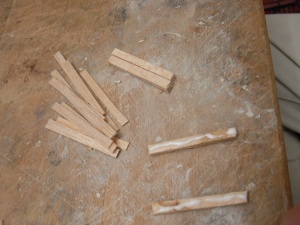
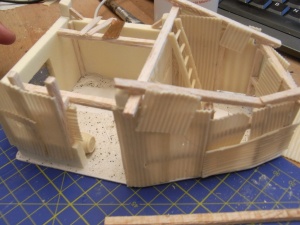
With a few drop of glue – cyanacrilate for the wood-with-PVC parts, vinilic glue for the wood-with-wood joints, the structure took shape. Now even i had more clear in mind what it was going to look like. The concrete structure itself needed a few tweaks as well to work better with the rest of the volumes, to accompany the roof slopes and more in general to add character to an otherwise too simple shape. I also added a little roof to one of the windows, with corrugated aluminum sheets.
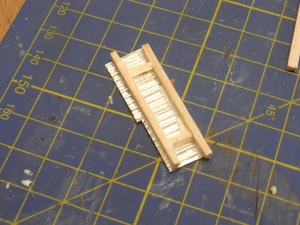
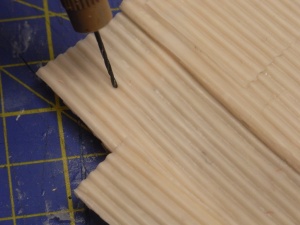
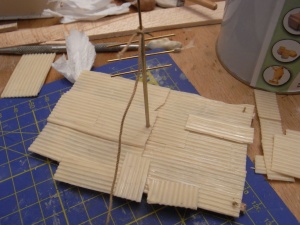
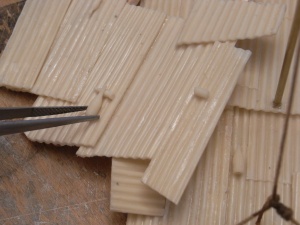
Before working on the roof the walls had to be done. I used my own resin casts of corrugated tin: i could have used metal ones, but this whole project was meant as a test for quicker techniques, so rather than focus 100% to the best result i wanted to find the best trade-offs between modularity and quality.
The panels needed a bit of convincing to be glued in position, so it took a while to layer them until a solid wall was completed. Yet, the gaps between the panels and the apparent patches are useful to add more character. Of course, even the worst shanties have more regular walls, but since here we’re working on a stereotyped scenario, let’s keep it thisway.
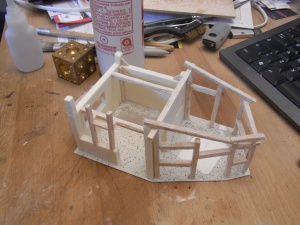
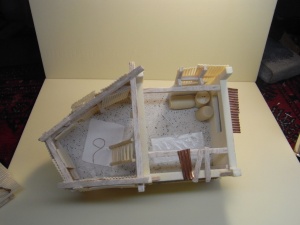
As this was meant as a diorama, I wanted to add details inside. Probably a cooking postation was the best option, and also the most appropriate for the location. I had to build some Woks and bowls. For that i used a jeweler tool to create domes, and the unsed them for the shovels. After that, i glued in position the last panels of the walls.
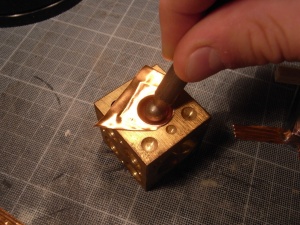
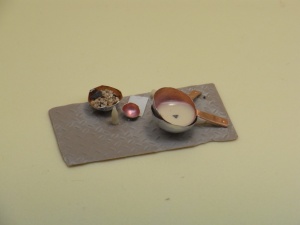
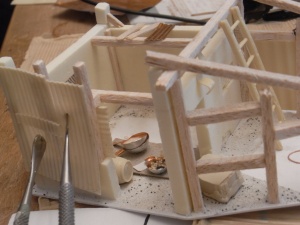
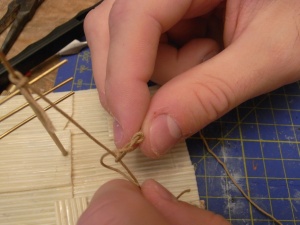
The roof didn’t require a much different technique than the walls, but required additional care to fit perfectly on the supports. The basic structure is in wood, with corrugated panels, additional details and a TV antenna, held in position with ropes.
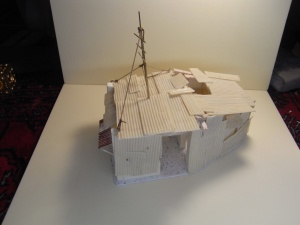
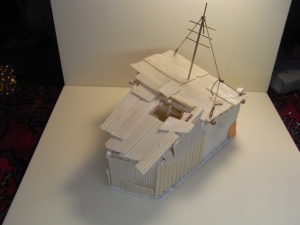
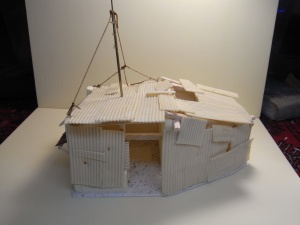
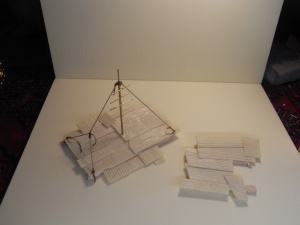 And… here is the final result. I apologize for the photos, unfortunately the hut is not in my possession anymore, and that’s all I could do before sending it away.
The building concept is rather simple, but I tried to characterize it as much as possible, adding hidden details here and there. It was also a good testing piece for several techniques, from the corrugated panels layering to the wooden frame.
Now I just have to wait and hope that the customer will decide to paint it. It would be a real delight to see it painted properly. Crossing my fingers.
Cheers
The Lazy One

Blimey, that is some nice work. Especially the cooking utensils.
Thank you Euan! 🙂