The Technicals Garage – Part 1
- Tutorial Type Master Sculpting, Techniques
Hello everyone!
Today’s tutorial will cover the first part of a large building commissioned by Spectre Miniatures.
The project is ambitious under many points of view: it’s a large building and it does require some serious casting efforts, but it would represent one of the very (very!) few high-end resin buildings that are not fantasy.
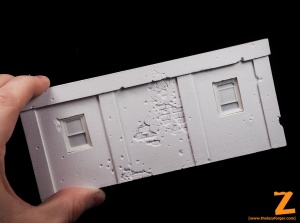
With this premises in mind, I started to work on the idea with Steve until we found a viable solution: A large square area to hold Spectre’s Technicals SUVs, with a smaller back office that could be attached optionally. The walls and detailing style are meant to blend with the already produced small warehouse, so they are sculpted as plastered bricks.
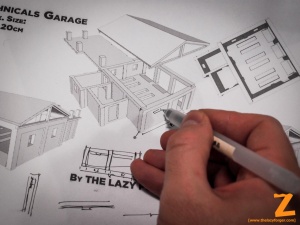
After sketching an indicative design in 3D, the actual build had to start. I began with noting sizes and criticalities on the sketch itself, before started to prepare the form mold for the building body.
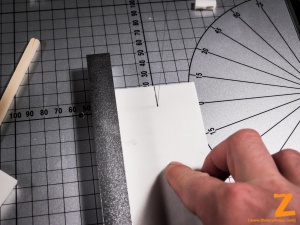
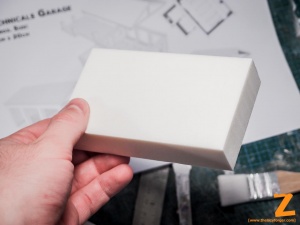
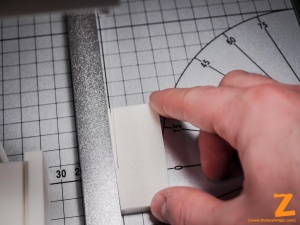
For this specific project I decided to invest in a Proxxon hot wire cutter: I know plenty of scratchbulders using it for their works, with very good results, but I never actually considered using foam parts for models because the end quality wouldn’t be enough for master sculpts. There are a few resin products on the market that were clearly sculpted from styrofoam sheets, but it would have been a big step back in quality for me. However, precision-cut foam parts can be used for other purposes: for once, they make excellent volume fillers for casts and for scratchbuilding projects (yes, I do build pieces for myself, every now and then), but more importantly they can allow to increase the precision in the forms used for my plaster shapes.
The cutting itself is not accurate as one might think: the hot wire does wobble a little, and the final surface shows small waves. I’m sure many people wouldn’t mind much, but I wanted to remove any warping and to add a bit of texture, so I sanded down any open surface with a fine sandpaper, obtaining a velvet-smooth finish.
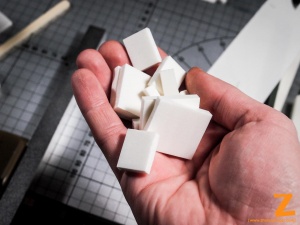
Before cutting the body, I did prepare 6mm-thick templates for windows and doors. The constant thickness is really useful to ensure the final thickness of the walls, since the windows placeholders will help keep a constant distance between the two faces of the form.
The hot wire cutter also allows to make extremely thin sheets of styrofoam: the material becomes soft and can be bent at this thicknesses. I didn’t exploit that for the current build, but I’m sure it can be handy for my future projects, and it’s worth noting.
My first experiment was a disaster. I did make several mistakes all at once, for starters I made the form with thin layered sheets of styrofoam. The glue didn’t set (and wasn’t planning to anytime soon) between the plastic surfaces, and the whole mold collapsed while pouring the plaster in it.
I somehow managed to keep it together, but the resulting cast showed large damaged areas, and eventually I decided to start all over again.
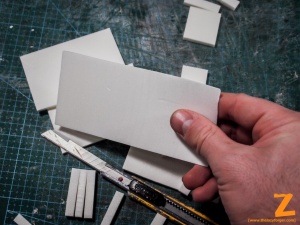
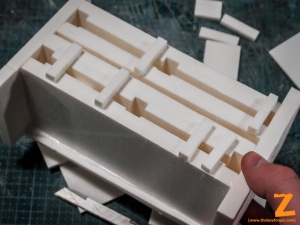
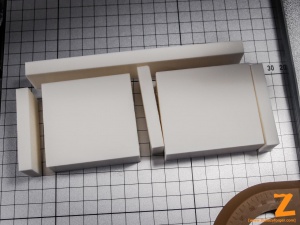
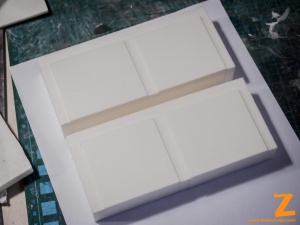
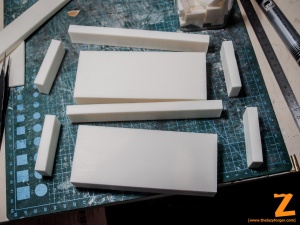
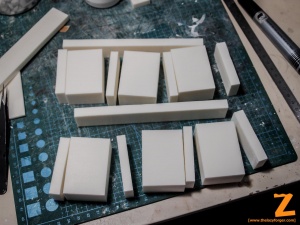
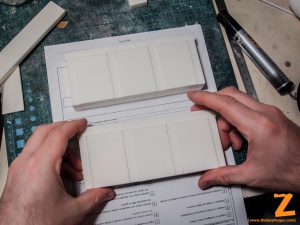
With a small change in perspective, I decided to approach the form by cutting the parts in the other direction. Starting from a solid styrofoam piece for each side of the form, I cut each sliding part from it, and by removing thin slices of it from the backside of the face before gluing the whole piece back together I managed to keep a good overall accuracy and consistency in the reliefs.
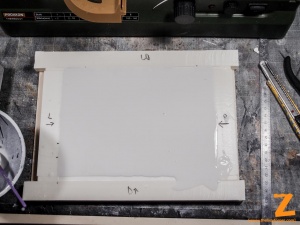
The final form can be seen in picture: the walls are thick and hard to bend, and all the edges as sharp as they can get.
Compared with the previous forms i built, this method is certainly more time consuming, but allows a greater precision and does not require to peel of the cellulose fibers stuck to the plaster surface. This last point was what really motivated me into buying the Proxxon cutter in the first place: the cardboard remains on the plaster sometimes stick to the surface for a very long time and are hard to remove. While removing them there’s a good risk to damage the piece, and even when removed successfully the rubbing required for the task invariably changes the surface texture.
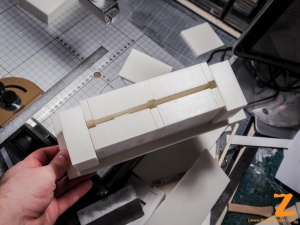
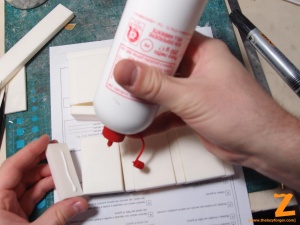
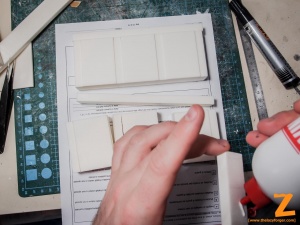
The same process applies to the other faces: large styrofoam blocks, cut along the edges, trimmed to show reliefs, glued in position.
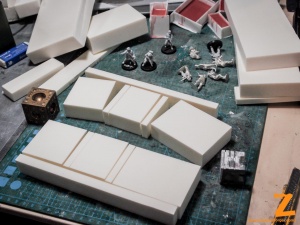
And, meanwhile, preparing the mold for the windows. Those are 3D printed parts I sculpted a while ago, preparing for this project.
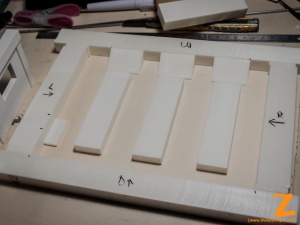
The base of the building required a slightly different approach: The form was made with styrofoam parts, with the bottom of the form (the top side, once cast) left in cardboard. I wanted to end up with the texture of that specific cardboard for the garage floor, and althought that required a painful half hour to be cleaned properly, I’m happy with the result. The rest of the details are made by adding styrene inserts in the form.
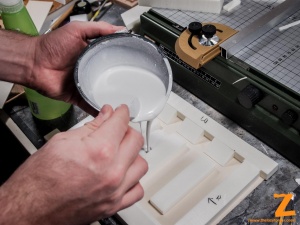
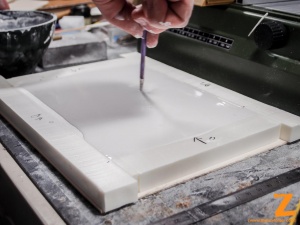
The plaster consistence could be a bit thicker for this cast: the shapes where less challenging and it might resist to more stress during the next sculpting phases, afterall.
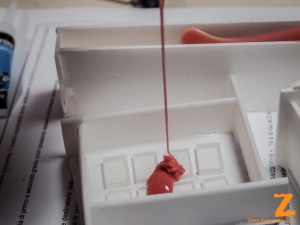
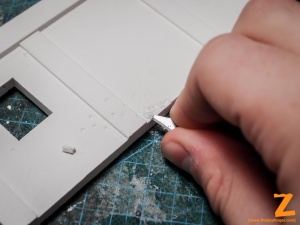
Poking with a metal tool I made sure that all the corners and edges were free of bubbles.
Waiting till the plaster is half-hardened, I removed the excess and let it curing for the night.
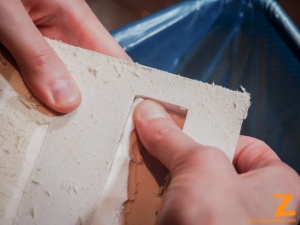
Removing the external panels took no time, while the “concave” parts required a bit more of an effort. Luckly, the styrofoam used for the form is easy to shred and every piece got removed easily.
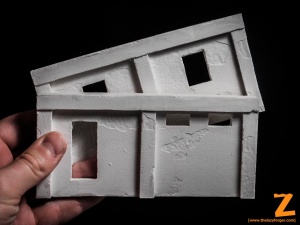
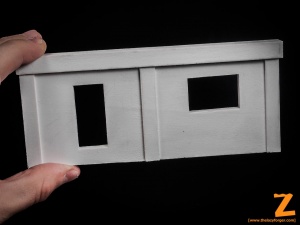
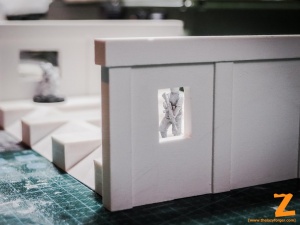
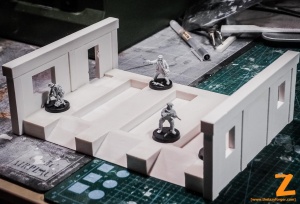
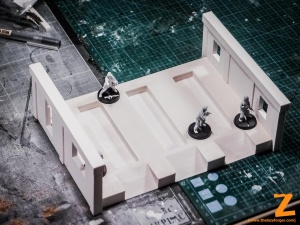
The clean result (at least , the first three parts of the build) can be seen below.
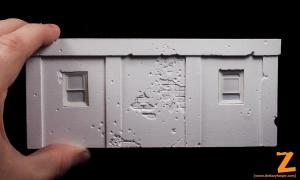
Next, in the second part of the tutorial, i’ll show the remaining parts of the Garage and the several steps of weathering that will bring it closer to the real thing. A couple of teaser pics wouldn’t hurt.
Cheers,
The Lazy One

