The Lazy Forger / Master Sculpting / Techniques
Urban Fences and Concrete Constructions
Hi everyone!
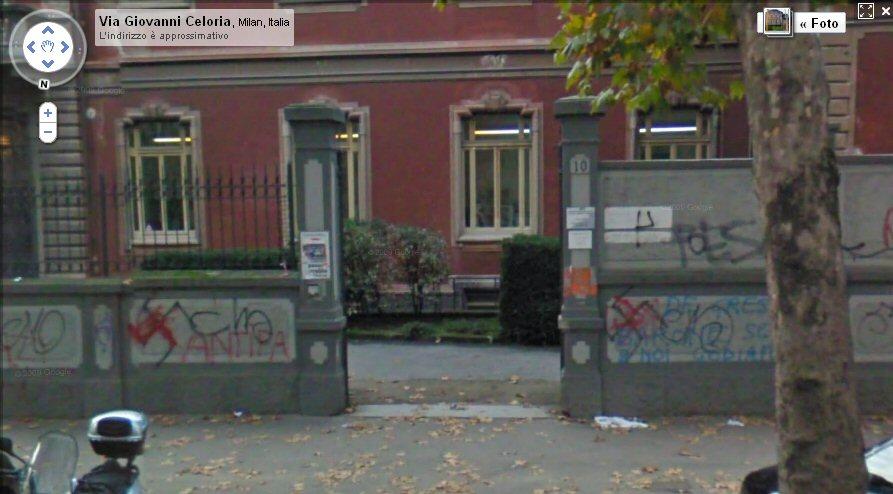
Since I went to university here in Milan, I wanted to make a model with the look of the walls around the complex. I didn’t want to make an accurate copy, but I always loved the overall look, so I took inspiration! Directly from Street View, this is the original model I decided to copy.
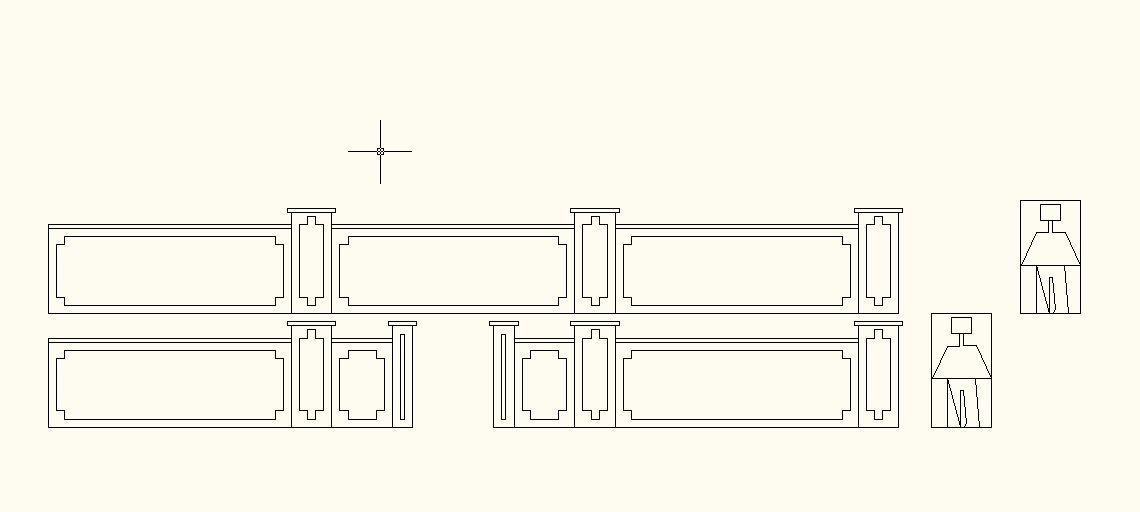
And that is the plot drawing. I decided not to add the bottom part in the blueprint, but I might add it in a future version.
I didn’t want to totally follow the CAD drawing, so I chose to make an 8 cm wide wall, with some columns, which are not in this tutorial.
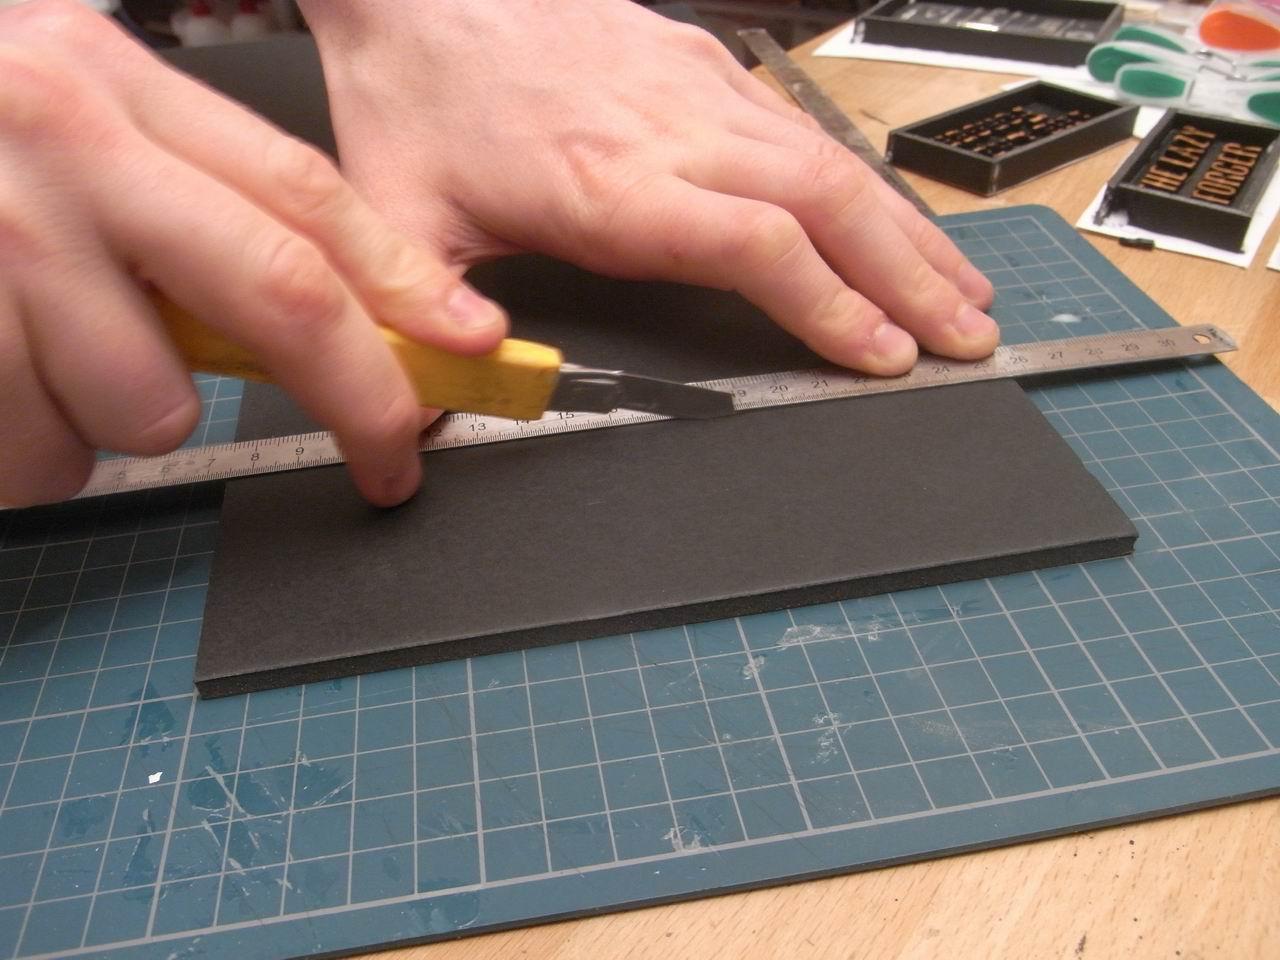
I started cutting as accurately as I could a piece of foamcore for the bulk of the wall. I chose it because it’s really easy to cut, and even if not accurate it doesn’t matter, because it is going to be covered entirely.
For the outer layers of the piece I used a good quality cardboard, 1 mm thick. I’m not used to using paper materials because the surface is really rough and irregular compared to plastic, but I wanted to give them a try, and for the plaster texture it might be appropriate.
I overlaid two cardboard pieces for the reliefs, and glued them together.
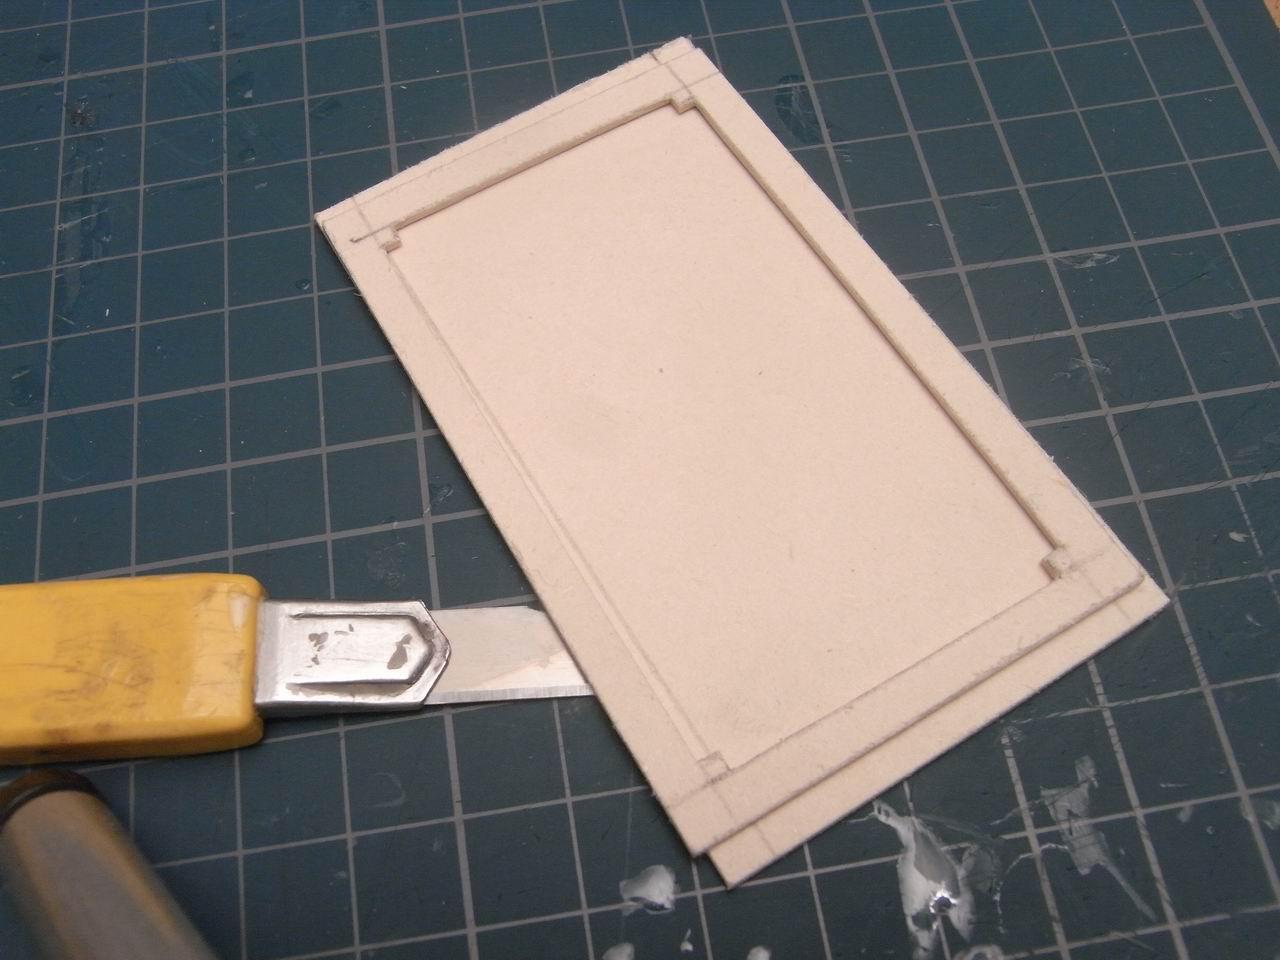
Then I did the same for the other side, creating a sandwich with the foamcore piece I cut previously. Since the two faces will never be seen together, it is not strictly necessary for them to be identical. After all, it should represent a wall built by men, nothing industrial.
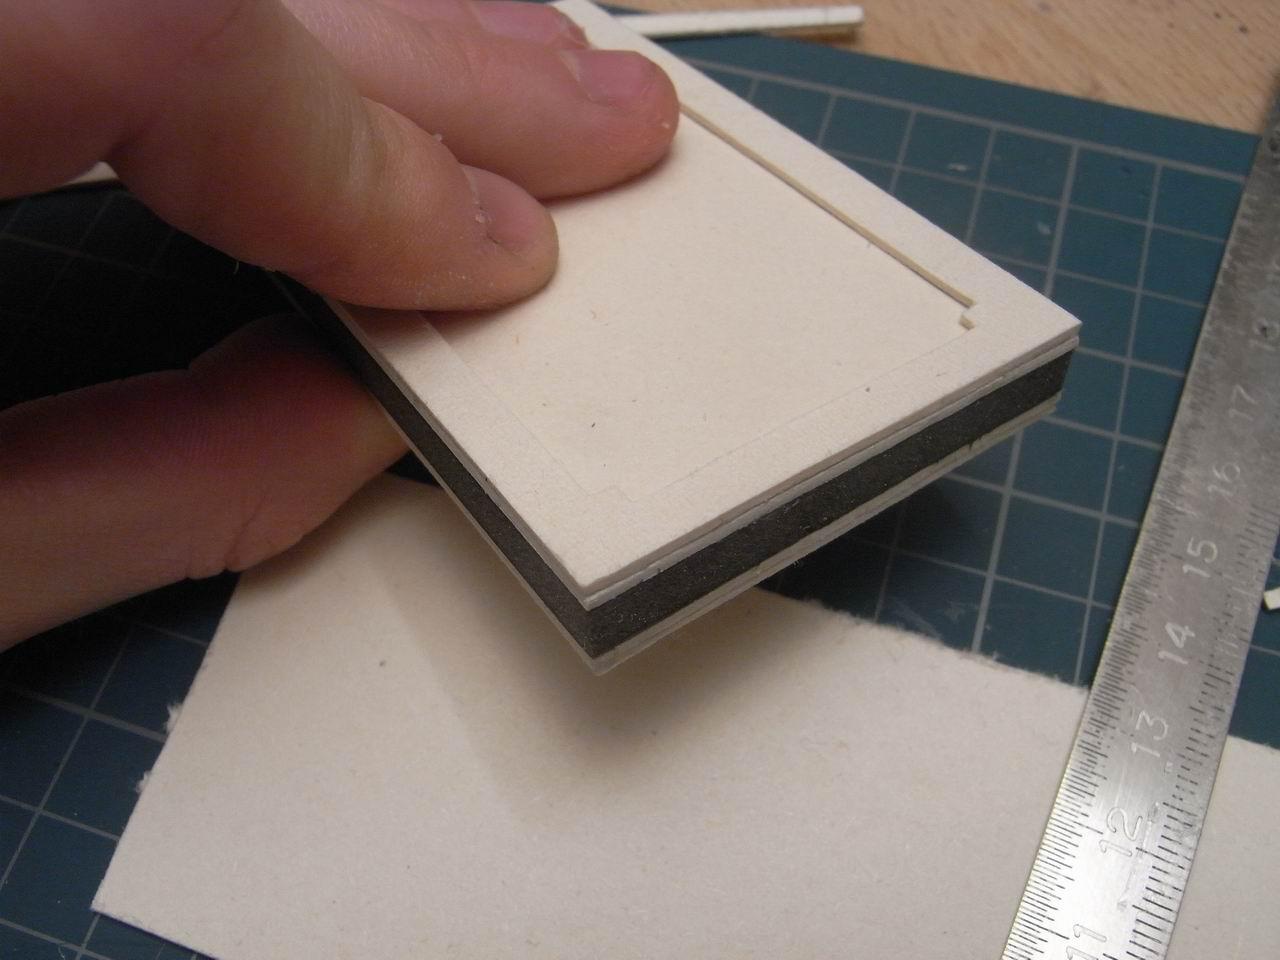
For the top, I used three layers of cardboard. Not really happy with the result, next time I’m gonna make something thicker!
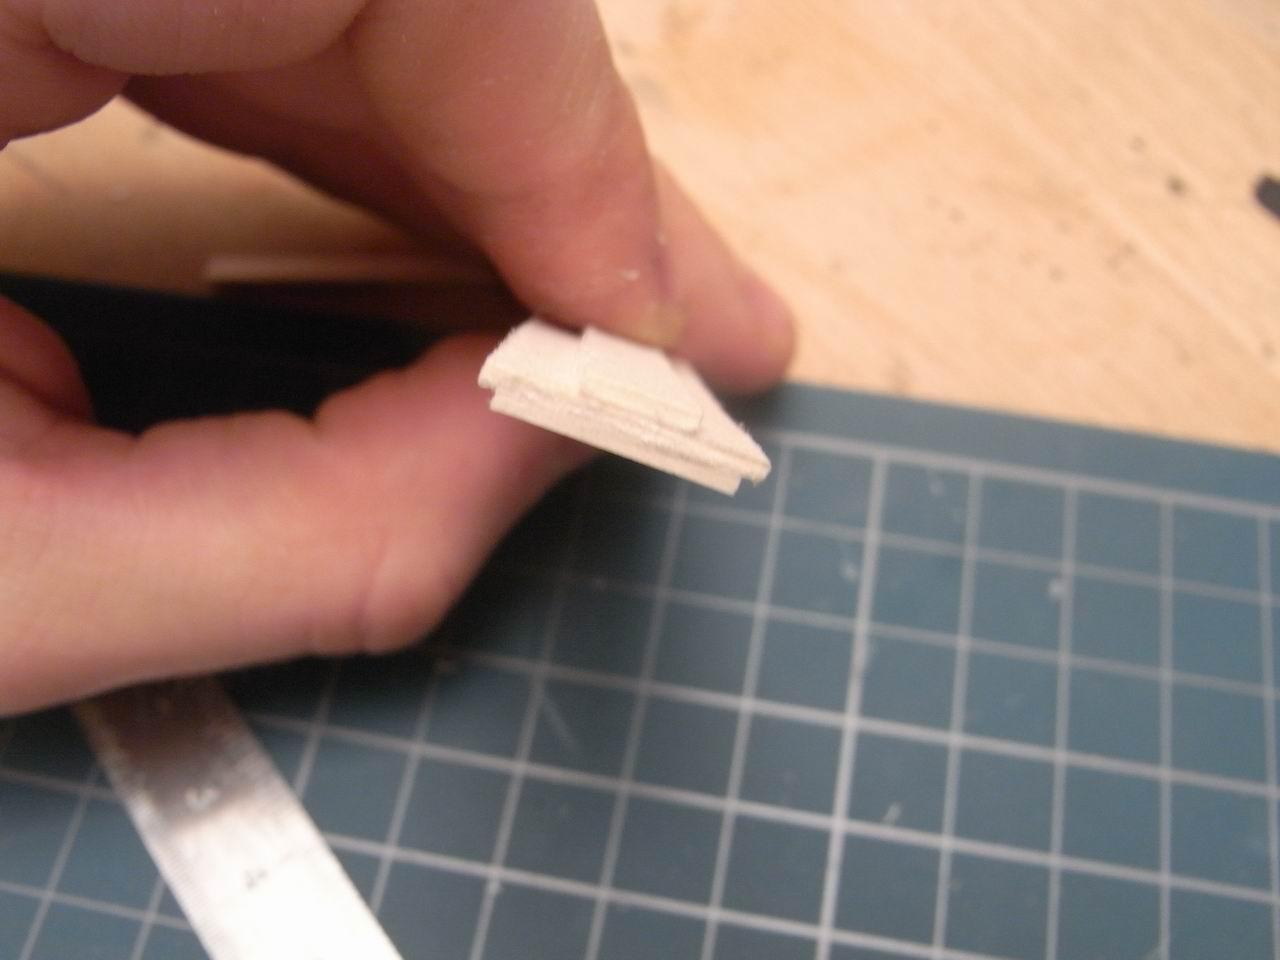
And that’s the final pre-master. Still made from cardboard, but it is already a good way to have an idea of the final shape.
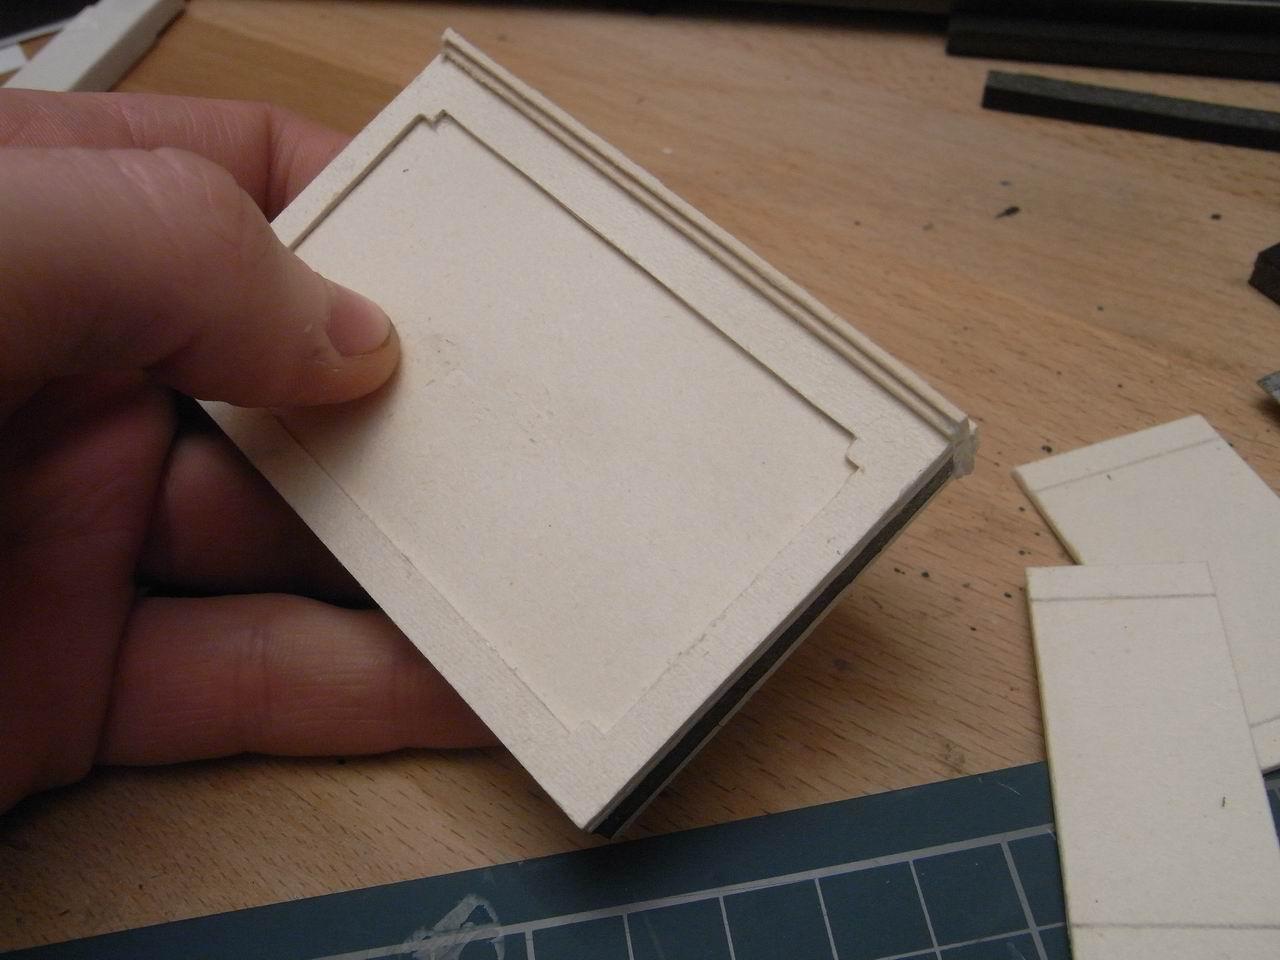
Then… time to prepare an intermediate mold. I used a cheap silicone from Antichità Belsito, and I used a good load of it to avoid deformations or bulges. The mold box was made with foamcore, thinner and lesser in quality compared to the one I usually choose for my builds.
NOTE: Be careful using cardboard with masters: the silicone is quite easy to separate from the master, unless you use fiber-made stuff, like cardboard or cloth. In that case, you have to accept that the master, after extracting the mold, will be gone. When you pour the liquid silicone rubber in the box, say hello to your beloved work!
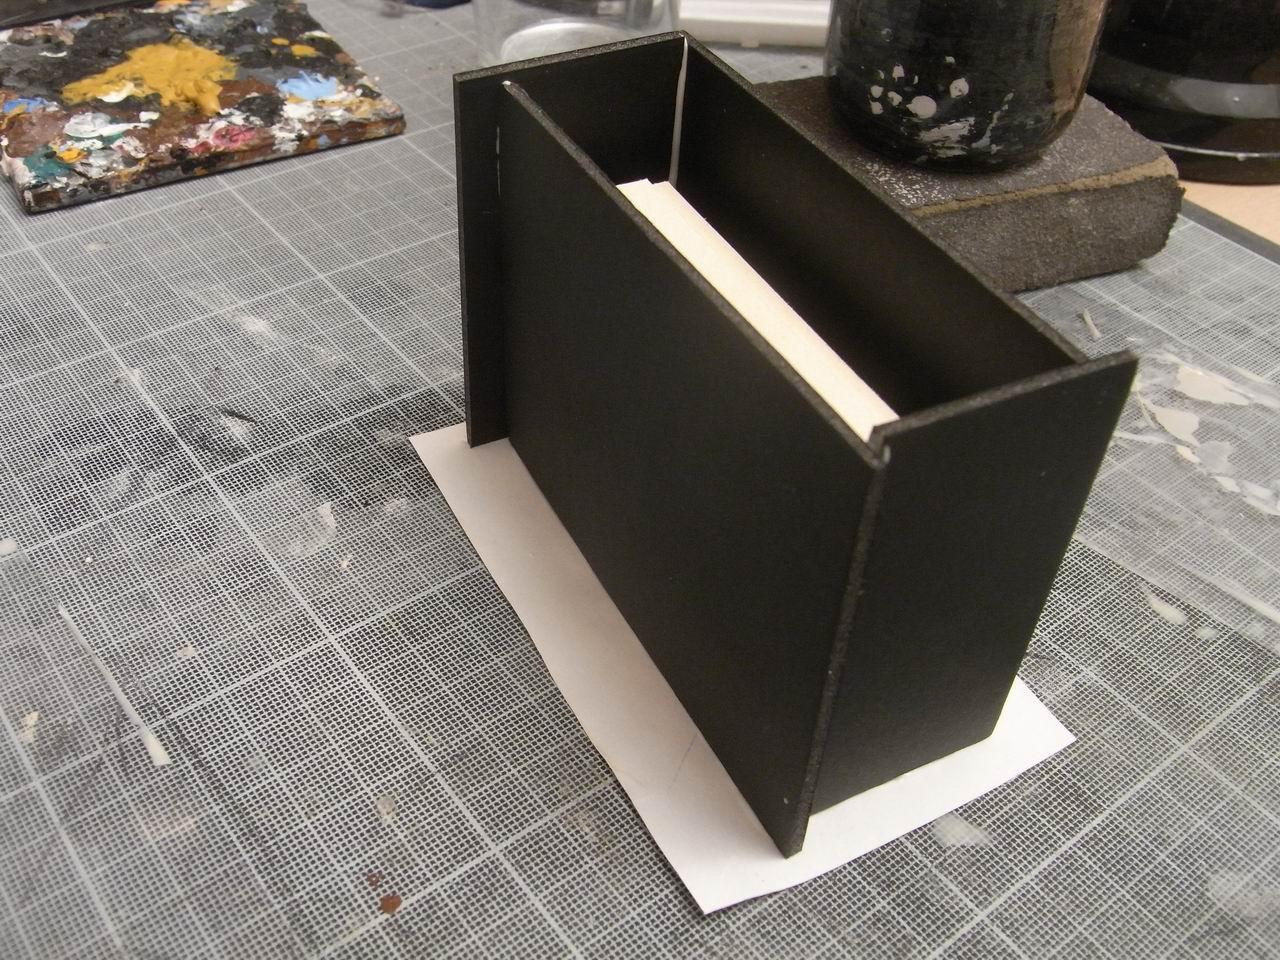
Luckily, everything went right, and the mold worked out smoothly. The cardboard was gone, but (see above) who cares.
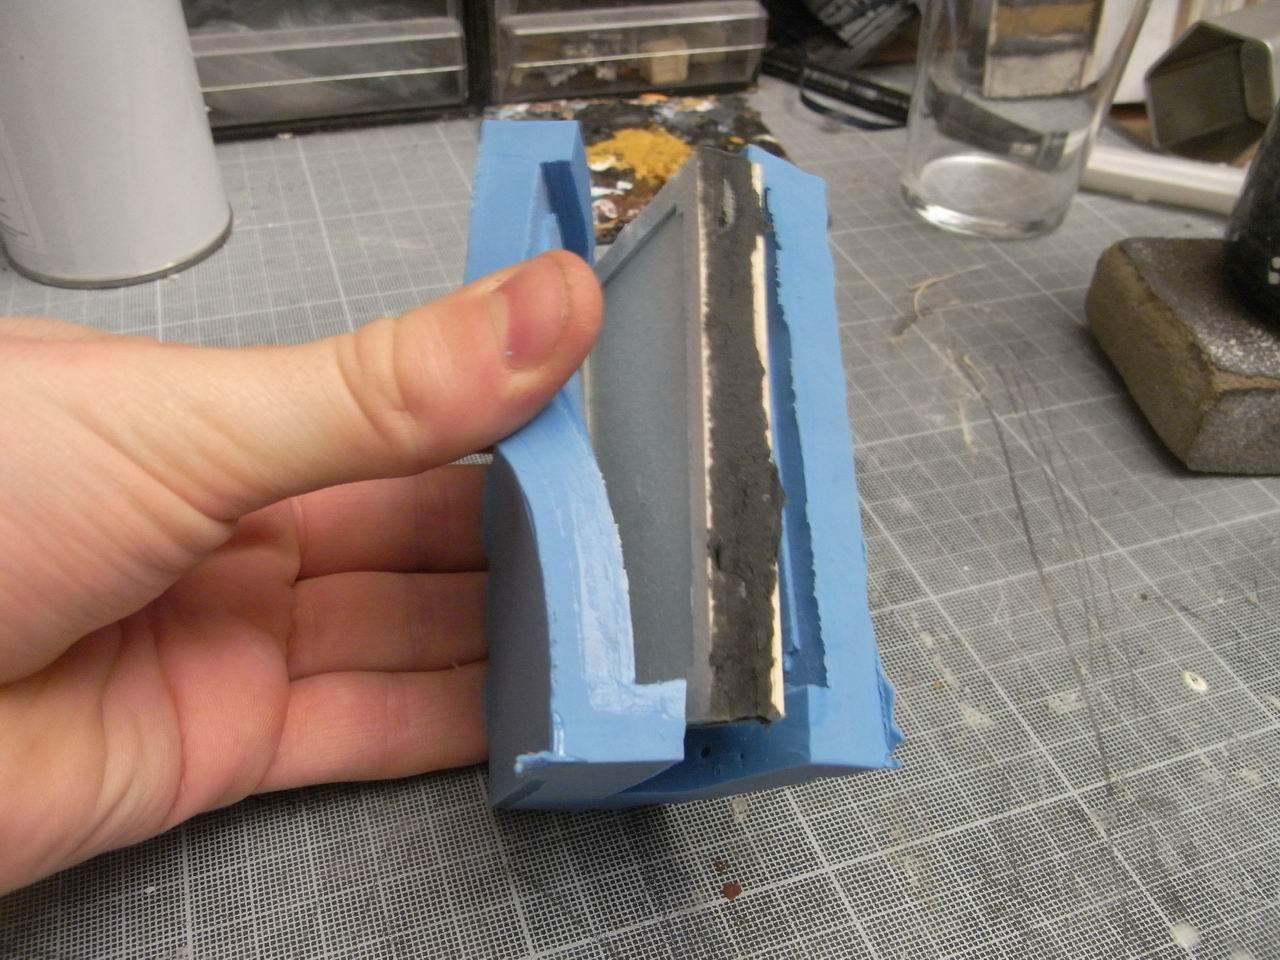
Then I made a cast in ceramic powder. Starting with an old brush I covered all the corners with the liquid mixture, then I poured the remaining in the closed mold. It could seem a simple task, but it isn’t. It took 4 attempts before having a good piece.
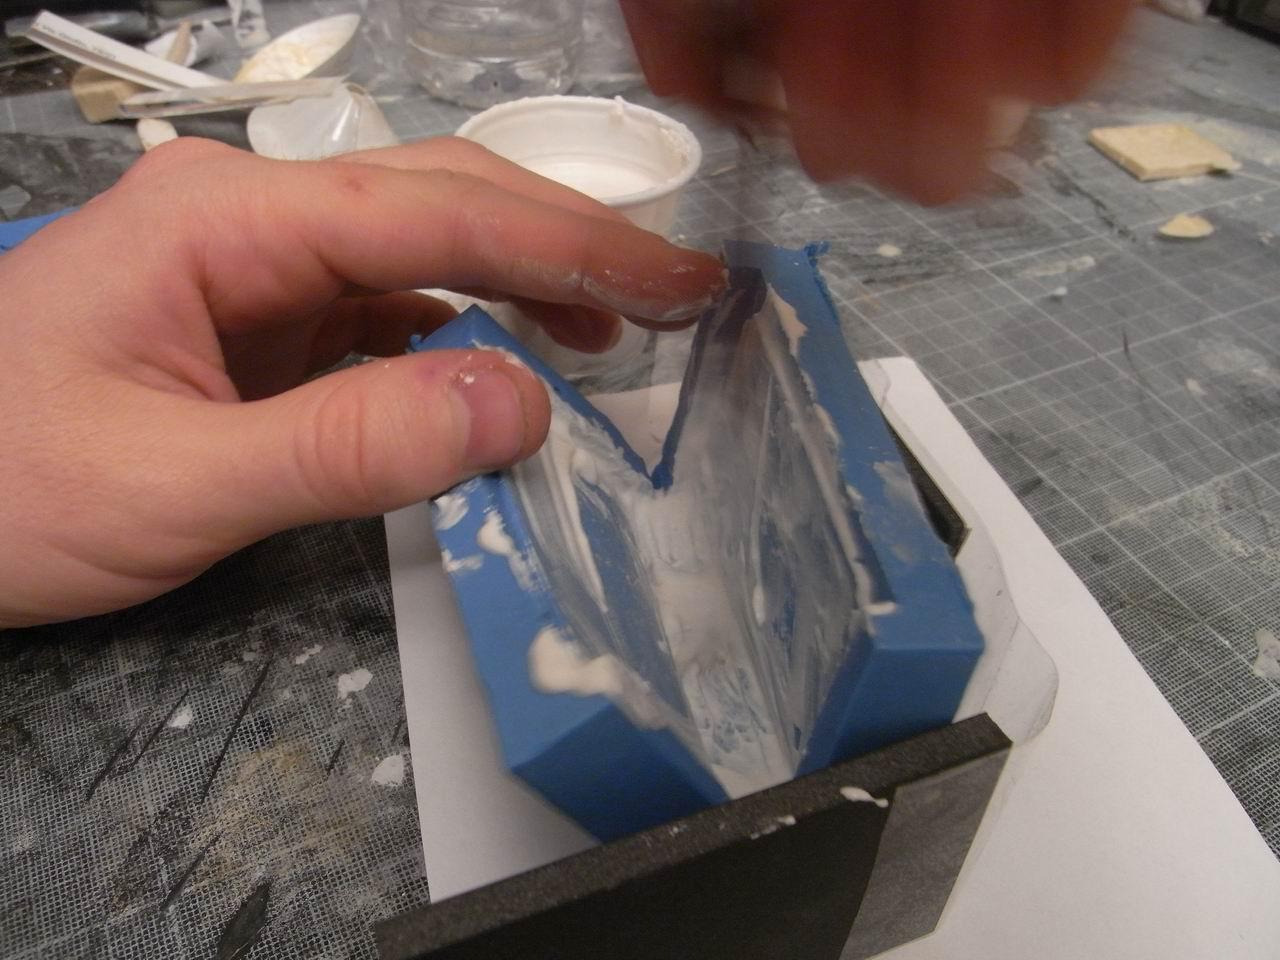
Finally: no bubbles, no bulges, no cracks. That’s the right one.
I left it to dry for a night, then I started a cleaning process to remove flash and any residue.
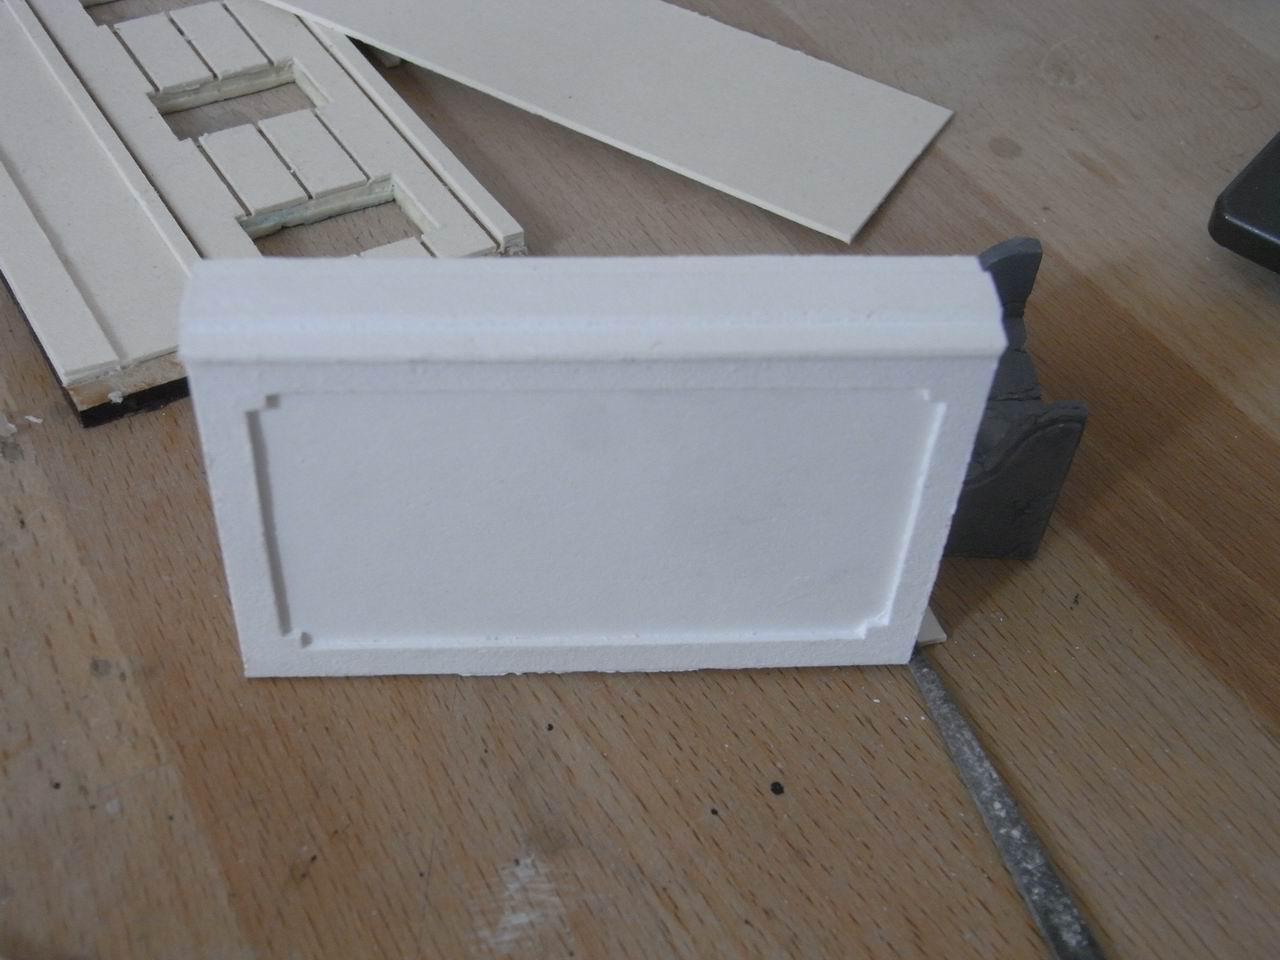
When completely dry, it’s time to carve it. And to do that… you have to drench it again!
Seriously, The plaster is much easier to work with if it is completely wet, but it is also much more fragile. That’s why you have to wet it locally, avoiding unwanted cracks on the other parts (where you hold it with your hands). Then, you just have to scribble bricks and cracks on the plaster cover, until you’re satisfied.
For the bricks, I started with my metal tip defining the outer shape, then with a screwdriver and a cutter I removed a layer of ceramic from inside the shape, until I obtained a flat surface. Then I simply scribbled the bricks. Some irregularities are welcome, but the bricks must be well aligned horizontally to be convincing.
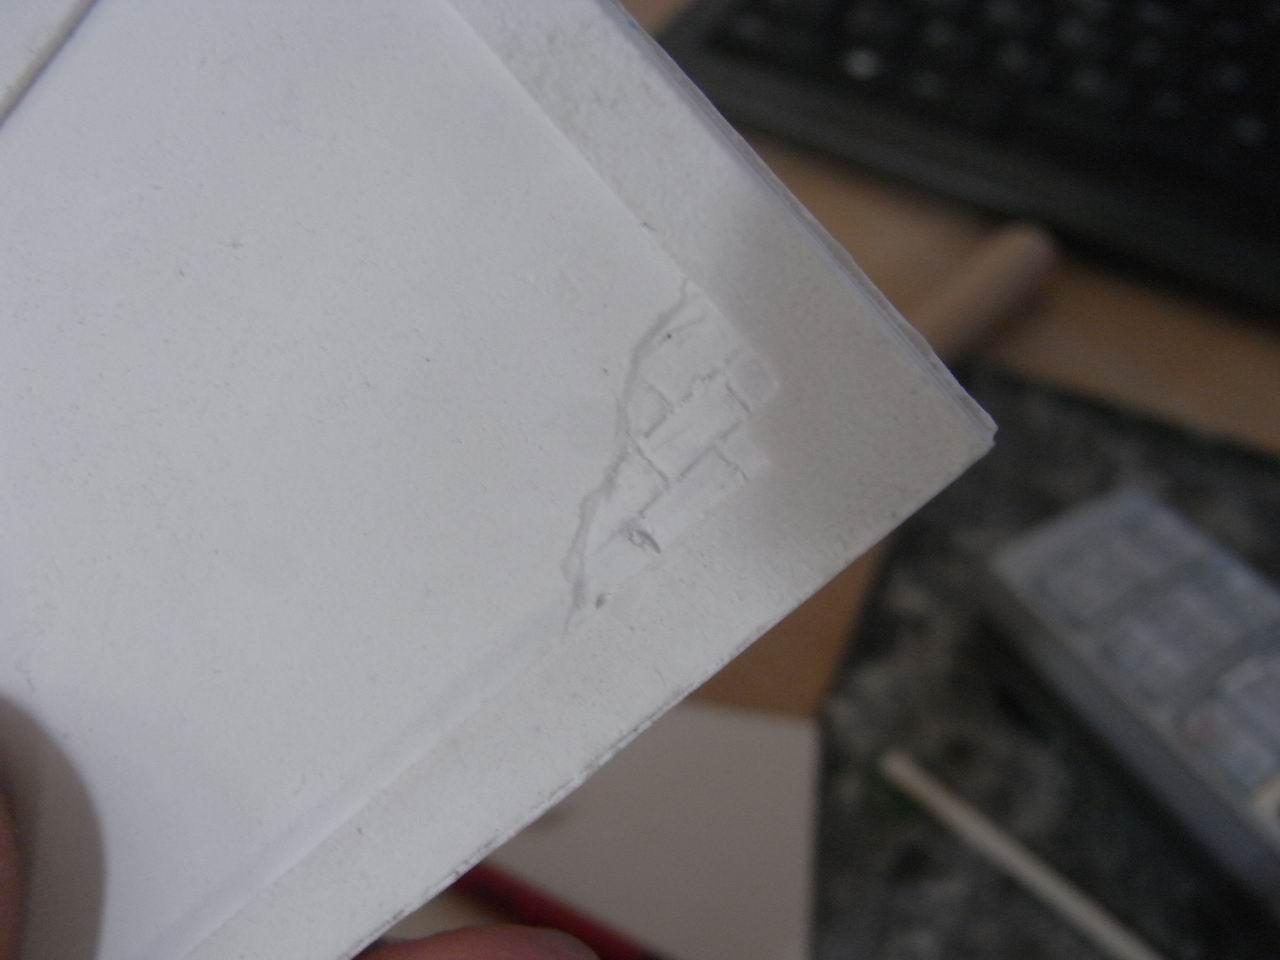
Don’t hesitate, and follow the bricks outlines again and again, they have to look like different pieces!
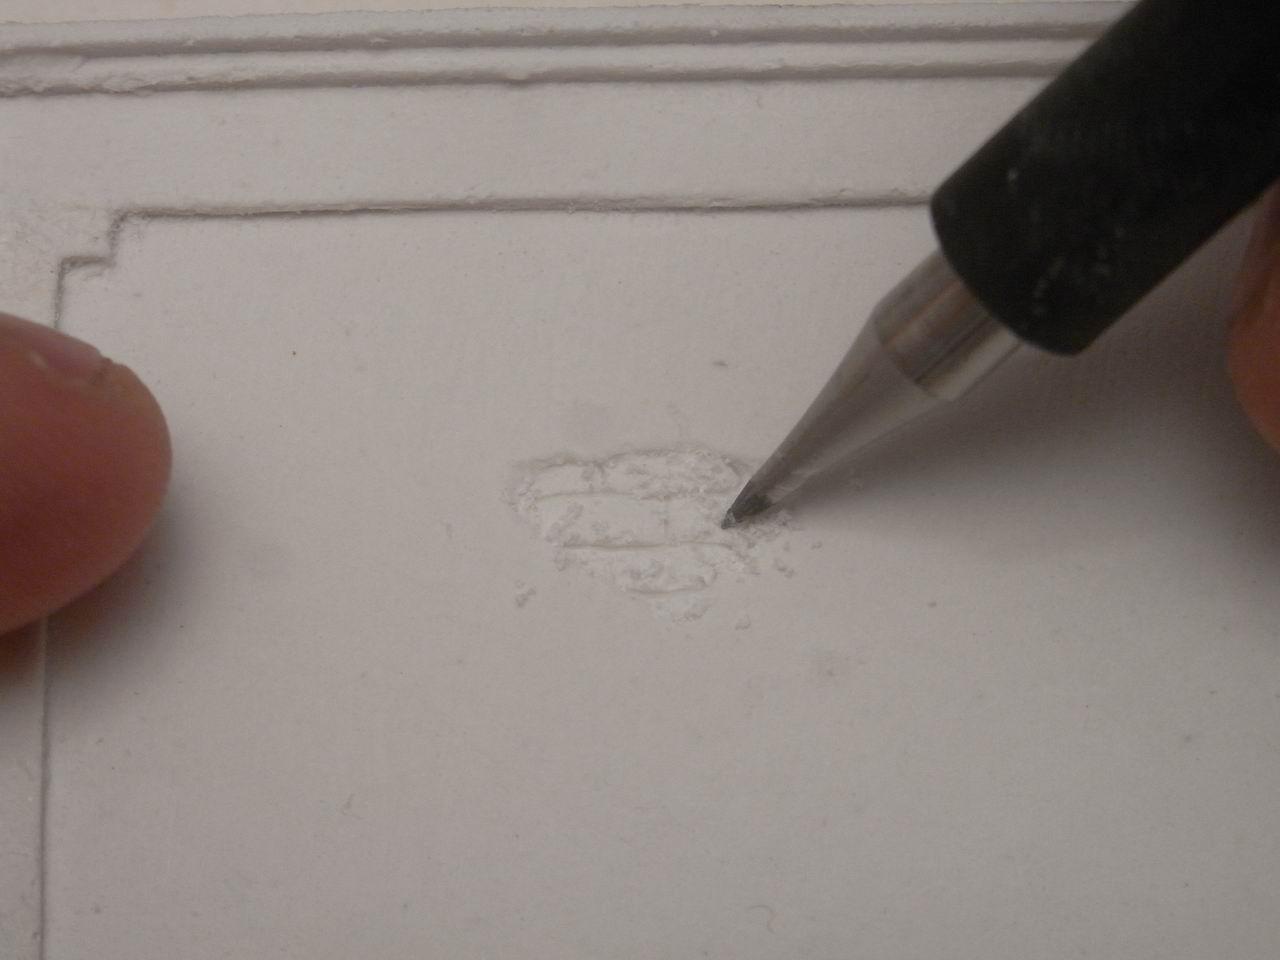
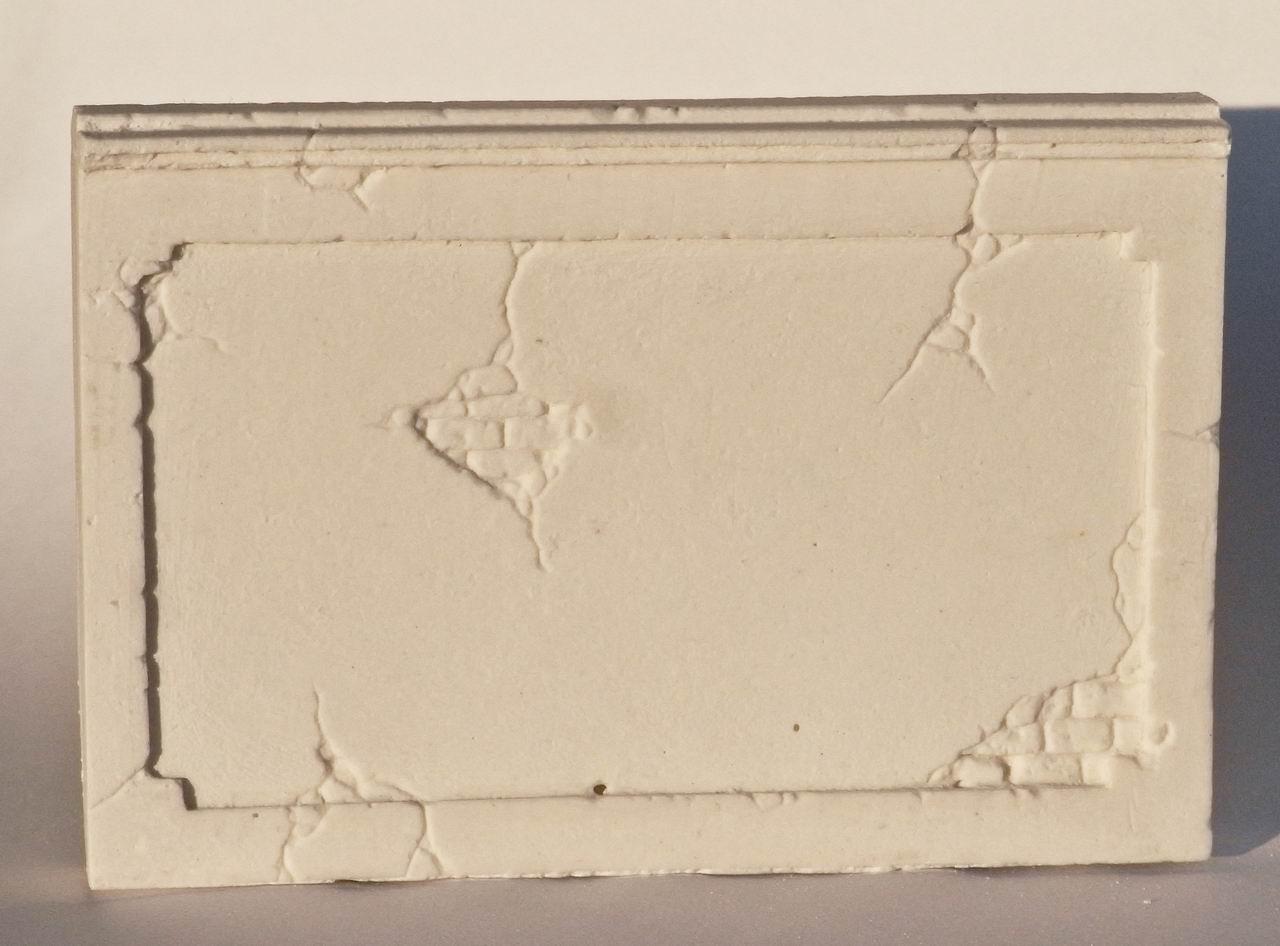
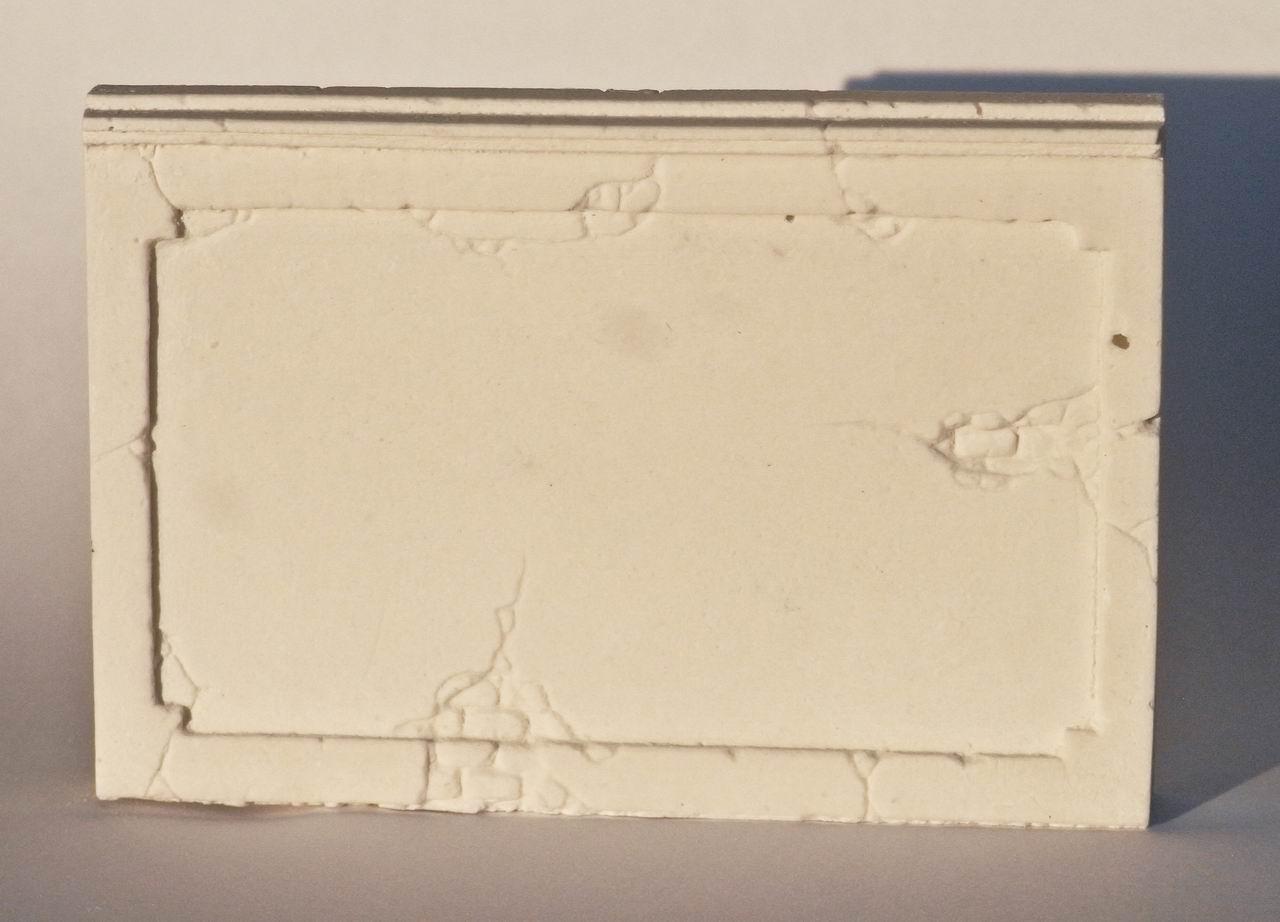
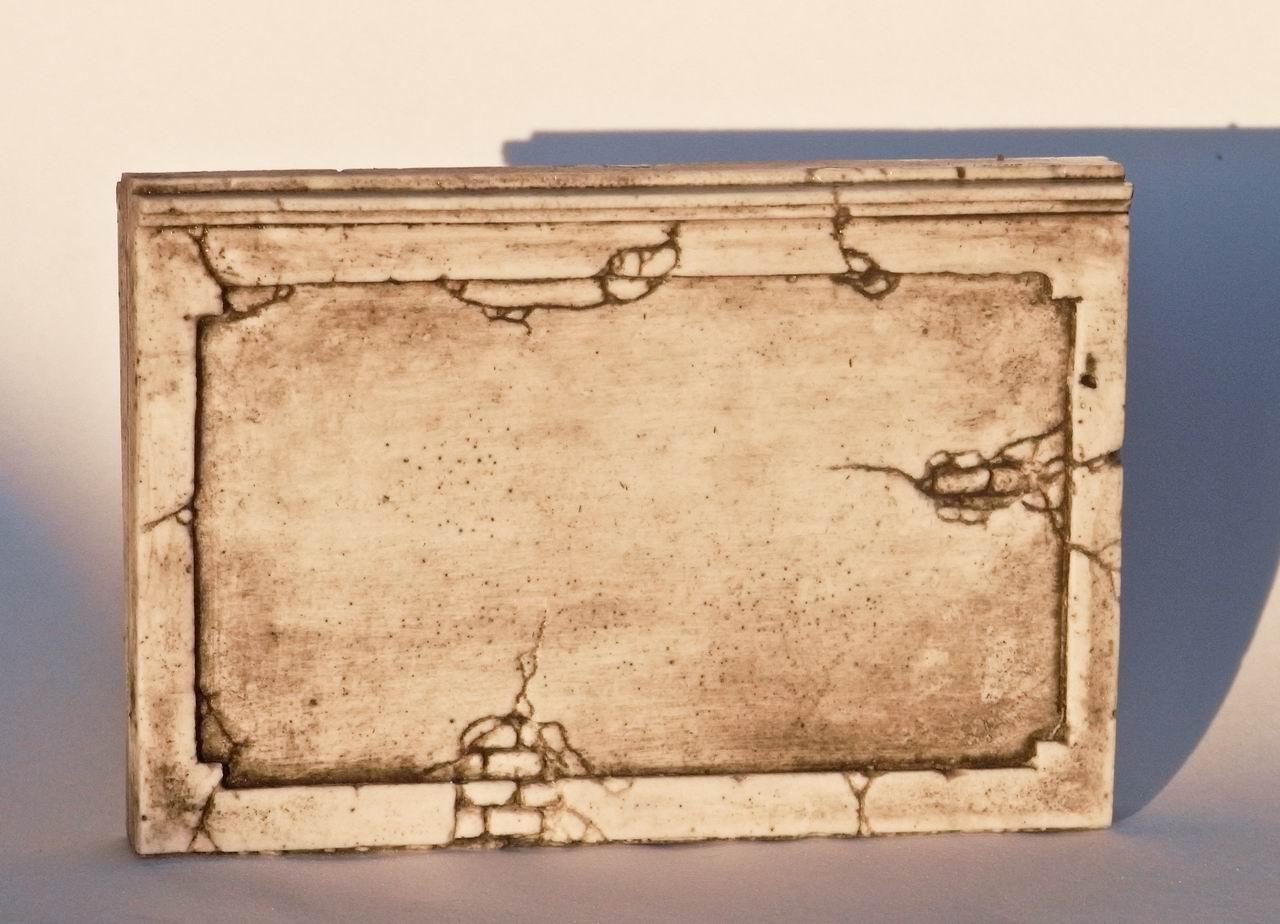
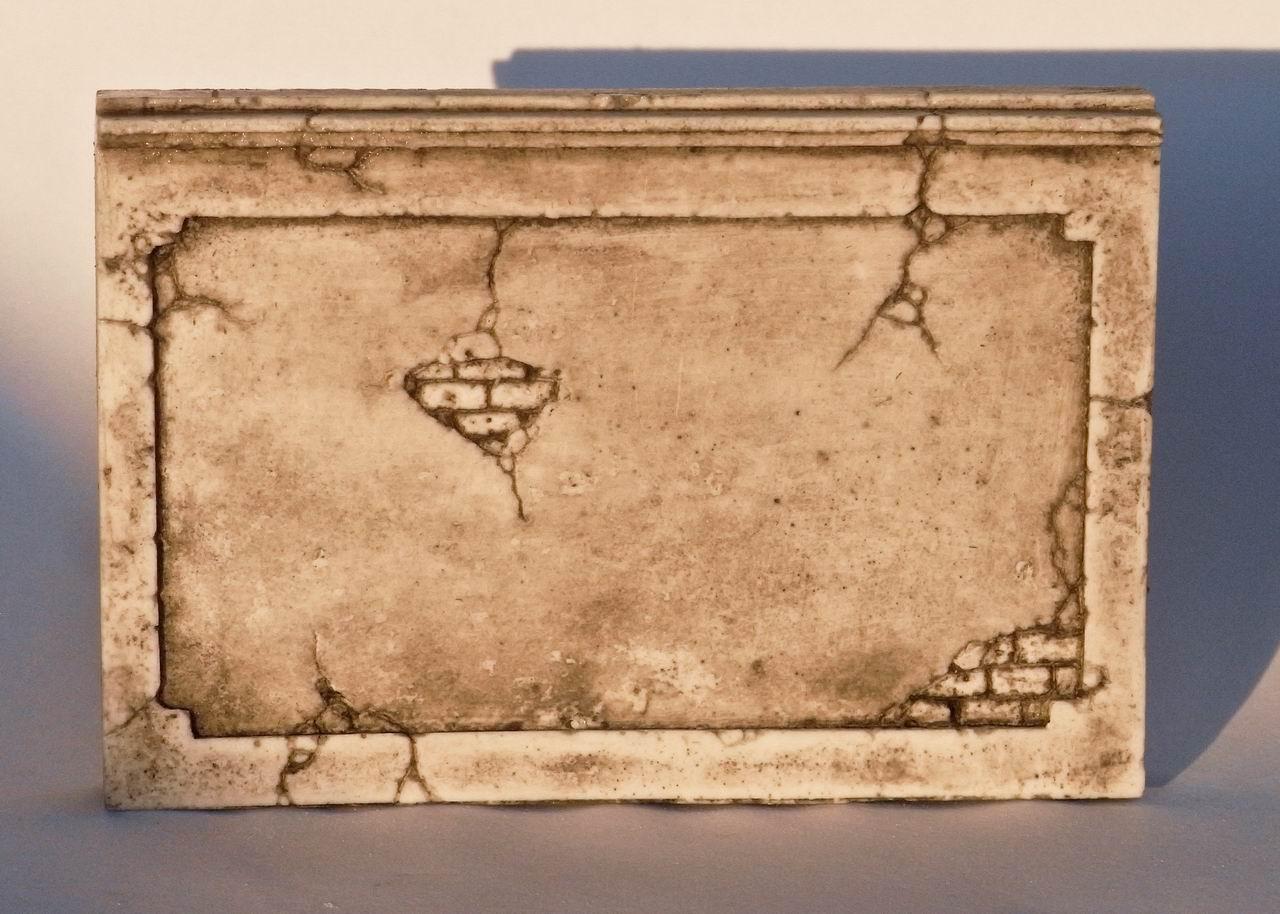
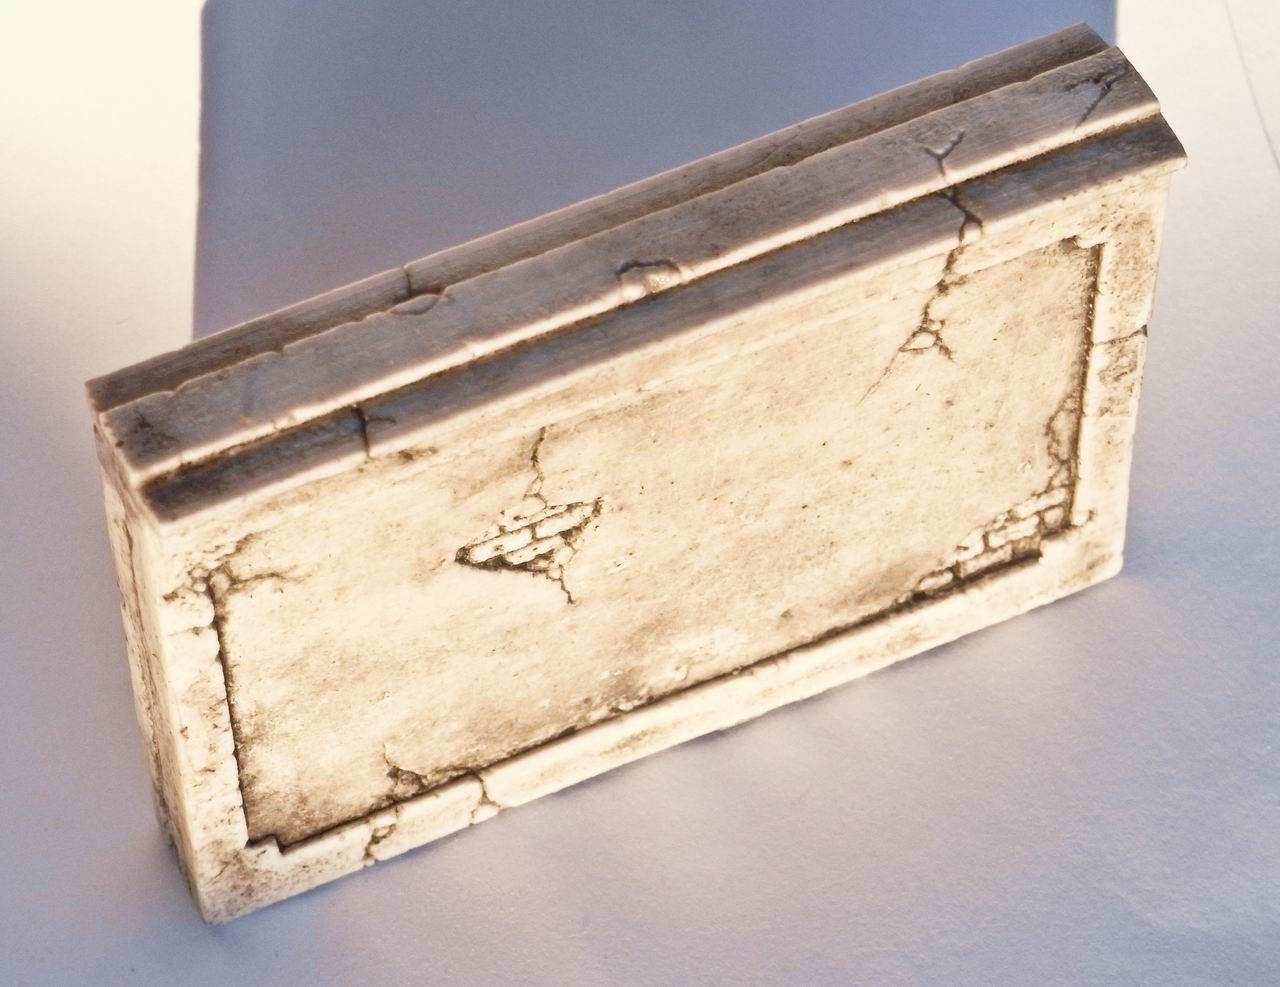
When finished, it looks like that: I wanted to make it look like an old wall; it could look quite exaggerated, but believe me, it’s not. I have seen dozens of these walls around my university, and the weather can make those cracks quite fast!
One side:
And the other side:
Hint: once you have finished sculpting the piece, I really suggest you give it a heavy wash with a dark colour. It is a really nice way to see better the carving work you did, and to discover if in some points you forgot something.
I used some china ink diluted 20:1 with water. After each layer I used a napkin to remove the excess, and the look is pretty nice! The procedure is really simple, and gives you a good chance for a preview, and a bit of satisfaction too.
Cheers,
The Lazy One