1/35 Bunker Entrance
- Tutorial Type Dioramas, Master Sculpting
- Alternity Miniatures
Cheers everyone!
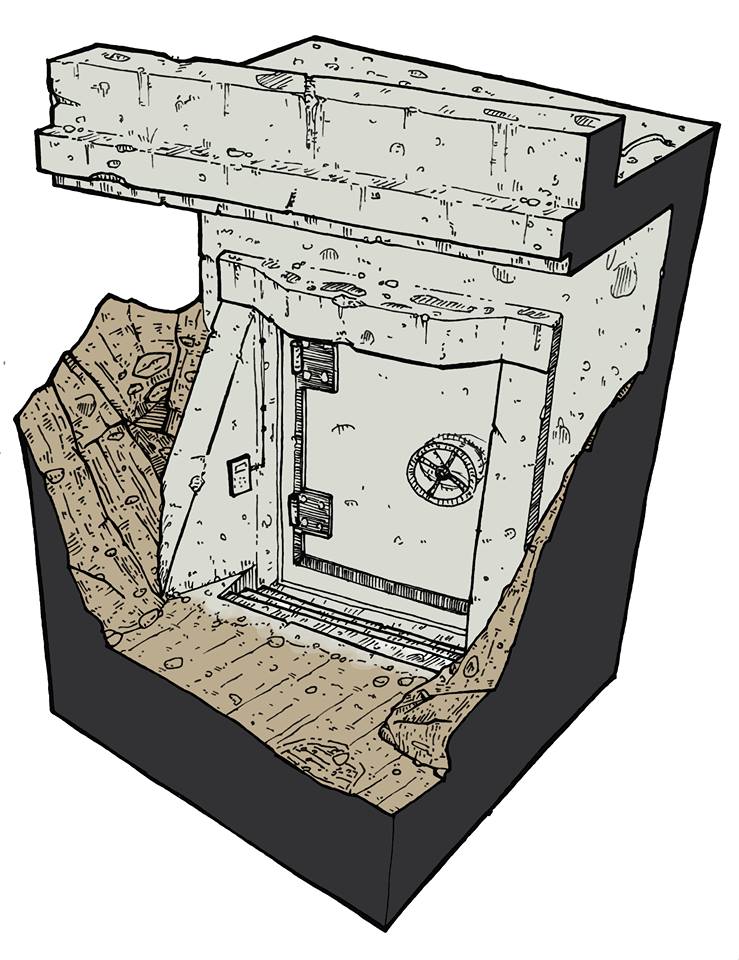
Today’s tutorial will follow the sculpting process of a diorama piece for Alternity Miniatures. Due to packaging restrictions I had to split the model in multiple parts, and pack each of them with as many details as i could in the exposed areas while leaving the joints clean.

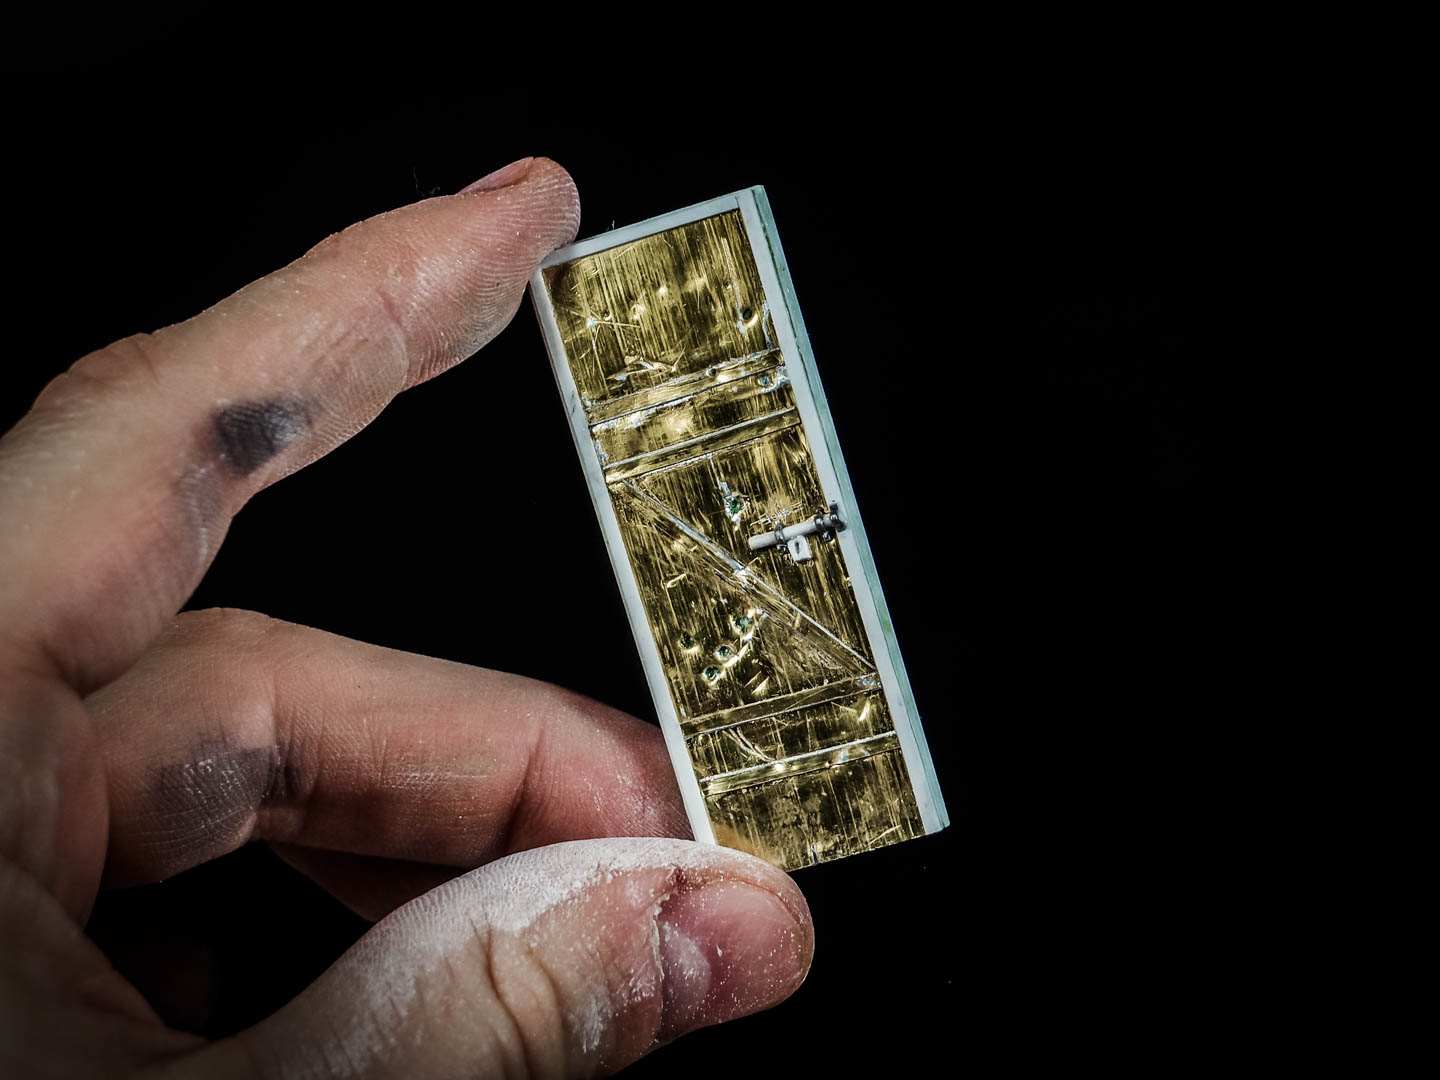
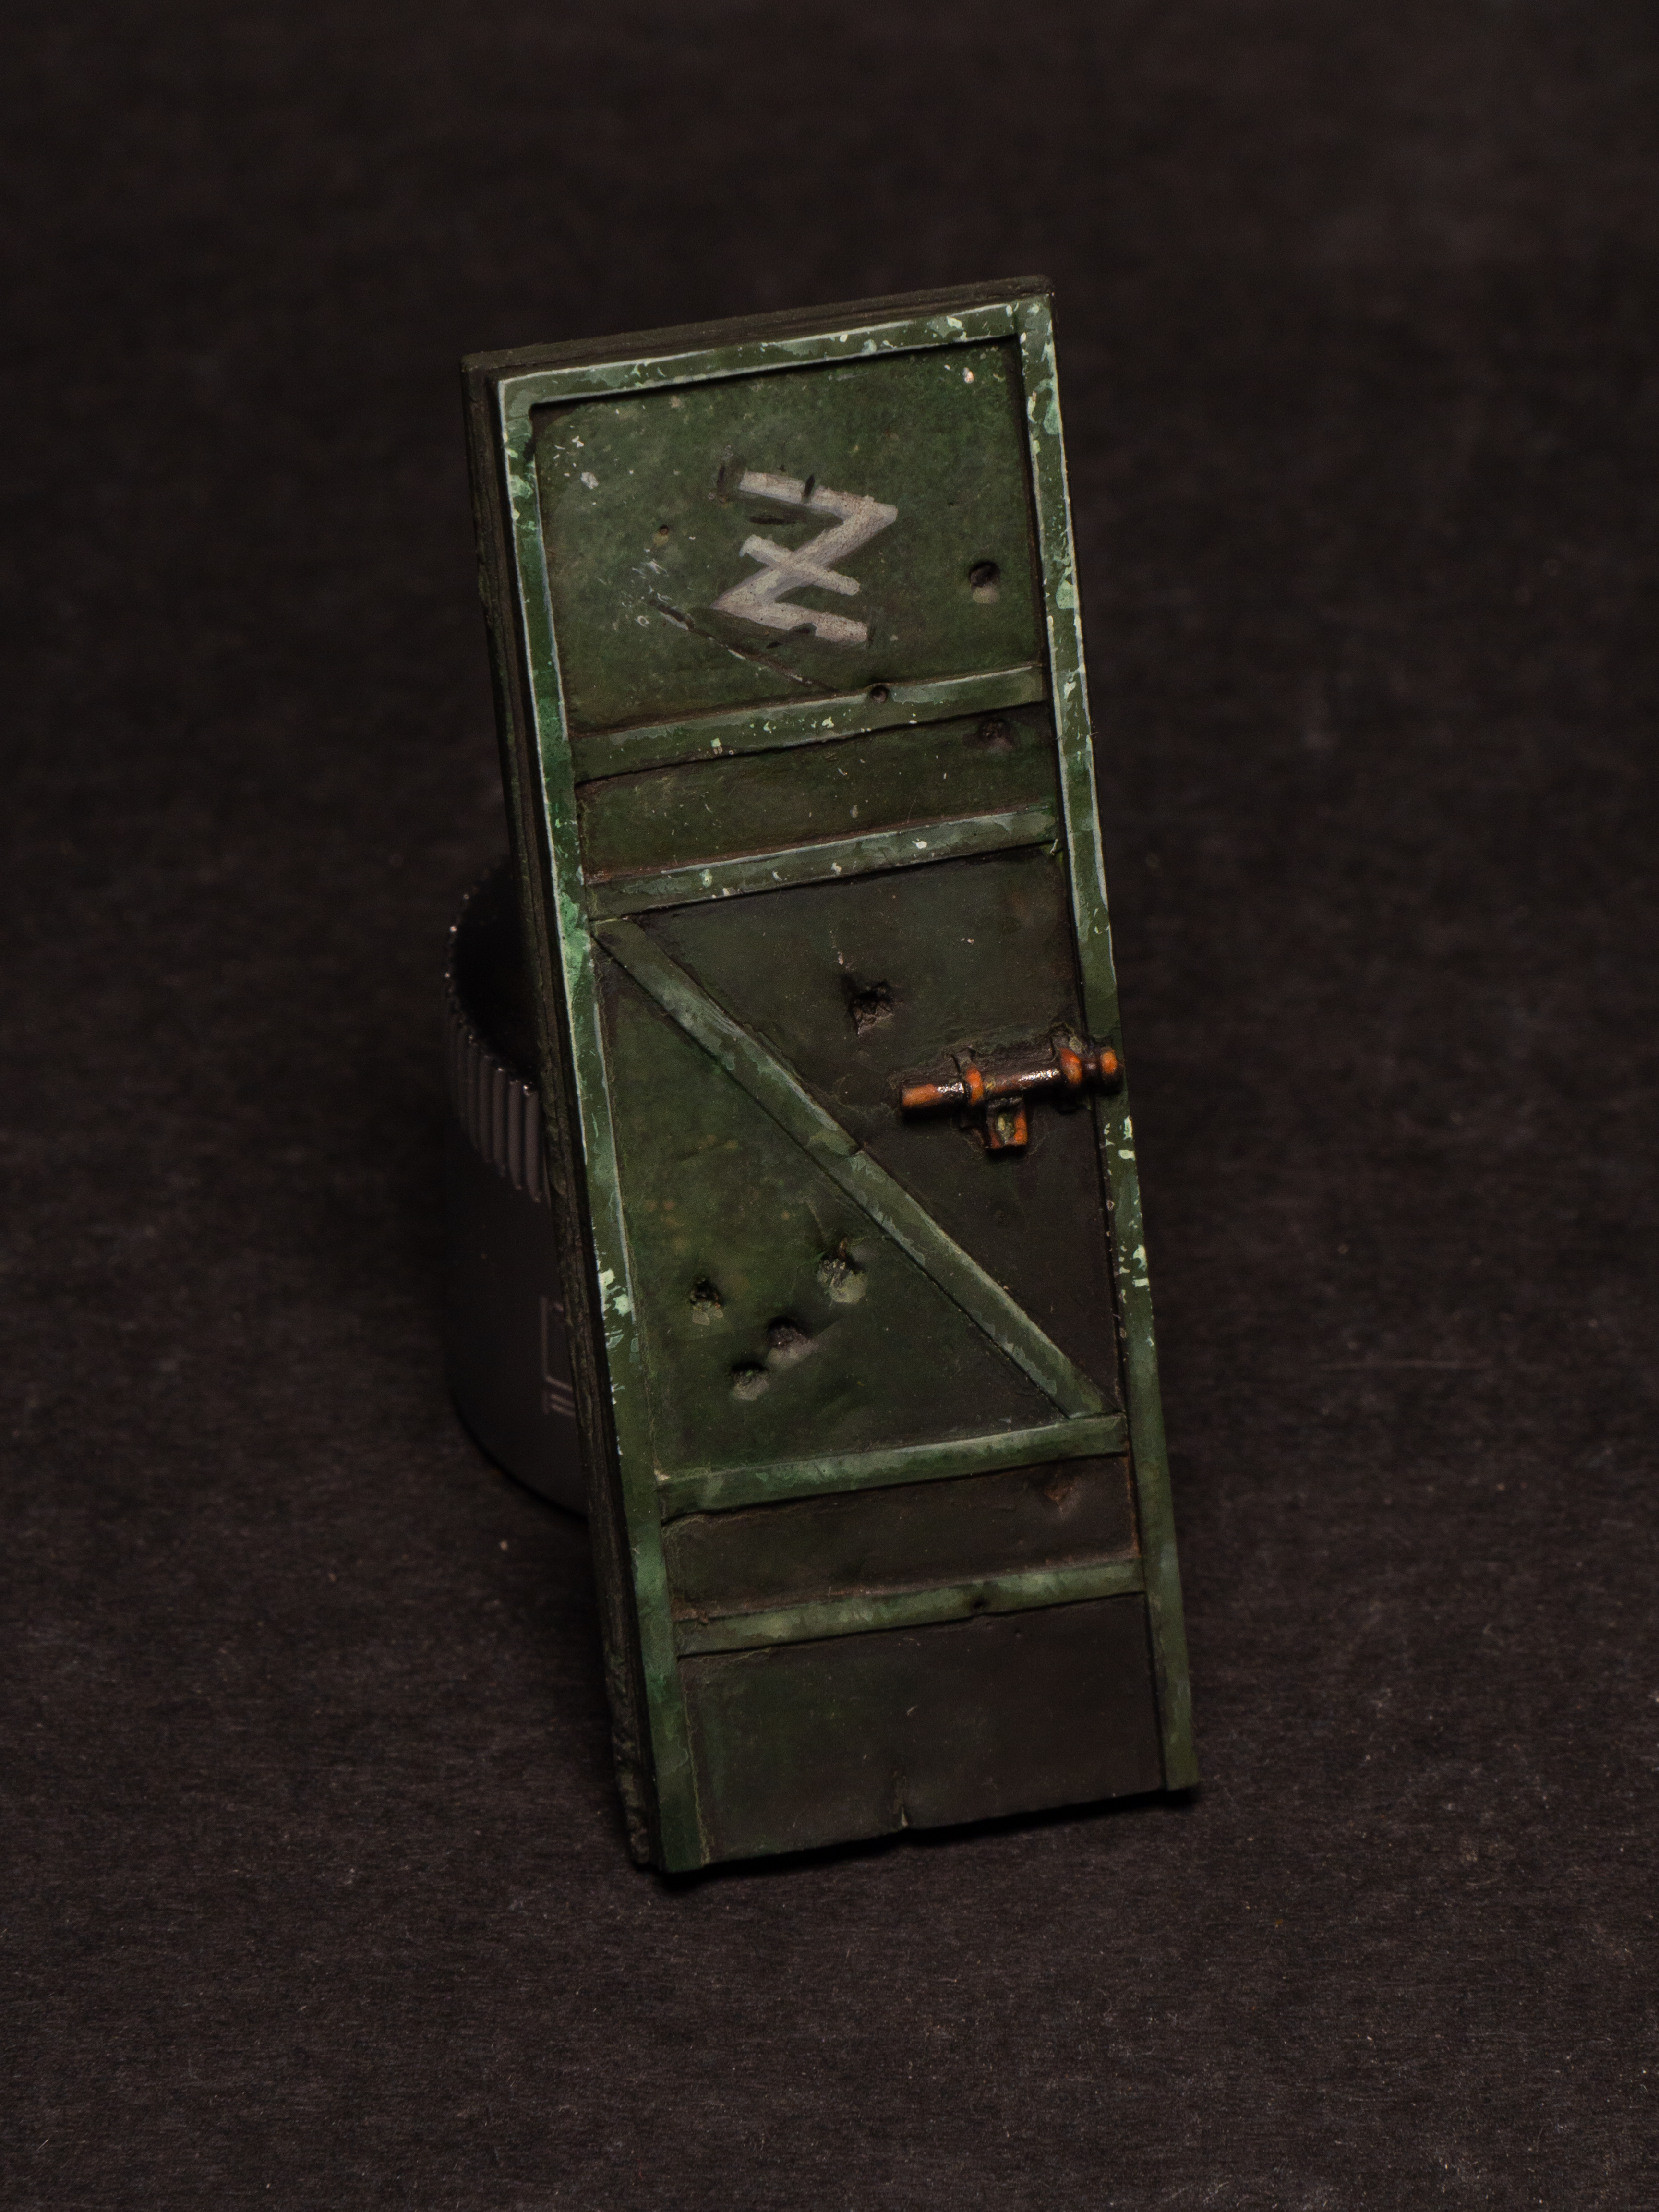
The client’s request was vague at best, so I had to make a whole geometry and concept as I went on sketching. The whole scene had to be kept within a 7 cm square area, which limited the amount of elements i could fit in it. Eventually, I resized the “bunker vault door” into a smaller hidden service door, and most of the rocky formations were cut out from the diorama.
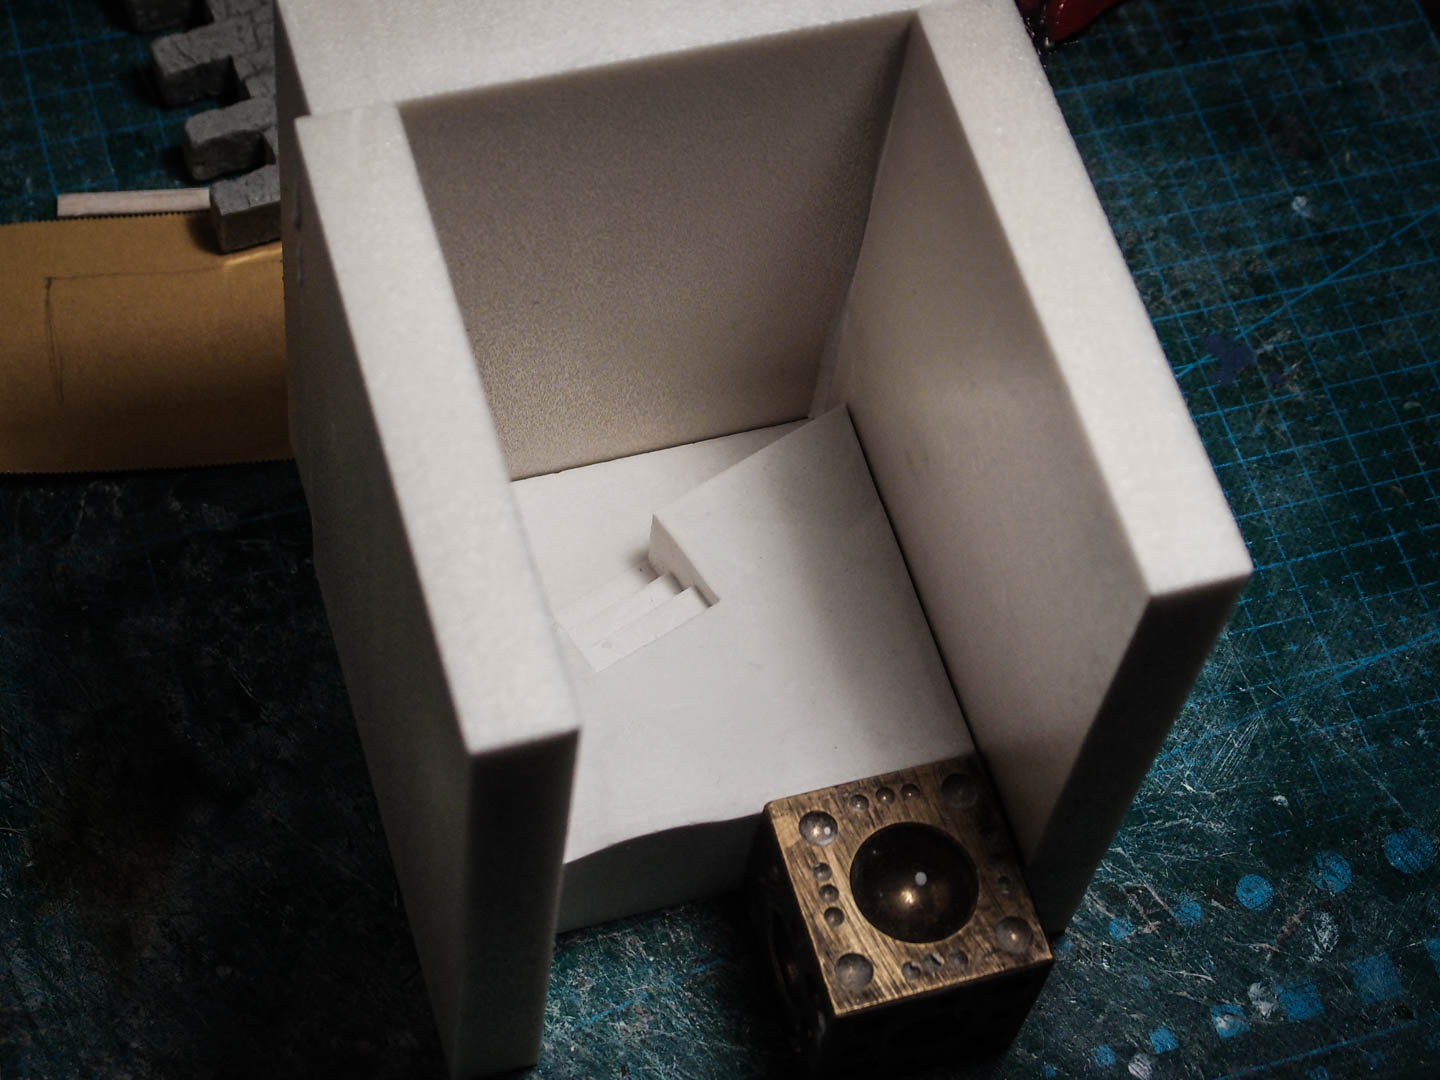
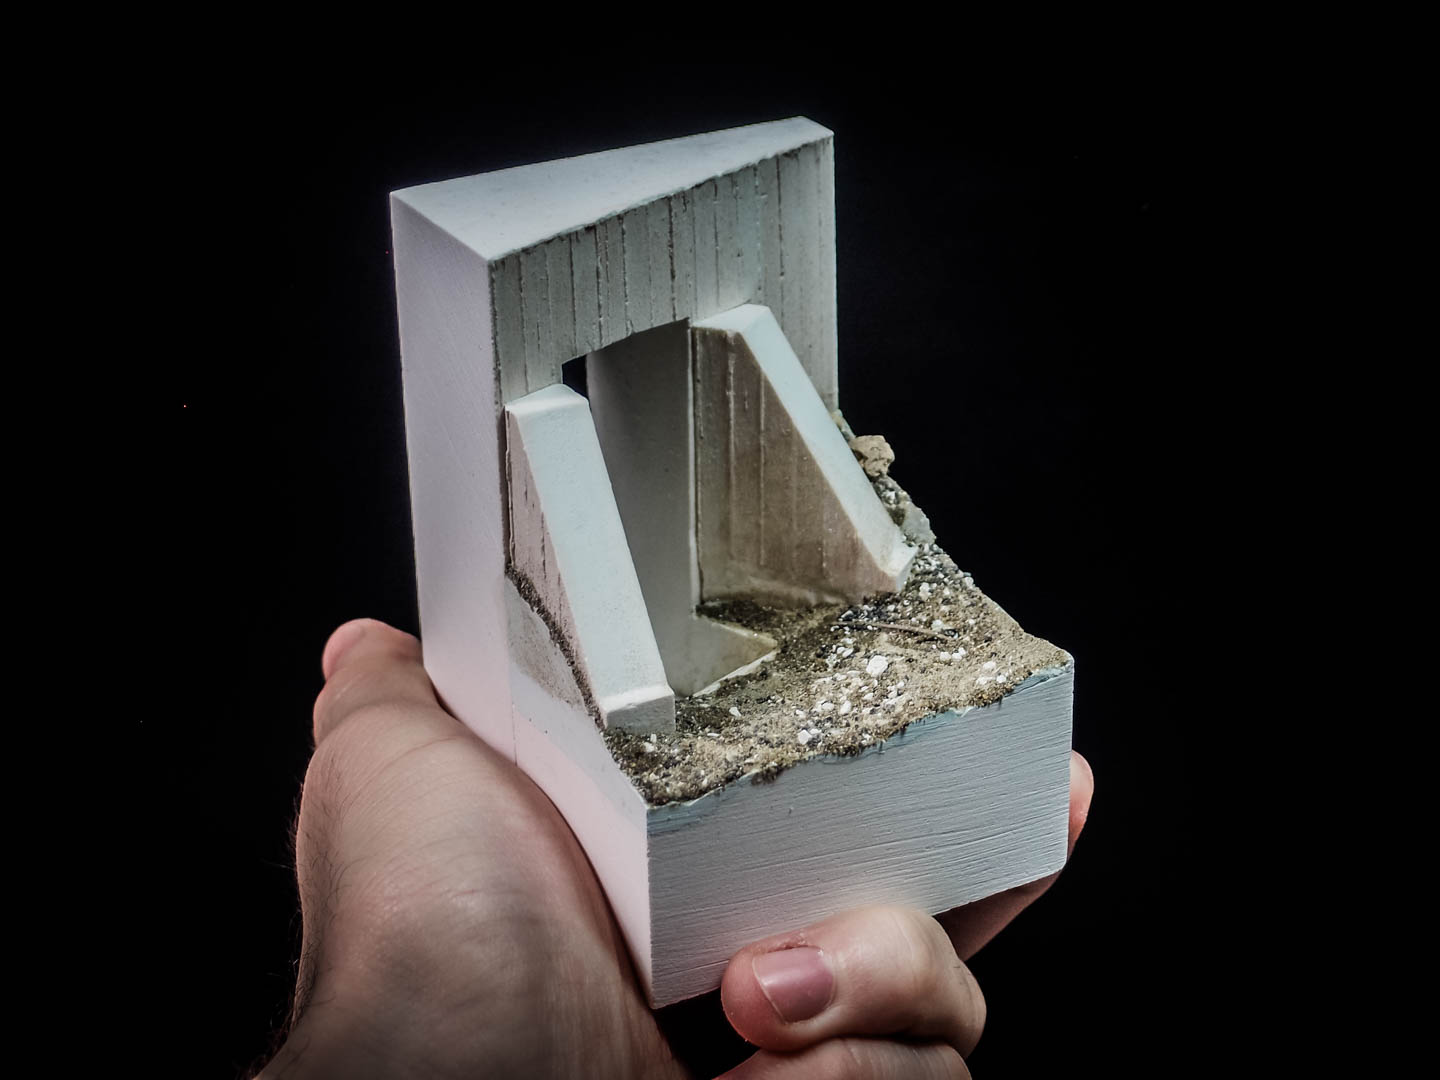
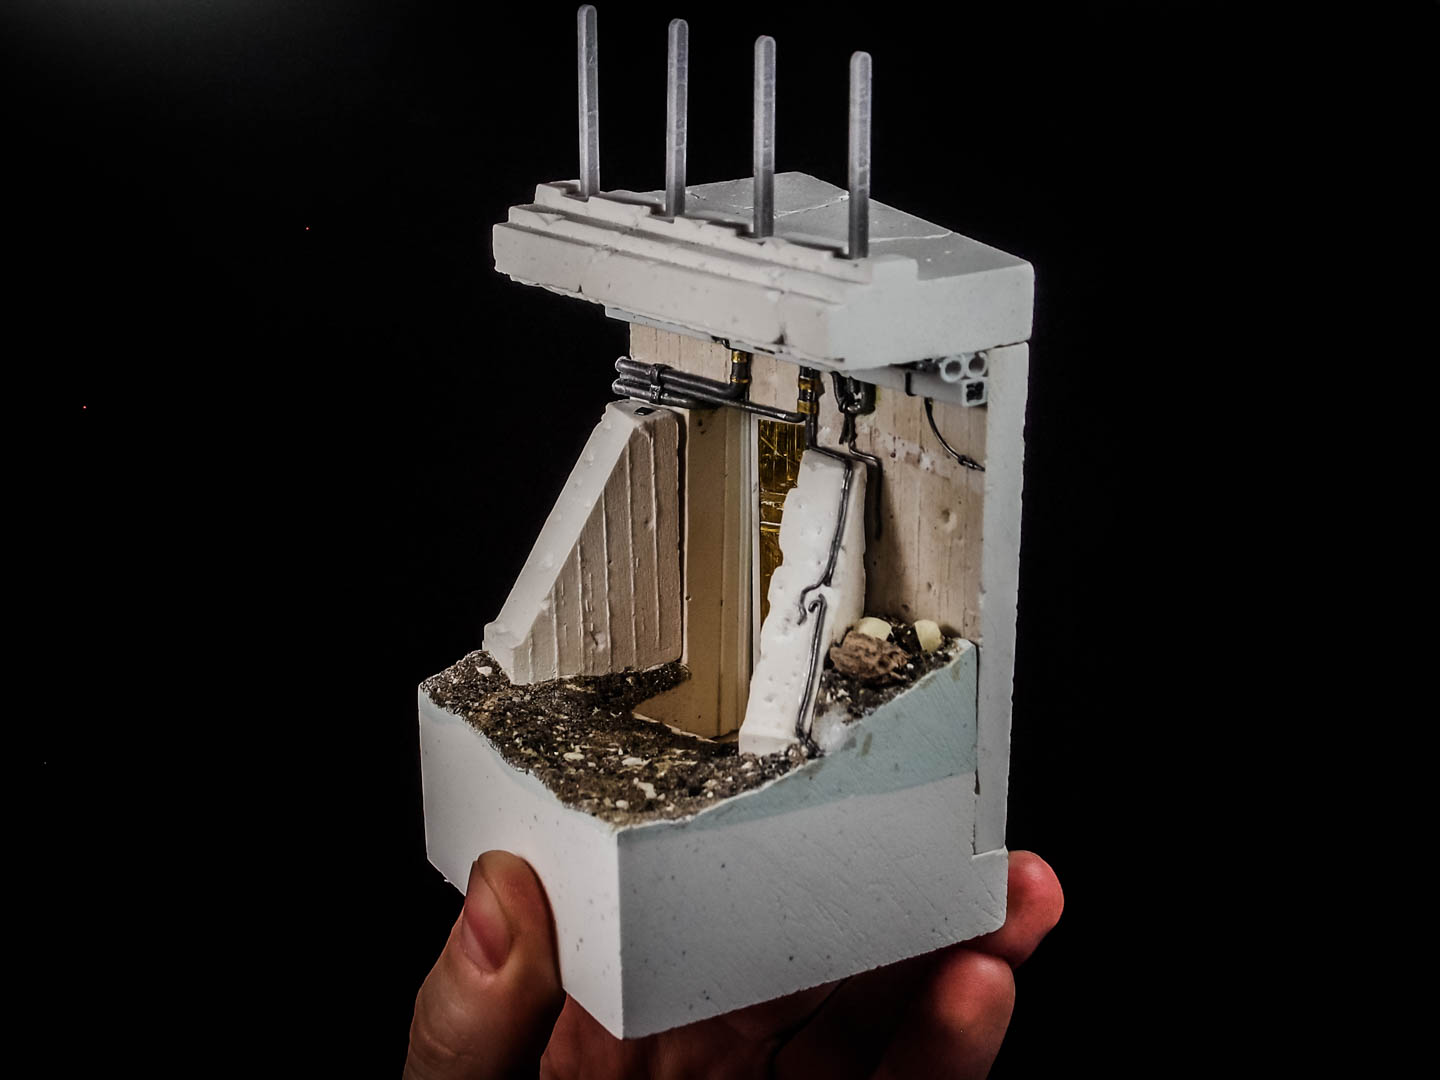
The technique used for the bulk structures is the same I already applied for a few previous sculpts: reversed shapes in expanded foam to pour high quality ceramic plaster in.
For that reason, what is supposed to be a descending ladder now looks like an ascending one.
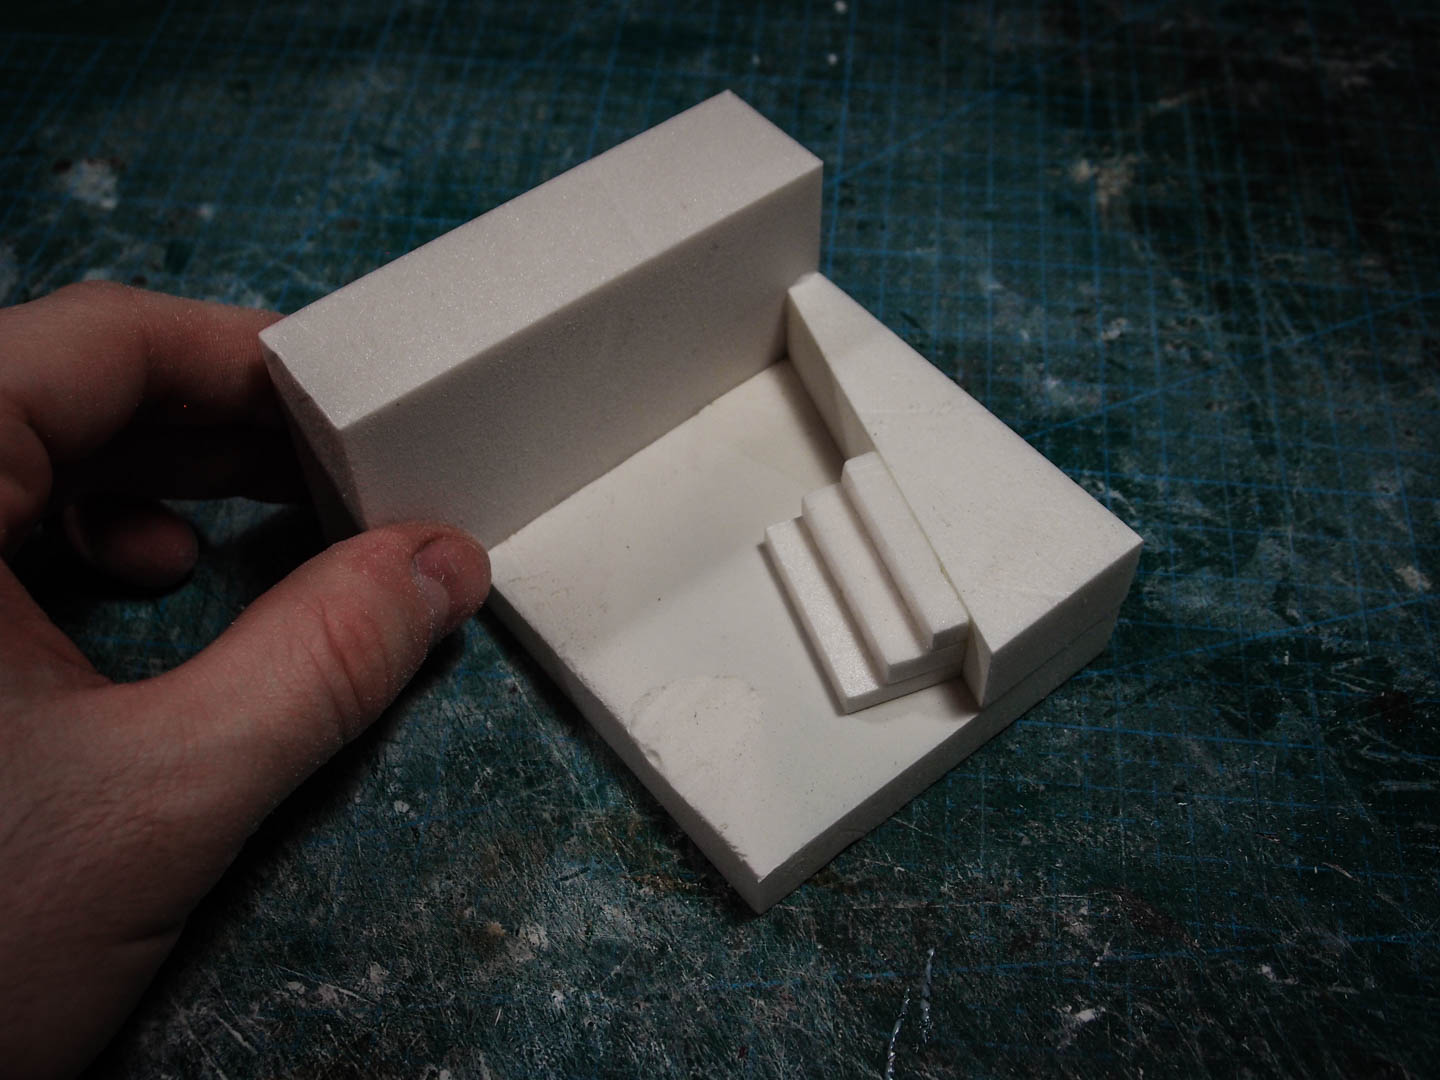
Since the whole project has a fairly complex geometry, each part is made separately. Fixing the angle to 15° should simplify the perfect joining of the various parts.

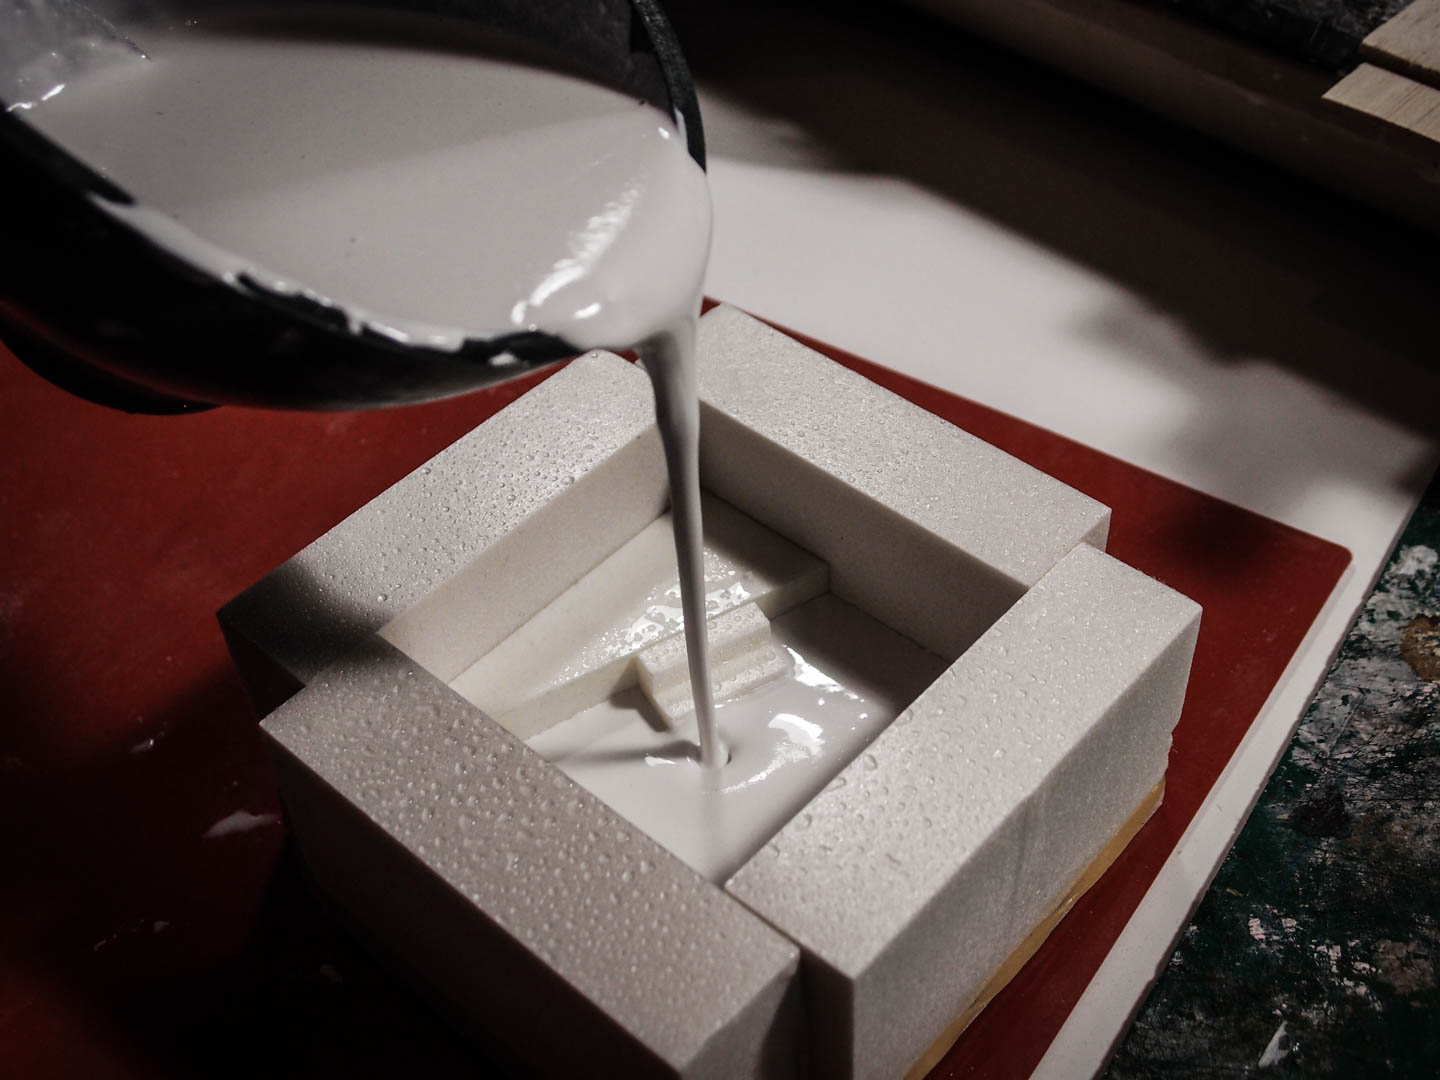
As always, high quality ceramic plaster is used for the volumes. It’s very different from standard plaster, both in price and final results.
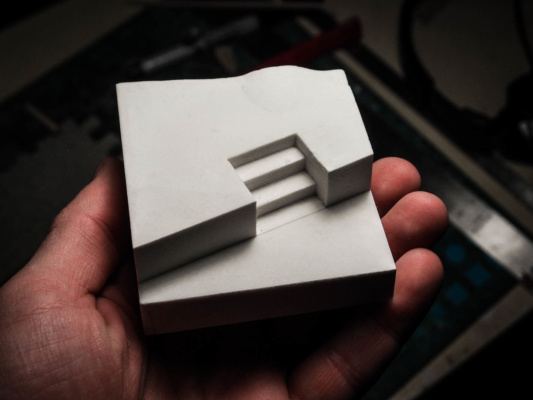
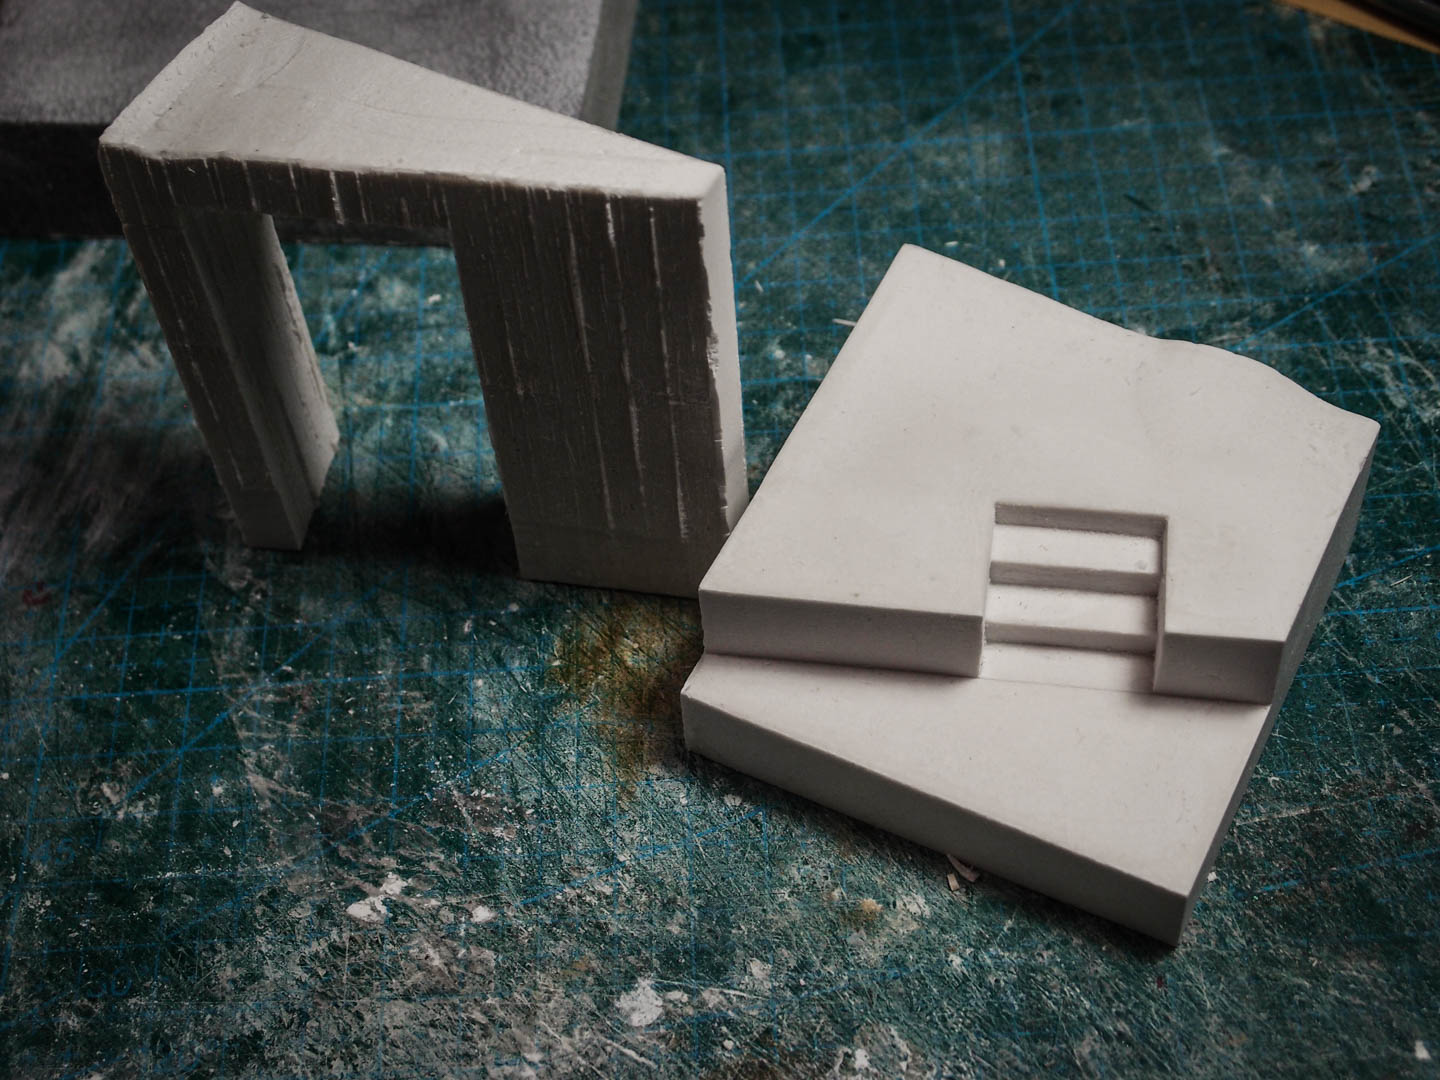
And here is the base. It’s looking very smooth, the bumps were made by removing part of the “negative” xps foam, and need some extra sanding to better blend in the scene.
Using the base as a template, preparing the structure for the vertical wall.
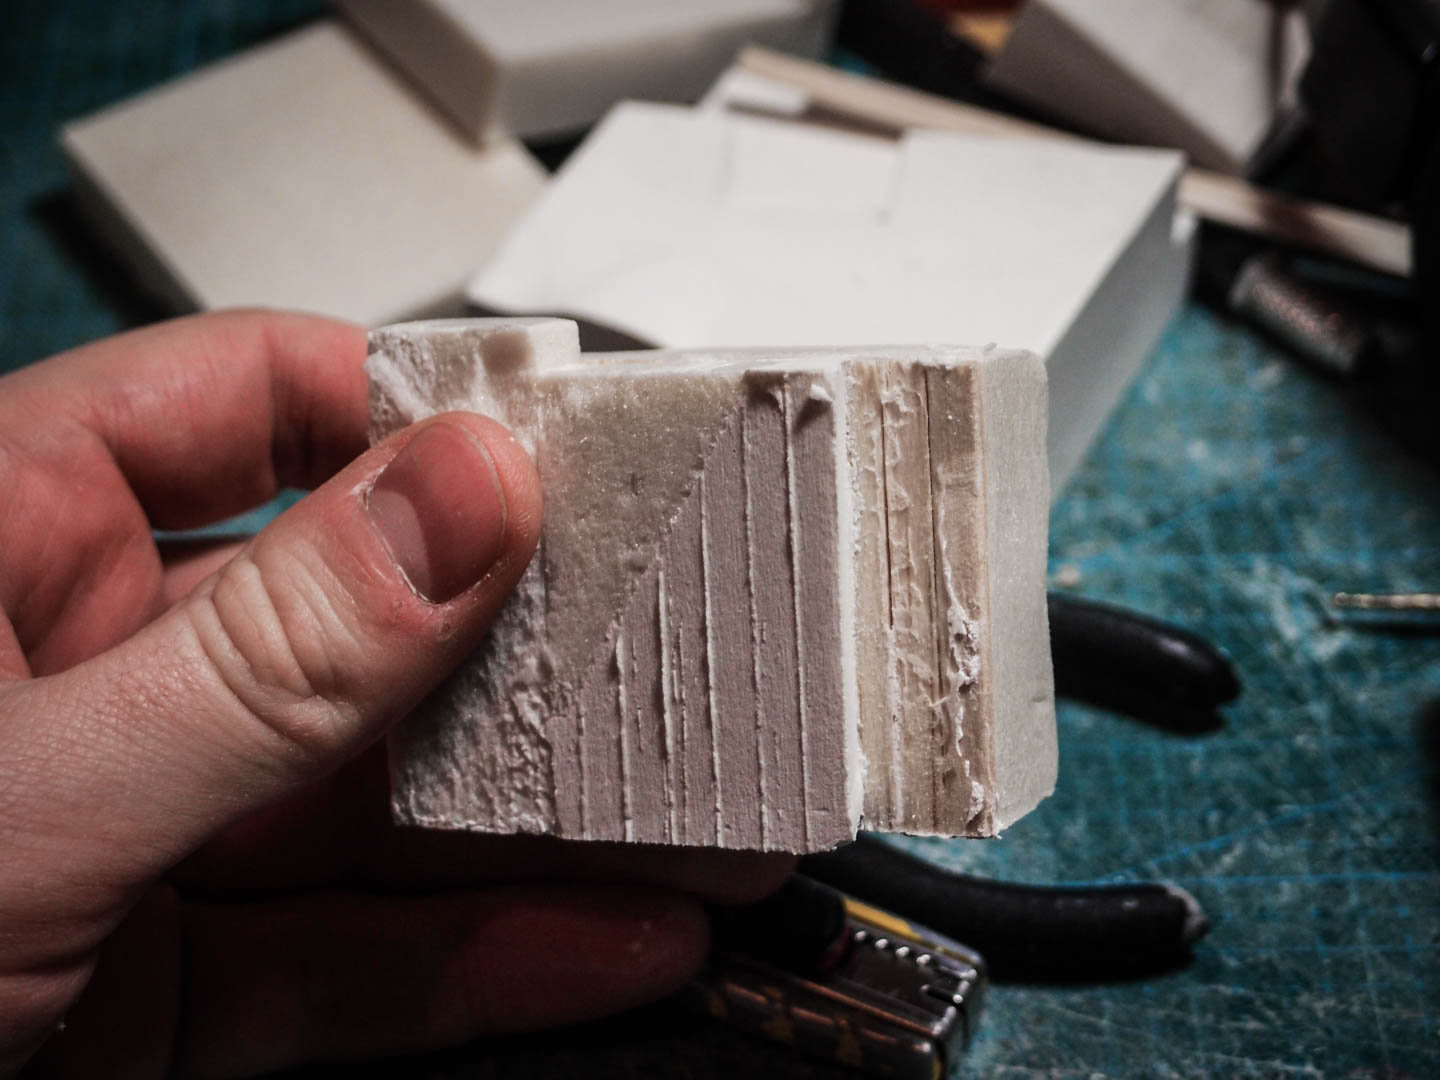
By adding wooden beams on one side, the wall is now texturized just as a concrete structure should be.
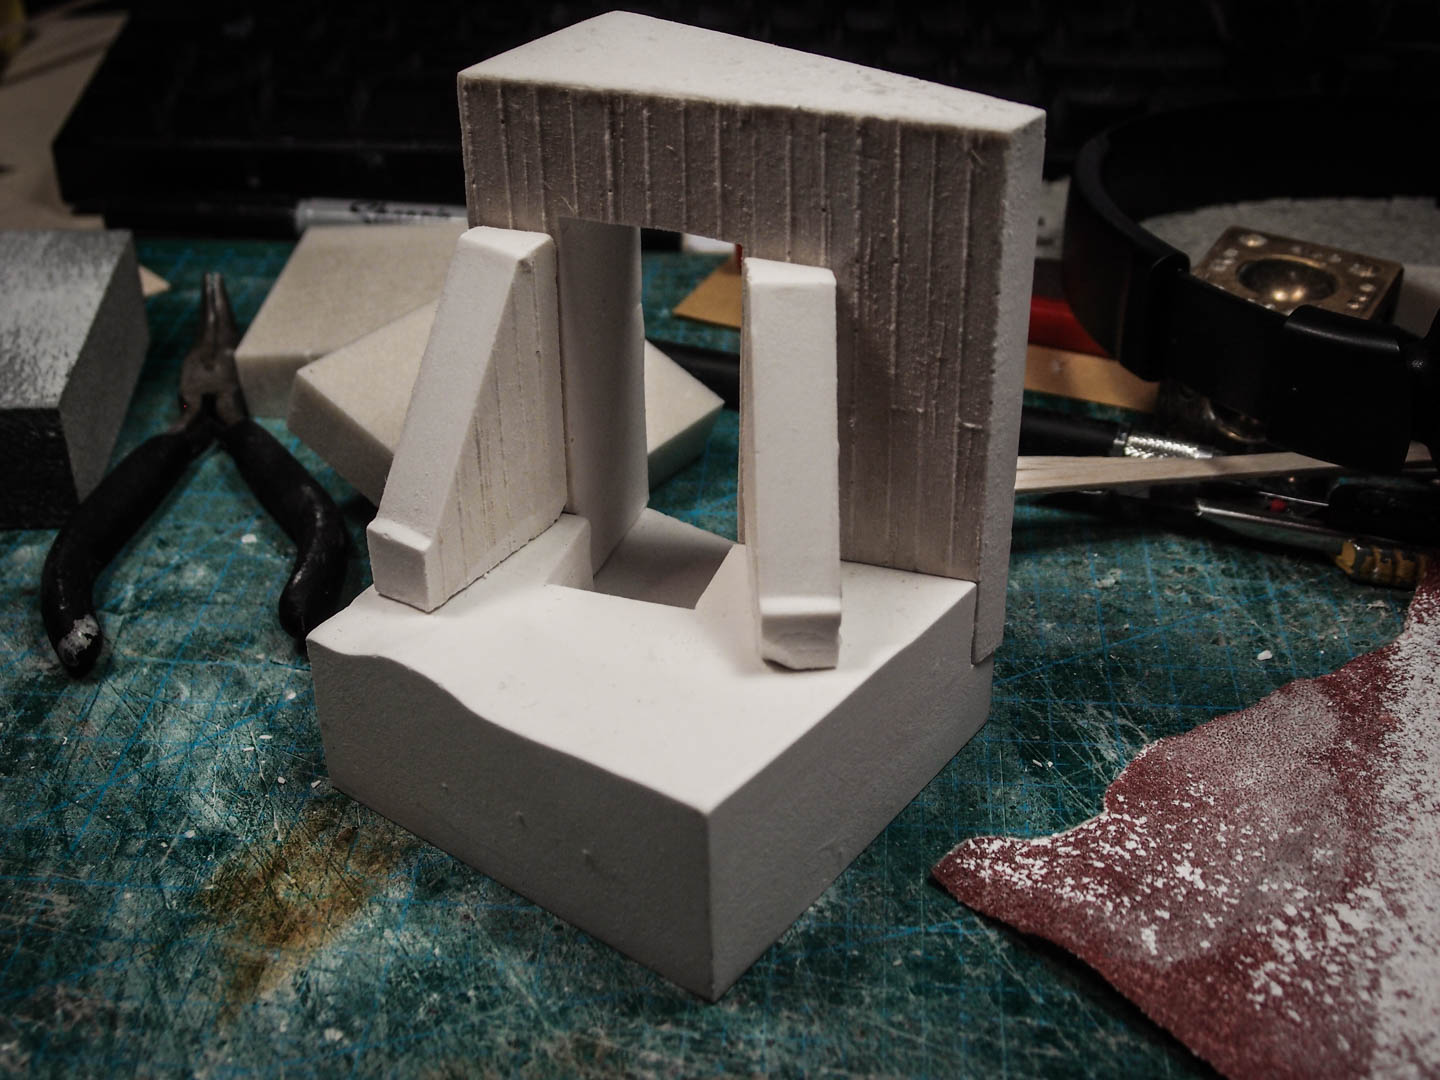
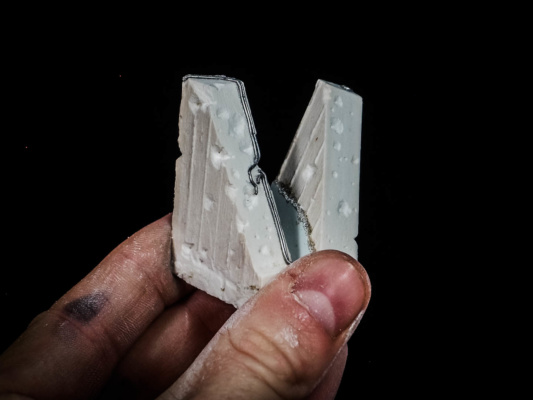
The two support diagonal reinforcements are now done.
Once again, the exposed parts are covered with wooden beams.
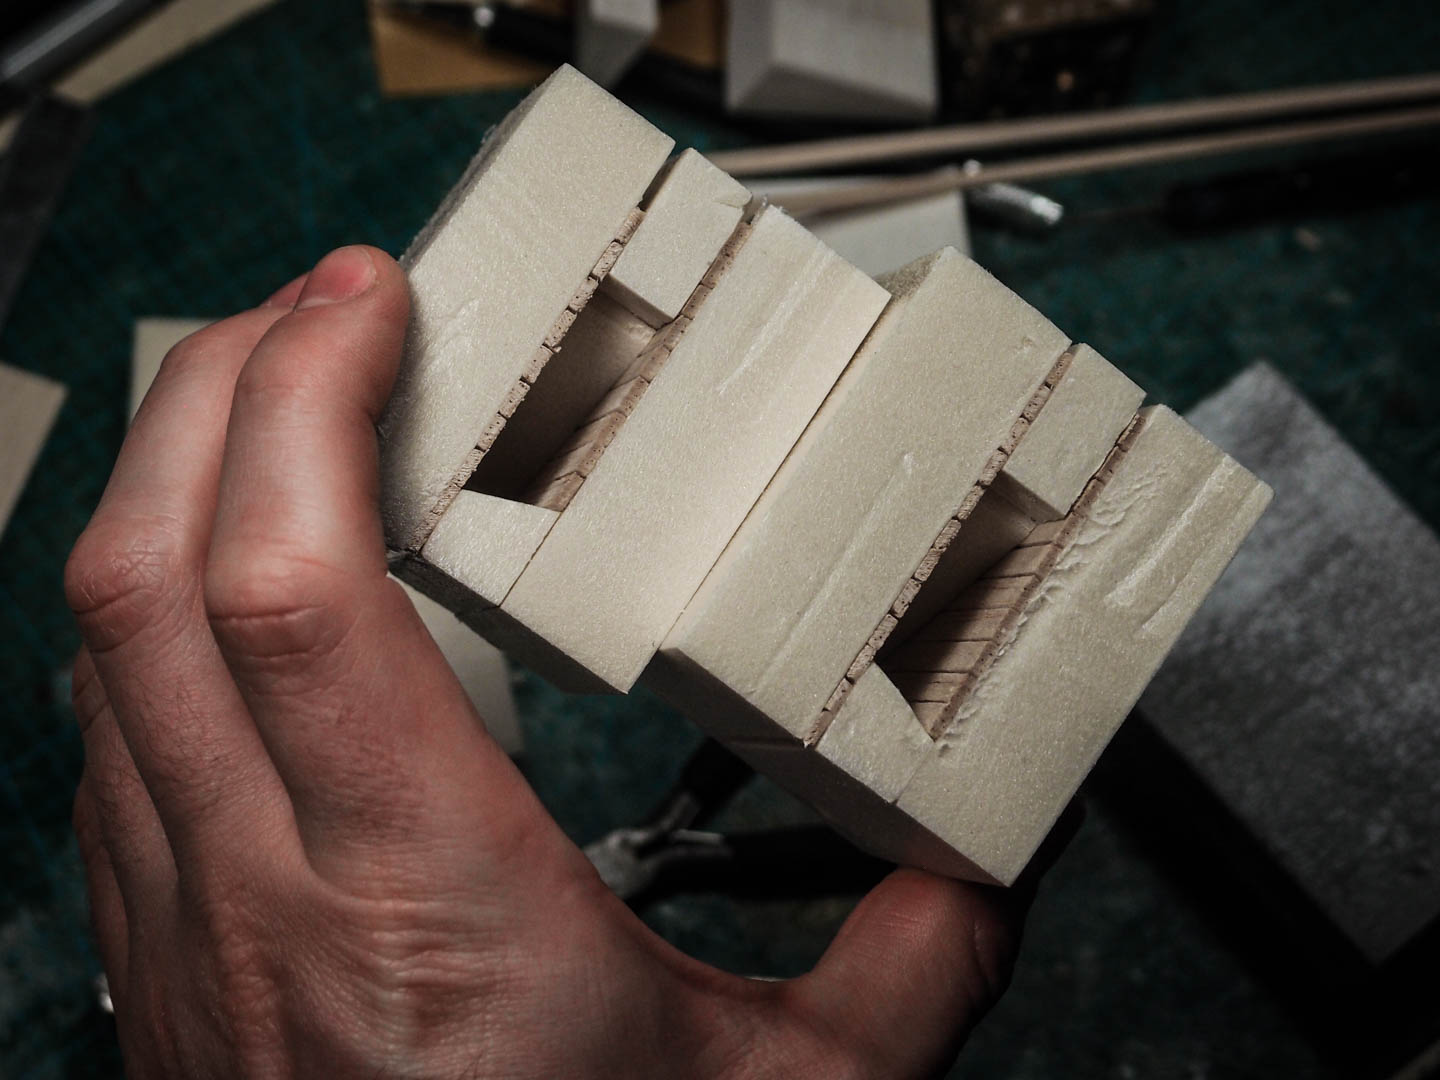
When extracting them, the texture is clearly shown. Some of it will be smoothed out.
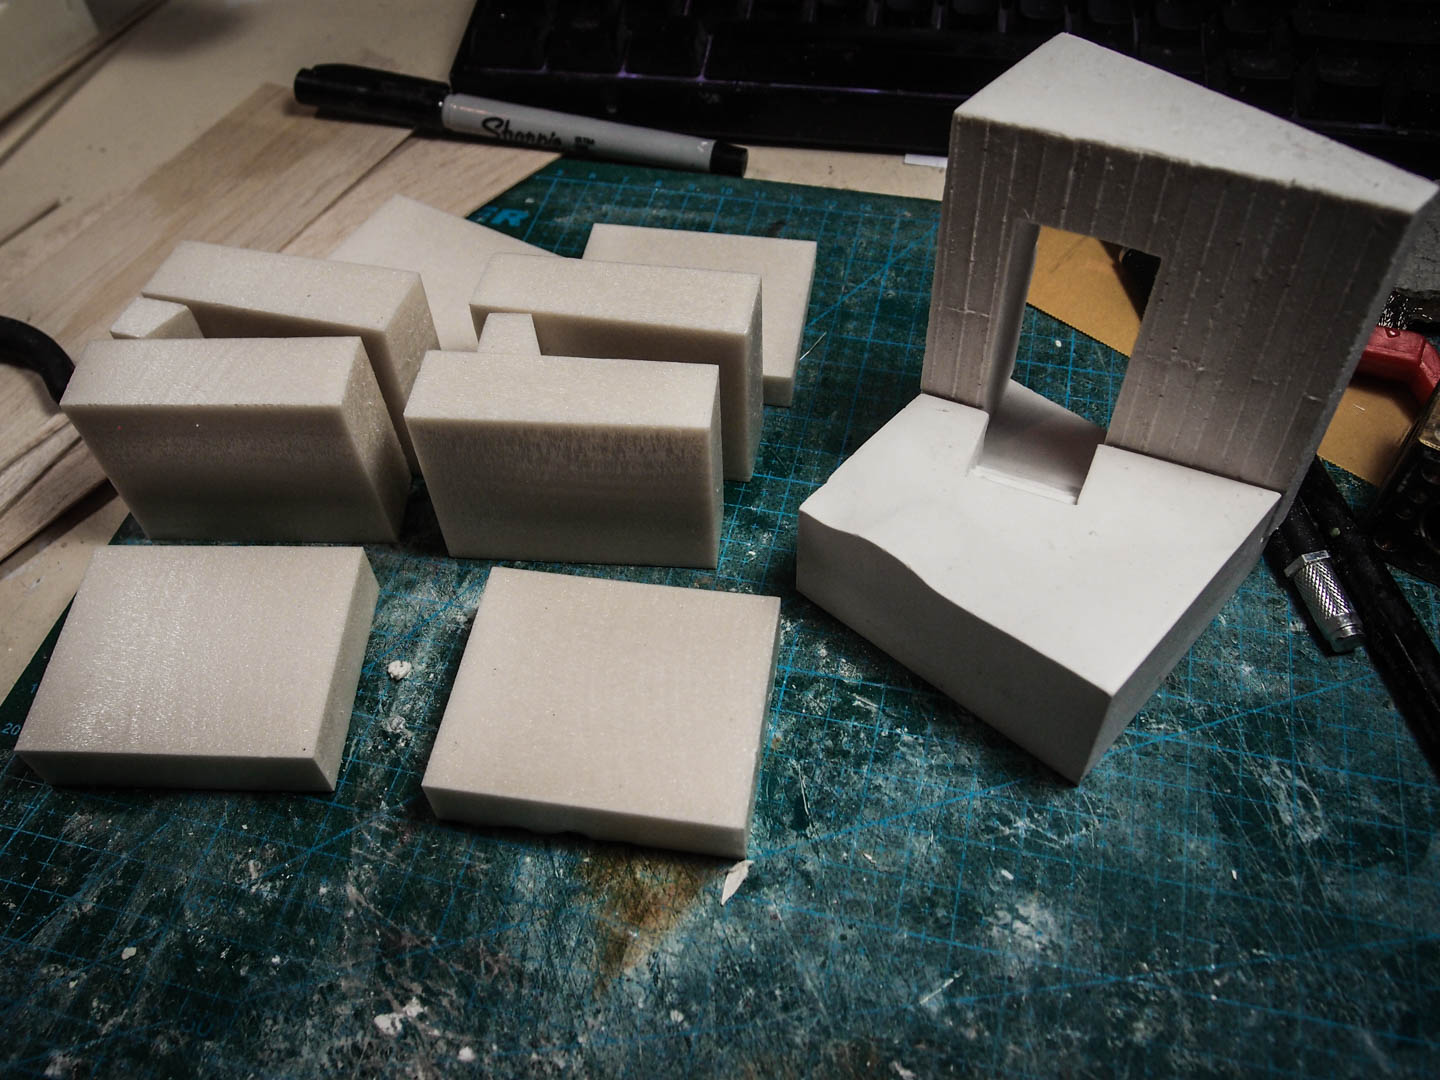
And here is the basic shape, only the top floor is missing.
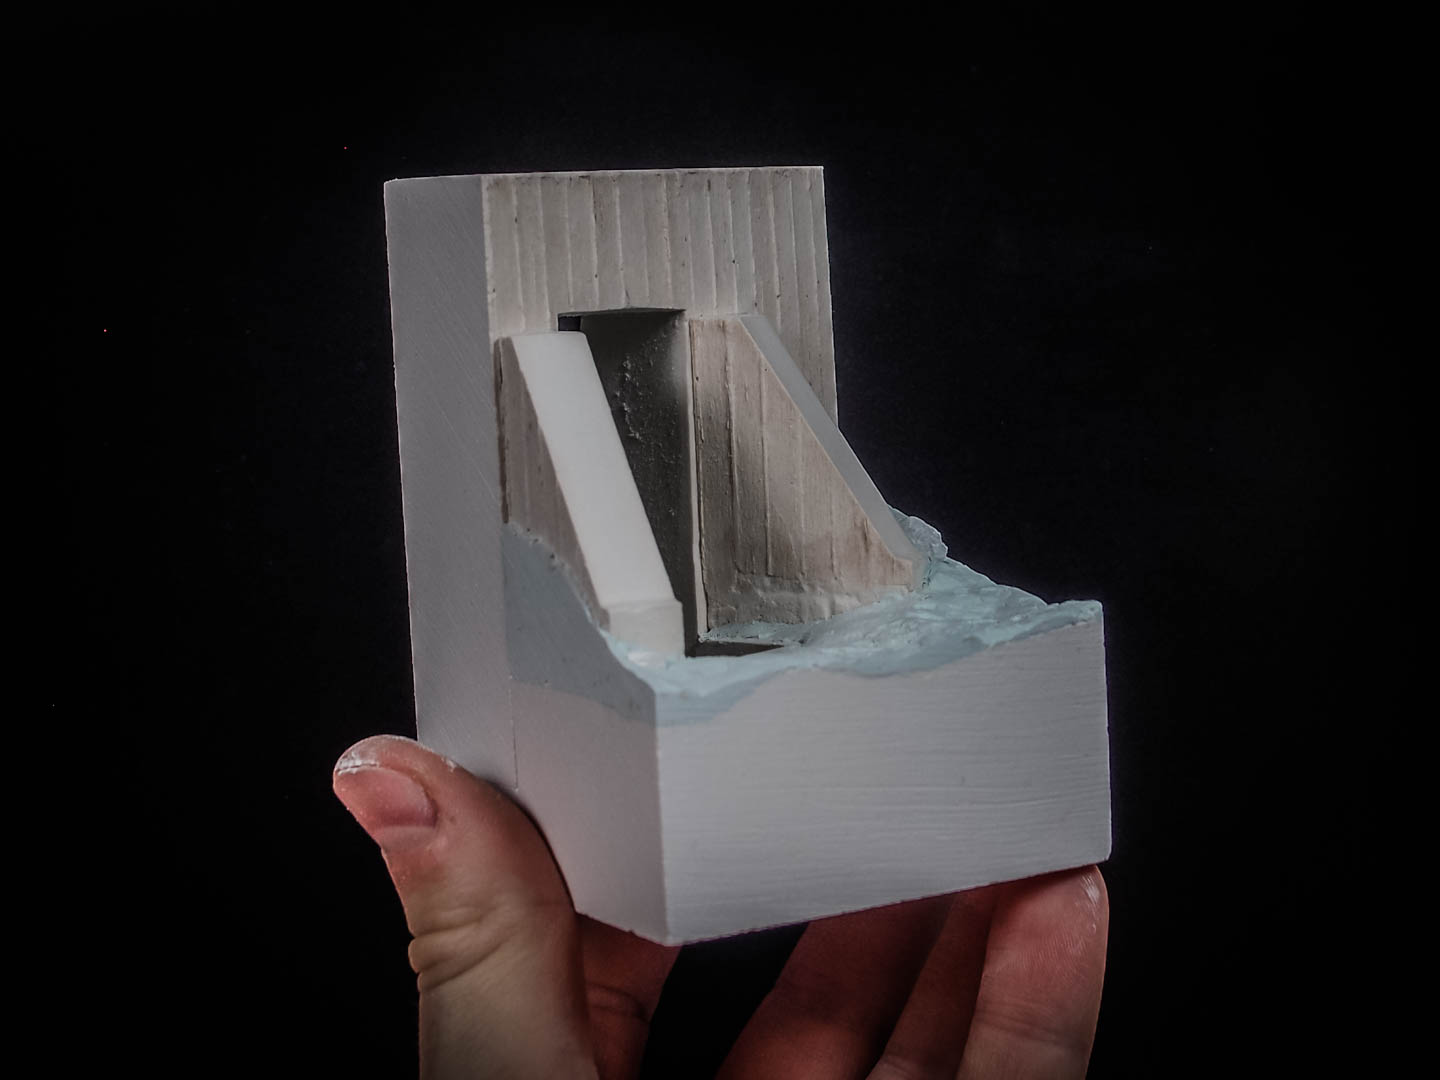
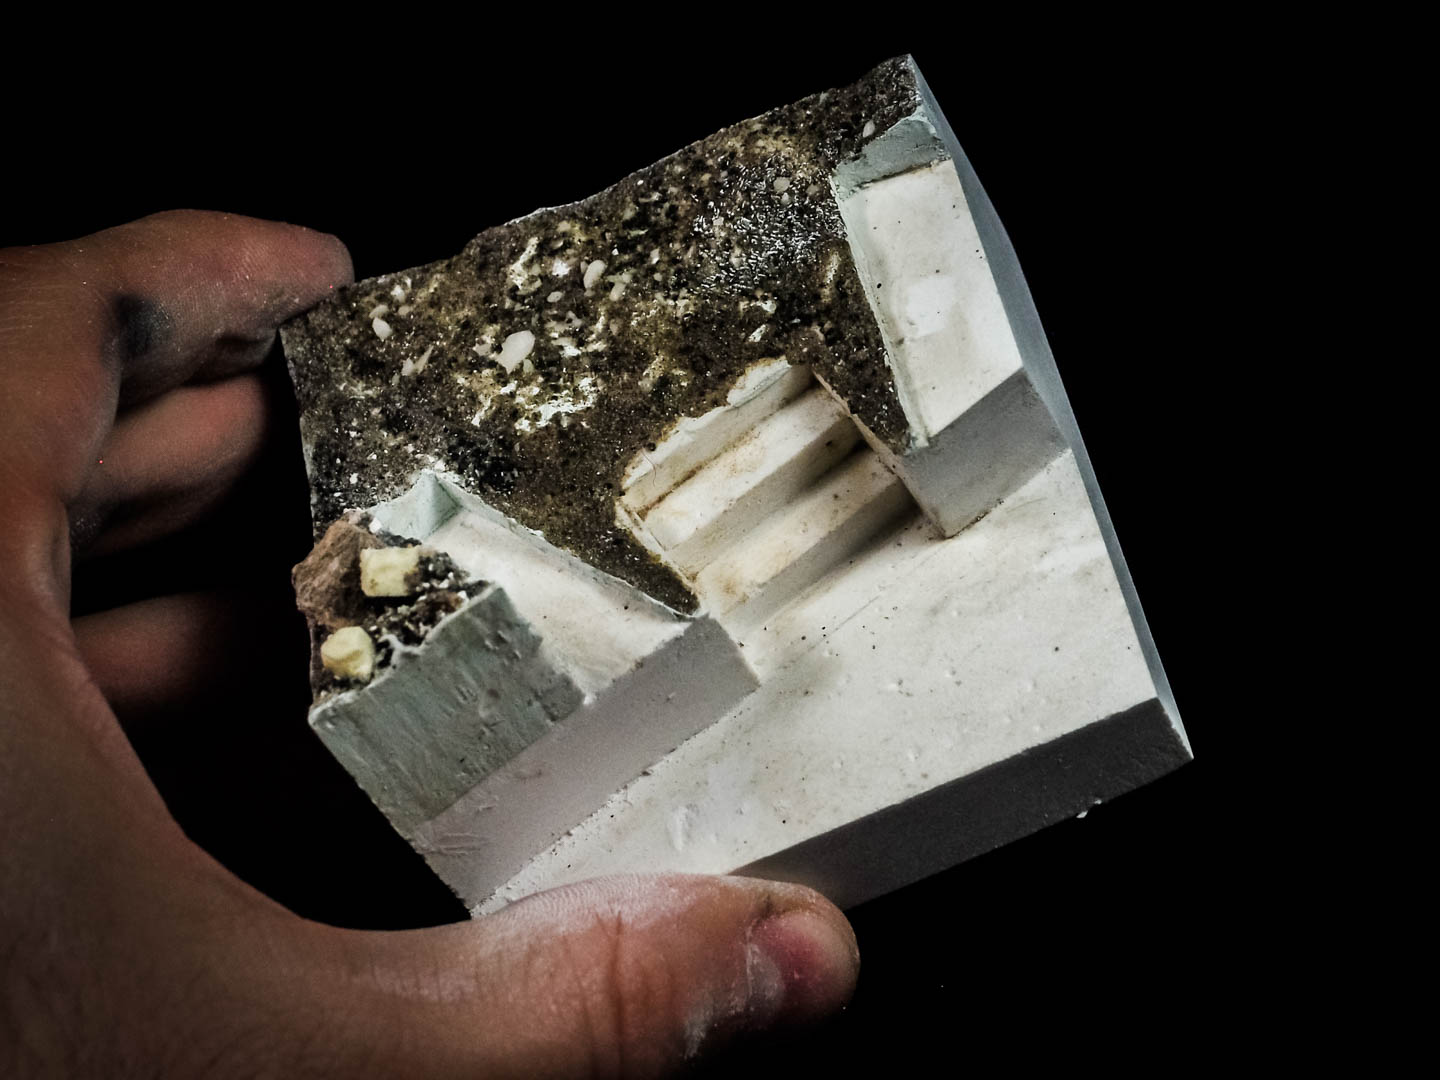
With Milliput I shaped the ground level. In particular, I wanted to have the ground raising a bit when reaching the wall. Once each part was cured, i sanded the sides in order to have a smoother result.
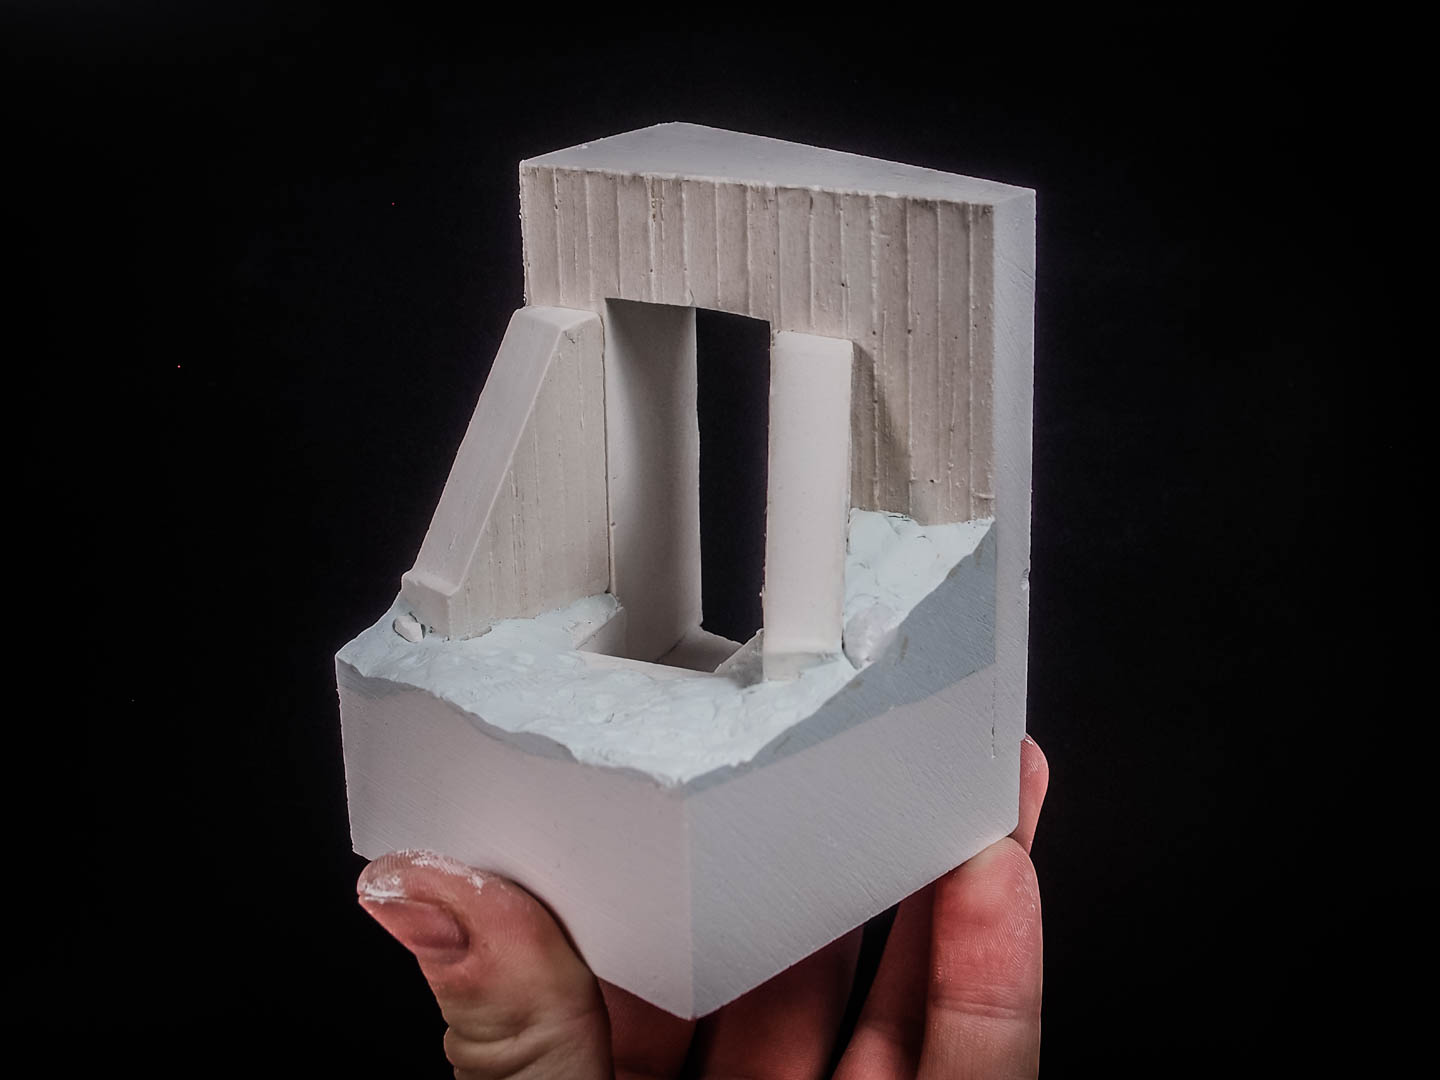
With a blend of sand grits, i added a believable texture on it.
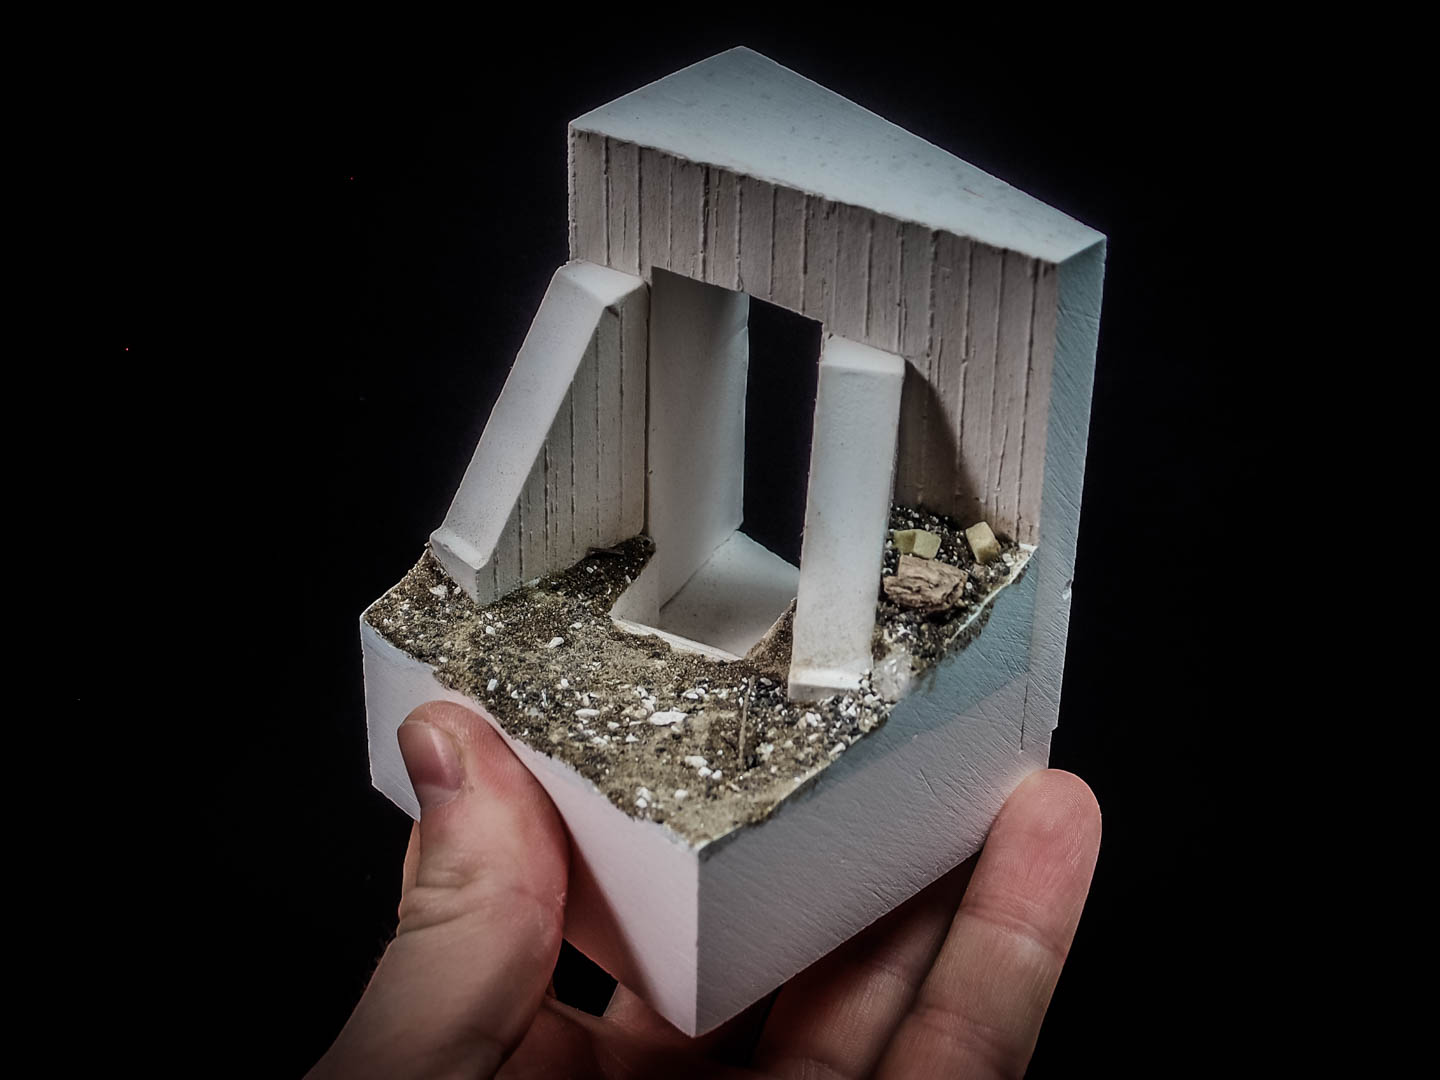
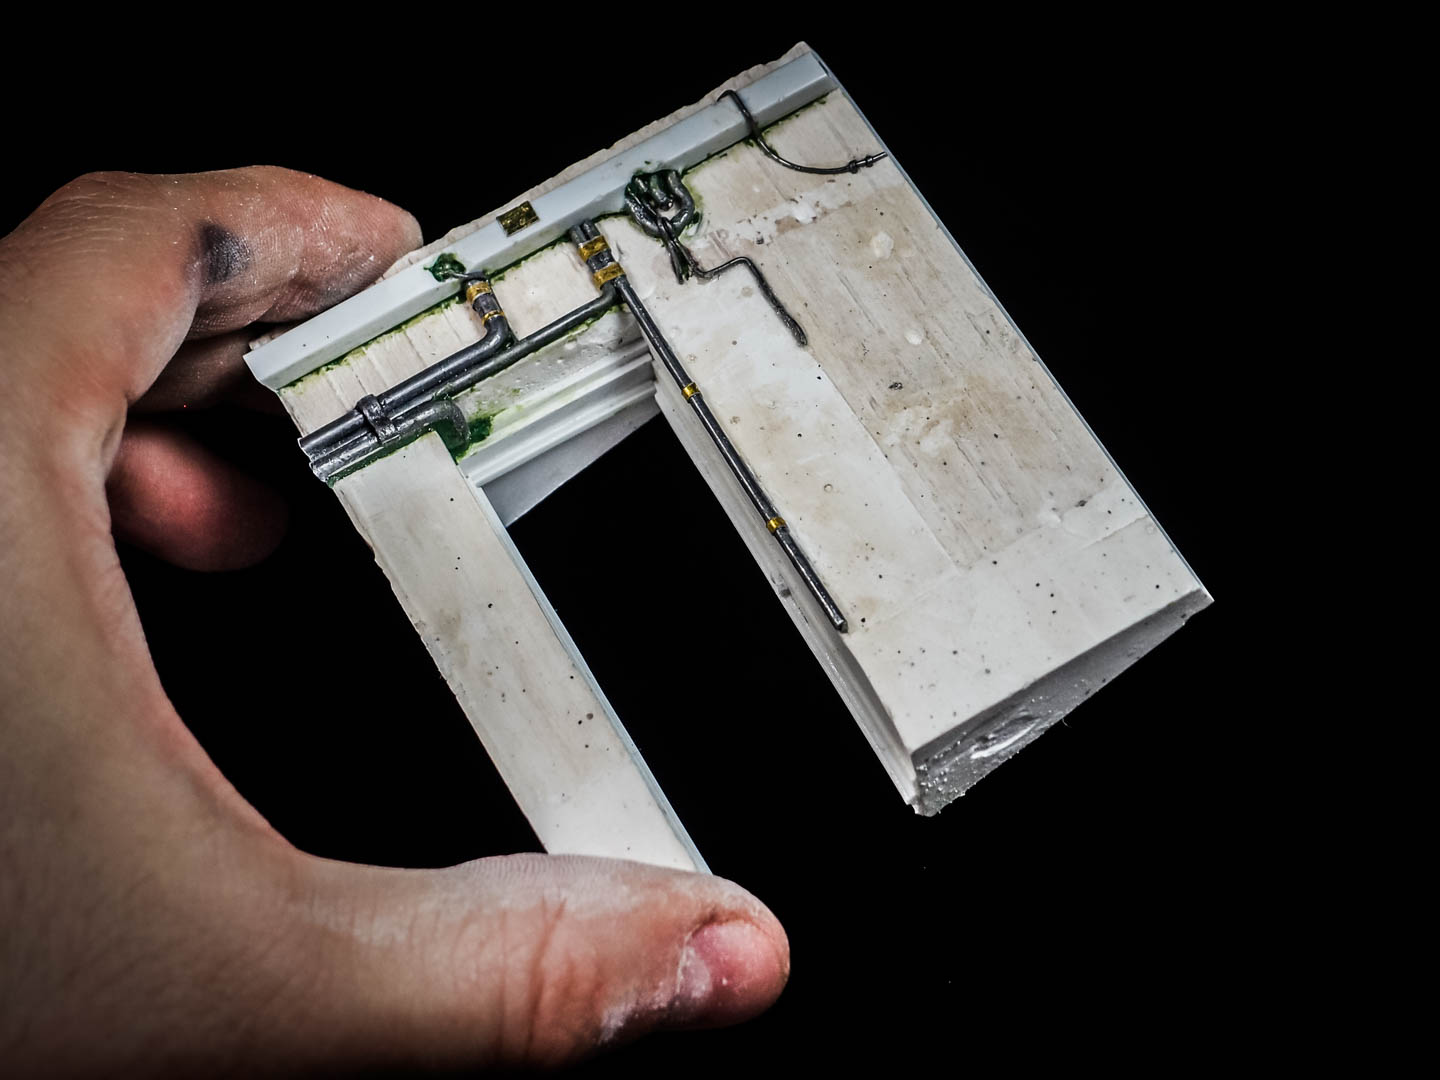
I finally made the roof section, and started adding details. All the cables and tubes on the piece are made of several different materials. The resin casting will blend them all together in a more consistent look.


A close-up of the various parts: 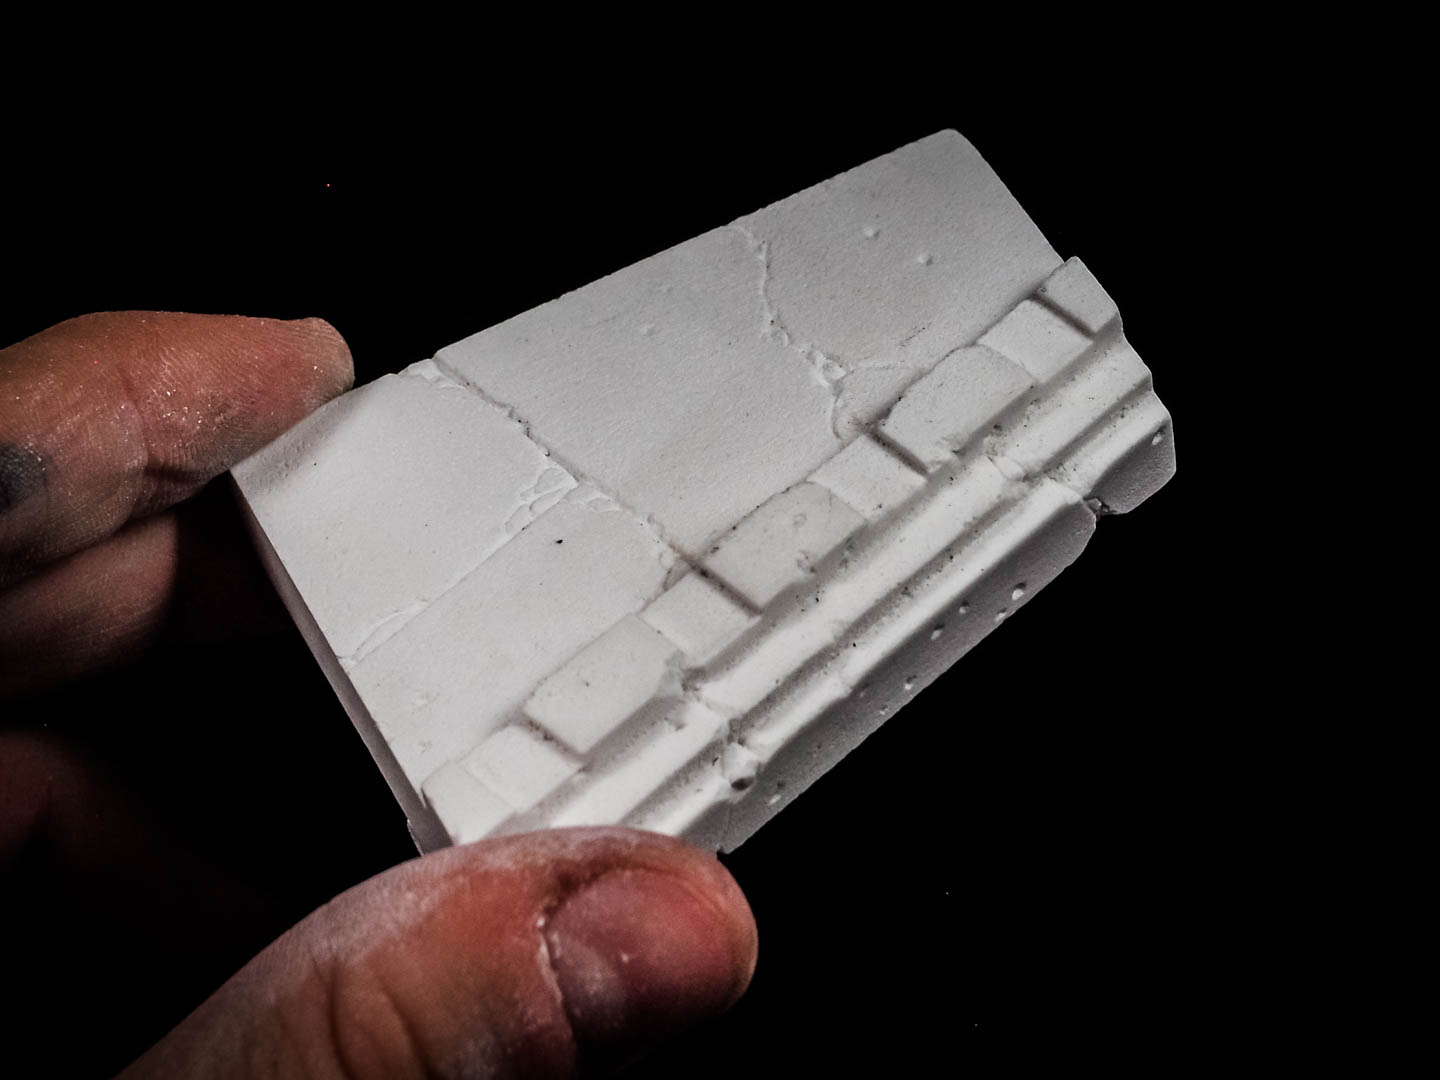
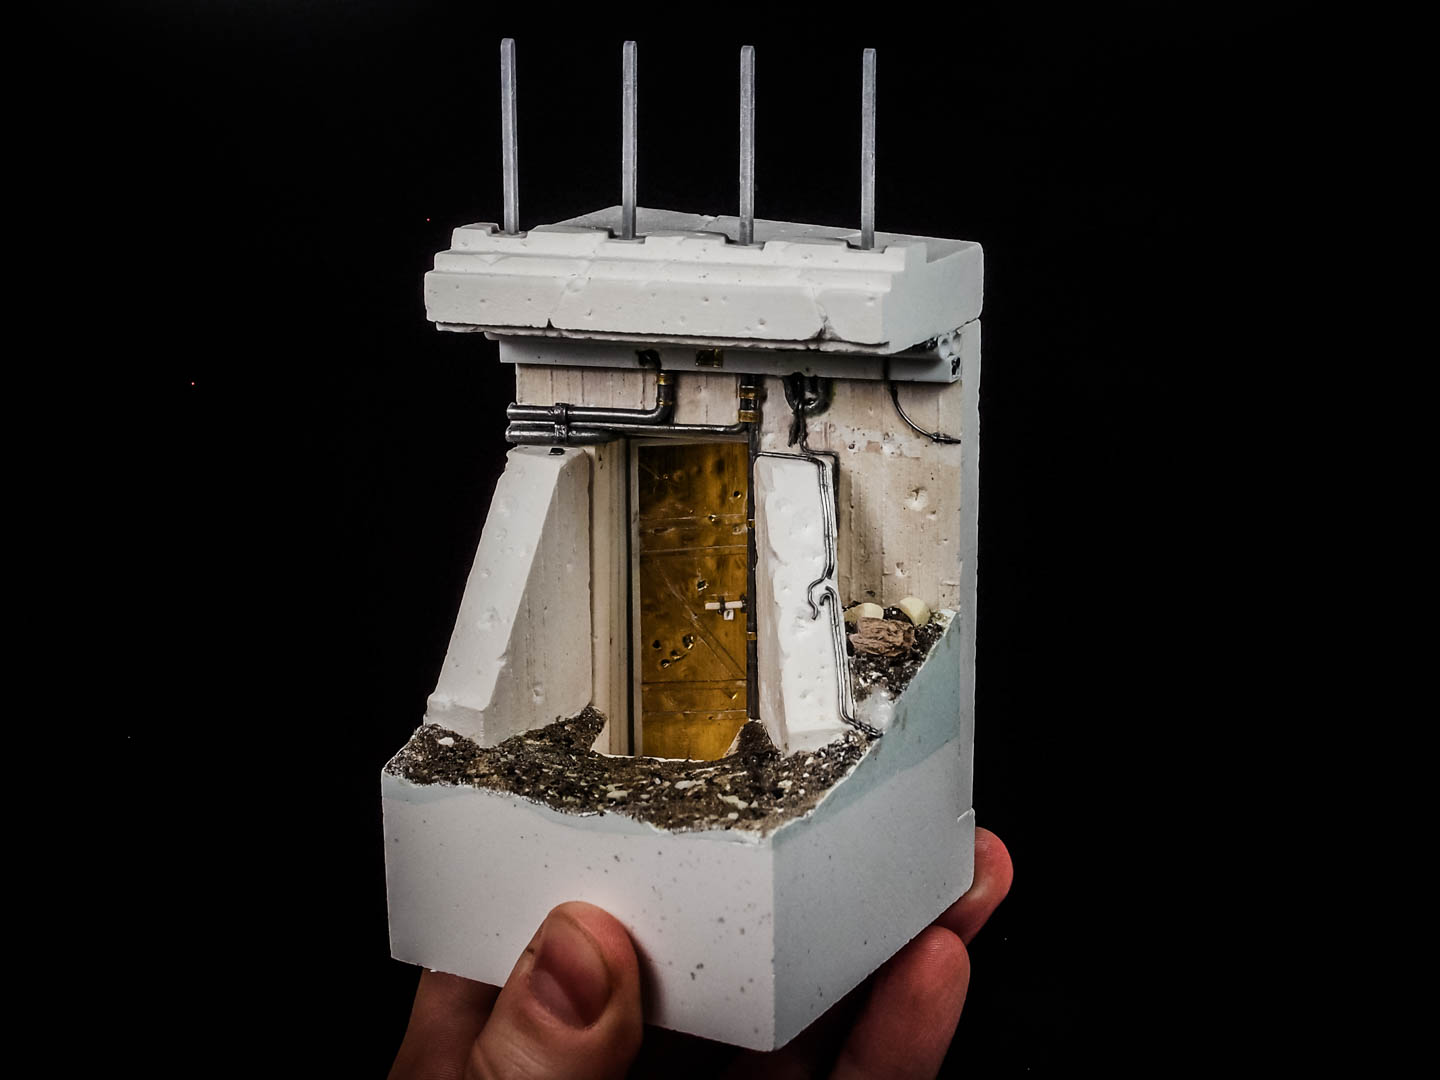
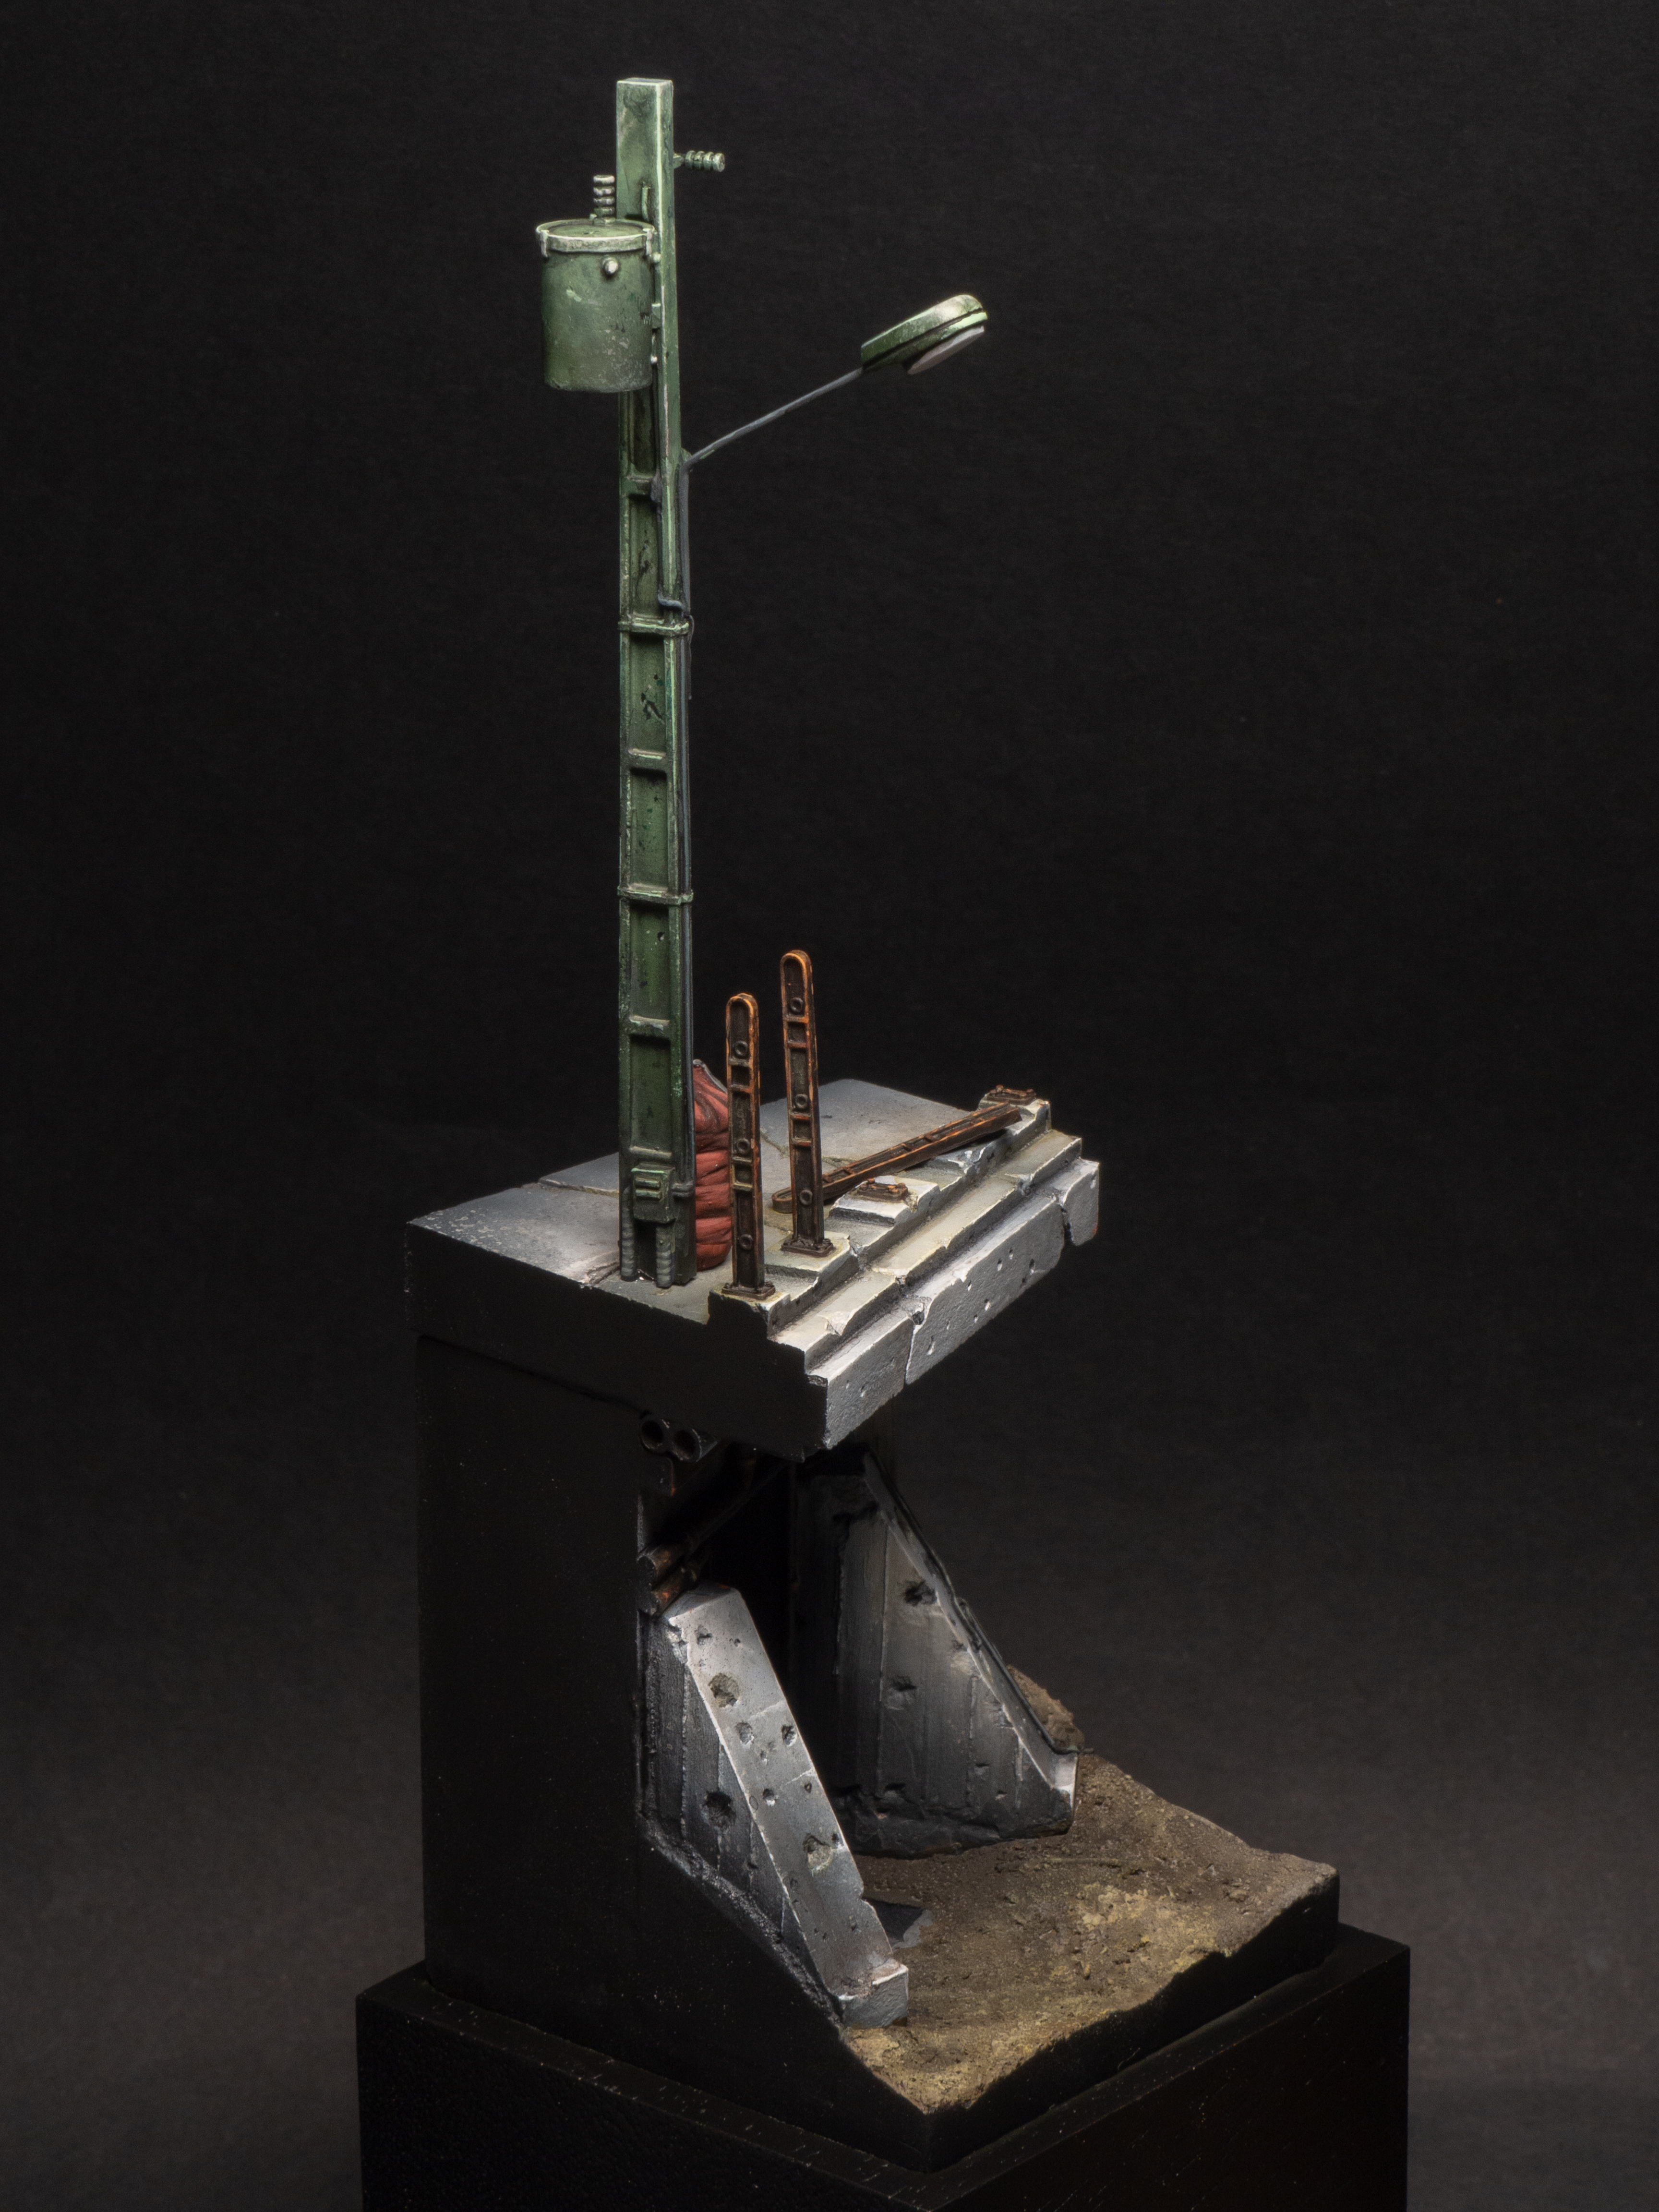
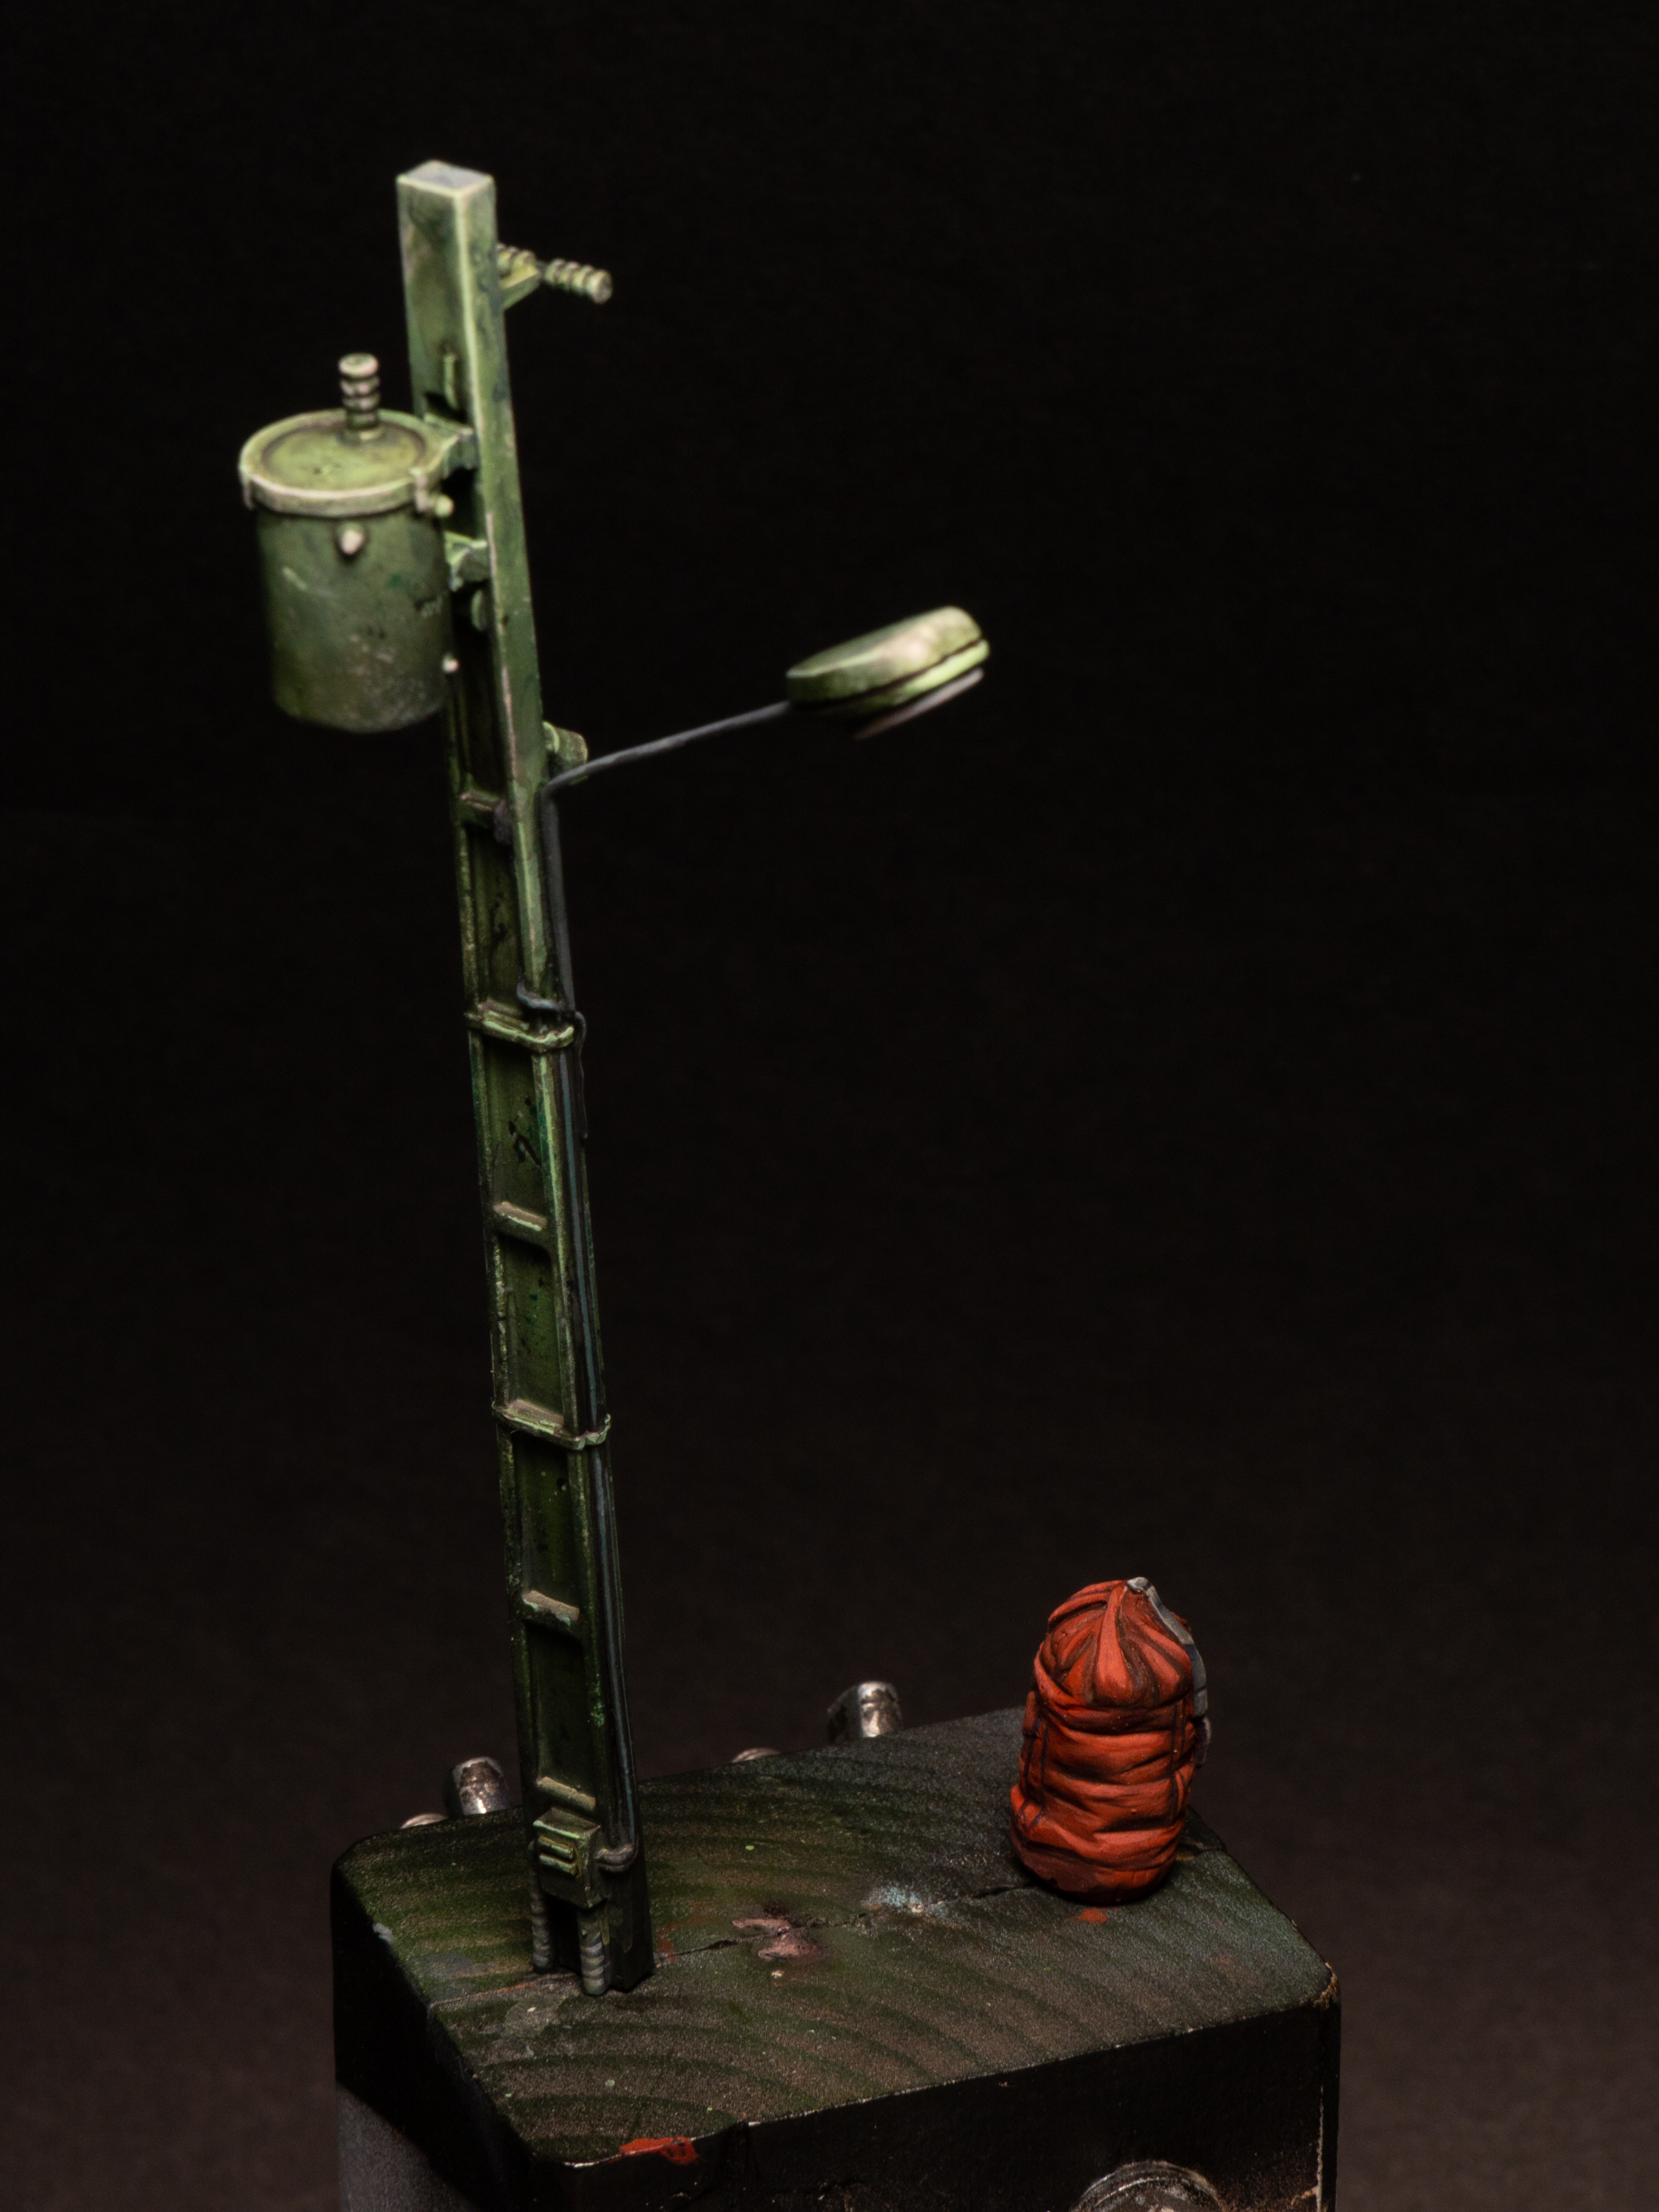
And here it is. Some pictures of the finished work below. The other small details were 3D modelled by me and printed. The whole diorama shown is painted by Gabriele Leni
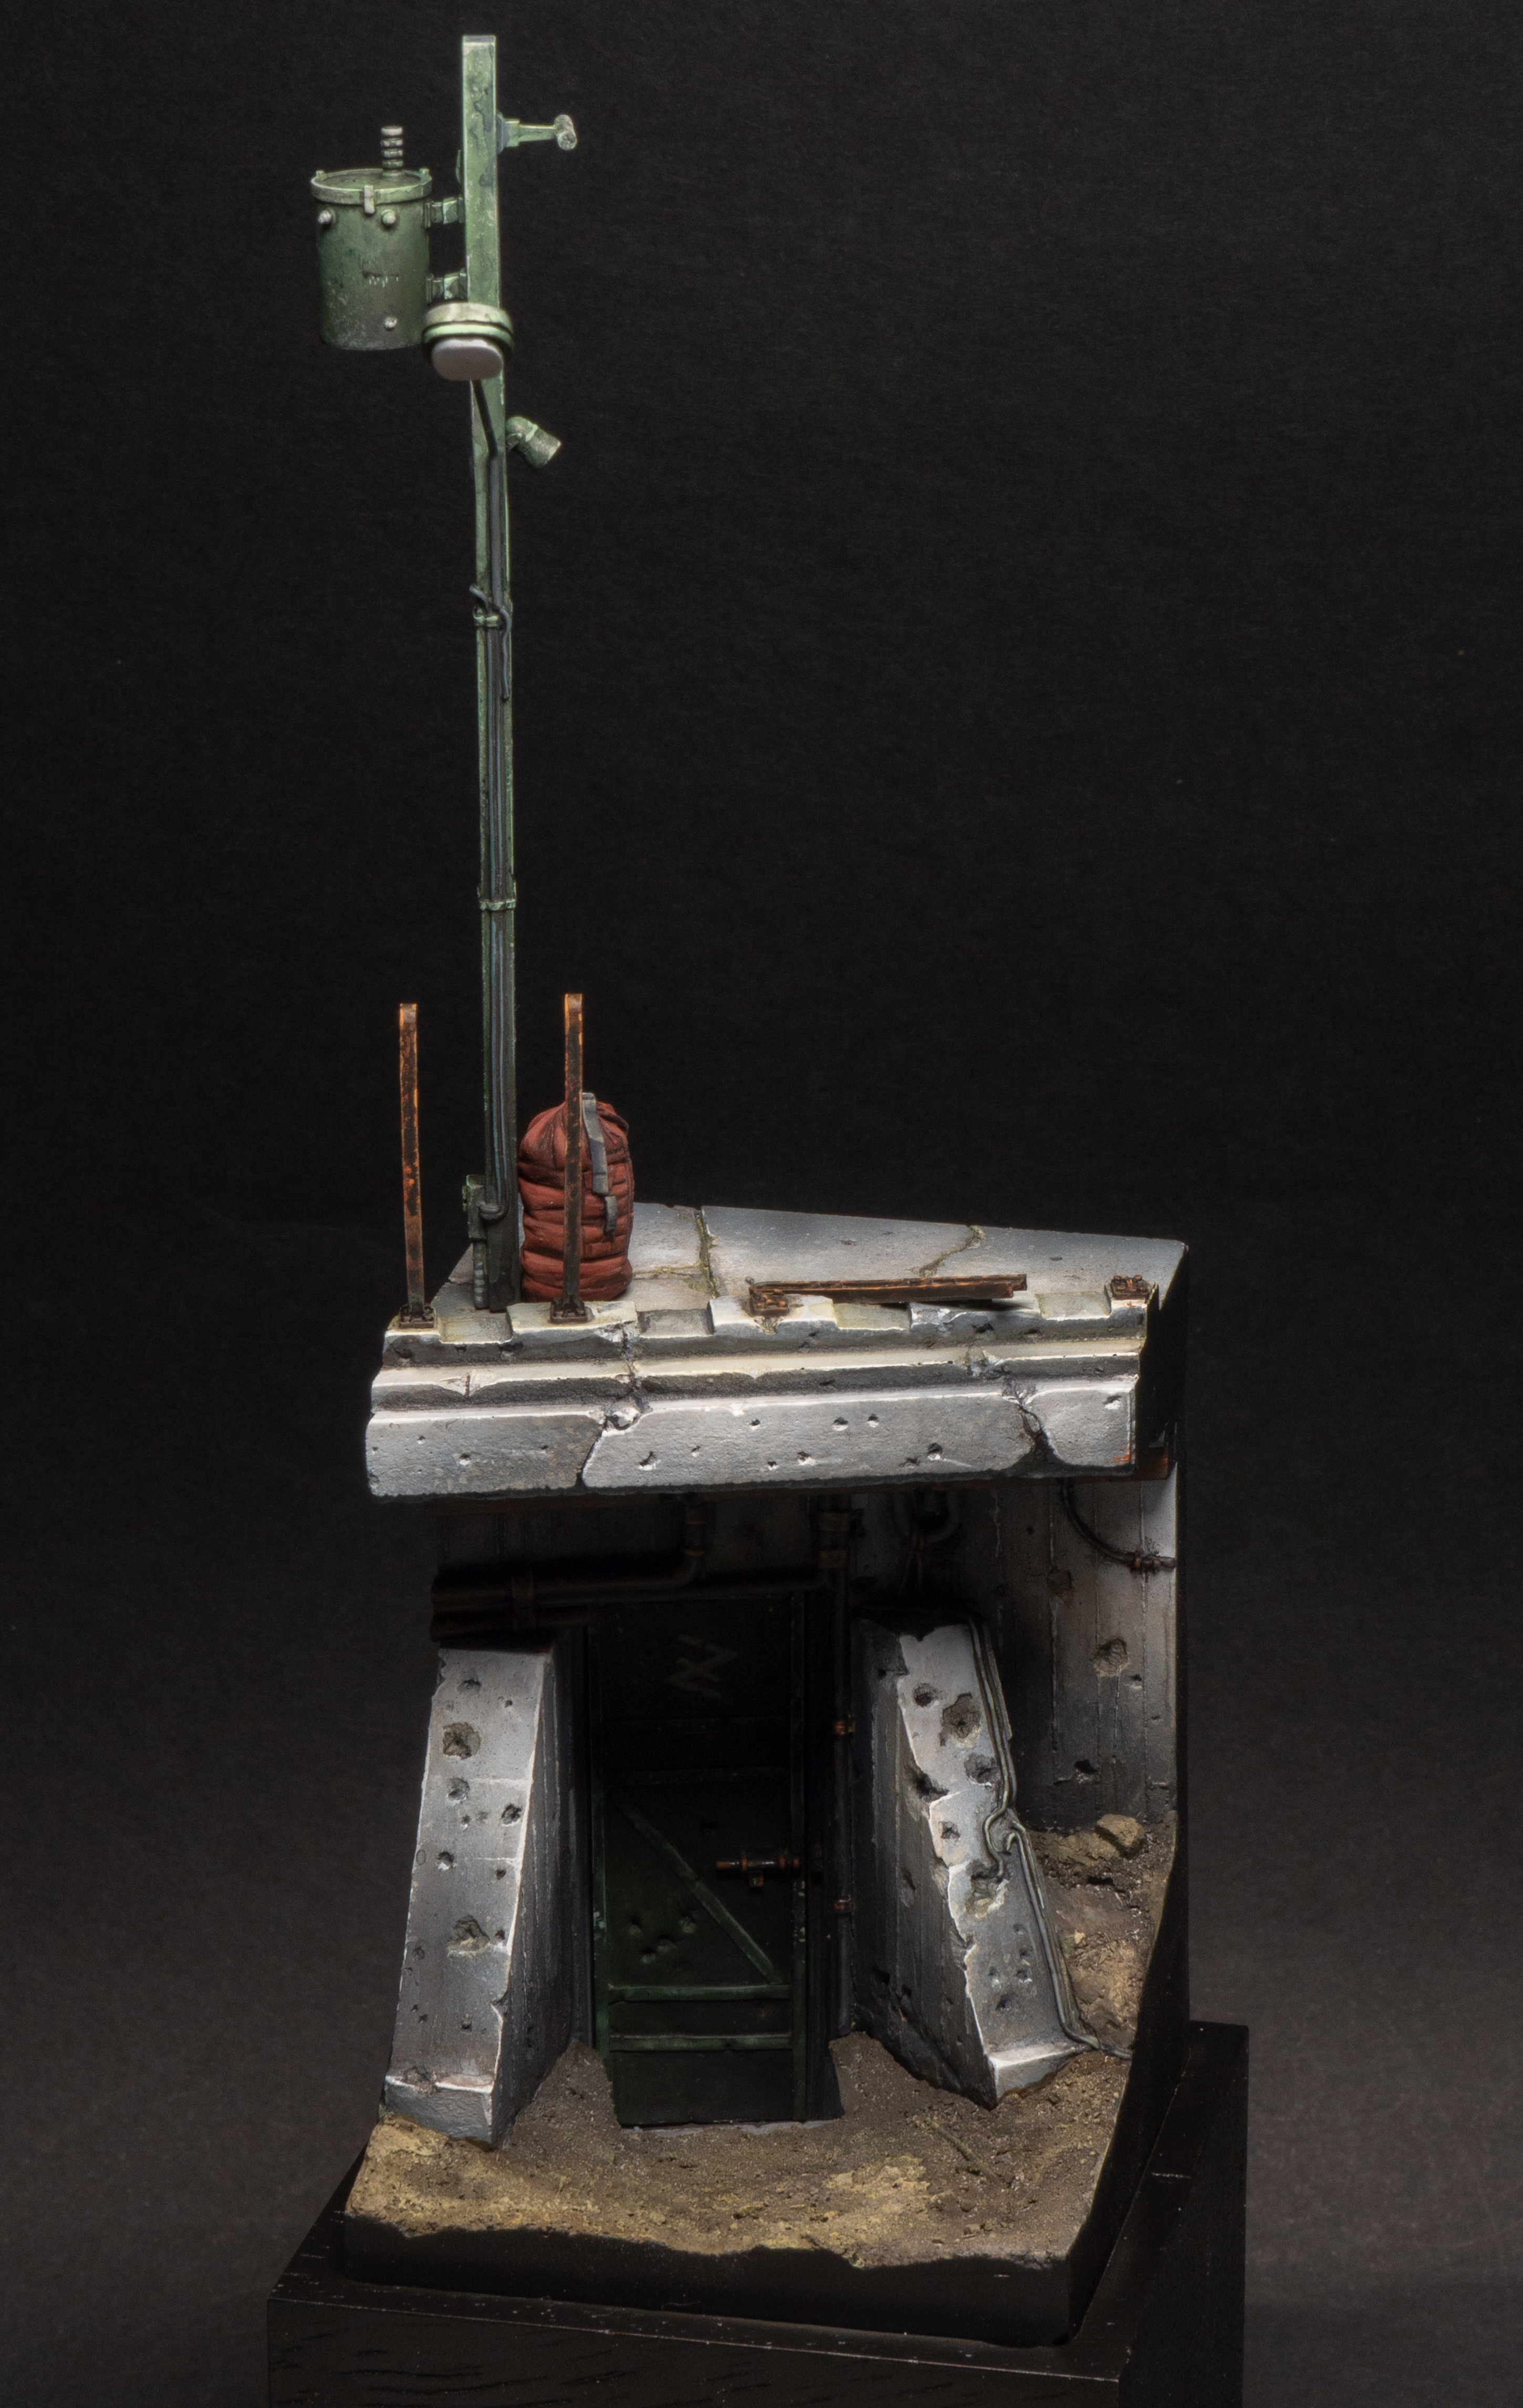

Cheers,
The Lazy One