Corrugated Meshes Advanced Tips
- Tutorial Type Techniques
Hi Everyone! Here we are with the second part, following the article about corrugated meshes.
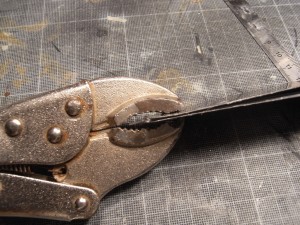
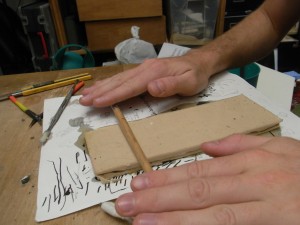
In the previous part we discussed how to create the presses for various patterns, with the tremendous pain of wrists and palms to achieve a sharp and accurate result. During the year that followed my first experiments I thought about some of those problems, and I found a simple solution to avoid too much pain. Basically, instead of two separated parts that must be joined together, fixed pliers can be used to block the two parts of the press together on one extremity. Using steel bases (extremely cheap plaster scrapers) instead of plasticard ones the procedure is much less error-prone: the pressure can be applied in any point, with no deformation of the tools.
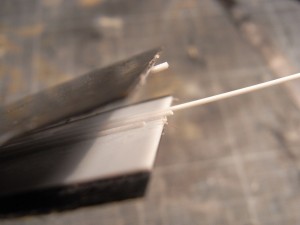
Between the two metal pieces there’s something quite similar to the old tools: a plastic sheet with rods and strips glued on it. In the case in the picture I prepared a standard corrugated tin pattern with a good number of ondulations in a single press, since the pressure I can apply is slightly higher.
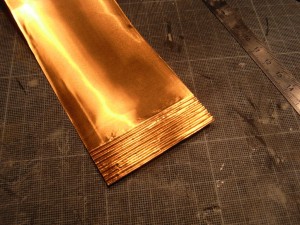
Once started shaping, the copper sheet started assuming this form. I continued until the whole piece was shaped.
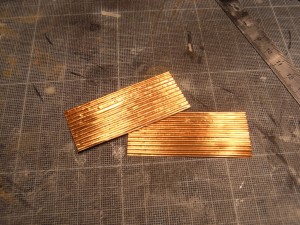
A common error among the modellers is to use the corrugated tin as an endless roll, and although this can be the case for roofing, generally the panels are tall and not that wide, so I cut them in regular shapes. The resulting pieces worked well, and believable.
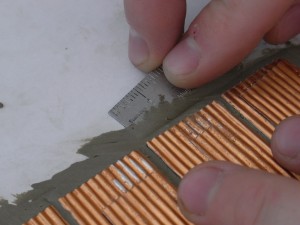
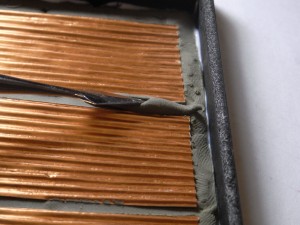
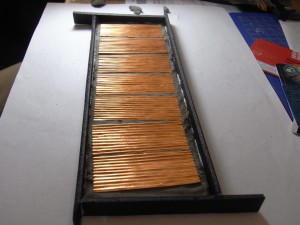
From those panels I decided to prepare a mold. Considering the nature of the sculpt, a two-sided mold was mandatory, and a quite large indeed. To place the panels in position I used plastiline, where I pressed each piece individually taking care to fill any gap on the edges.
It’s also important to test the plastiline with the silicon beforehand, as several of them react with the silicon ragents, resulting in a sticky goo and in the loss of the master sculpt.
Once finished, each panel was perfectly surrounded by the plastiline, forming a small protrusion. It is important to have an assymetry in the mold faces, as one (in this case, the second one) must be able to gather the liquid resin in position as long as it doesn’t start to solify: that’s a fundamental point for the “sandwitch casting” technique.
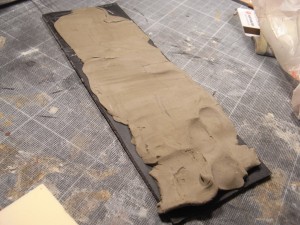
To pour the silicon I built a quick foamcore box, glued in position with PVA glue. The rubber then is left curing for a full day until completely hardened.
After that, the plastiline is removed while the panels are left attached to the silicon; the surface is then covered with a release agent – in my case, skin cream – and another layer of silicon is applied on the other side of the panels. No photo for this step, i’m afraid.
Once the second side has cured, it’s time to remove the copper panels. It’s unavoidable: those will bend, and you won’t be able to use them again. That’s the way it is, and that’s not that terrible as long as the mold is healthy and capable to produce new masters. Actually, if you’ll read this article to the end, you’ll discovered that I lied. They can be reused, but in a different way.
Casting with a bivalve mold is quite more complicated than for simple flat-sided molds. It’s complicated to prepare the air channels and some bubbles will always remain trapped while casting. In this case, with such a thin and wide mold, the problem is even more visible. What you can do in this case, however, is using the “sandwitch” technique: no air channels, basically just pressure.
To do so, I poured the resin on both sides, filling each part and admittedly wasting a good portion of it. Then I waited until the resin was half cured. When it had the consistence of the honey, I just pressed the two part together (keeping an eye on the alignment, and of course on the direction of the two faces), applying an even pressure throughout the mold surface. This way, all the excess resin is squeezed out, together with air bubble. With this panels the amount of resin involved was so little that the waste was limited, although the same approach shouldn’t be used for larger casts.
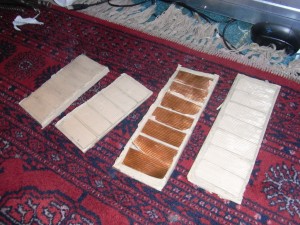
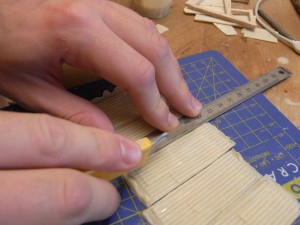
Once the resin hardened, i estracted the whole piece, with all the 6 panels together. The “sandwitch” technique left a bit of thick flesh around the casts, but it also is easily removable since along the edge of the panels. When the resin is still warm, it is soft and really easy to cut: it takes only a few moments to cut the panels in parts.
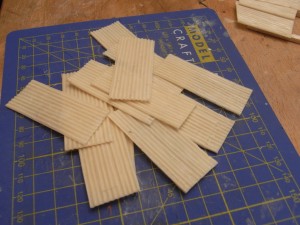
And that’s the outcome. Panels, with a perfect profile, quite thin. Pressing more I could have obtained even thinner panels, almost transparent, and pressing less I could do something suitable for “structural” constructions, where realism can be put apart in favor of solidity!
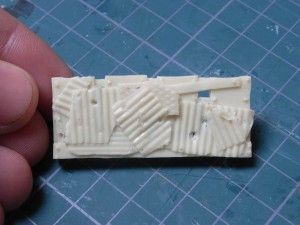
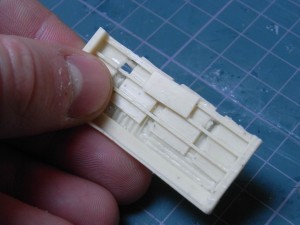
With the same technique, a little more elaborated pieces can be obtained. That’s an old test piece I made with a few corrugated panels and plasticard: the mold is a sandwich, and the result is pretty neat! Here, with a smaller cast and a more solid mold the flesh lines are even thinner, and the details are kept well on both sides.
Cheers
The Lazy One

