
The Lazy Forger / Techniques
Corrugated Meshes
Hi everyone!
I am finally sharing here my experiences about producing my own corrugated metal sheets. I started trying some basic experiments inspired by a simple tutorial on Triplozero, and I developed a little more the same concept, ending up with various types of meshes. Those could be now used for roofing, wall structures or even beaming or even container walls.
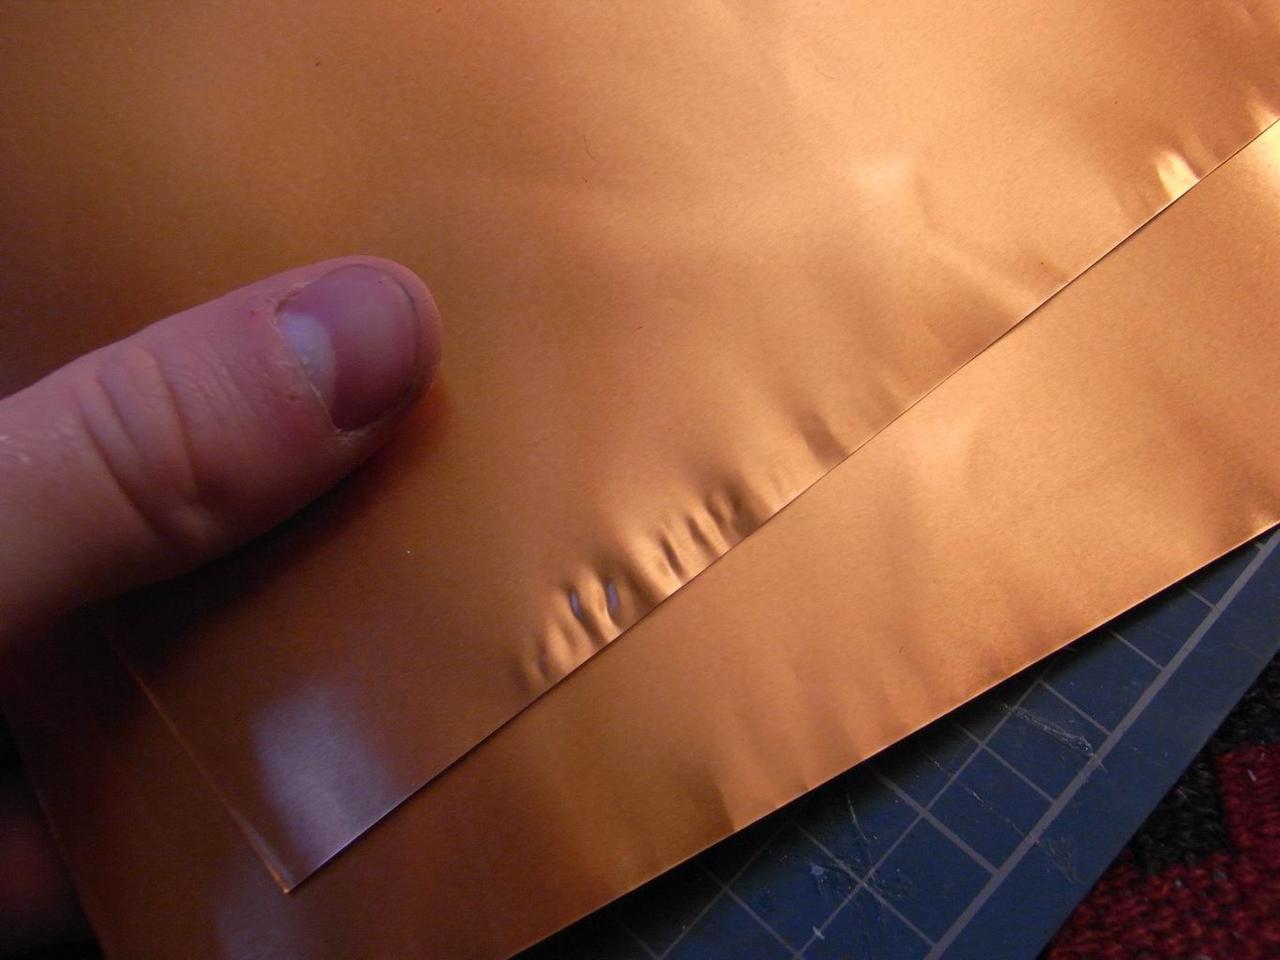
First of all, the material: Since pure copper was too expensive for a poor young modeler like I was, I bought some aluminium with a copper finish which is virtually useless, but makes it look like copper.
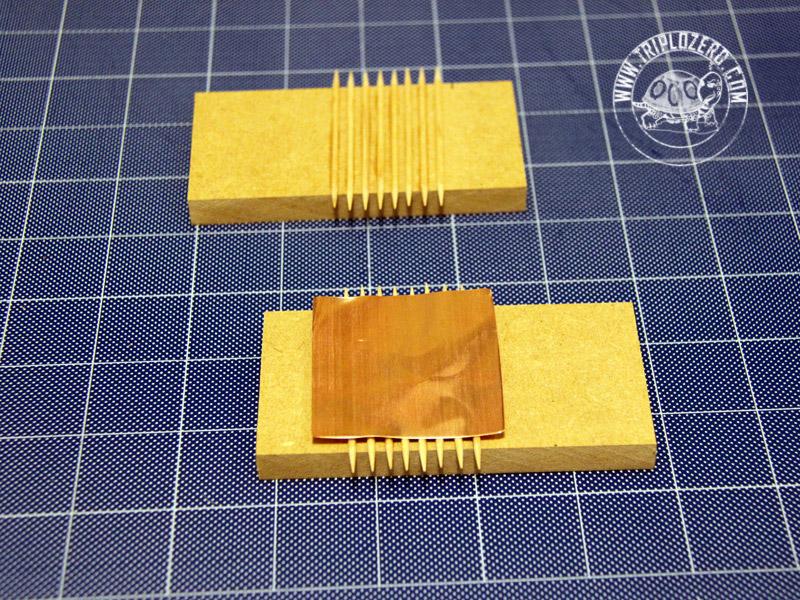
In the Triplozero article linked above they suggest using toothpicks to make the press and space the twirls evenly, but the final size of the corrugation is not fit for 28mm models, let alone 15mm. It could however work well for 54mm dioramas, and the toothpicks are easier to obtain.
Since I wanted something finer and with particularly shaped patterns, I preferred to use Evergreen rods glued on a thick plasticard base, in order to obtain a solid tool with a controlled pattern.
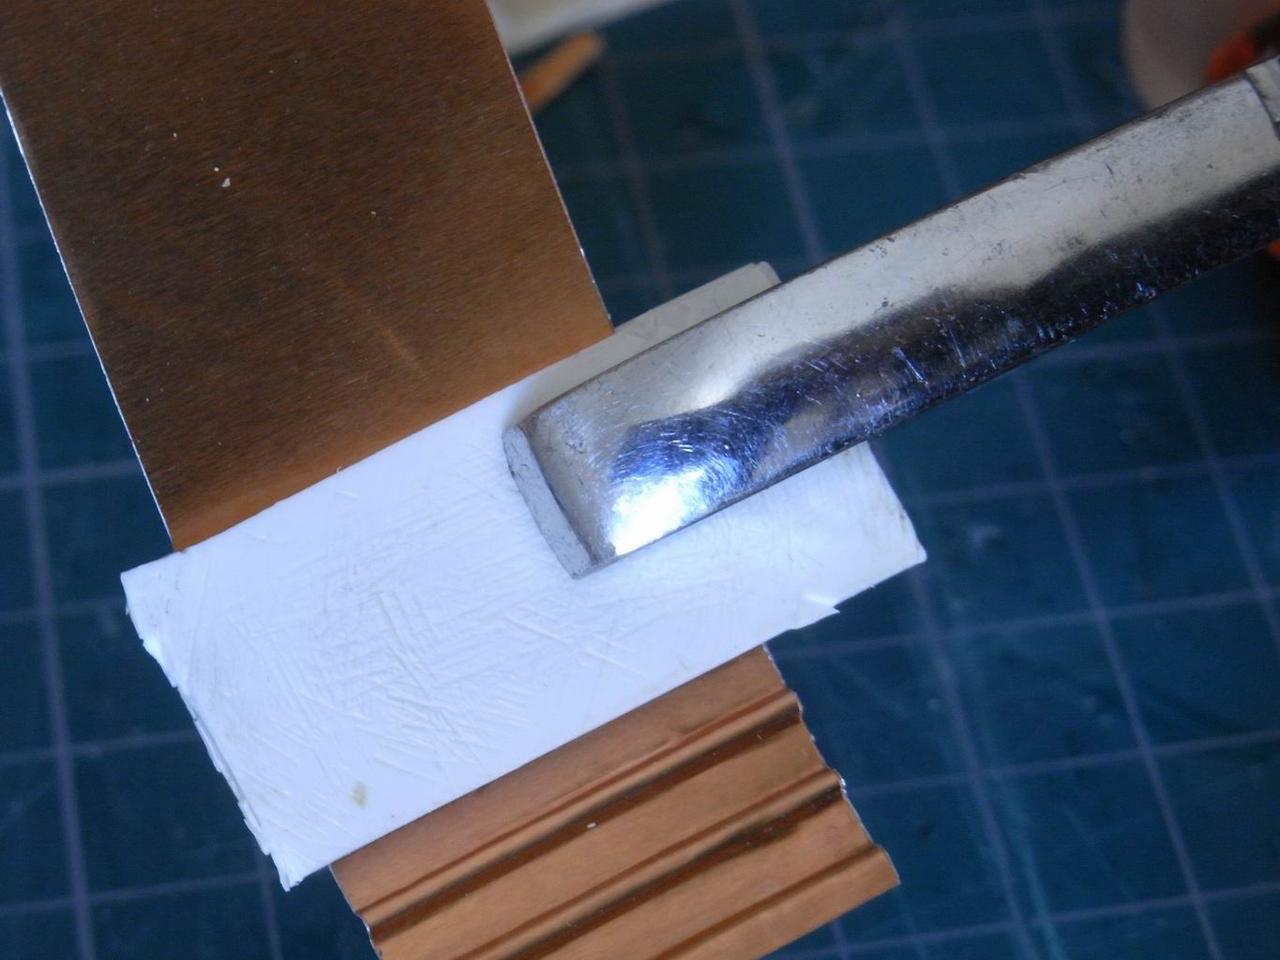
In a general perspective the two sides of the press must have a complementary pattern so that they fit one in the other. A good half mm must be left between the presses to allow the metal sheet to bend rather than being cut by the pressure.
For asymmetrical patterns two shapes of rods will be applied on the press faces, but the concept remains unchanged: just remember that the press will be -erm- pressed with a lot of -erm, again- pressure, and if the pattern is too fine it could break.
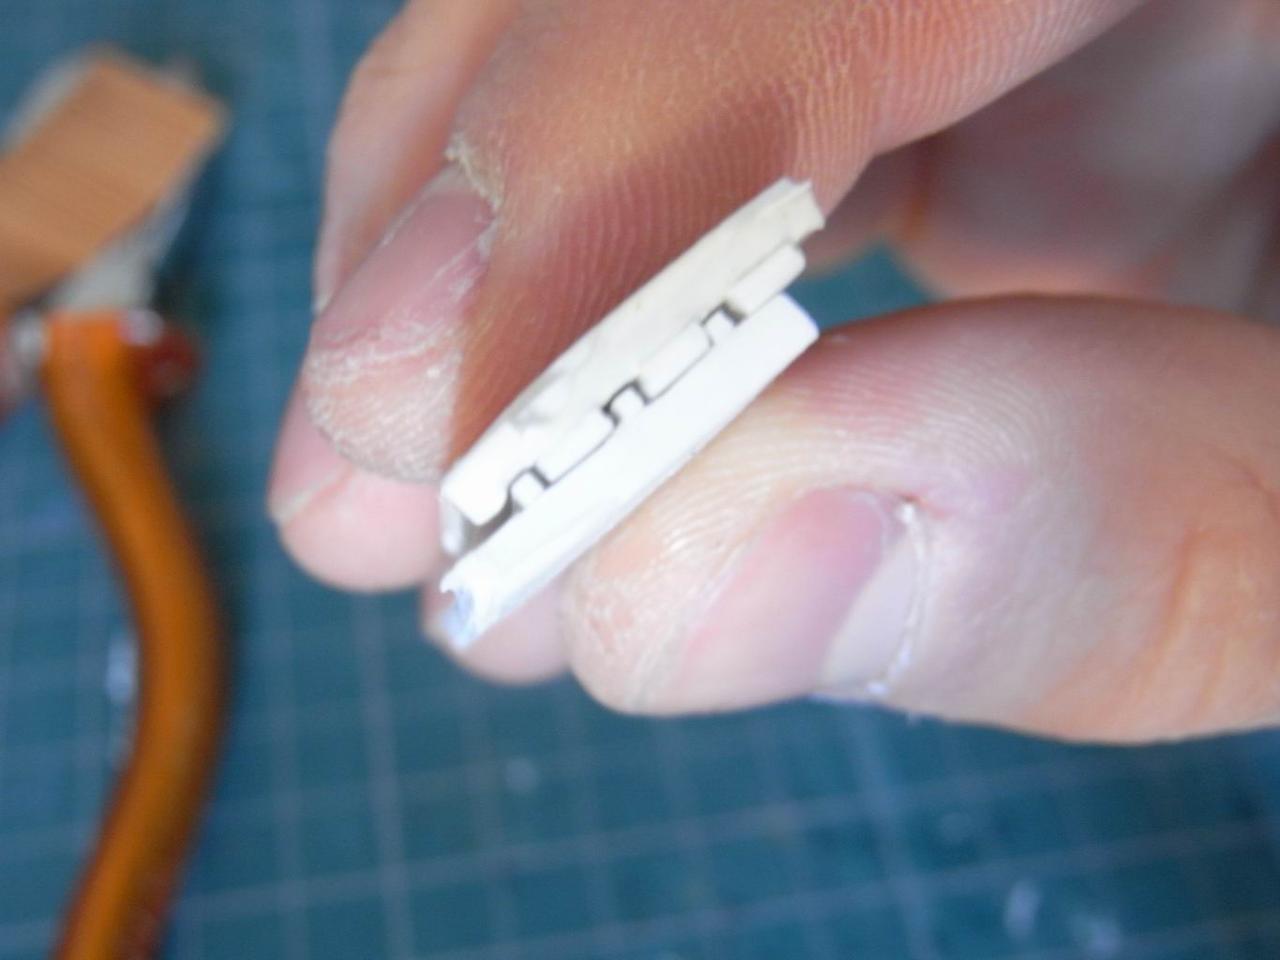
In the example shown, the press is meant to give to the metal sheet an asymmetrical rectangular line, whilst below the curvature will be smoother.
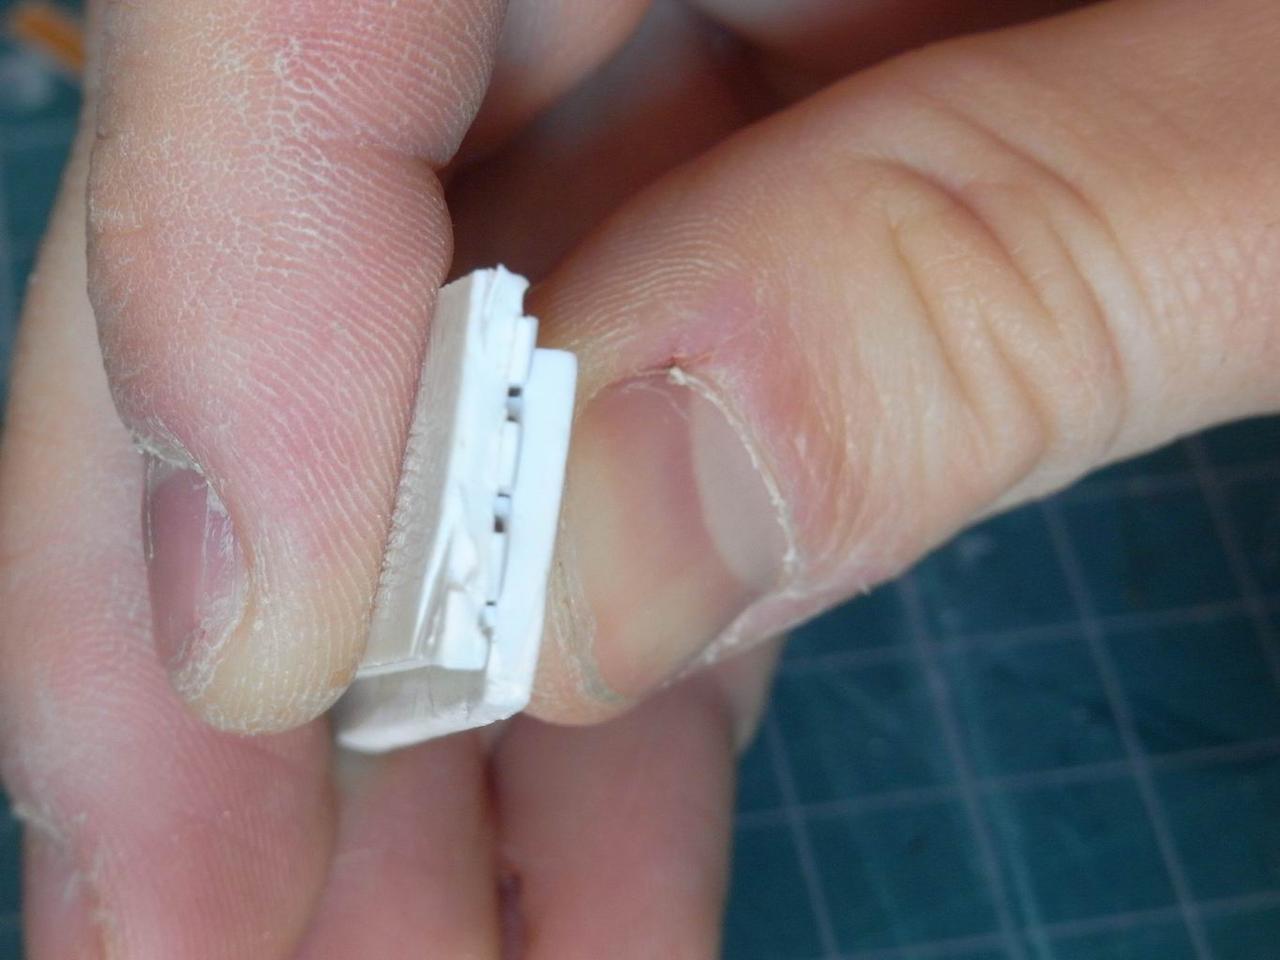
I used pliers to press the tool on the copper, minding to keep the resulting lines parallel. That is a critical point of the process, since if the press doesn’t follow a perfectly parallel direction the resulting corrugation will start to curve the metal sheet in one direction. A good solution is to incrementally proceed with the pressing, every time moving the metal further by 1 step, rather than impressing the full set of corrugations at once (in the example of the figure above, three). For the same reason, I’d advise including at least three repetitions of the pattern in the press, so that at every impression there are two full “periods” to be used as guidelines to maintain the parallelism.
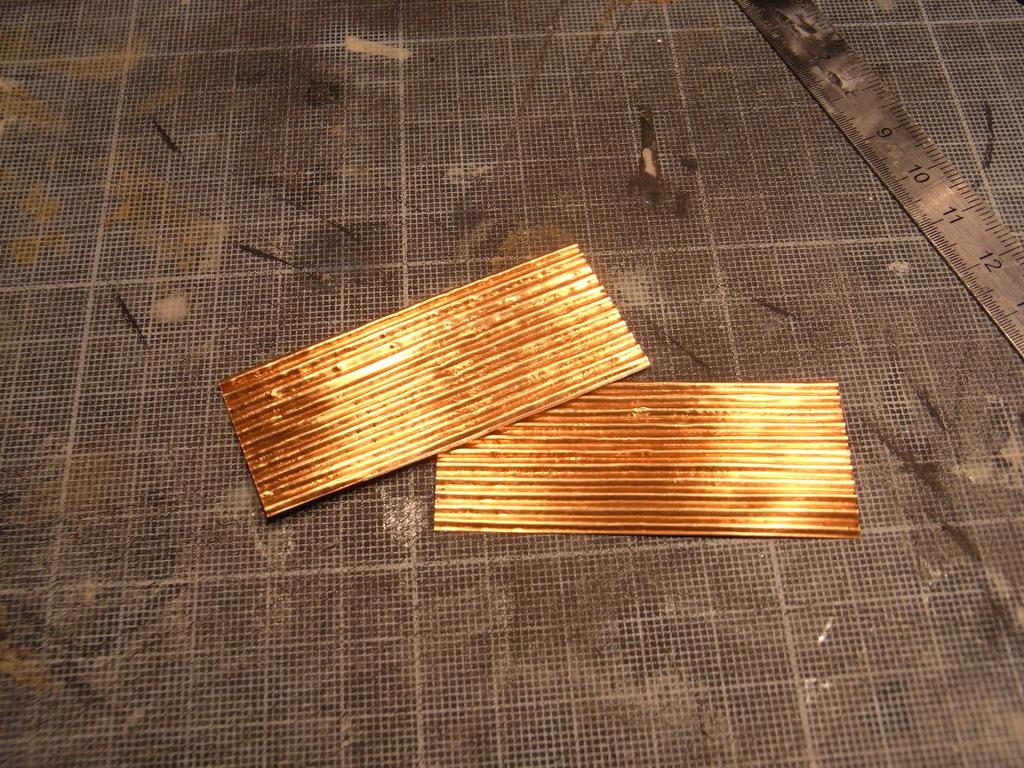
After a few tests and failures, that’s the result. While the panel on the left is the result of the press shown in this tutorial, the second one – which has a regular wide rectangular pattern – is made with an even simpler tool, and is used for my first container sculpt.
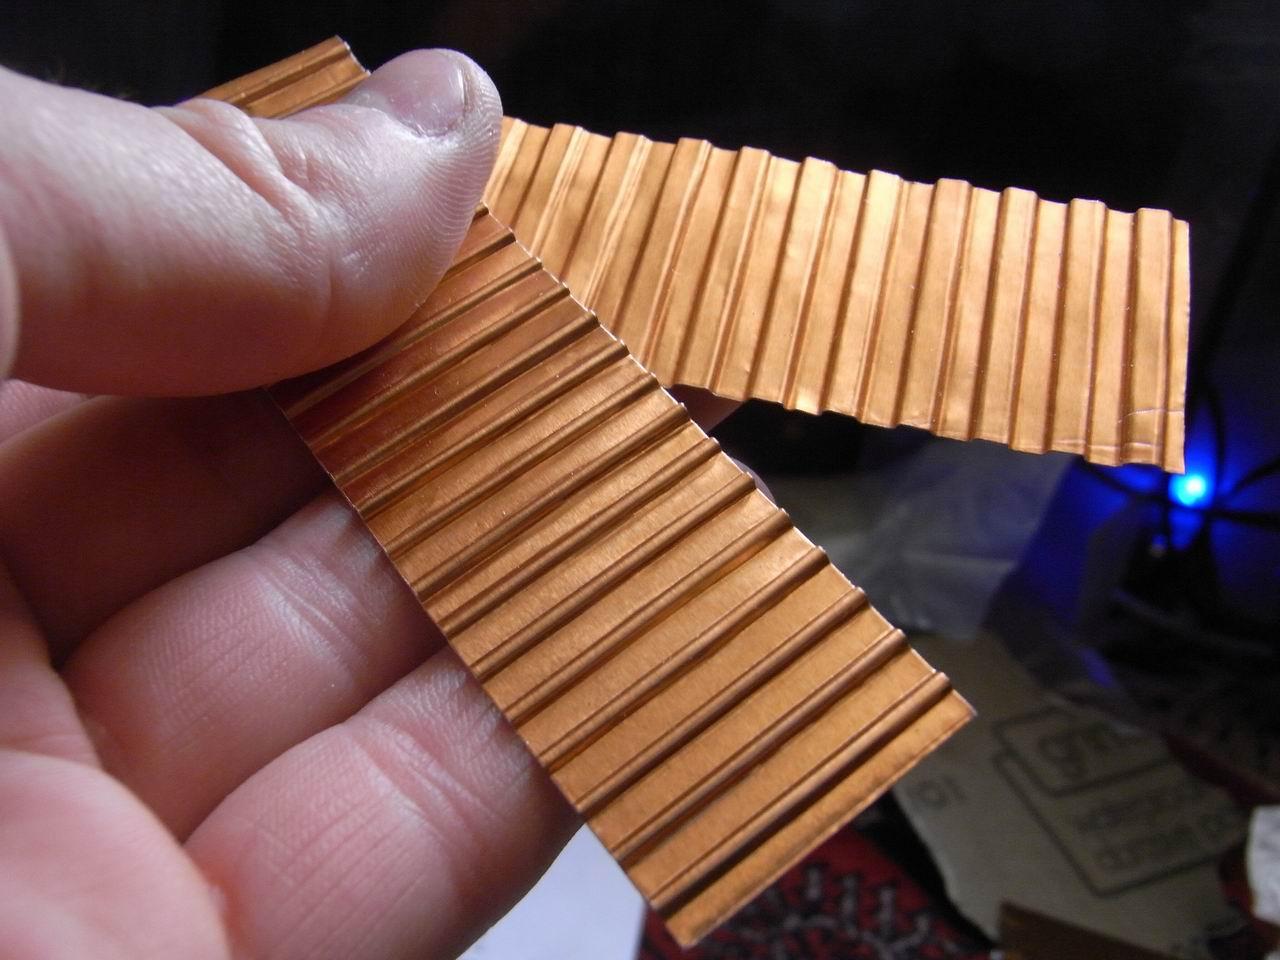
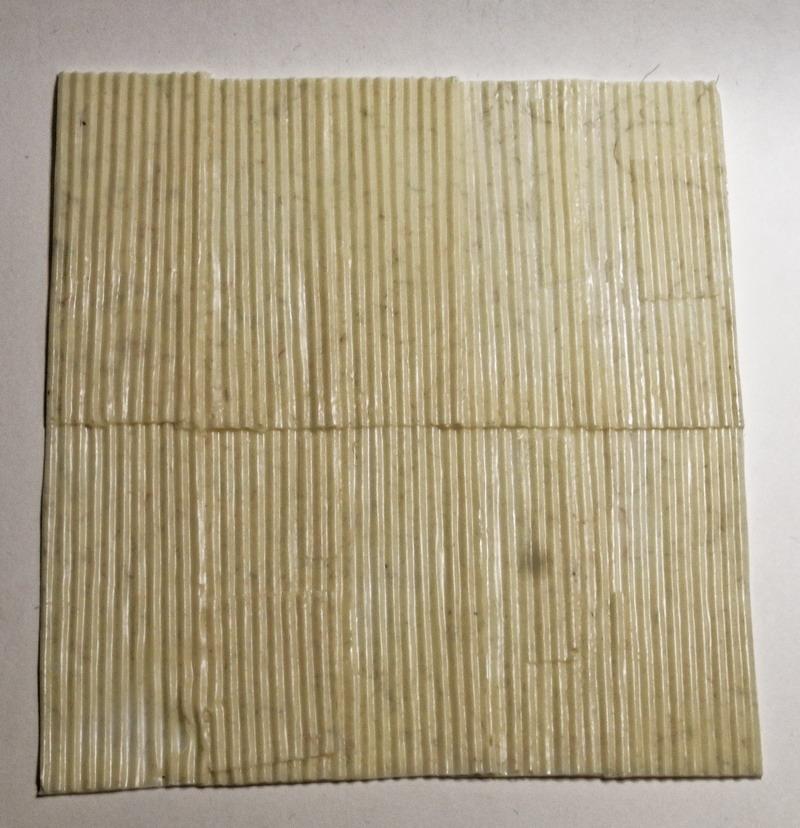
Following the initial idea of the original tutorial but using much finer styrene rods I was able to produce some more real-looking corrugated panels. I used them in many projects already, such as the shanty hut I’ve sent to Tzardauker, and one day or another I’ll see it painted!
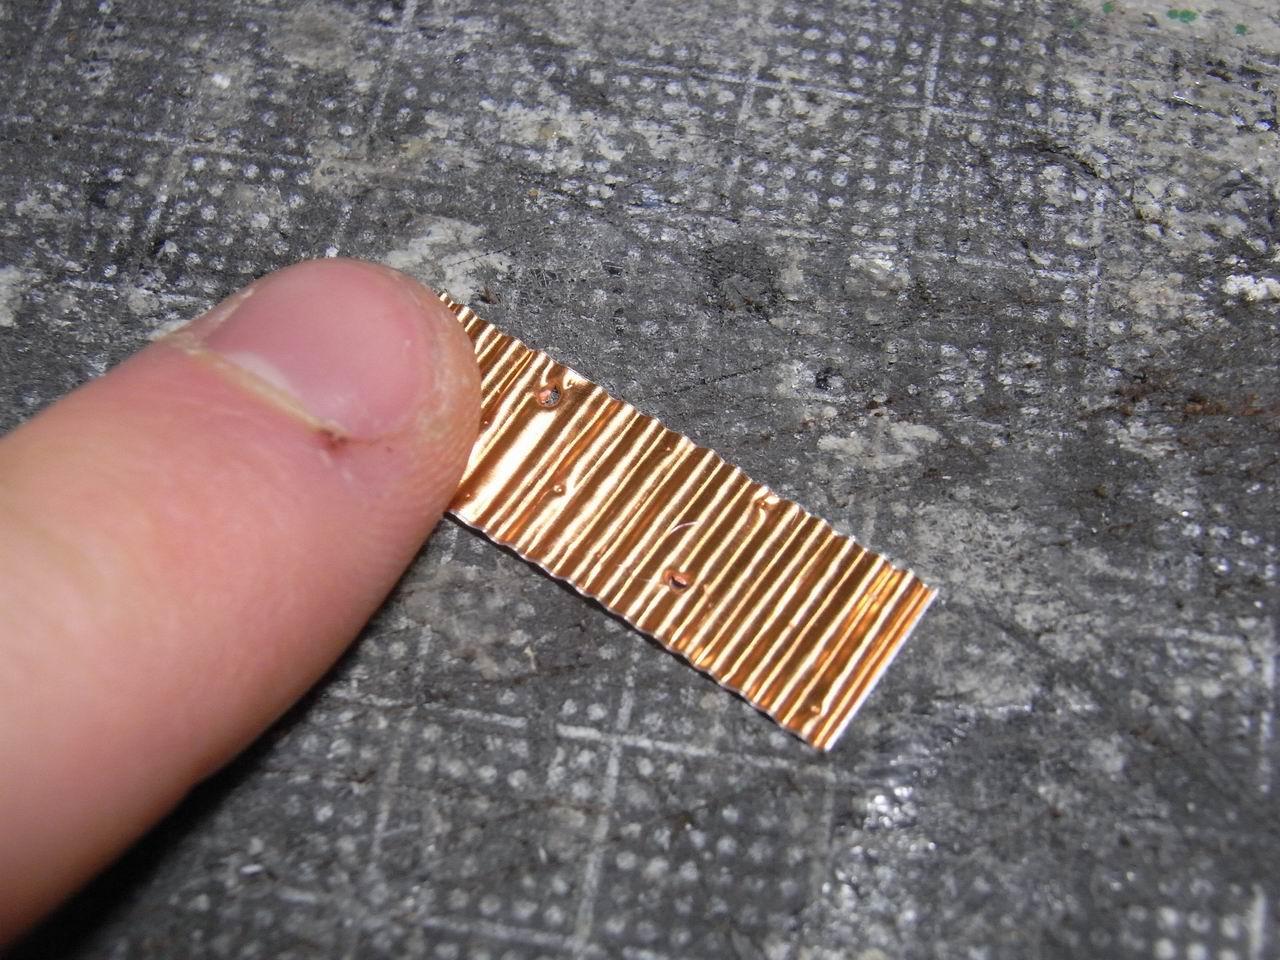
With any tool this material can be easily damaged in an extremely realistic way: basically, you’re damaging it in the same exact way people do in real life. That’s one of the greatest advantages of simulative modelling.
With the products of this technique I was able to produce several usable parts: for once, putting together four rows of the wide-corrugated sheets I made a roof. The strips are overlapped, and to add detail and make it more identifiable as a roof, I glued little pieces of styrene rod as nails.
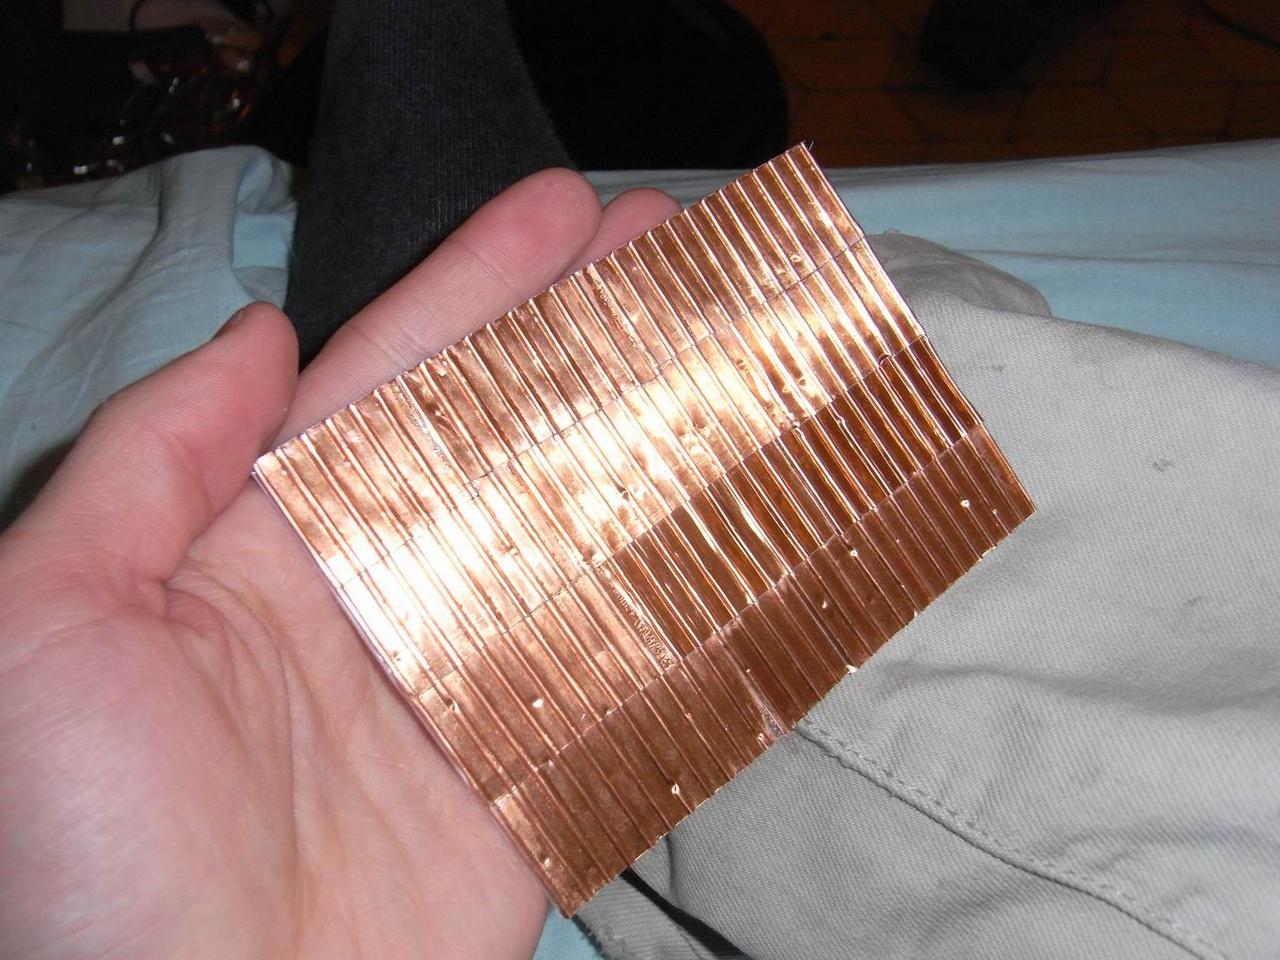
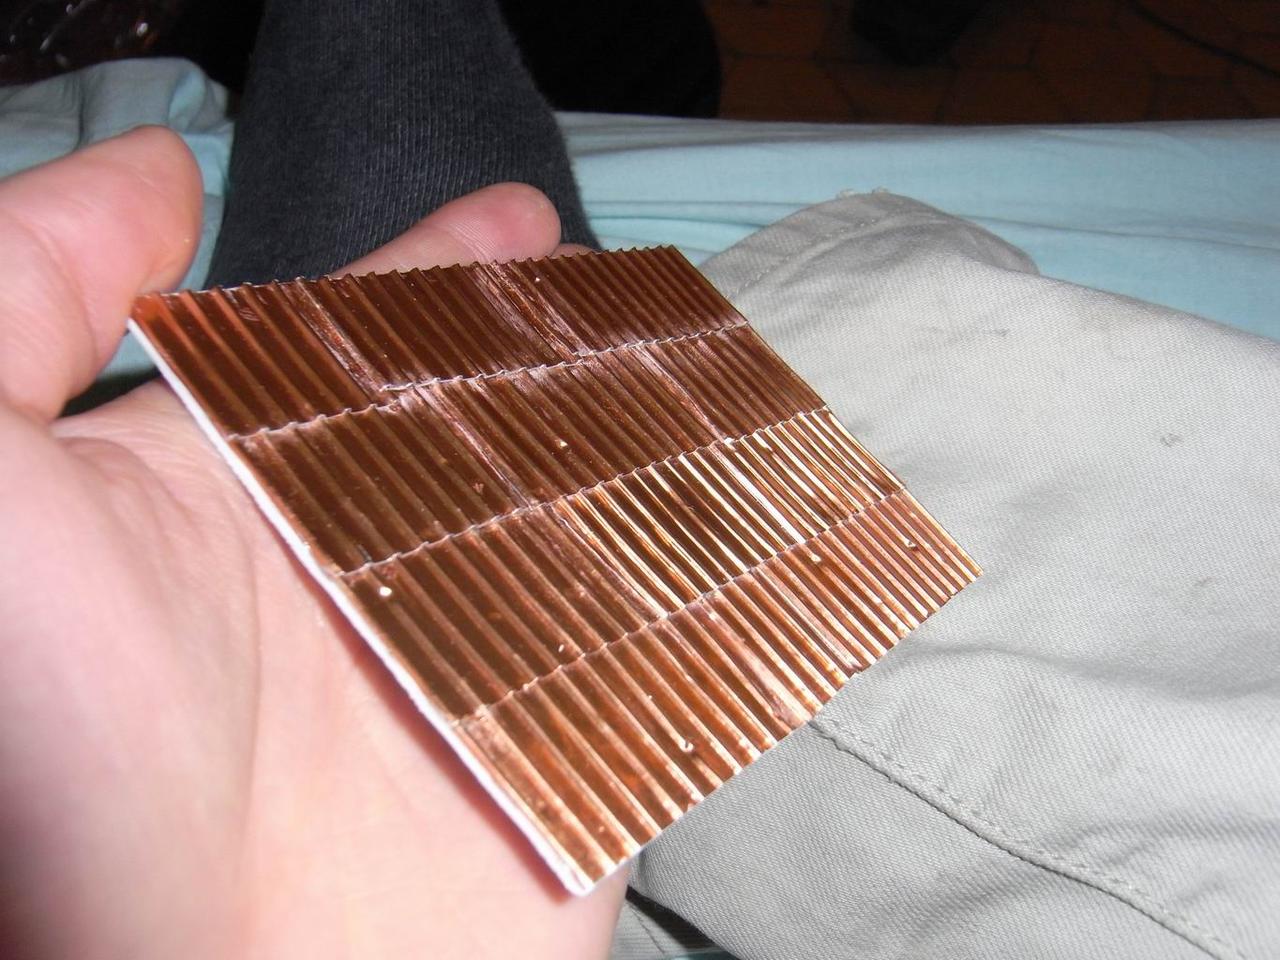
The details on the surface, after moulding and casting, are well preserved.
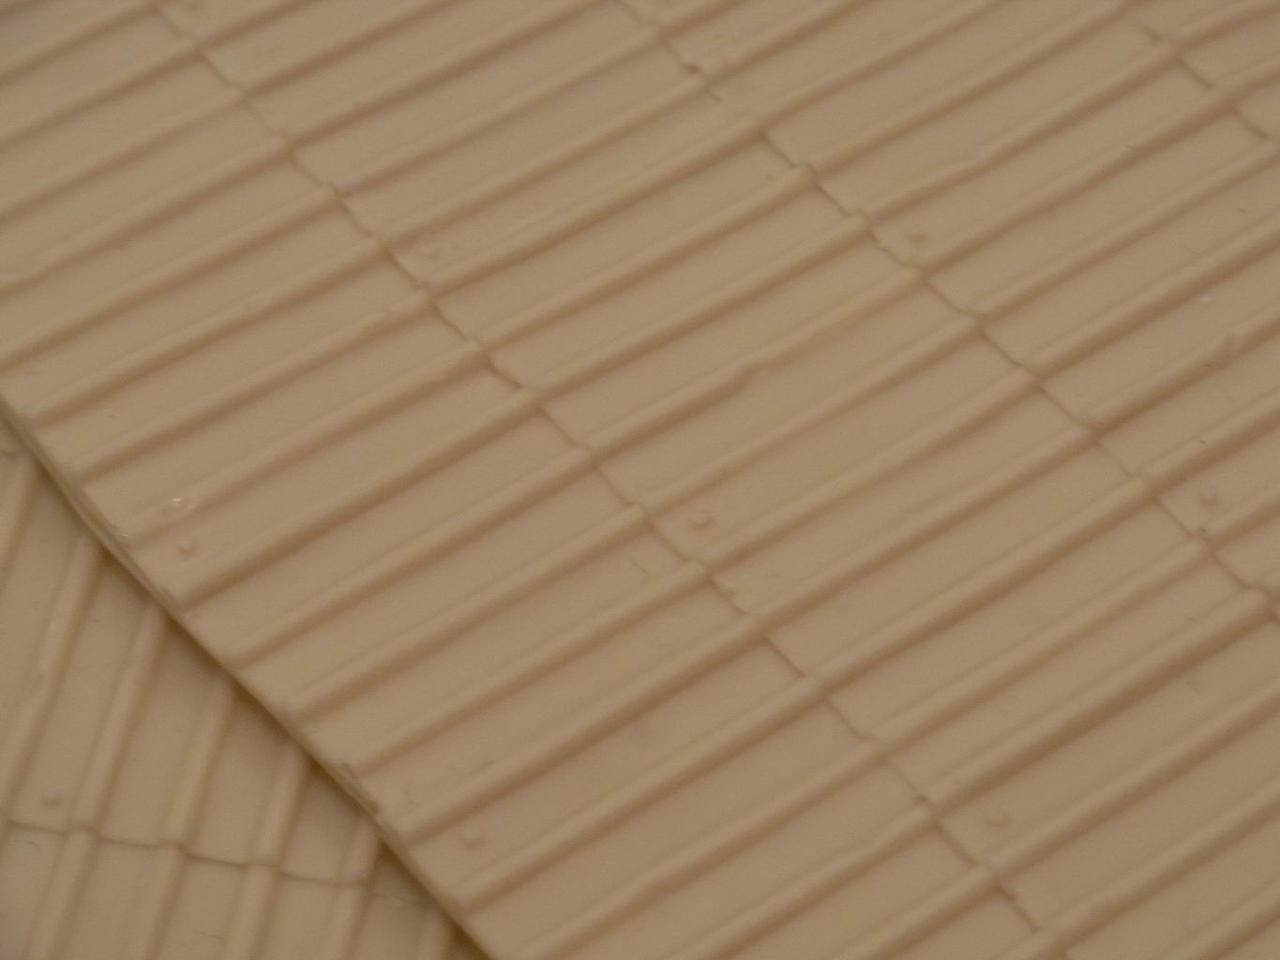
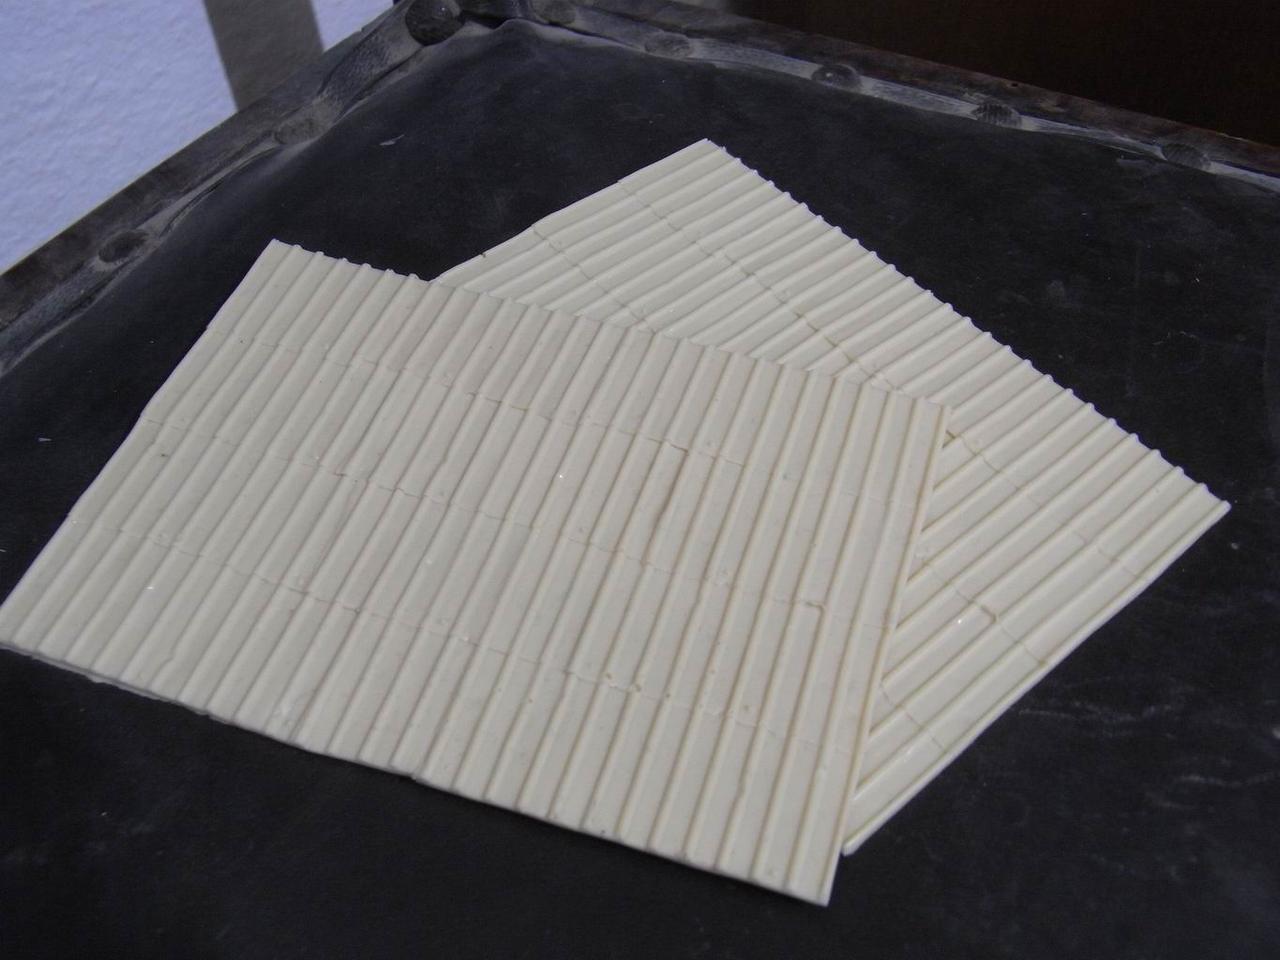
With the same method I also made another roof, more “standard”, but nonetheless useful.
And that is the first part of what I have to say about corrugated presses and panels. That’s just a report more than a real tutorial, but I think it is worth being posted.
Stay tuned for the second part: bivalve molding of corrugated panels!
Cheers
The Lazy One