Lightweight Paved Road
- Tutorial Type Gaming Scenery, Techniques
After a good 8 years from the first tutorials for paved roads, I’m now trying another take on the subject, with a lighter yet slightly messier solution.
For anyone curious, the old tutorials can be found at:
https://thelazyforger.com/tutorials/paved-road-part-1/
https://thelazyforger.com/tutorials/paved-road-part-2/
https://thelazyforger.com/tutorials/paved-road-part-3/
The results are probably better, but the old MDF roads were thinner and definitely more sturdy. It involves using cardboard, Stucco paste, and a lot of sanding.
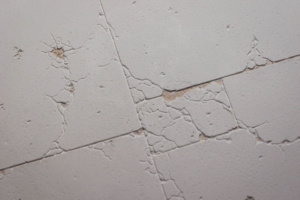
The details, however, speak for themselves.
The base for the roads with the new technique is arbitrary: I personally chose to use styrofoam which is easy to deform and can be shaped into a light gaming table. As long as the base surface is rigid enough (that is, you won’t be able to roll it!) it will be OK.
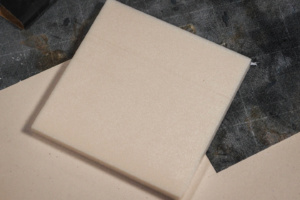
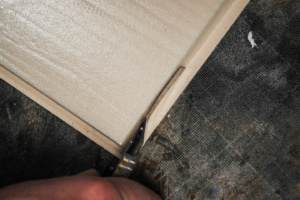
For this tutorial, I cut a 12 cm square, 1 cm thick piece of styrofoam.
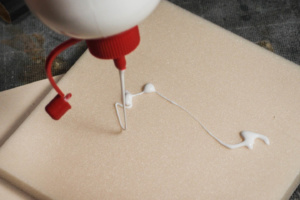
Since the grip of the Stucco paste is quite weak, i glued to the front of the styrofoam a 1mm cardboard sheet. This will form an excellent base for the stucco, and will provide the finished piece with extra flexibility.
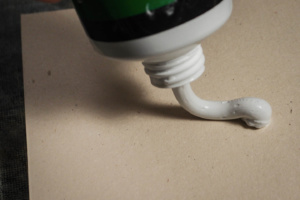
I let the cardboard dry completely before starting to apply the stucco. It is sold either in large cans or in tubes. While I’m using a tube now, I’d advise anyone planning to make full table to purchase at least a full jar, since you’re going to use a lot of it.
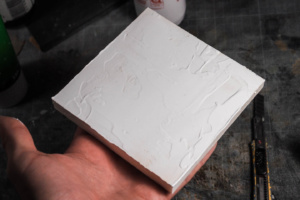
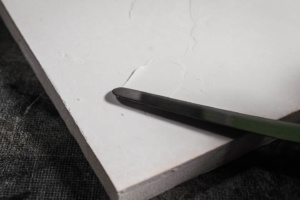
Now, spread it evenly. That is a nearly impossible task, and don’t be discouraged if the result is this:
That’s ok. Really.
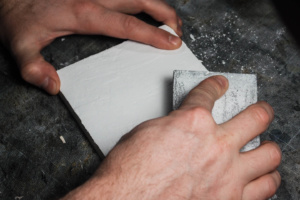
What you have to do now is wait. Until the stucco is totally dry, it will peel off easily at the first movement of your hand. Forget about it for a night, then start sanding.
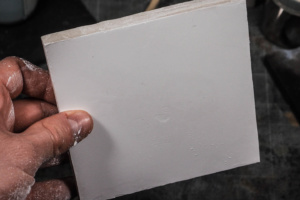
Sand it down until it willl be smoother, and you’ll be covered by a tiny and hideous white dust. The surface will still be uneven, but only on patches.
Then, spray some water on it, and go with a second layer. It should only cover the patches, and should be much less messy.
The surface should now be smooth enough. Don’t worry if there are irregularities: A paved road is rarely perfect.
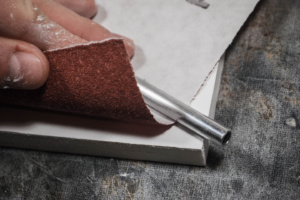
Speaking of imperfections, this perfectly smooth surface is hardly believable. there might be several ways to add some texture to it (including adding sand into the original paste, which however complicates things in the rest of the process), but my advice is to exploit the grain of a coarse sanding paper.
Just push it on the surface, and with a round tool press it firmly until some dents will appear on the plaster surface below.
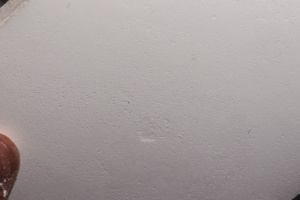
Continue until you’re satisfied. After a few minutes and several passes in various directions, my piece looked like this:
Note that the original dent in the center of the panel (which was quite evident in the previous pictures) now is entirely believable as part of the now rough surface.
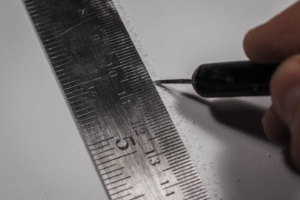
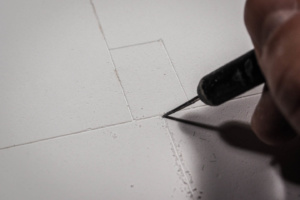
Once you have your surface prepared, start scribing the main lines of the concrete panels. This is just one of the possible patterns, simple cracks could be added instead, as well as marks of giant stompy robots.
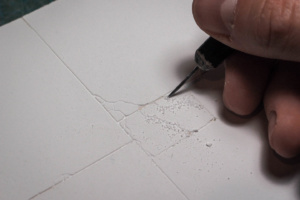
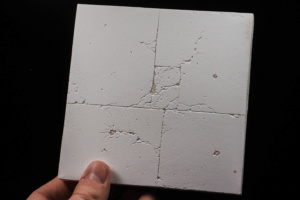
The process is roughly divided in three parts: First, you highlight the areas with straight marks. These represent the concrete slabs or depositions, and are man-made. Then, start adding the main cracks. By pressing with the scribing tool some patches of stucco will peel off, but it is not necessarily a problem. The cardboard below will be a believable rough ground. Finally, start adding the minor cracks. Be sure not to reach the bottom of the stucco layer with those, otherwise you’ll end up with too many exposed parts of cardboard. Besides, cracks of different depht and width are much better.
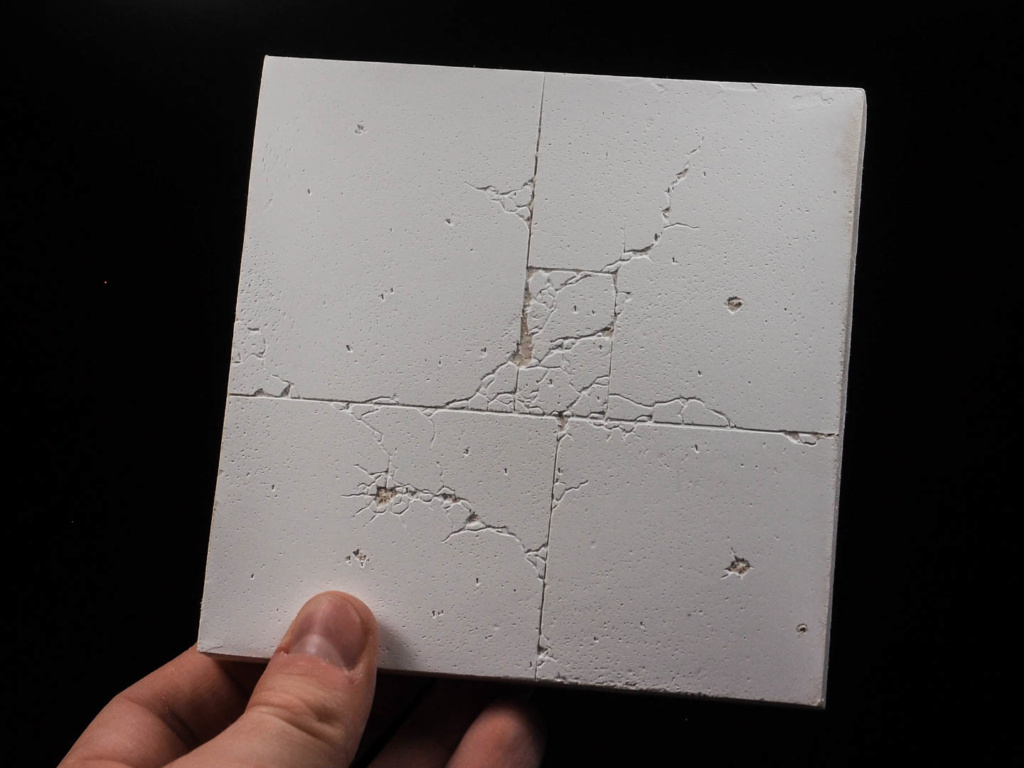
Here is a shot of the finished piece. Soon a tutorial for painting this tricky piece will follow.
Cheers,
The Lazy One

