Printing and Painting 6-10mm Miniatures
- Tutorial Type Painting, Techniques
This short article will show the step-by-step process that I use to paint my small-scale models. While with 28mm and larger miniatures I tend to spend several hours for each, this is clearly not feasible for armies of hundreds of 6mm or 10mm figures.
Since I released our first range of small-scale medieval soldiers, many people seemed intimidated about working in such a small scale. Most of the people we found were either scared by the sheer amount of figures, or more worried about their eyes.
From what I’ve experienced, working on virtually any scale, the more you go small, the easier it gets. You will surely never find a 1 square cm flat area, but the details still remain to a decent number, and most of them only require one rough coat of paint to look convincing. The time I spend on a sprue of eight 6mm figures is barely enough to properly paint a pouch of one of my 28mm.
Printing Tiny Humans
For the article and the sake of clarity, I will be showing all the steps done on a model that is freely available for everyone to download and print.
If you want to follow the steps yourself, download it, start the print and get ready!
While we offer a whole range of troops and terrains on The Lazy Forger’s Myminifactory Store, this small set contains a bit of everything, acting as a very effective showcase for the techniques.
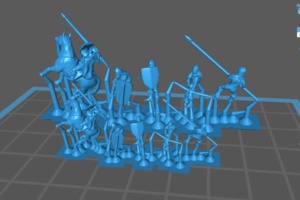
For the slicing (and to set the supports) I use ChiTuBox. The files in the download are scaled for 6mm, in order to make them to 10mm scale you need to upscale the model to about 140-150%.
In small scales, having the figures well separated on the bed helps with the further painting steps. While it is kind of a waste of good printing space, it saves so much time!
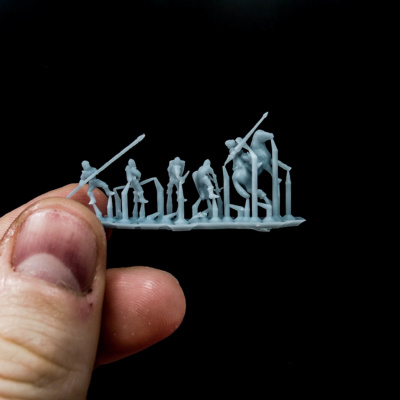
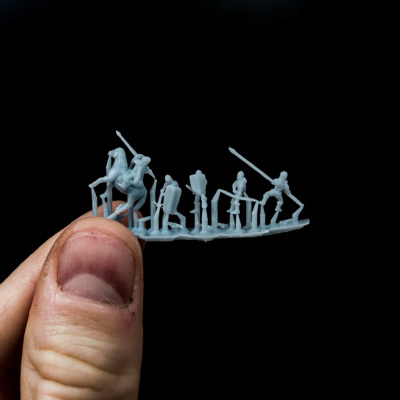
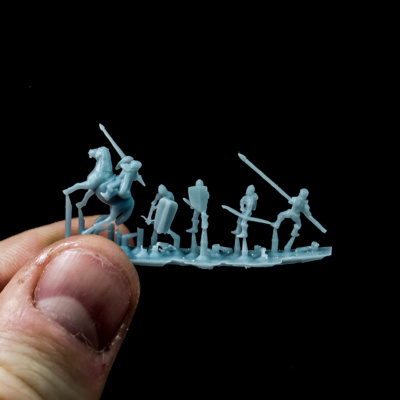
The resulting print, after an IPA wash and a bit of curing (do only a slight curing now, see below), should look like this:
Trimming off the Extra Supports
Well, the sprue really feels practical to hold the minis still while painting, doesn’t it? However, there are some supports that would definitely get in the way of the brush.
Since the print is ended, now the only purpose of the supports is to keep the mini in place while being painted. As a rule of the thumb, you can remove all the supports that are not below the figures’ feet.
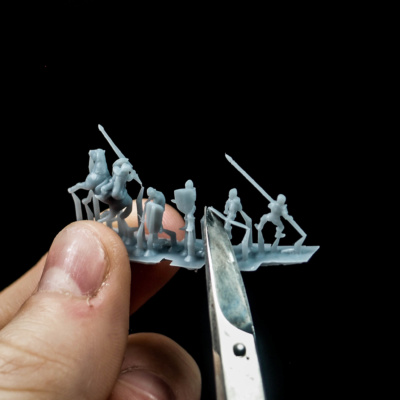
For this task, I generally use a very simple nail scissor.
You shouldn’t cure the figures before this step (or only slightly), and the resin will be easy to cut off. It should take you a few seconds per miniature. Removing the beams the sprue should end up like this:
Basecoating
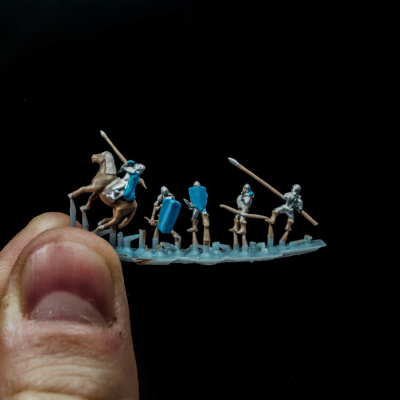
I don’t recommend the use of a primer for small miniatures. The effect of chipping is very limited (mostly because they don’t have much weight when touching other objects) and the coat would reduce the figures details considerably.
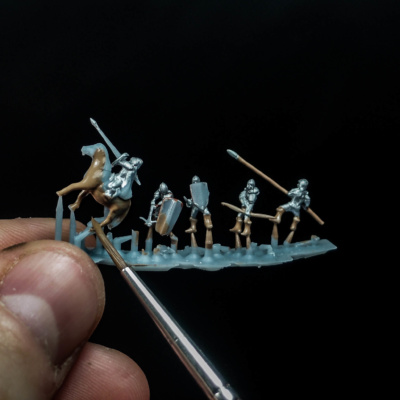
Instead, just go with a first rough base color. Most figures only have one base color, but for the sake of the tutorial i added three: two brown tones and the silver of the armor.
You could probably get away with a whole silver basecoat for the model body, and nobody would notice that once in formations!
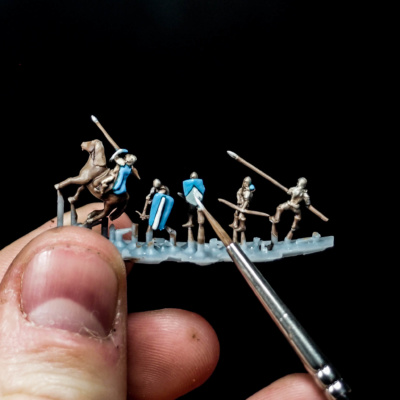
A very important thing to me when working with small scales is to have a clearly recognizable faction color for the troops. I’ve been often told that it “feels like Age of Empire”, and that exactly the look I’m after. At a first sight you must both understand which faction they’re from, and which kind of troop they are. The bright spots of colors help with both.
When applying the bright color, don’t worry about thinning it. In fact, on shields this helps evening out any print line. And it’s faster, which is an important factor too.
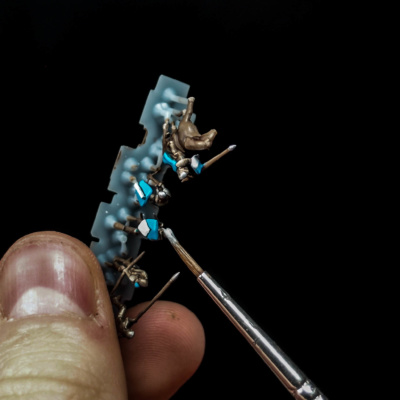
Here is the sprue before the next step.
Washes, or Blanchitsu
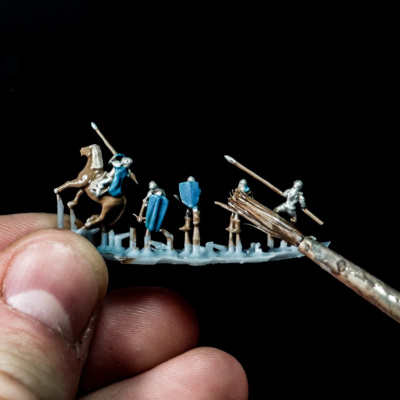
Washes and inks are often seen as the “lazy solution” for painting large armies. While it is technically true, knowing how to properly apply a wash takes some time.
Fortunately, with 6mm and 10mm figures this process is much easier, since there are not wide flat areas where drops could dry leaving nasty marks and stains.
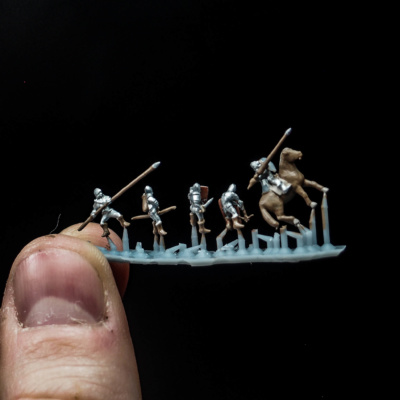
Apply the wash, thinned down 1:1 with water, and remove any excess that could accumulate in the hidden areas of the prints. I used an Army Painter Strong Tone for this.
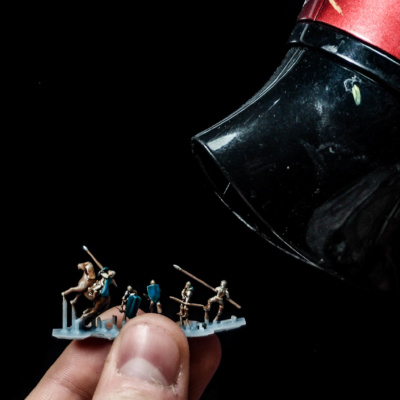
To save up some time, a hairdryier is a very good friend. Even a 10$ travel one would do wonders. Especially if you’re not batch-painting hundreds of figures, it will cut down your waiting times drastically!
After the first coat, you should consider whether to apply a second one on specific areas. This will take maybe another 2-3 seconds for each figure, but it will increase the contrasts or hide parts that you were too lazy – or distracted – to paint to begin with!
Highlighting
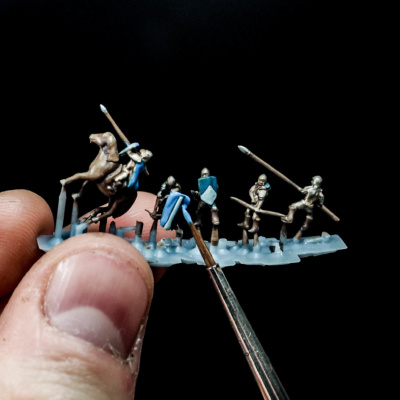
When a whole human is smaller than the dice you are throwing while playing, the rules of realism and visual effects do change.
This must not be an excuse for a sloppy paintjob, and I personally am not a fan of the “3 feet away rule”, but it is a fact that a few spots of light and color have a more visually striking effect than a smooth and controlled shading that a pro painter might do on a large figure.
In particular, you must be able to identify
-
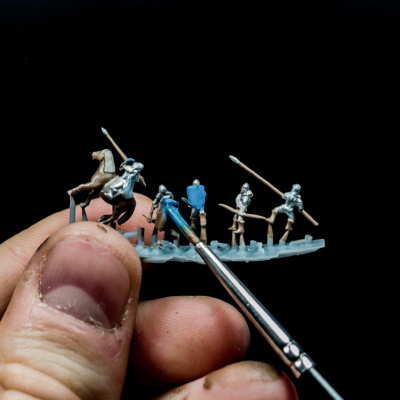
The war colours, on a shield, a flag or some other detail of the figure (note the quiver on the archer above)
-
The type of troop, usually by highlighting the type of weapon with a shinier metal tone
-
The fact that a figure is there at all, which I do adding a tone of light metal on the helm top
For the shields, two colours are more than enough to characterize your army. From the dark blue tone above i simply went by adding grey details, then highlighting the two with light blue and white.
For the helms, the very same shining silver color that was used before the washes did the job.
Conclusions
See? We made it through. That was not that scary!
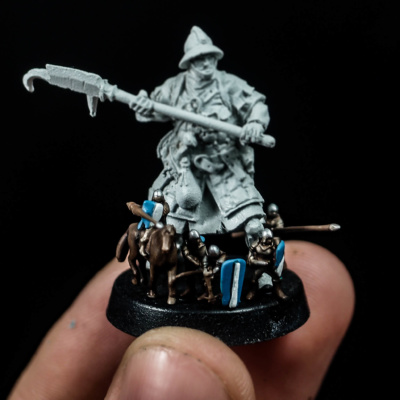
The figures are now ready to be removed from the supports (there are only two, you can literally remove them with your fingers), and glued on a base. Since they are VERY light they can be easily placed on any support, including custom bases of sorts.
Since I wanted to show the difference in scale, here they are, temporarly glued on the base on another figure I had on my workbench (a rather excellent Red Box Games medieval warrior) and they can show off all their tiny awesomeness!
Stay tuned for more, and if this article made you less wary about small scales, do take a look at the medieval bundle!
Cheers,
The Lazy Forger

I’m truying to print in a smaller scale aswell, but I’m having difficulties finding the right settings to print. I was hoping to find some specifics here, but allas.
can you tell me which settings you use so I have a guideline?
Hi there! I’m afraid settings are VERY dependent on the printer, in general I found that the correct settings fro 28mm scale miniatures work just as well for 6mm. Which files are you trying to print? If they’re properly supported for the scale it should all be easier.
My settings, btw: Anycubic Photon S, with Anycubic Grey resin, 0.025mm layers at 5.3 seconds of exposure.