Small Wooden Miniatures Case
- Tutorial Type Accessories, Techniques
Hello Everyone! Although I mostly talk about miniatures, this time we’ll cover the modding of a wooden case. Of course, to carry miniatures.
Since I’m talking to a very variegate audience, it’s hard to recommend a specific distributor of wooden boxes. The shipping from online shops is often higher than the price of the boxes itself, so I would suggest to find a local shop for your own pieces. For US or Canada based people, I guess that Michael’s is a good option. The pound/dollar/100yen shops generally carry a decent variety of cases as well, both for decoupage or for teabags.
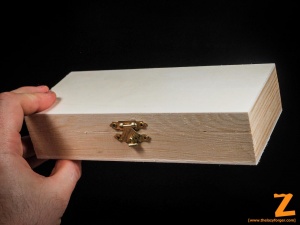
For this example, I’m using the most basic model in my local store: with 2 euros I had my canvas.
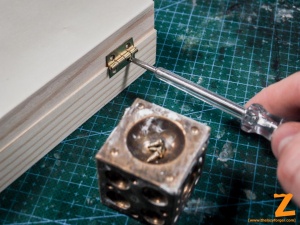
The first step required to work with wooden parts is to separate them from the rest. In this case, the hinges and the lock are made in cheap brass, or some even cheaper equivalent. We’ll talk about them later. For now, remove the screw carefully to avoid stripping the thread and put them aside. The two bare wooden parts will separate with ease.
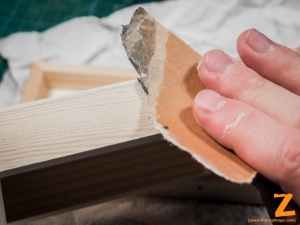
Part of the reason why these boxes are so cheap is that the cutting and assembling is generally raw. It’s not uncommon to find filled holes in the surface, and the finish is always rough. I’d recommend to sand the surface to make it smoother before proceeding with the rest of the process. This of course is far easier if done after removing the metal hinges. From that, the wood must be soaked with a wood dye, or flatting. Pass as many times as you feel fit, remove the stains every time and keep it away from dust as long as it’s not cured. The drying time varies a lot depending on the type of dye or paint used, so I can’t help much here.
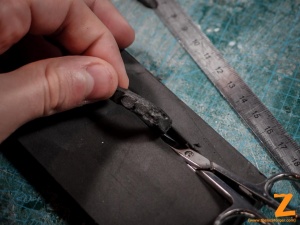
Now, for the metal part. The material used is generally very cheap, and it’s coated with a faux-gold or silver effect. Both are rather awful and tend to make look anything posh and cheap. Luckly, if you don’t care about some deformation and a general loss in structural integrity, there’s a quick solution. Bringing the metal to a orange-hot state oxidates all the surface, and it changes its color to a dark brown or bronze-like color. It also makes the metal softer, but that cannot be a priority if you’re planning to make a miniature case for that cheap.
Besides, incandescent metal is fascinating.
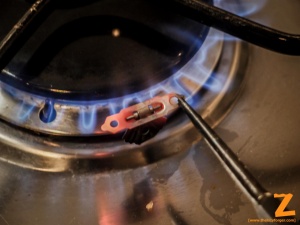
Let the parts cool completely. Soak them in cold water if you want, and try to avoid getting severe burns. Then, screw them back in position and have a functional case again.
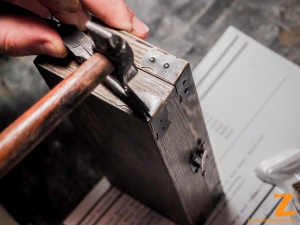
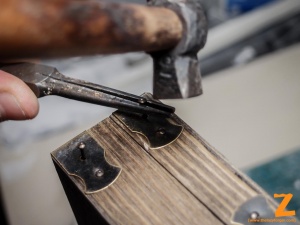
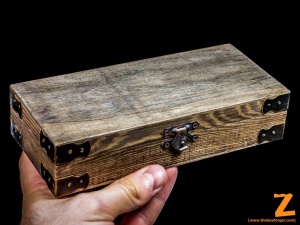
The additional details I chose to apply now are some angular brass protections bought on Ebay. The price was reasonable and are sold with the required nails too. Luckly, the nails were short enough not to pop on the other side of the wooden parts, but pay attention to that before ruining all the work.
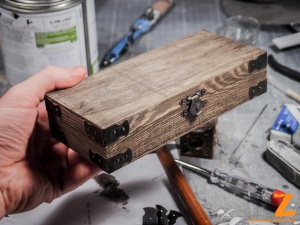
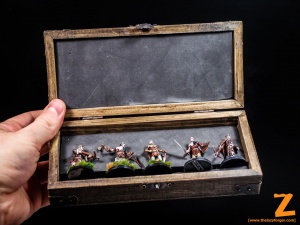
And voilà! The box is complete and ready to be filled with models.
If you actually care about your models, you should also add foam inserts in your box. I chose to use a neoprene panel hanging around, cut in position and with sagomated shapes to better accomodate specific miniatures. I can’t tell much about that, it’s just cutting and fitting.
Well, that’s the result. Varying the dye really changes a lot in the final outcome, and if you look for brass corners on Ebay you’ll understand how variegate and creative you could get with this kind of boxes. There’s very little skill involved in this process, just be sure to have all the ingredients and get to work.

Nice work