
The Lazy Forger / Gaming Scenery / Master Sculpting
Styrene Wooden Cart
Hi Everyone!
Today it is time for some wooden architecture! I’ve seen many wooden works in 28 mm or smaller, but most of them were too thick or exaggerated in proportions, to match with the other fantasy models.
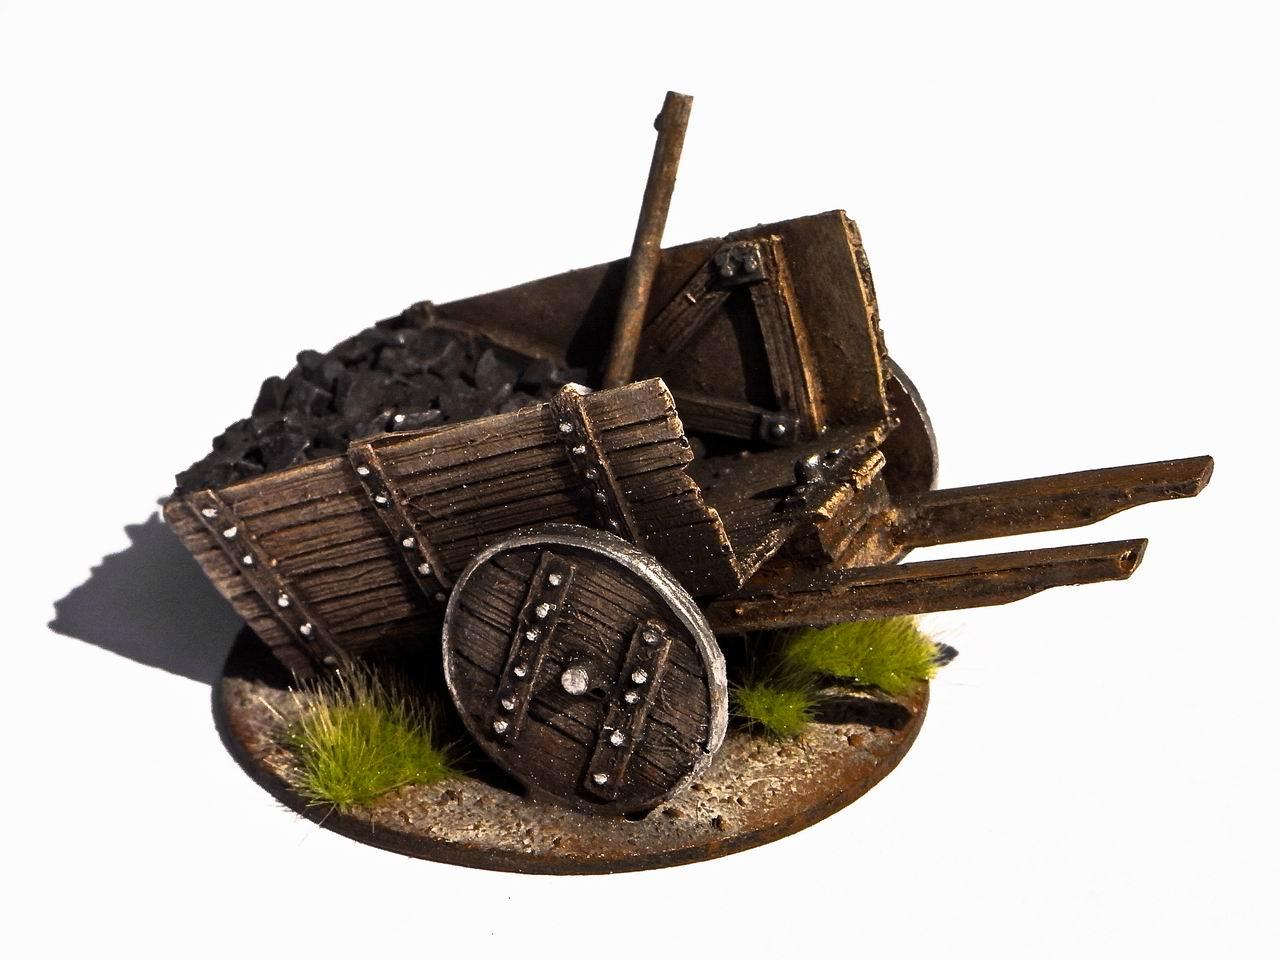
I had quite a lot of experience working with balsa wood, but for some reason for the thinner parts and the most detailed I prefer to use plasticard (styrene) sheets, strips and rods, using a method that I learned reading the articles from Emmanuel Nouaillier, and then I adapted for my needs.
Mainly, in this article I’ll show you how to work with styrene, what techniques to use and what tools are better, in my limited experience.
Probably I’m gonna make a specific article about the styrene techniques, so I won’t be too long on the technical part here. Now, let’s start with the tutorial.
Part 1: The Body
The starting material of the main parts of the cart is of course the Plasticard. I chose it instead of balsa for its reduced thickness and due to the type of structure to represent: since this is not a siege engine, nor a big wooden structure, the planks are usually thinner and shorter, put together with small nails.
I started cutting the shapes of the various parts. I didn’t use any sort of blueprints, but I had quite a good image in my mind about the shape of the finished product.
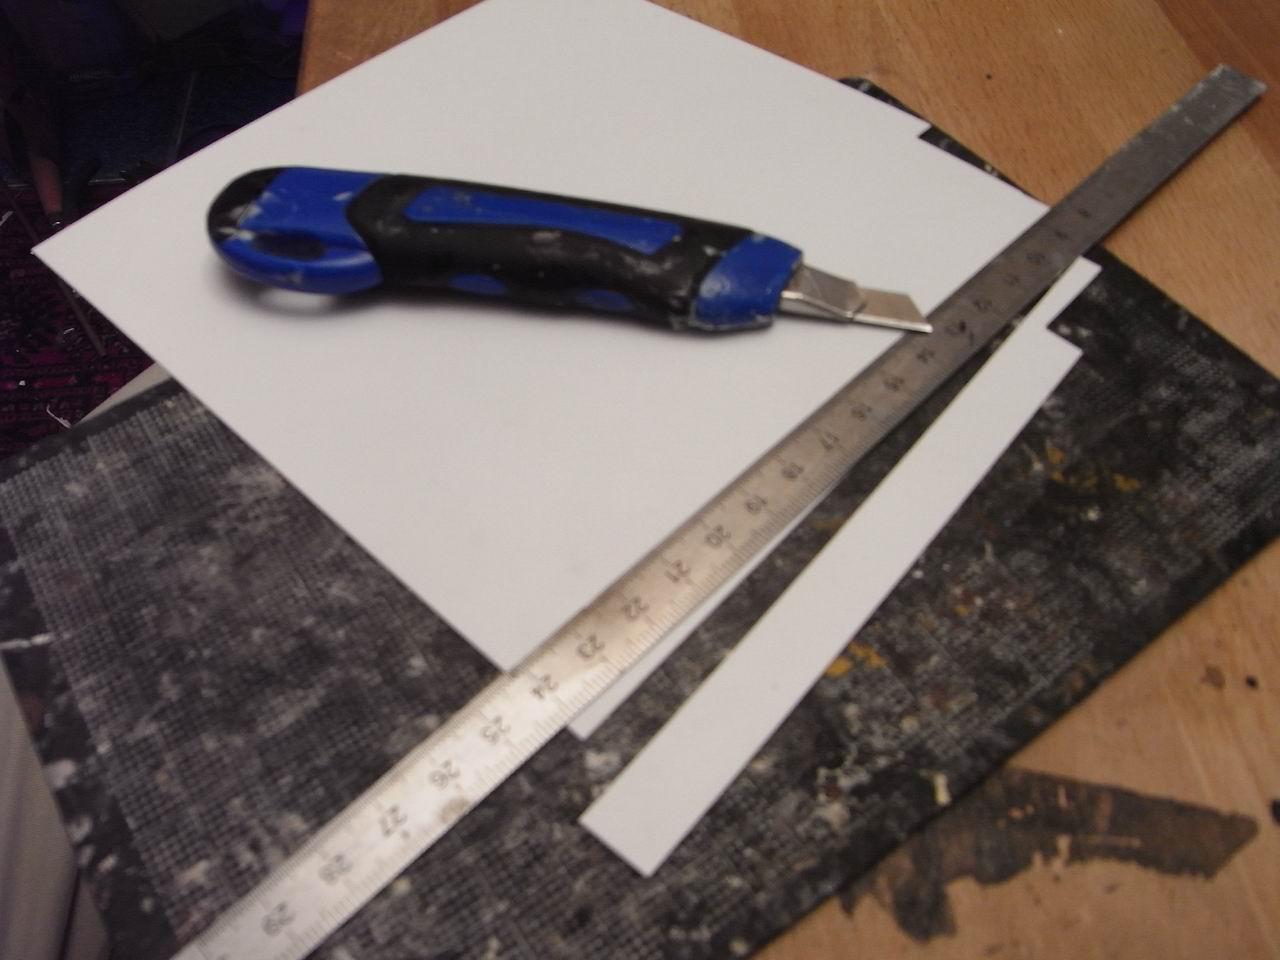
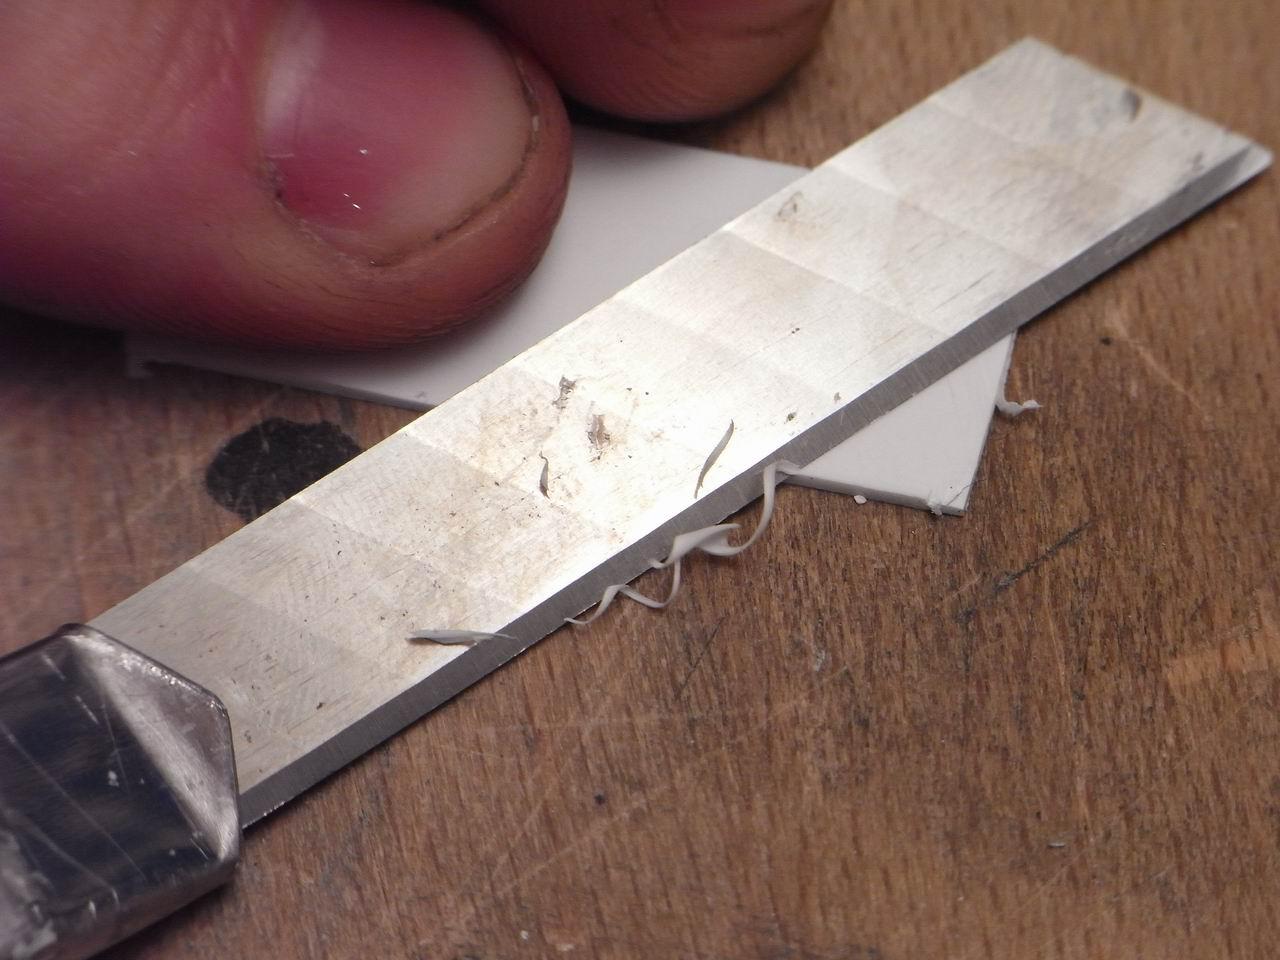
Note: when you cut the styrene the two edges will be deformed, and you have to remove the part in excess. Pulling the cutter’s blade on the surface will allow you not to remove too much from the sheet. If you see a regular spiral coming away from the sheet as in the picture, then you’re doing it right!
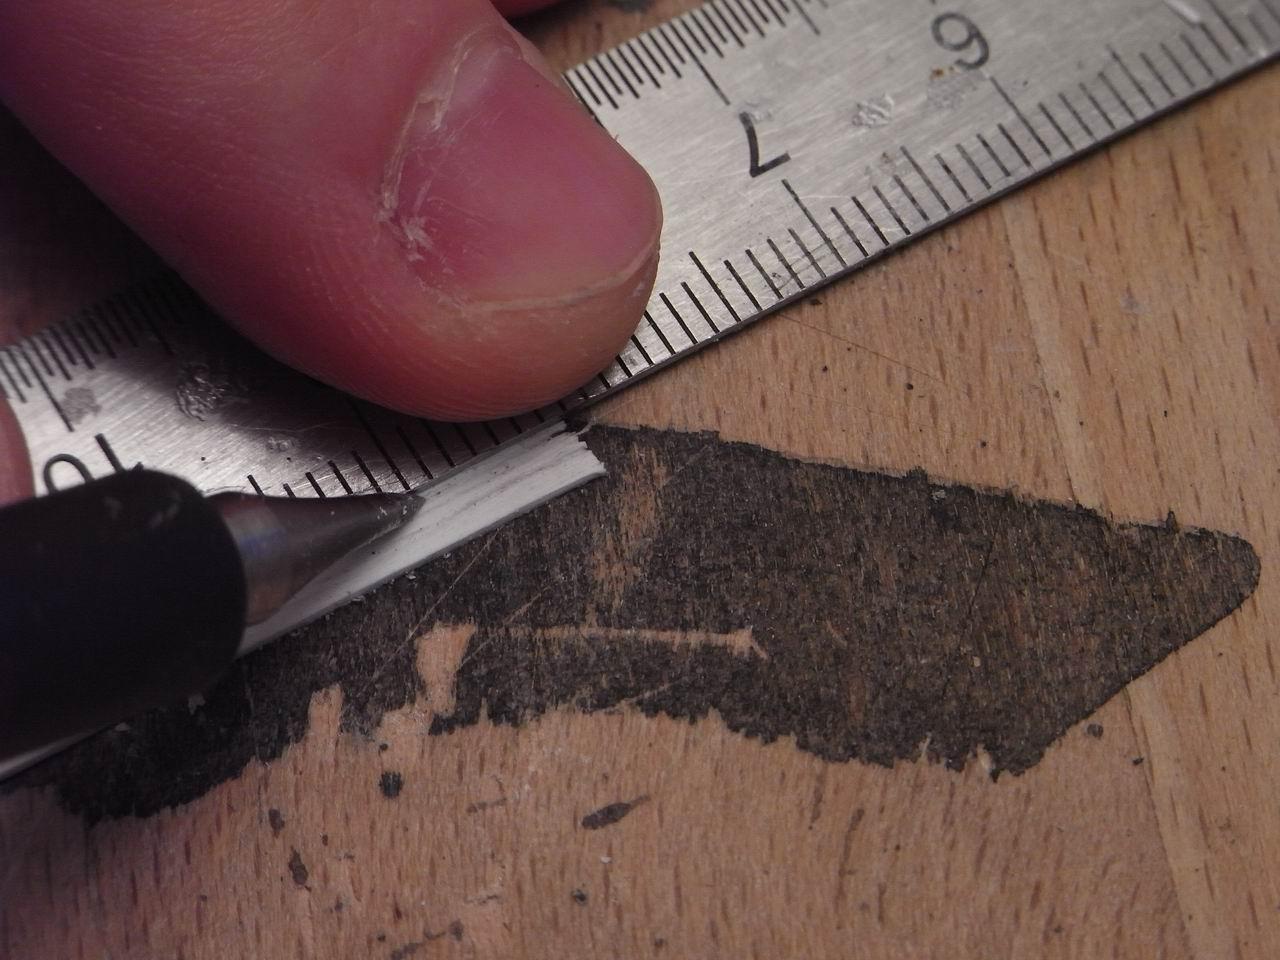
After that, I used my scribbler to carve the plank lines on the plastic. Pass along the lines several times, until it is quite deep in the plastic, probably you’ll have to be able to see the mark of it on the other side!
After this, just use the same scribbler to carve lightly some wooden grain. Nothing too accurate, just lines and maybe nodes, to suggest to the metal brush where to scratch. As I said, a good metal brush is perfect to enhance the grain and obtain quite a good result (and it works also with balsa!). I use an iron one, but the brass one is good as well, if strong enough.
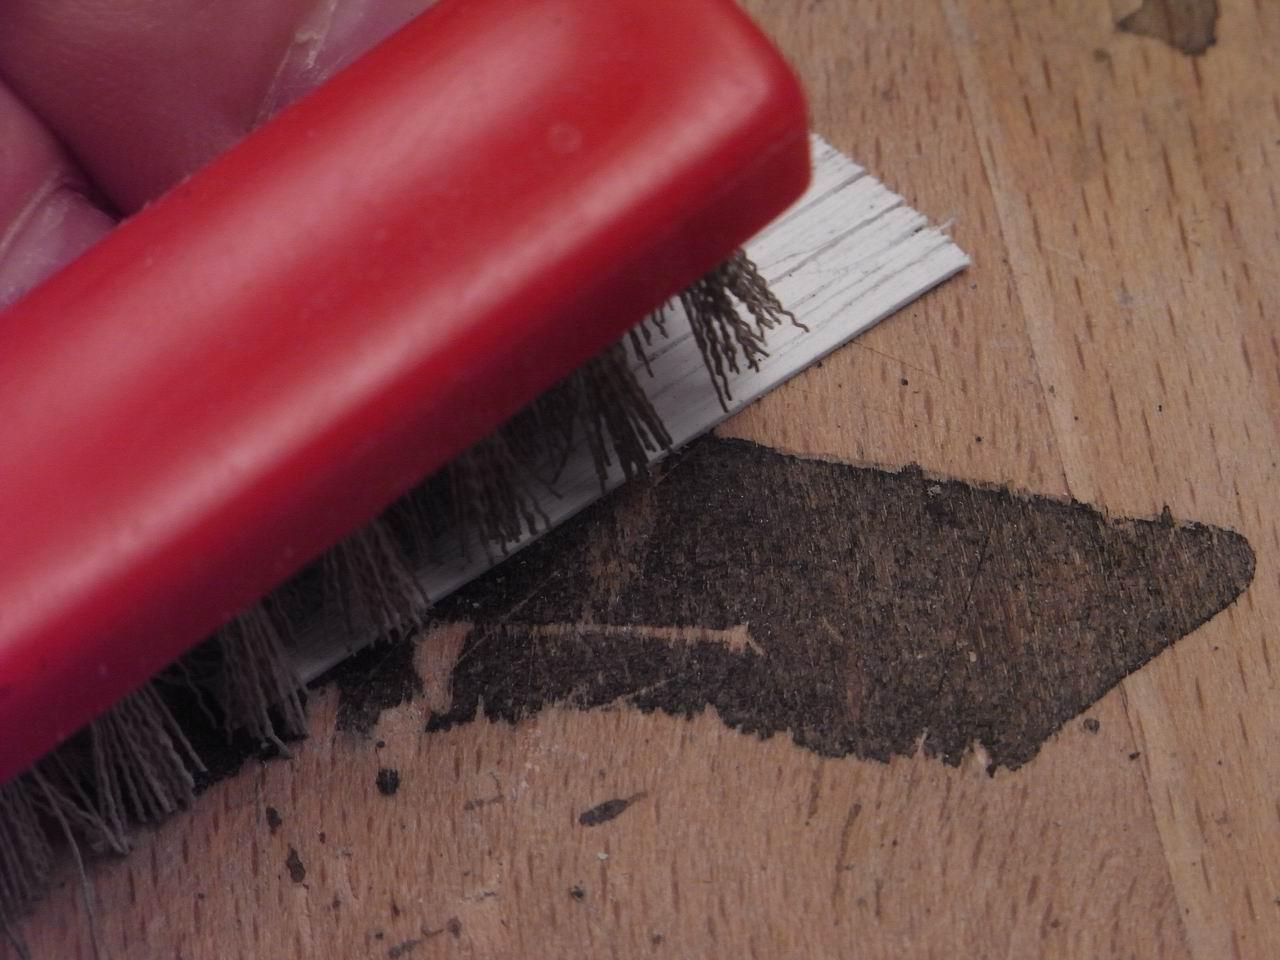
Once you have passed the brush several times, the wooden grain will come out. Now, with the metal tip, make the edges of the planks more irregular.
Of course, if you are planning to make something more modern and less homemade you can avoid this. But still be careful about that! If the cut is too clean then it will be unrealistic!
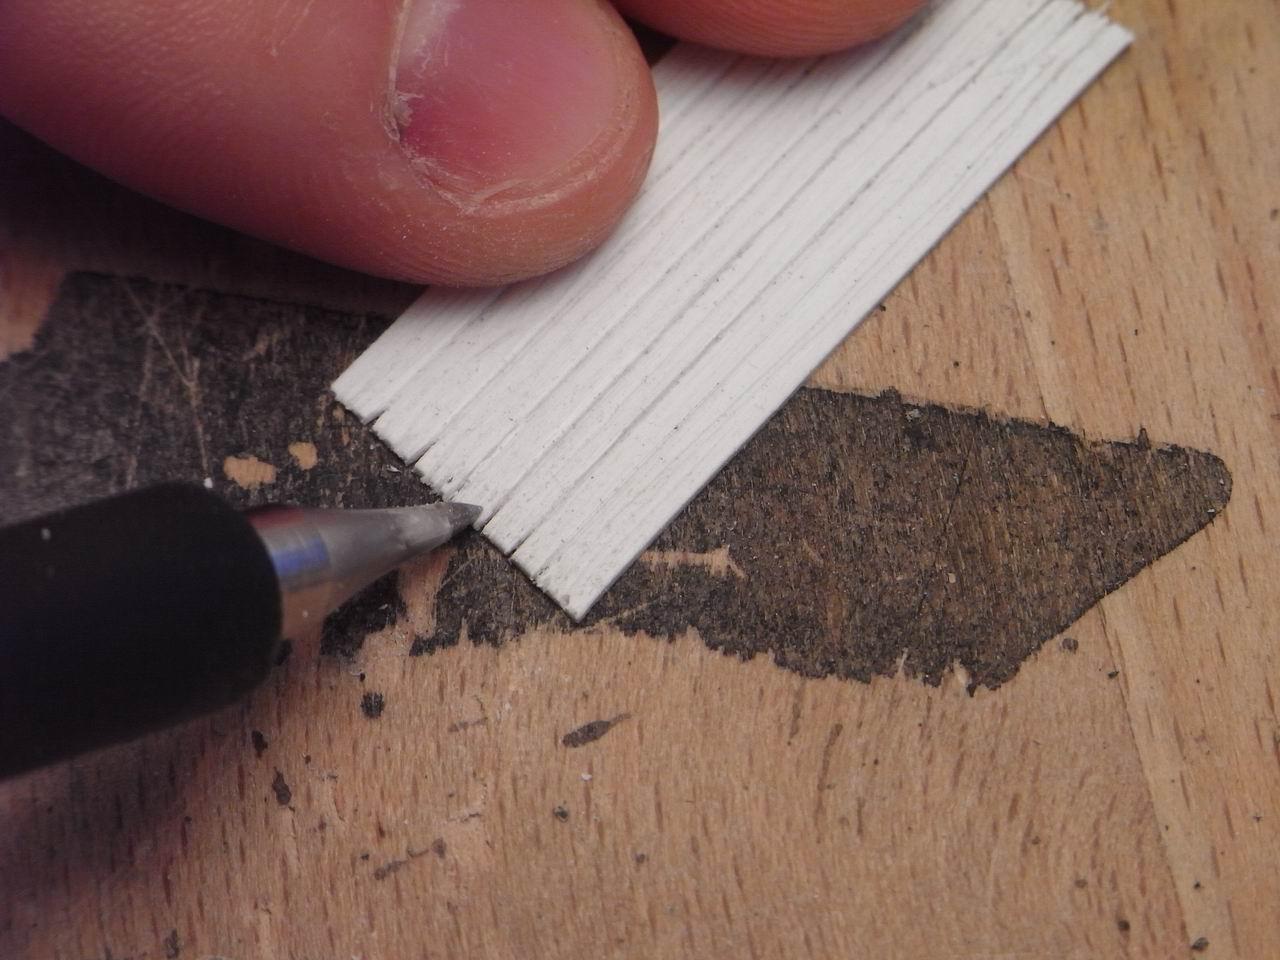
Now, I used some 0.25 mm plasticard for the transverse planks. Same treatment as before.
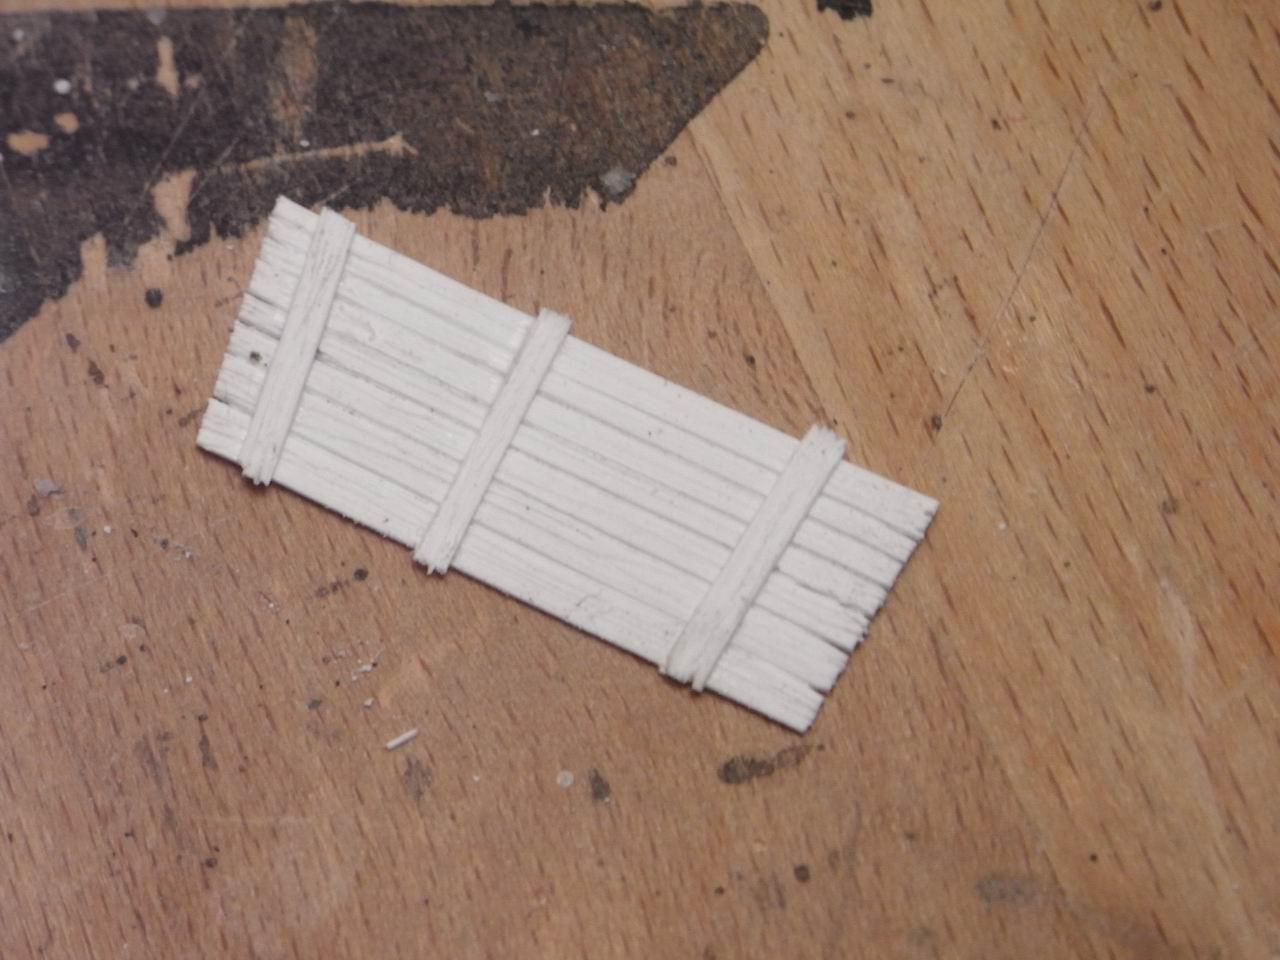
For the needles I used .025″ rods from Evergreen, sliced in small pieces, less than 0,2 mm. If the slices are a bit irregular in length it’s even better, but be careful to make orthogonal cuts, unless you like really crooked nails!
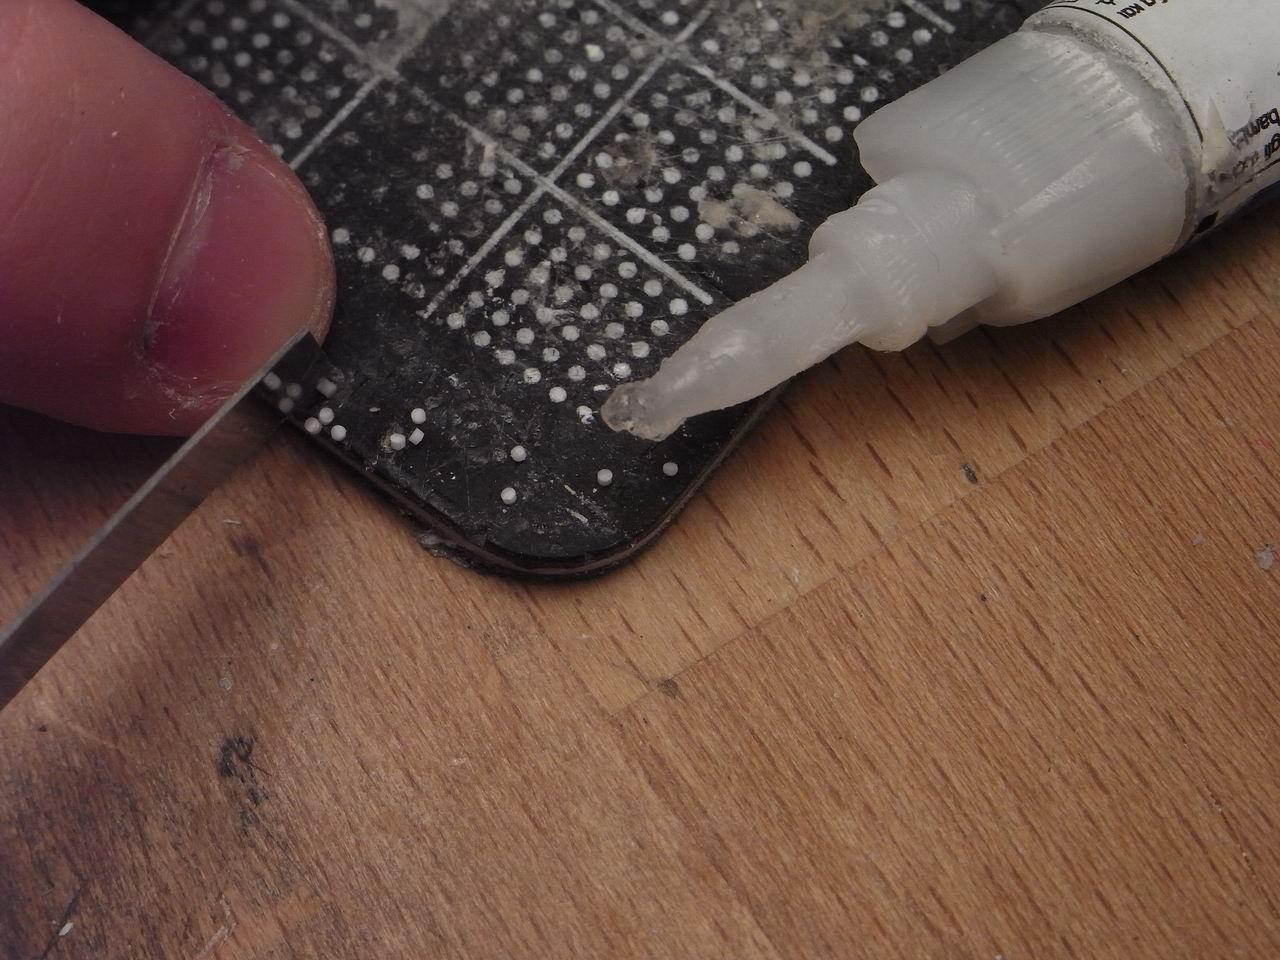
Since gluing them with a drop of glue for each one is not an option (the halo left is enormous) I preferred to dip them into a small pool of glue, and then put them on the proper place. In this way you will use only the needed glue, saving glue and doing more accurate work!
Once glued, the pins will look like this:
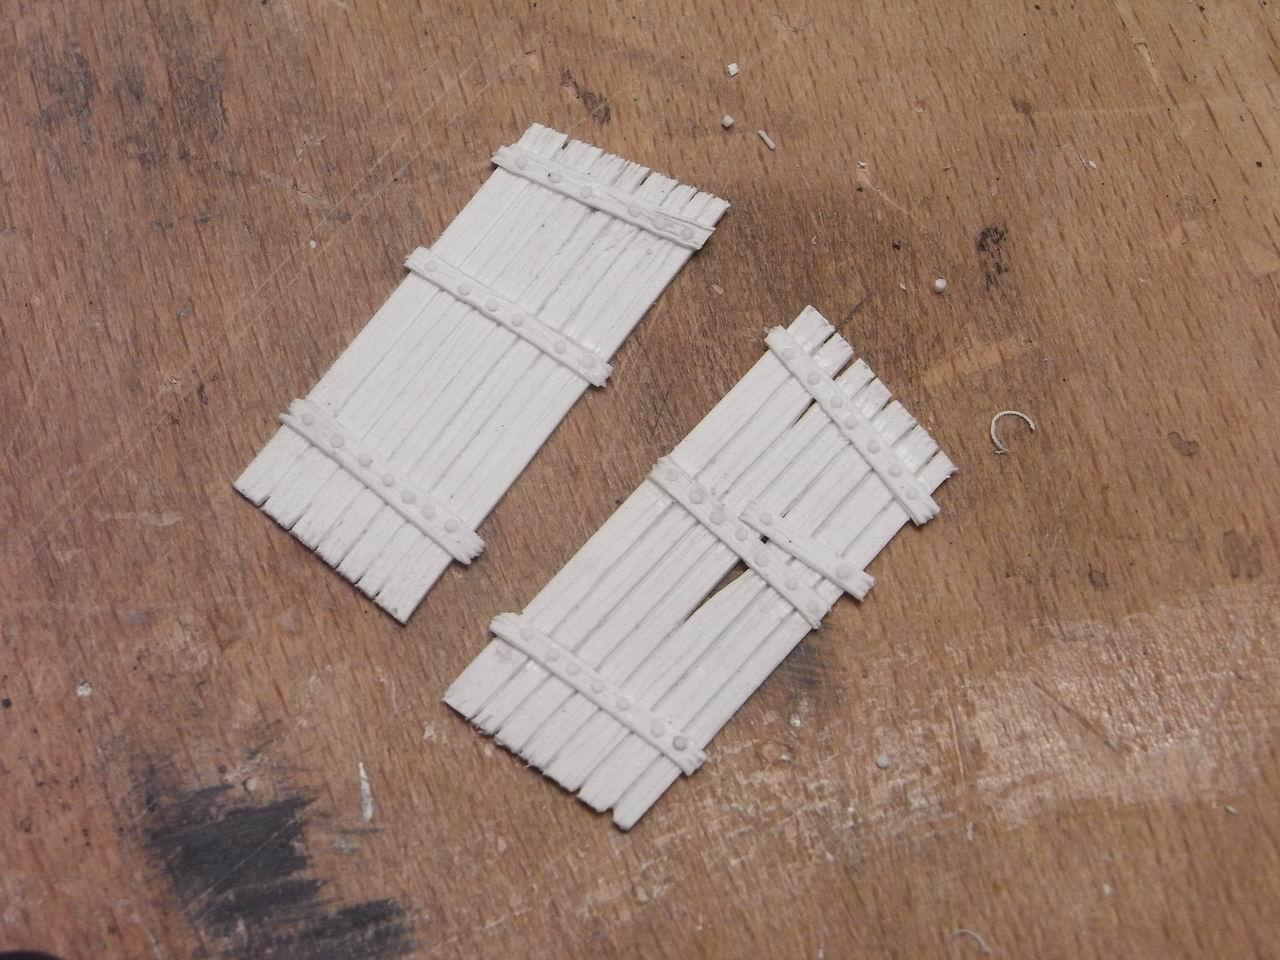
Then I started the base of the cart: same technique, but I meant to represent wider planks. As before, I started scribbling the planks border heavily and then the wood grain, trying to draw nodes and simple lines all around.
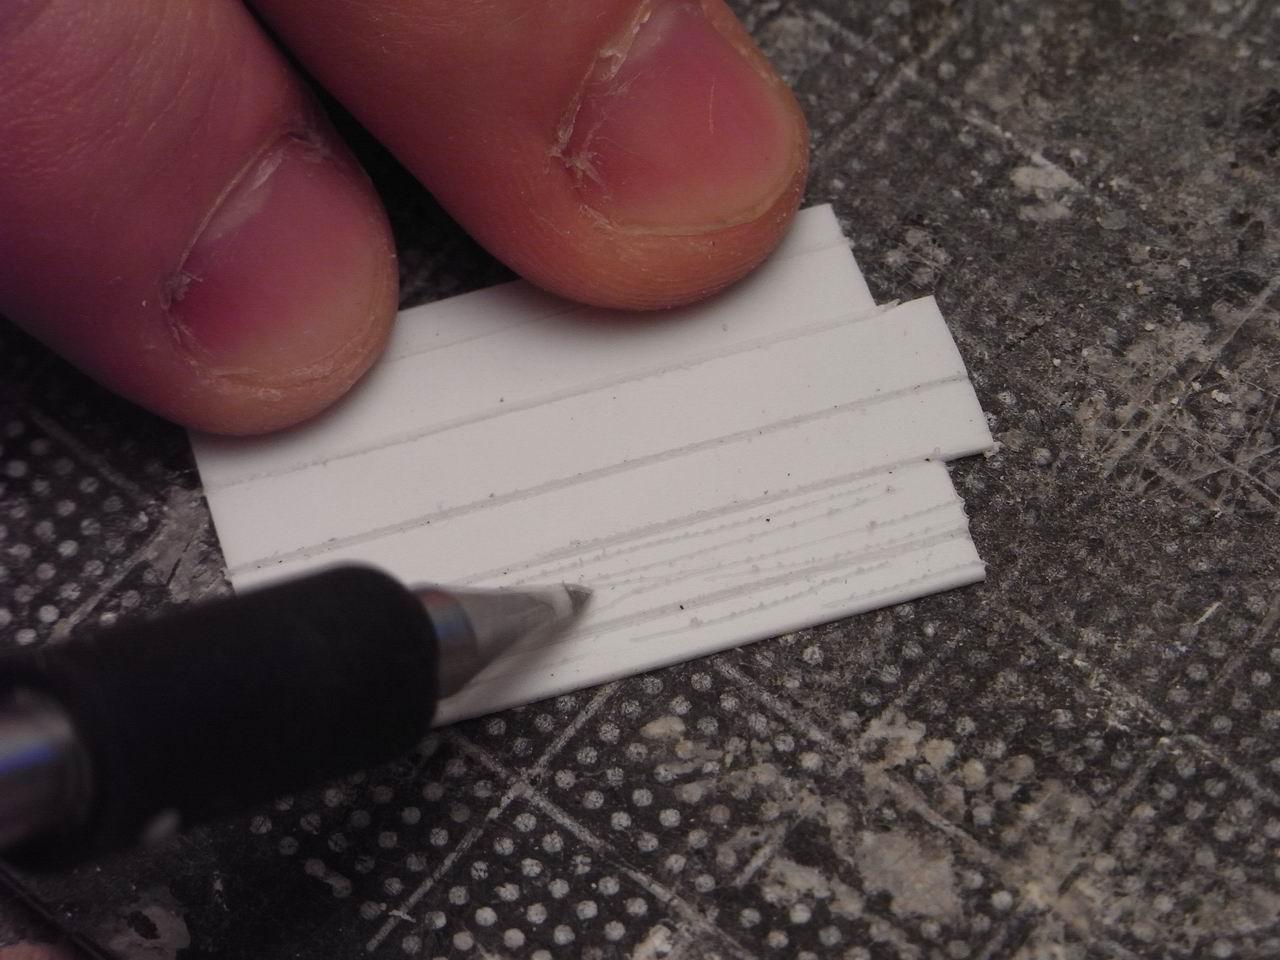
After the metal brush work, it looked like this:
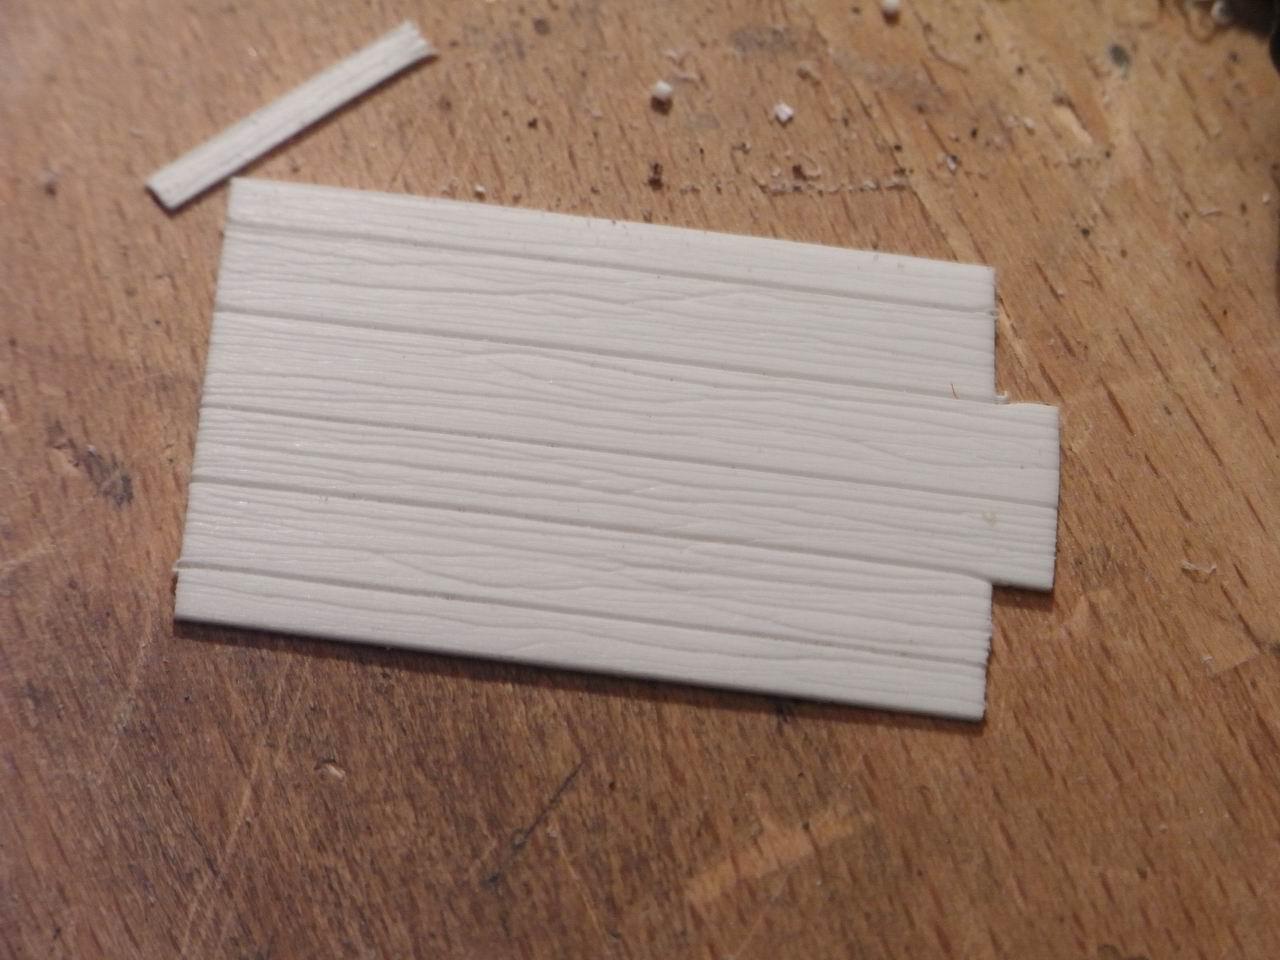
Note: before making the nails, I always use a metal spike to carve some holes where the pins will be placed: this way you will represent the deformation of the wood for the nail pressure, and it will be easy to place them in the small crater. After a wise sanding, and with a small detail added, it was finished.
As you noticed, the ends of the planks this time have to be very irregular. So I cut them differently, and after a small work I metal-brushed them really heavily.
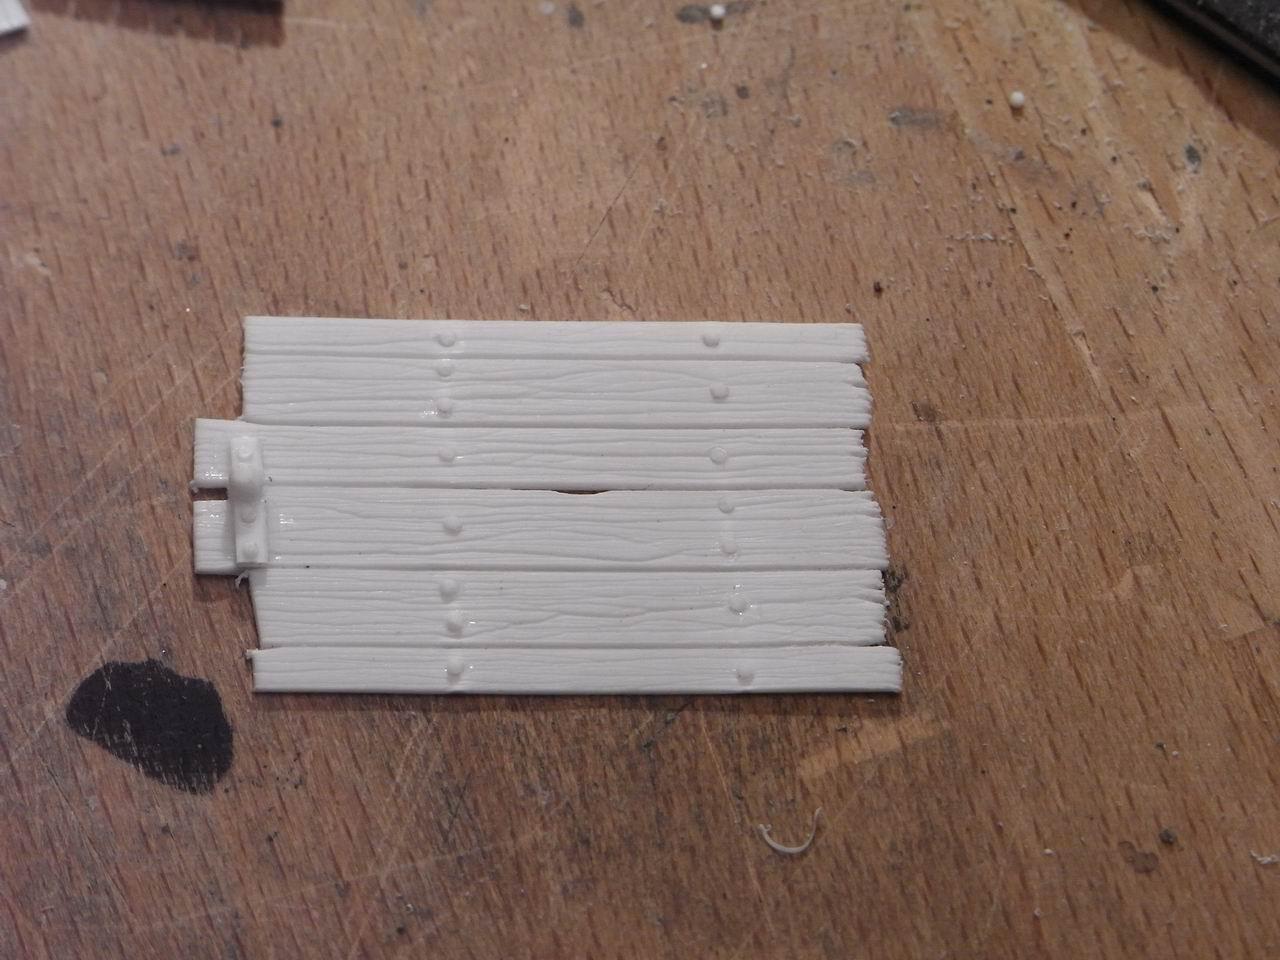
With a few temporary drops of glue, I merged the pieces together to get an idea of the final look:
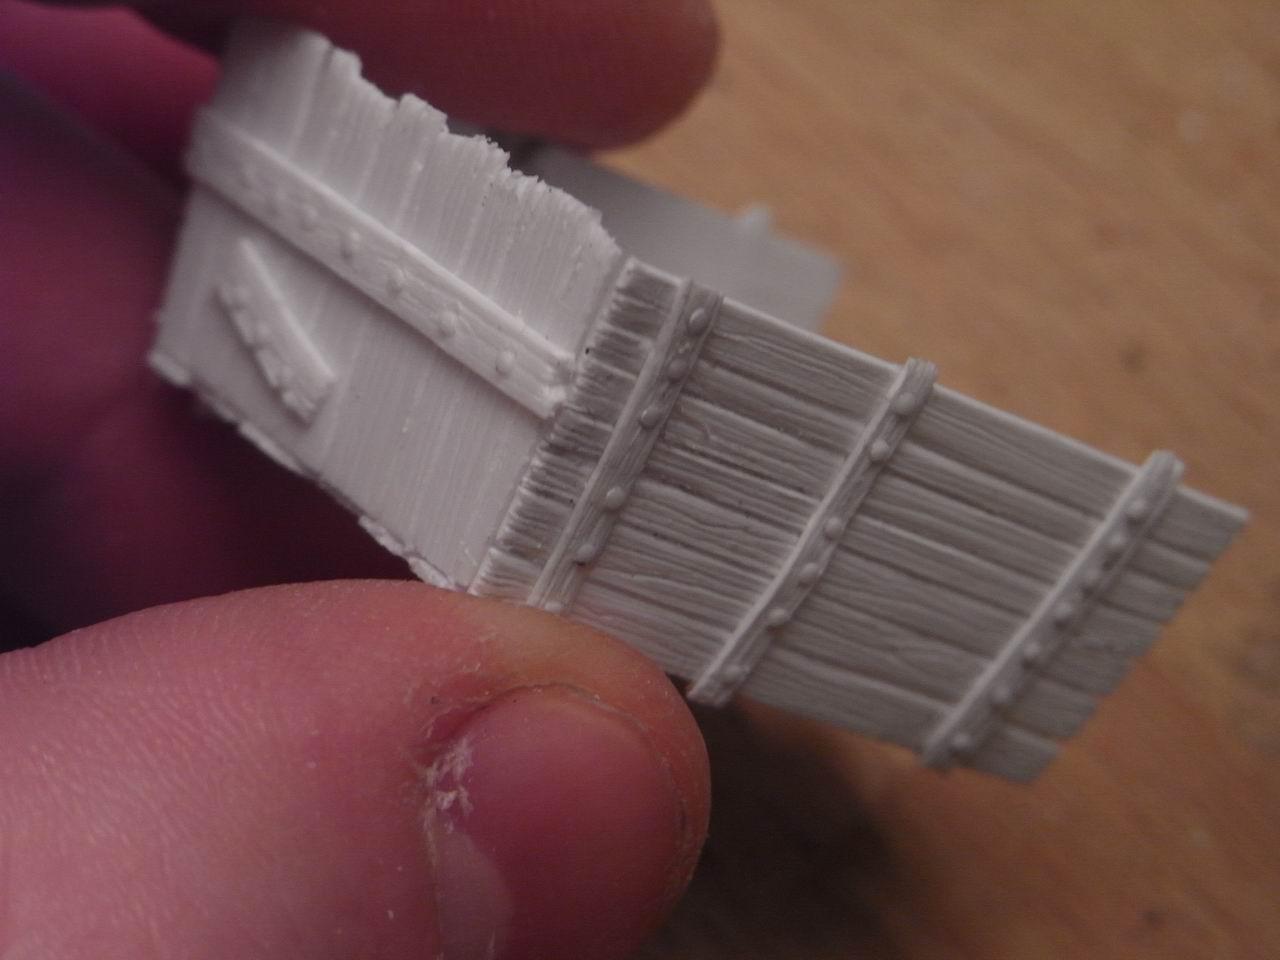
As you see, the base plank fits perfectly with the others.
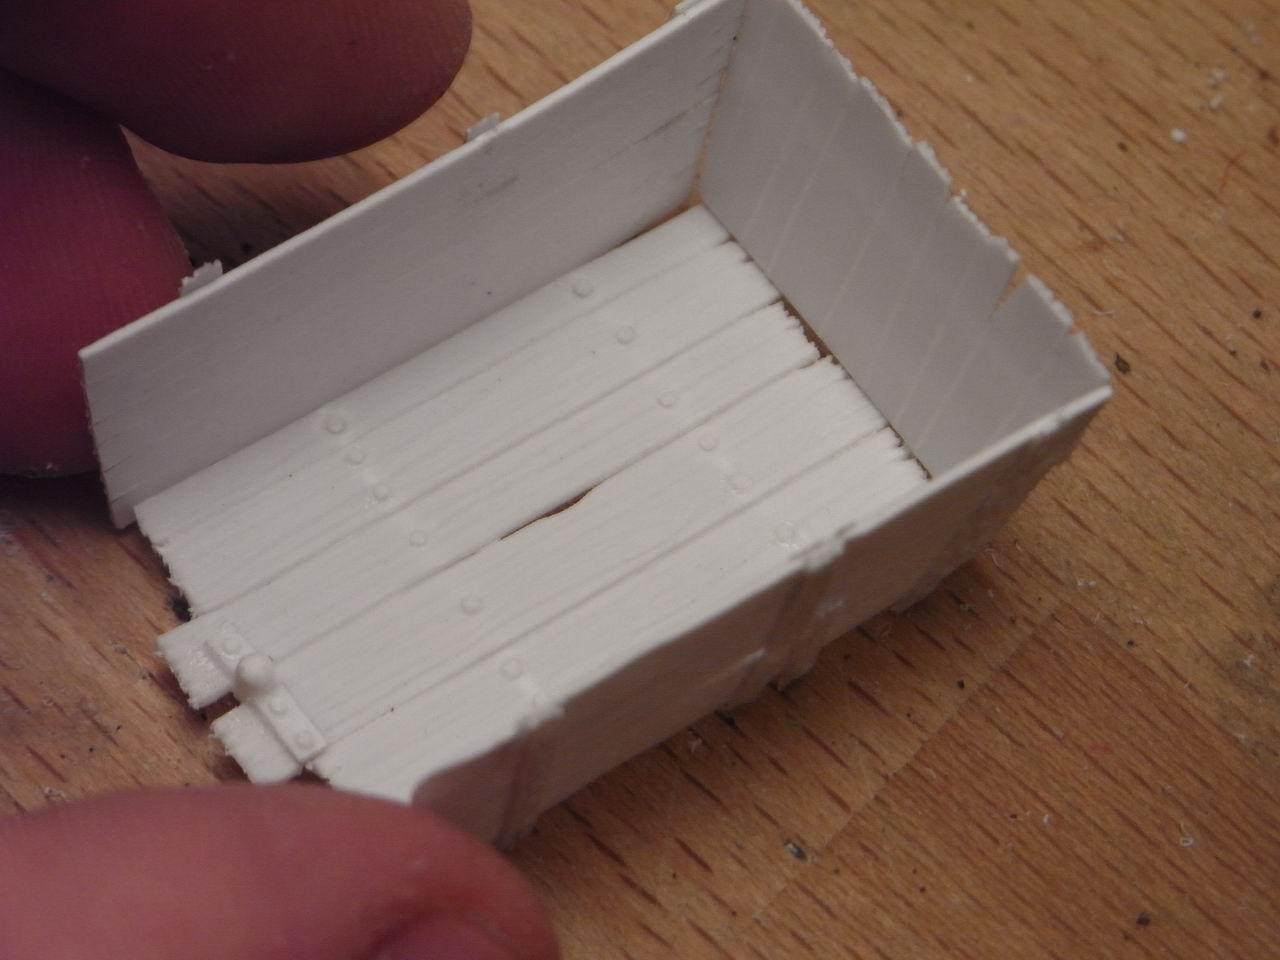
I was quite satisfied, but there was something really missing: in the inner sides, the faces were too flat. Sculpting the insides was not an option since I prefer to work with single-sided molds. The solution consisted in some reinforcement pieces, which can be painted easily, masking the flatness of the surface.
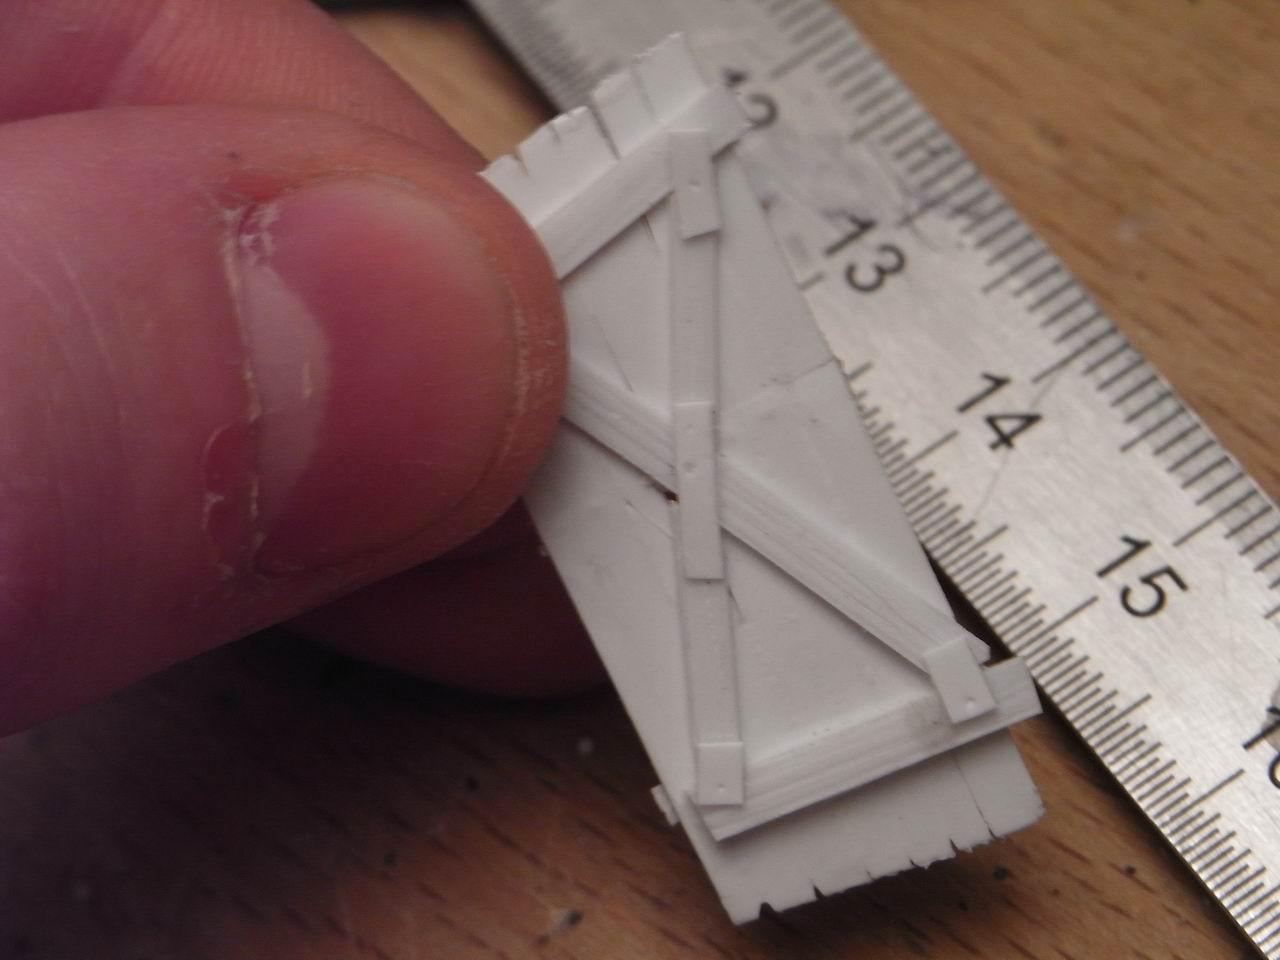
And that’s the overall view:
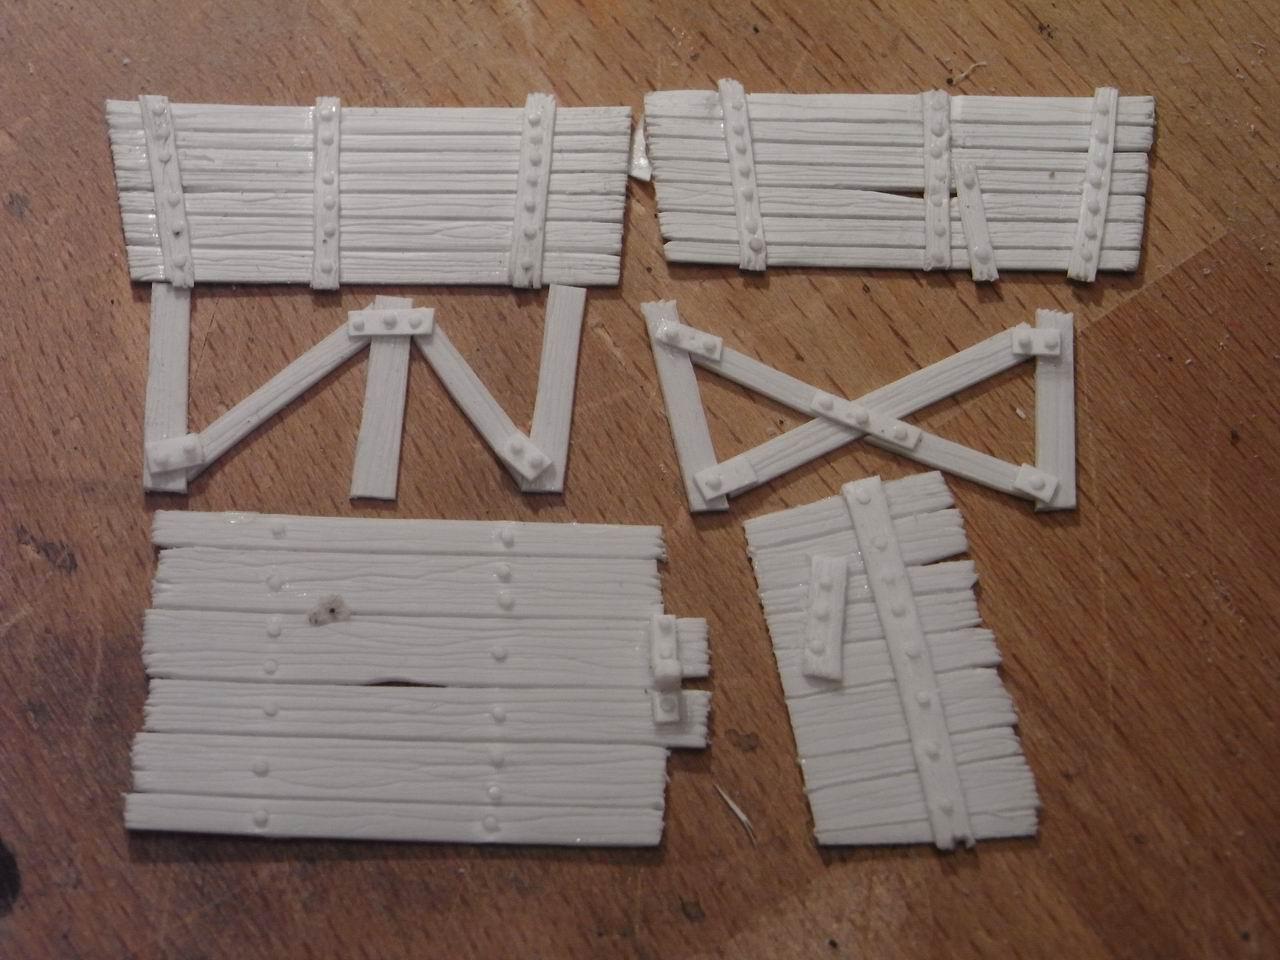
Part 2: The Structure
I started working on the frame below the cart: the structure of the wheels and the yoke. I used styrene parts and a bit of cardboard for the thickness… but every surface visible is made of styrene, and textured as above!
For the metal parts I used some lead strips I cut from a sheet. I use lead (even if it is toxic) because it fits beautifully in any corner with a little pressure, just like real metal (as it actually is metal)
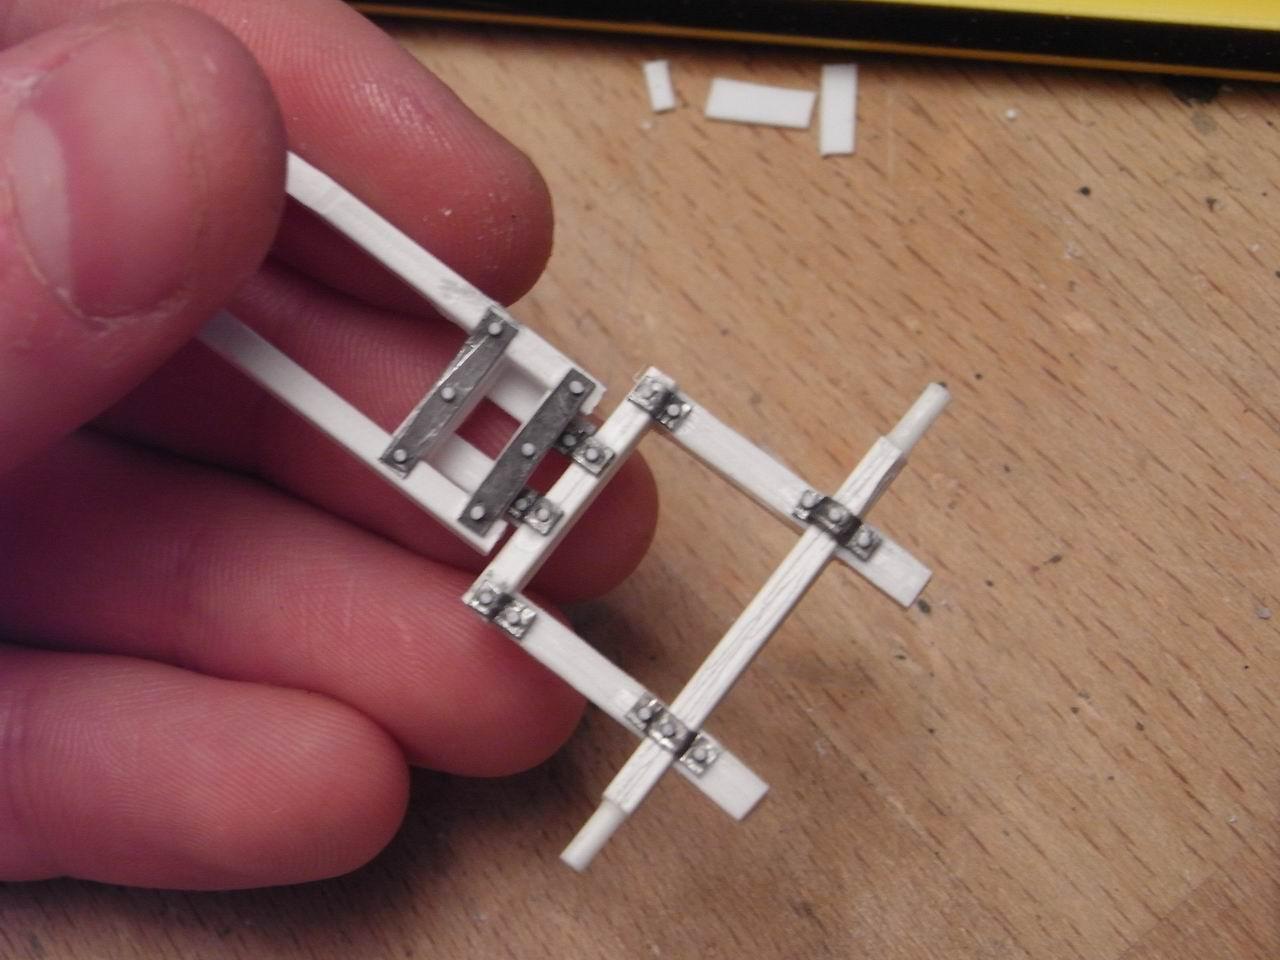
The mechanism is made in two parts, which I glued together for the picture. For the nails I used the same method as above, and the result is quite great, imho!
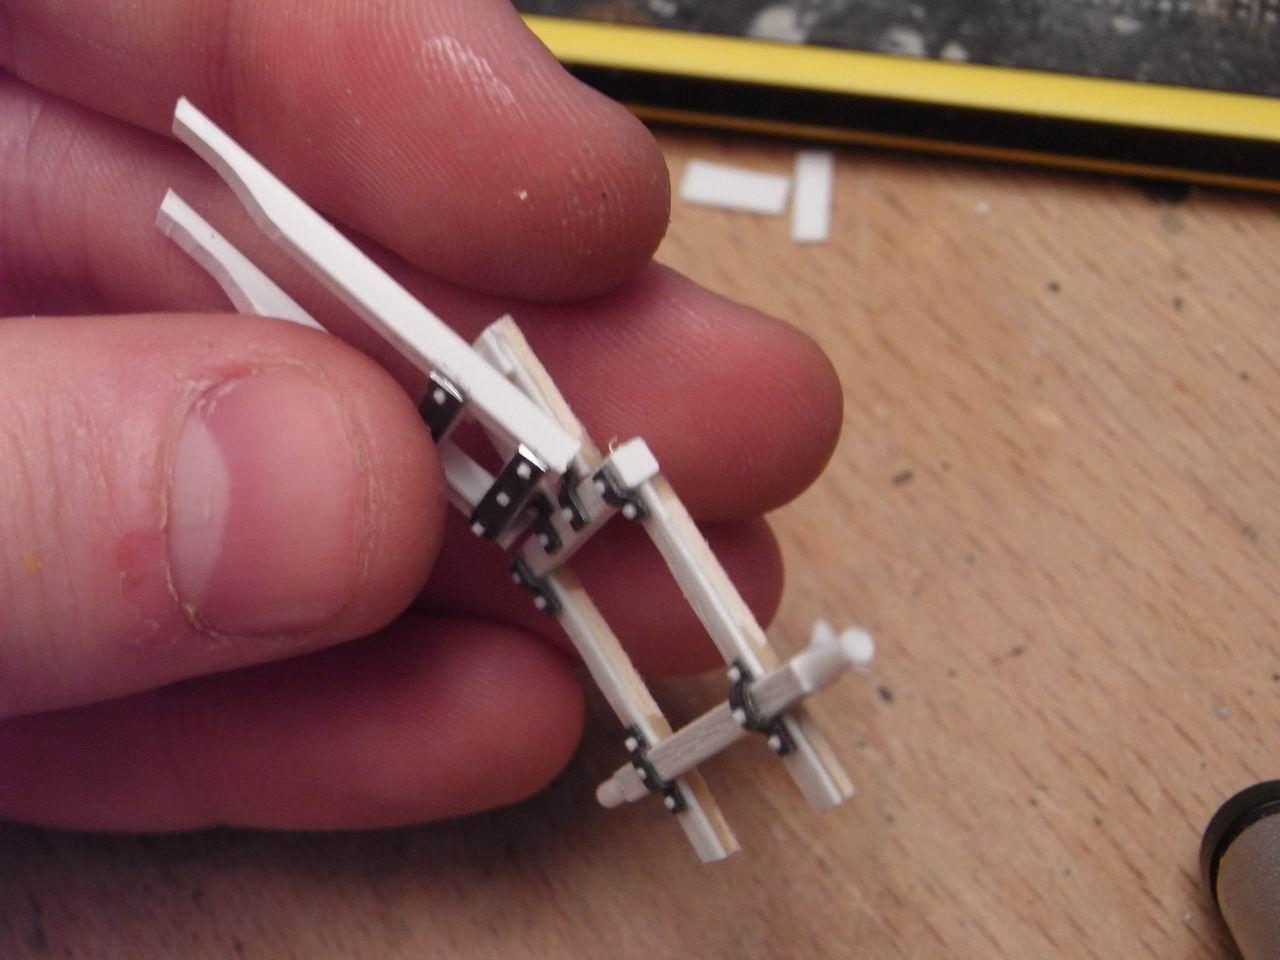
Part 3: The Wheels
I fought long against myself for the wheel’s type: Full wooden wheels or spoked wheels. At the end I went for the wooden ones: more versatile, they can be used from ancient periods to WWII with no problems, and are much easier to sculpt, too. I wanted something thicker than 0.5 mm, so I glued two sheets together. For the round shape I used a tool I bought in Japan the last time I was there: something really useful!
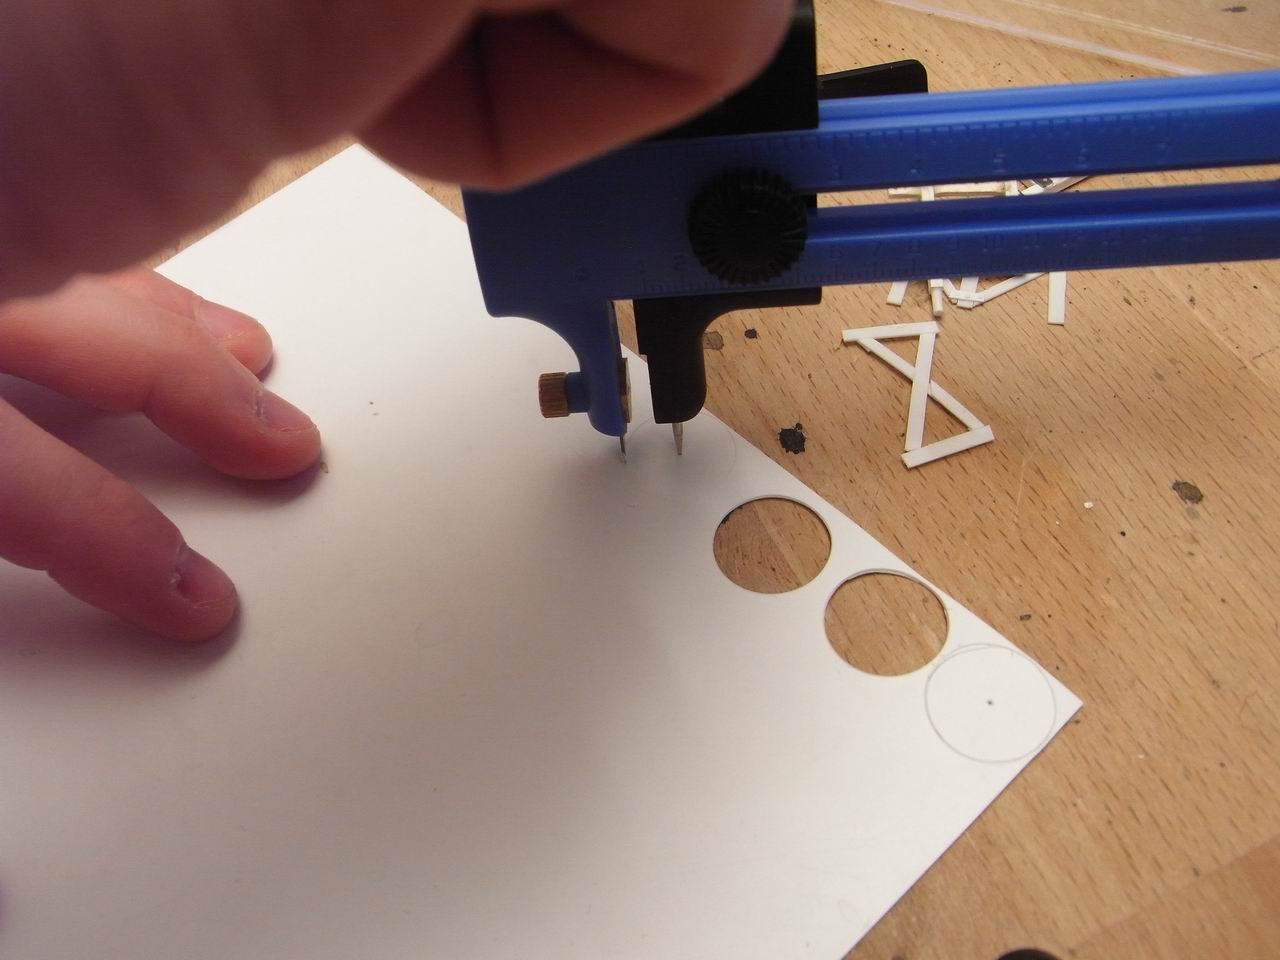
After the usual treatment, the wheels looked like this:
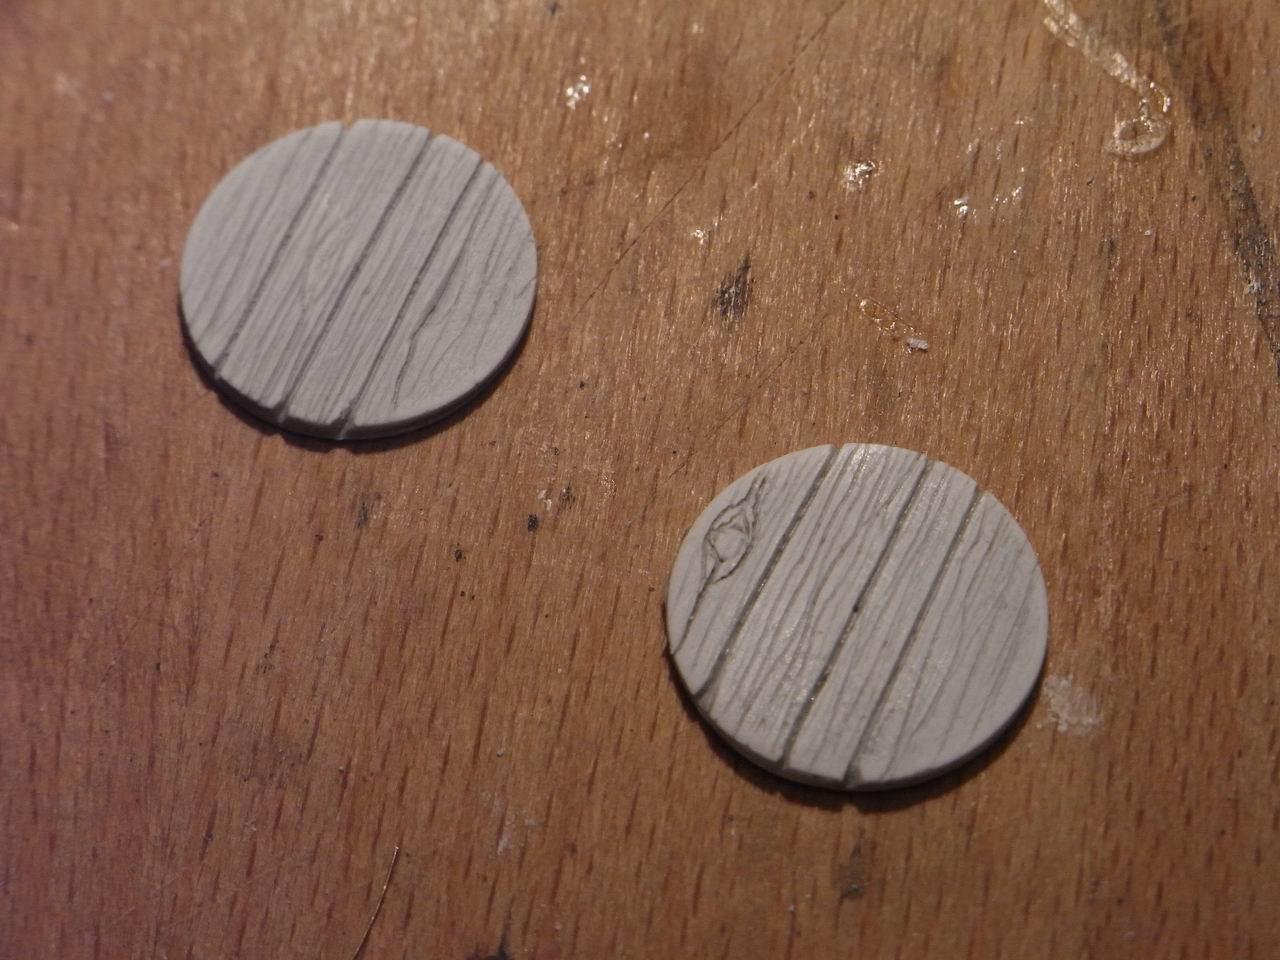
But wanting to make them a bit more realistic, I added a metal cover around the wooden part. Another lead strip was the best choice.
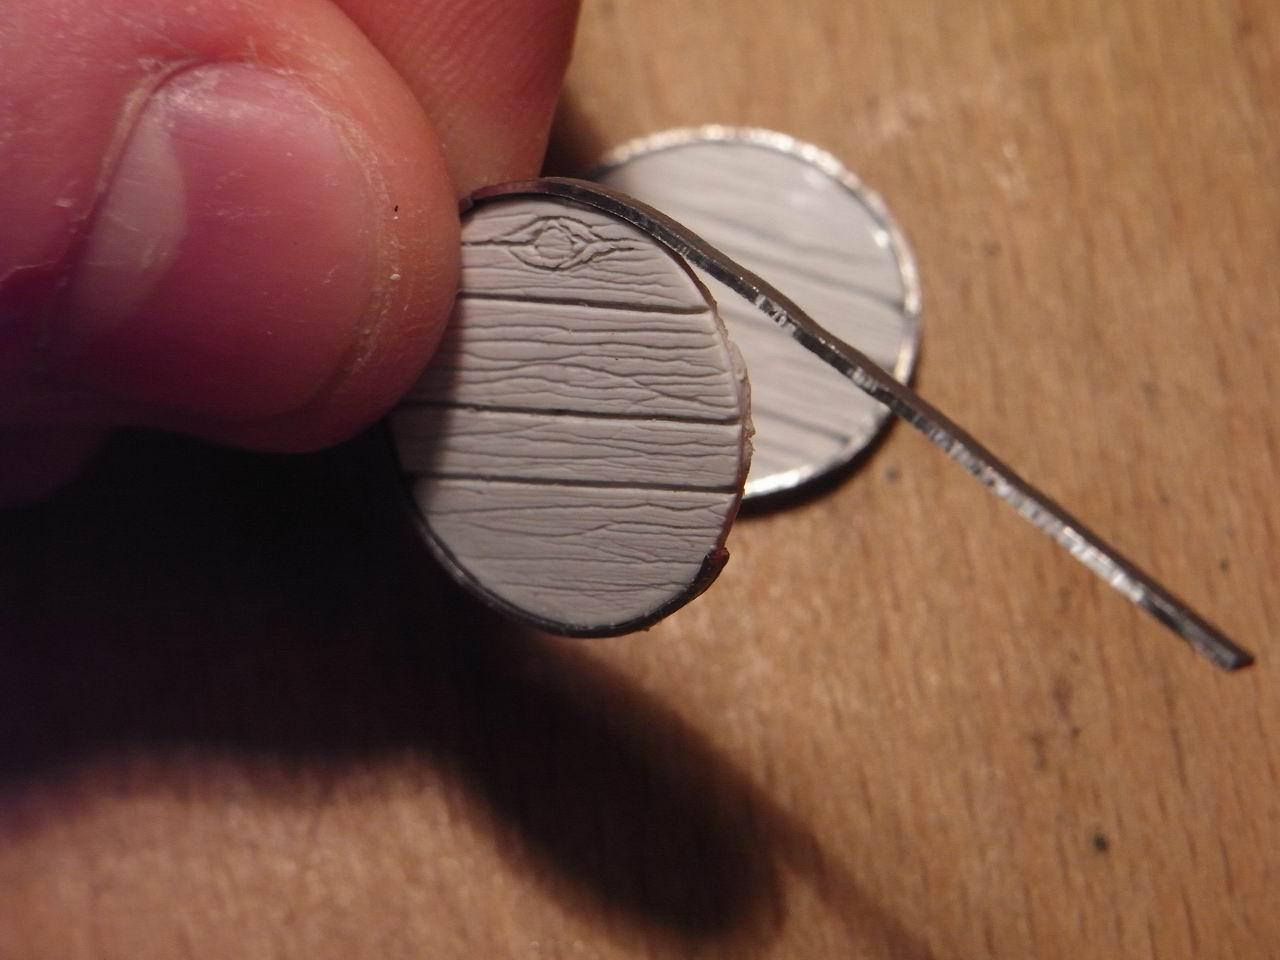
Part 4: The Moulding
Then finally I prepared the mold box. As always I used some cheap foam core, because it is quite flat and regular, and also easy to cut!
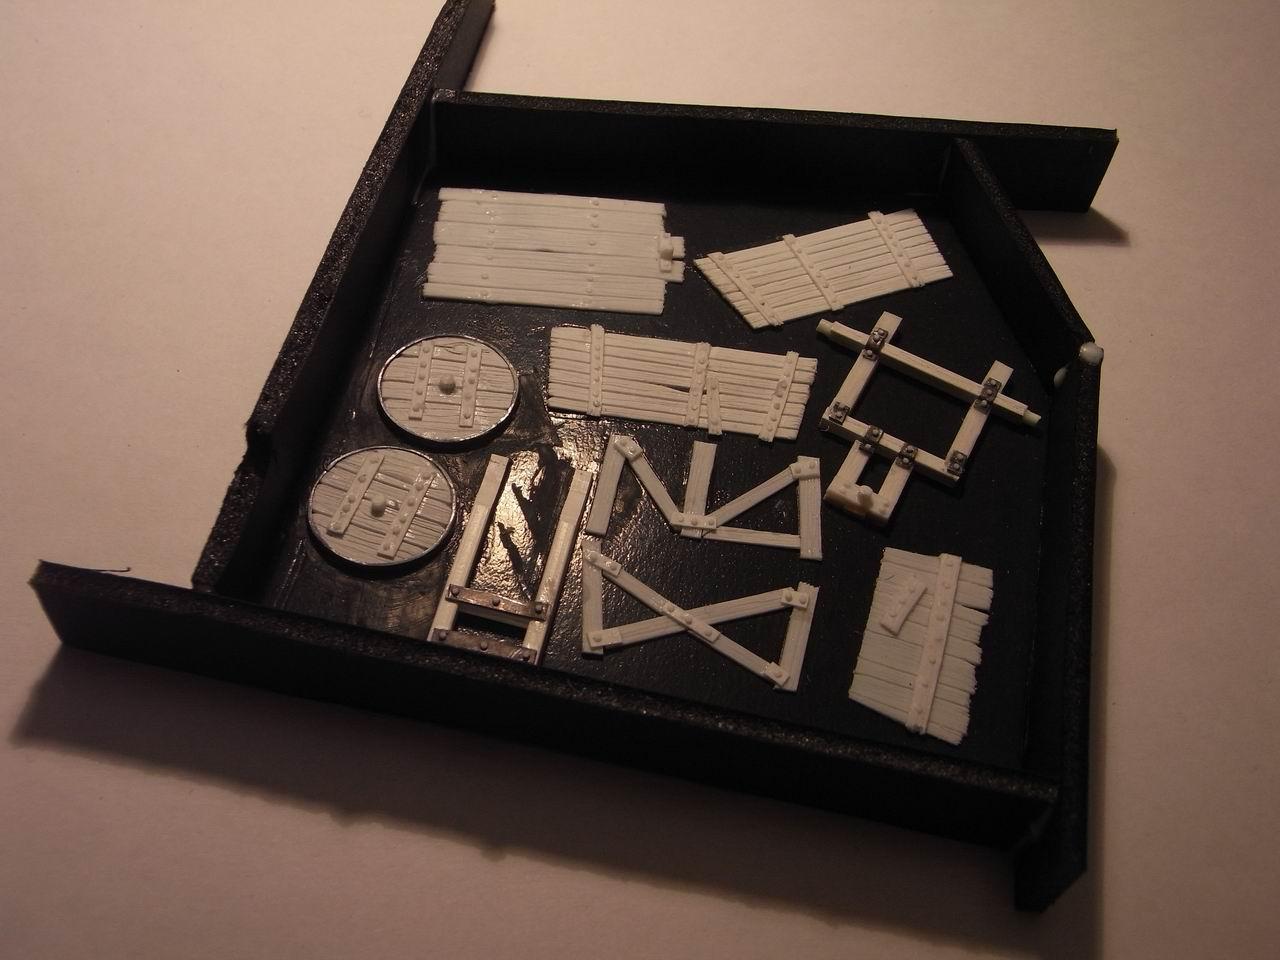
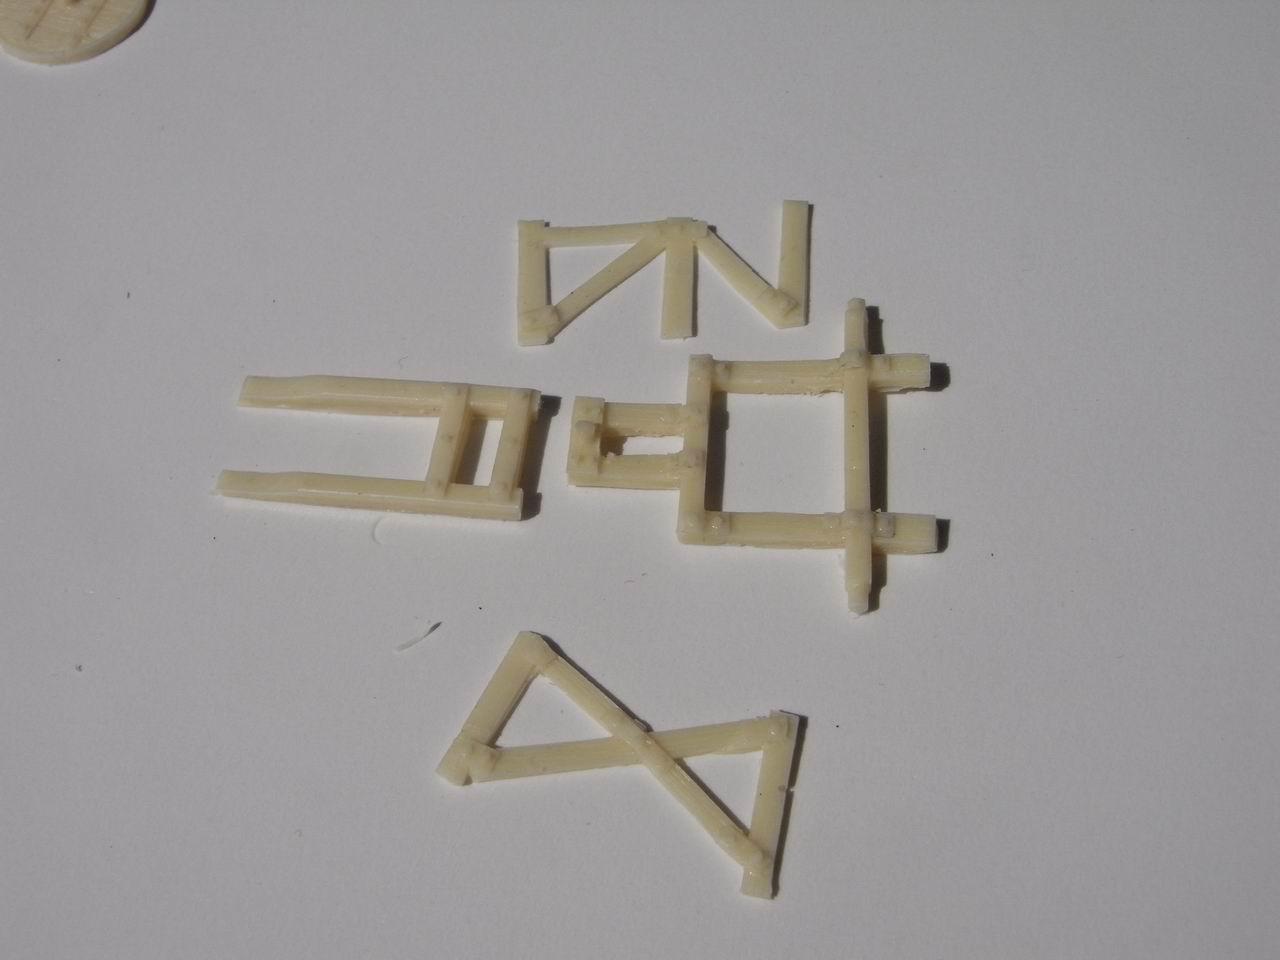
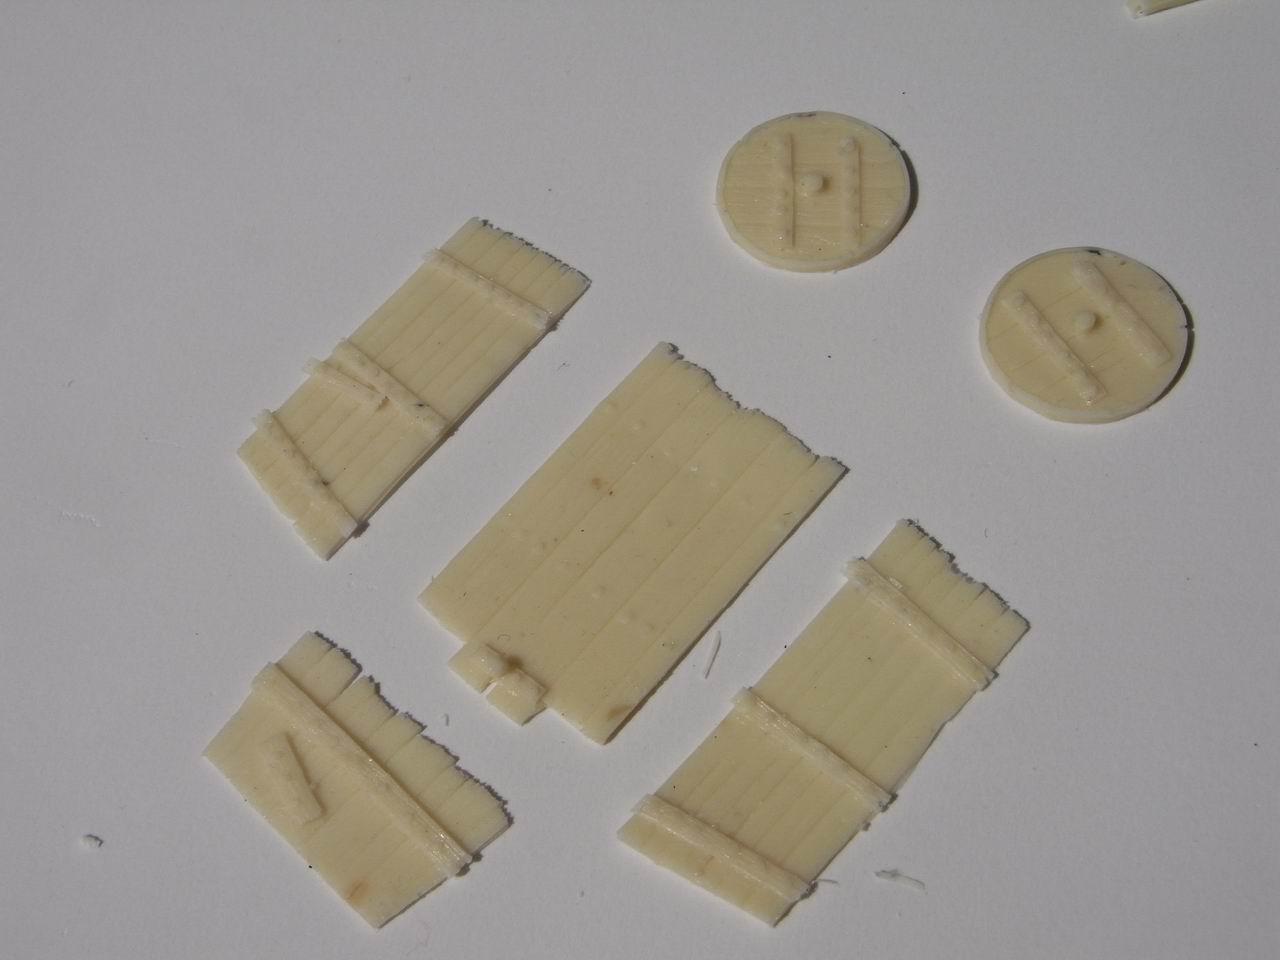
The silicone took several days to vulcanize, since I used the wrong amount of catalyst. But finally I managed to have a couple of resin casts.
Here is the structure:
And here are the flat parts:
Starting from the core, I had some problems assembling it. The pieces aren’t perfectly sized, so I needed to do some adjustments with the cutter. Here is the Result:
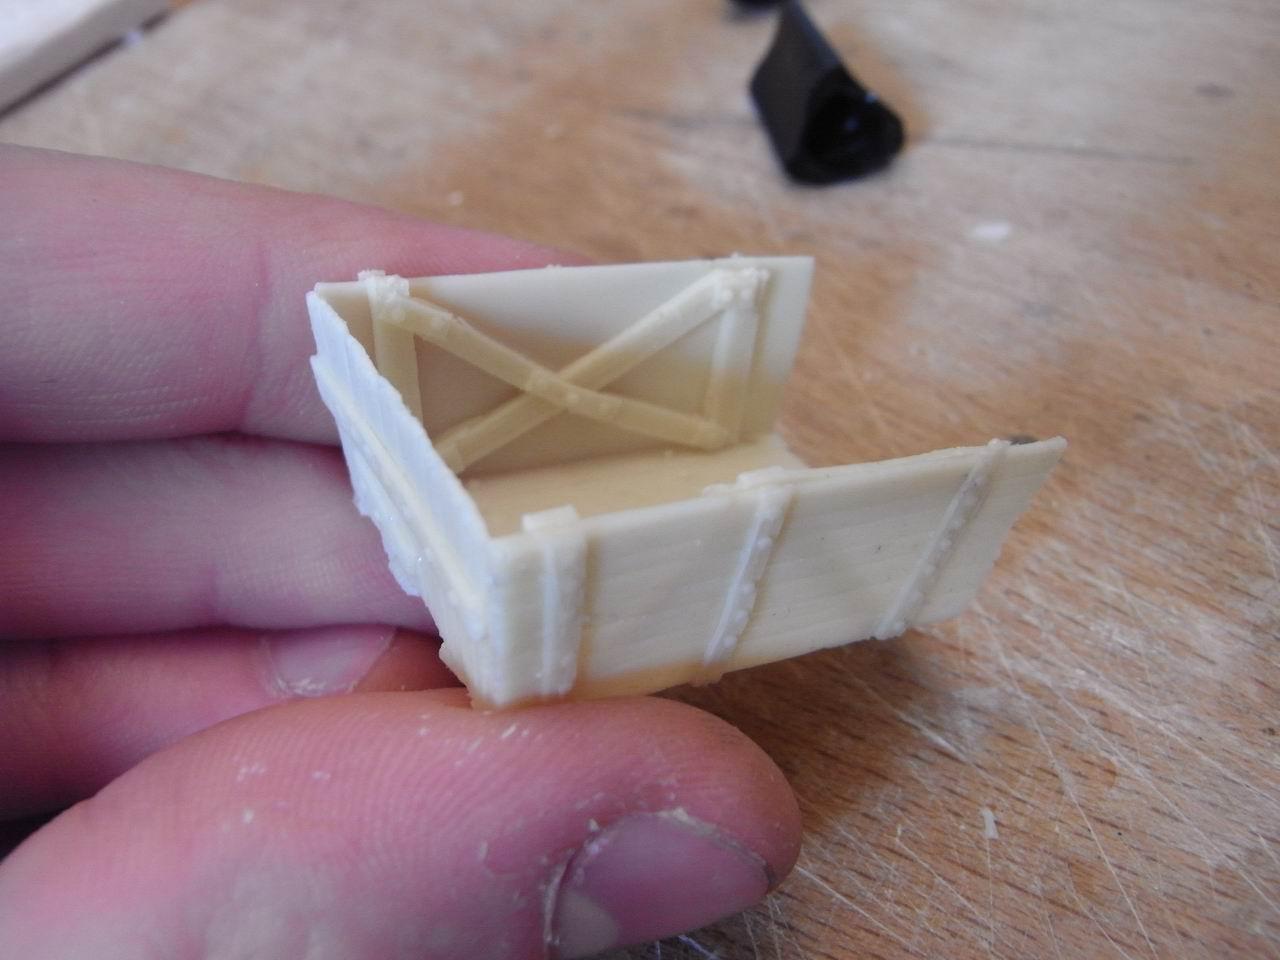
The main problem was in the wheels: the wheels were way too much in the centre, so the cart wasn’t balanced. Nothing too difficult, I had to cut the wheels:
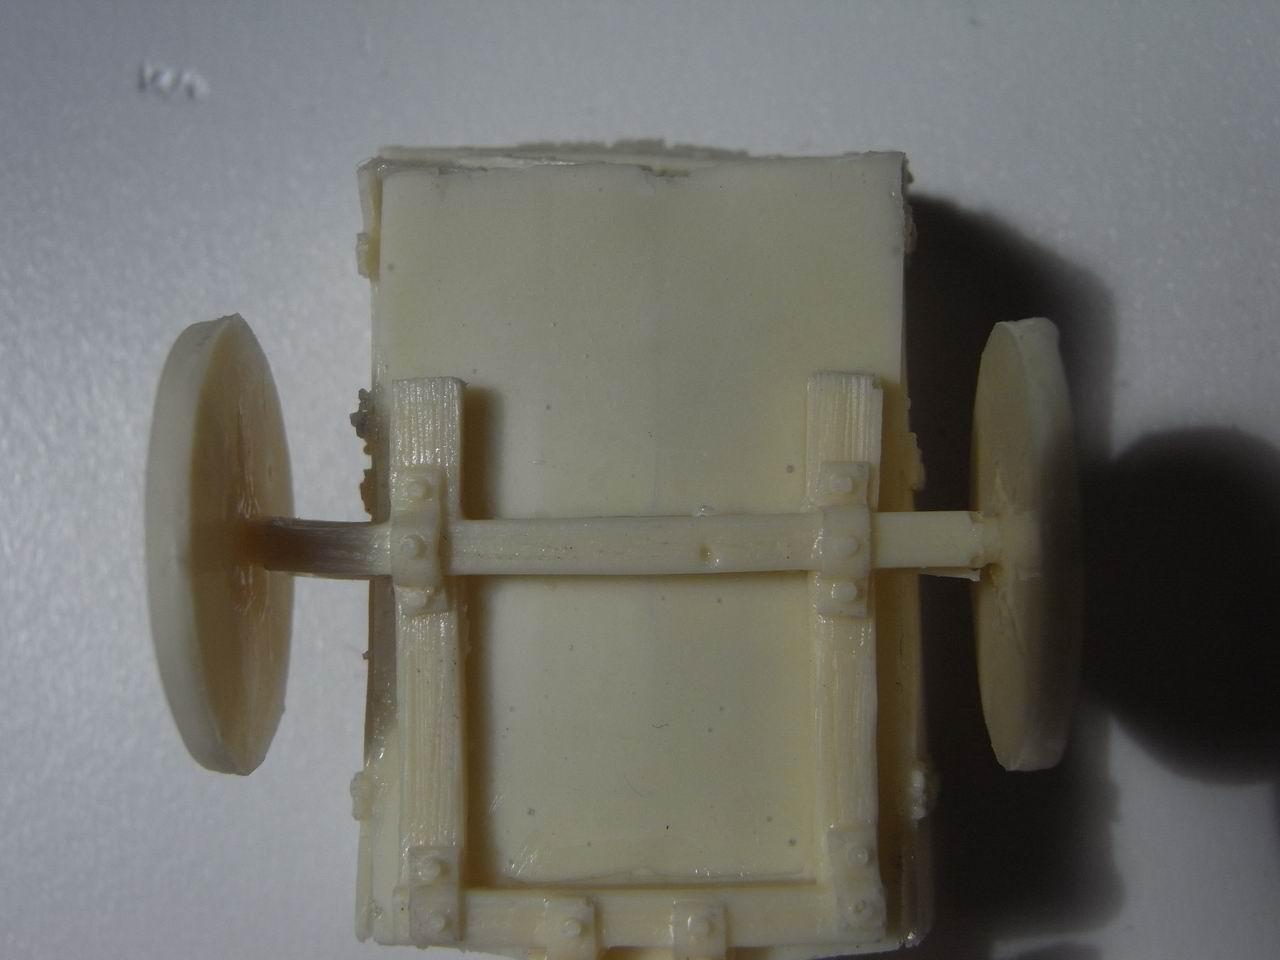
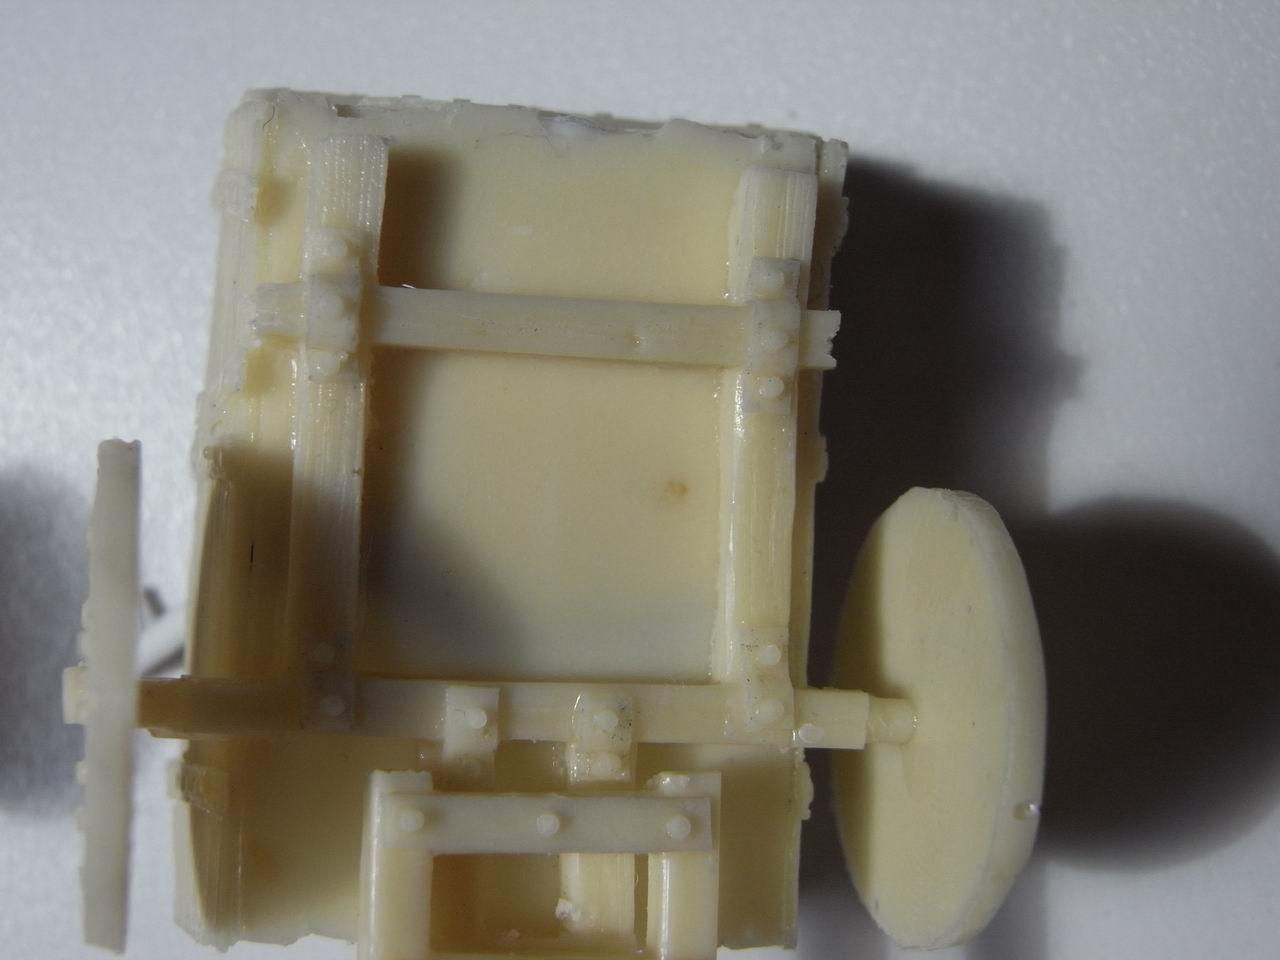
At the end, that’s the final piece!
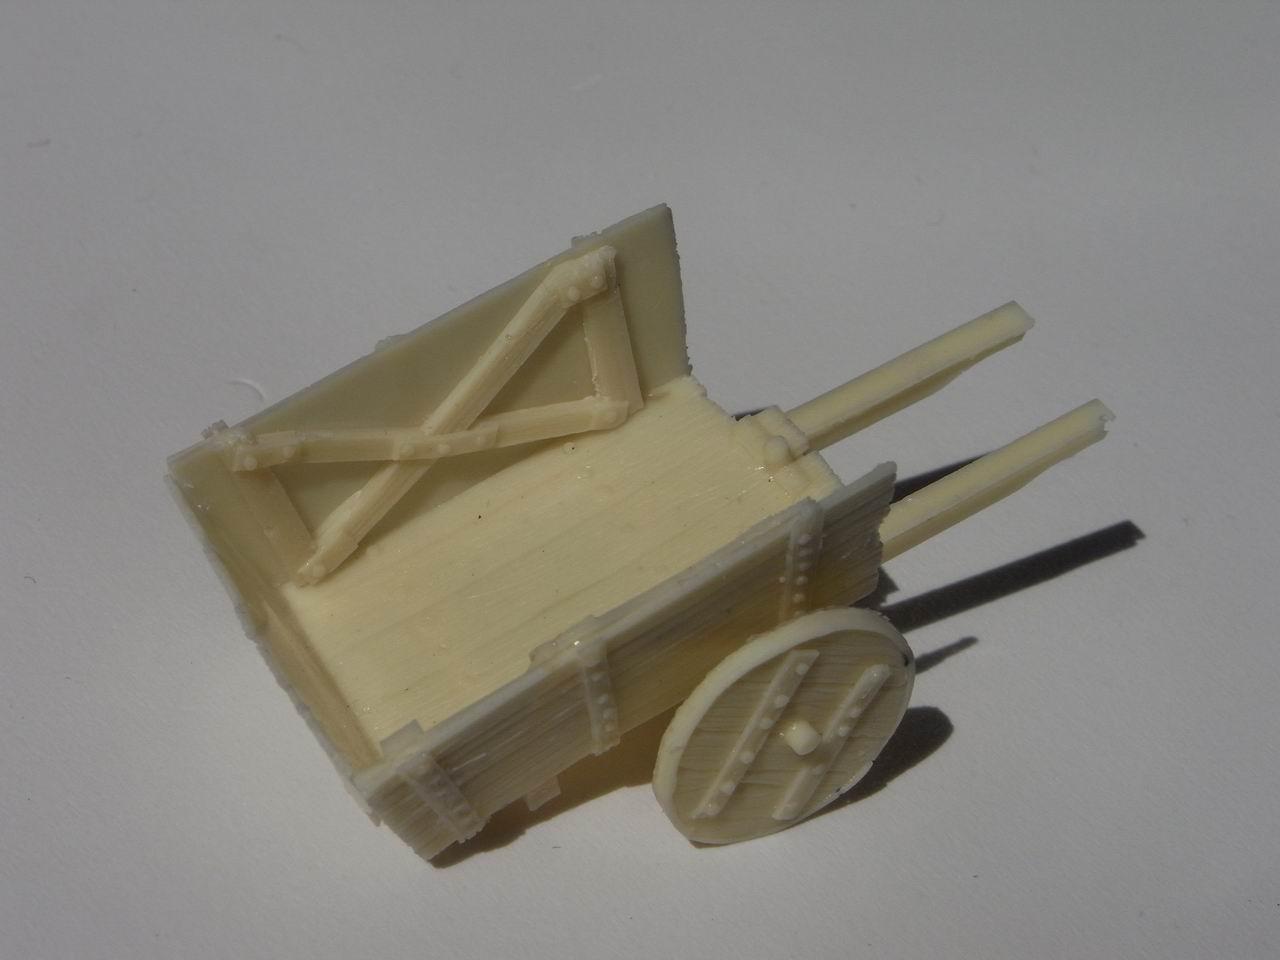
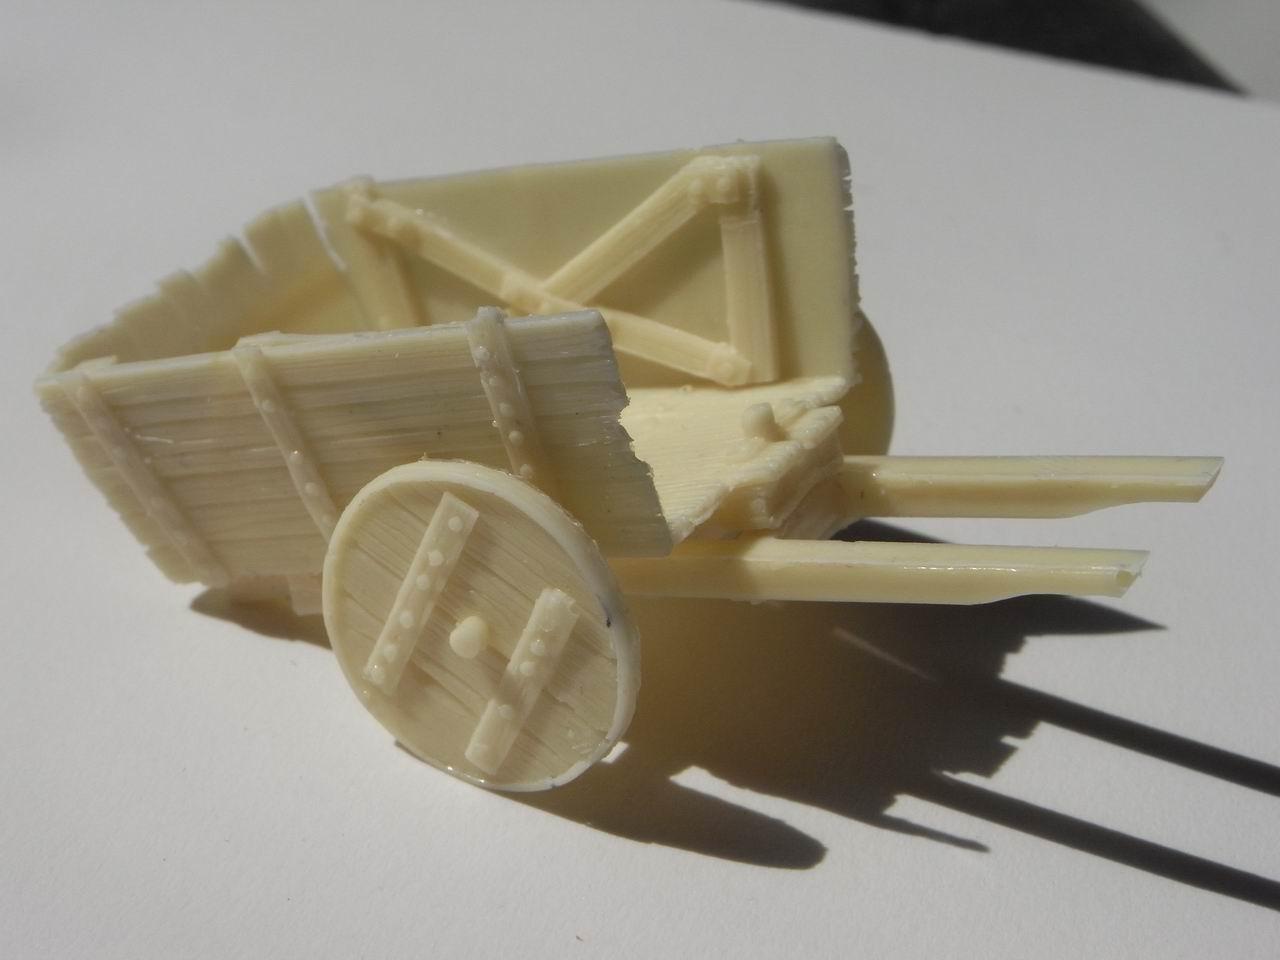
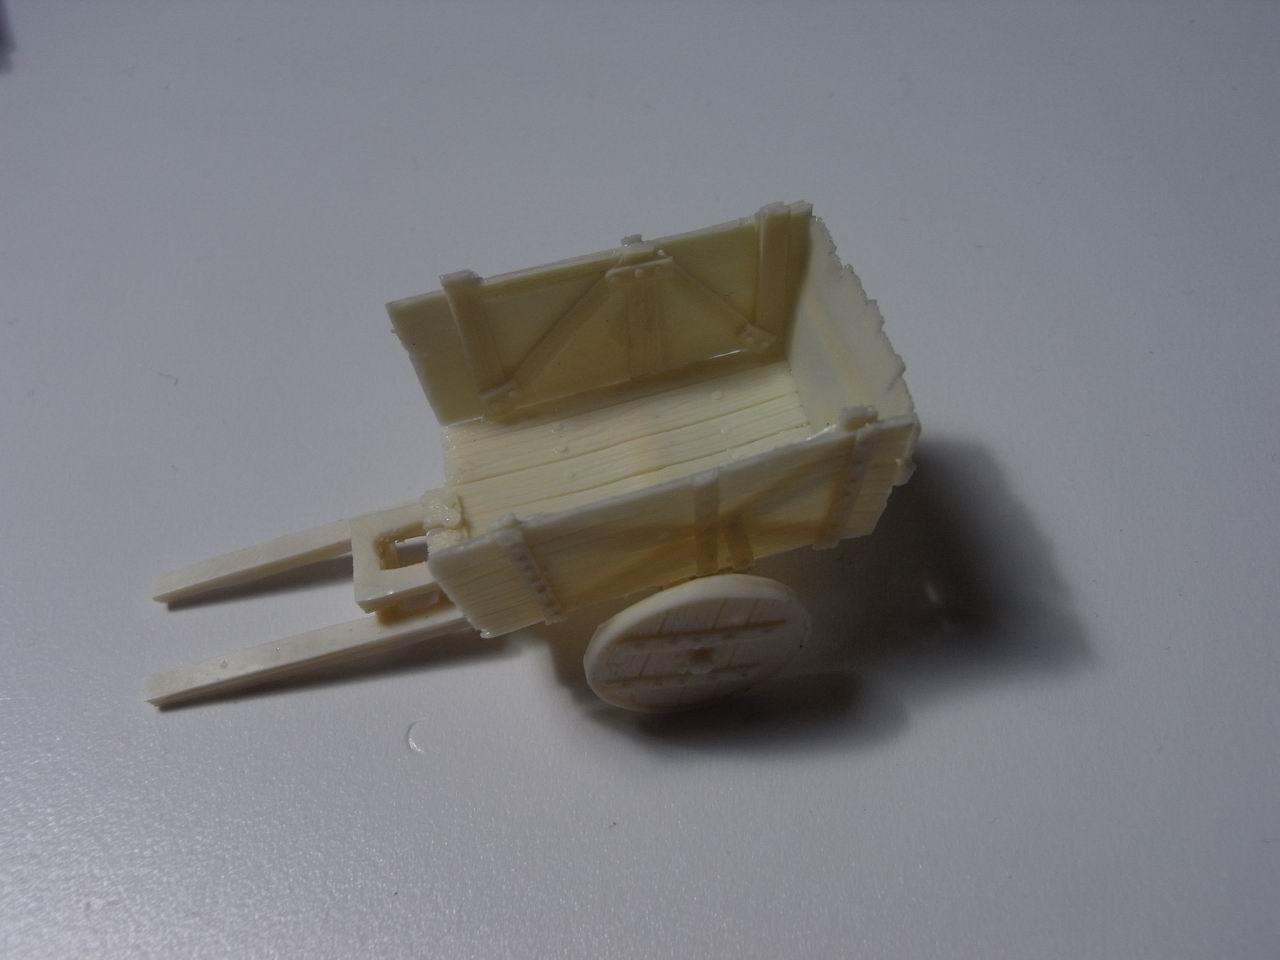
After that, I managed to cast another one. This time, I didn’t change the place of the wheels, I just glued the support a bit further, and the result is still satisfying. Both solution methods are ok, it’s up to you to choose the best one!
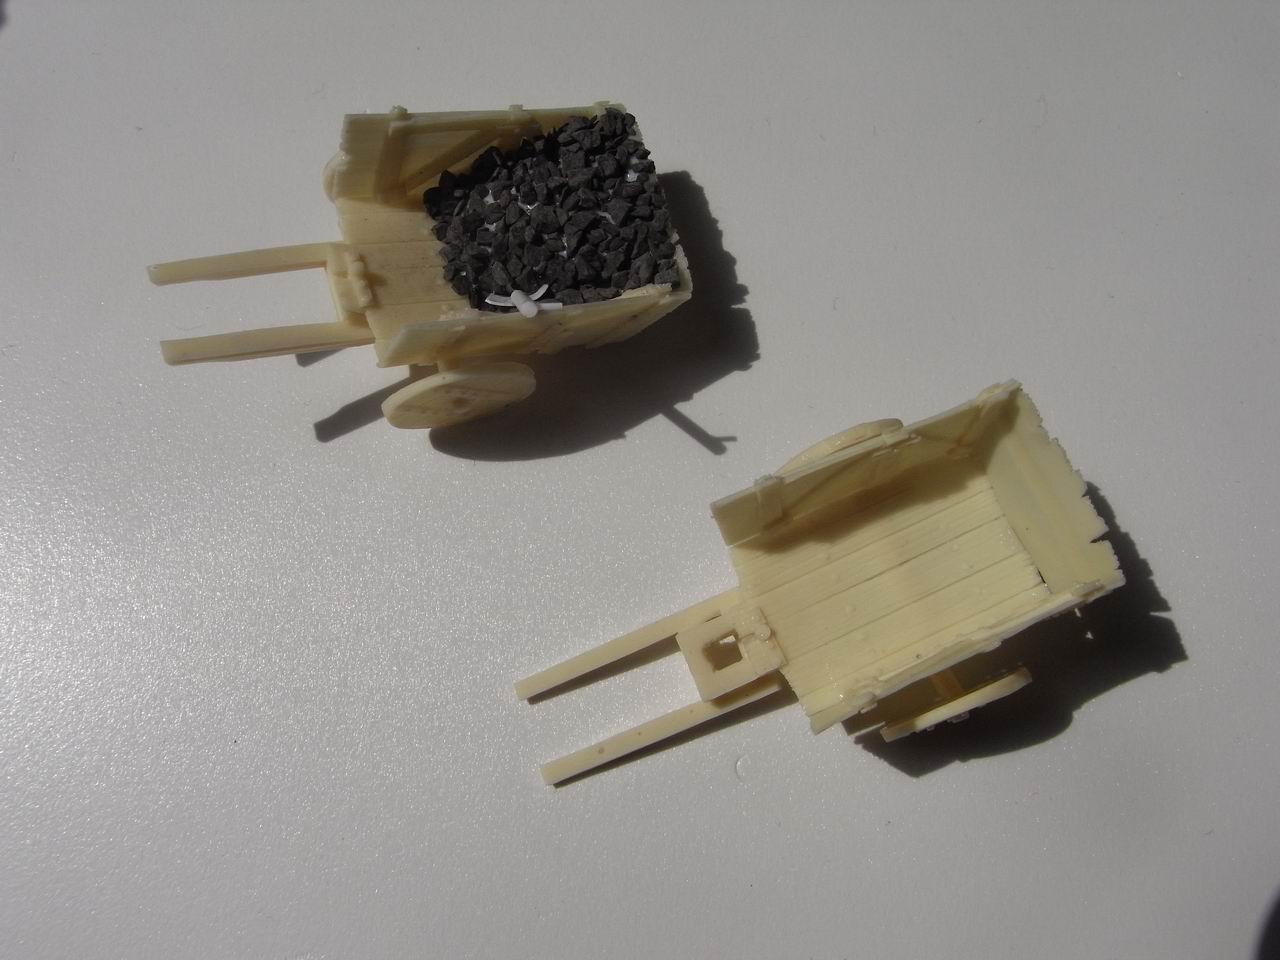
I added to the first cart a load of coal and a shovel (not easy to see in the photo)… the two carts together are shown as below:
Conclusions:
Working with plasticard (styrene) is enjoyable, and the wooden grain is much more realistic than using balsa. Actually, the balsa method (which I will show sooner or later in a proper article) is much faster, and with several projects it works as well as this one. For historical sculpts I prefer the styrene way, but for the fantasy it is not enough… exalted!
Anyway, with the same technique it is possible to obtain a lot of different effects, from the bent wood to the metal, and even rocks or paper!
Hope you like,
The Lazy Forger