The Burnin’ Rib – Part One
- Tutorial Type Gaming Scenery, Master Sculpting
Hi everyone!
Today I’ll share with you a new technique I’m developing for fantasy and historical buildings. I had the inspiration a while ago, and during the preparation of my very last exam I started doing some experiments. I made mistakes about proportions and even about the plaster (a fine ceramic one is great for details but it’s nearly impossible to carve properly), and this is basically the second attempt with this technique. You’ll see a lot of mistakes in the developing too, and I’m sure that in my next works in this line (if there will be any – hope so) I will be more firm and decisive.
The project in a nutshell
The whole concept of this project answers to a simple question: how to do a non-straight stone wall with a realistic look. Probably it’s just my “trained” eye, but when I look at most of the resin scenery on the market I see the separation line between the panels that composed the original master, either on single-piece resin models than on multipart. Anyway, for a brick wall is VITAL to have good corners, and that seemed to me a good option. Instead of composing together panels of plaster for the sculping, I decided to pour the plaster in a cardboard form. I’d say “mold”, but it will be eventually destroyed, and it was more like a box.
Then, when the stones have been sculpted, the rest of the building will have to rise upon them. Wooden beams and filler or bricks between. I had some thoughs about the style of the building, since the standard fantasy one has really aseptic plastered walls, with very clean and sharp wooden beams. I will probably do some experiments in the future, but I my real life experience rarely a building has such a defined shape. I then went for bricks between the wood, with some old and cracked plaster on it. For the roof, you’ll see in the part 3 of the tutorial, as well as for the inside detailing and the floor.
The stone basement
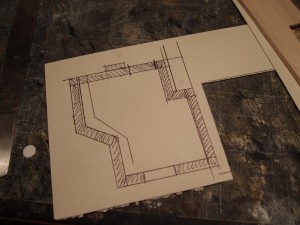
Of course, the most relevant (and, shall we say, “innovative”) part of the project consists in the basement of the structure. The general base shape of the building is drawn on a cardboard sheet, darkening the parts that will have to be covered in plaster.
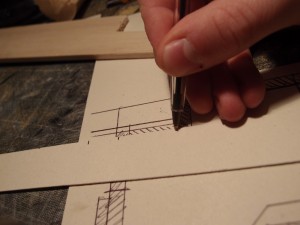
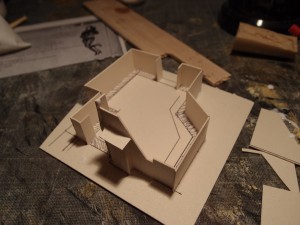
For the sides, I didn’t have to worry much about the lenght, since the external faces will not have effect on the plaster cast. There are however some acute angles where I had to pay more attention. As a rule of the thumb, cutting a single strip of cardboard noting the lenghts for each edge is a good way to have precise panels to glue together.
With some PVA then I started gluing a part of the box. A precise drawing on the cardboard base is good to keep a reasonable thickness of the wall.
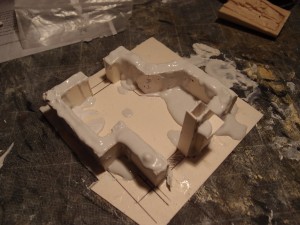
Once the box is done, I’ve poured plaster in it. The plaster I’ve used are a good quality one, although I didn’t use my usual ceramic plaster, for it’s ways too hard to sculpt in a comfortable way. That one was much more suitable for cracked concrete or even rock, but for shaping stones it’s not really a good option. You can see how this plaster looks grey in the photos when it’s wet, and that’s a clear difference from the other.
Once the plaster is almost dry, it has a very soft consistence, and I cut the excess from the levelled edges of the box, leaving a flat surface on the top of the plaster parts.
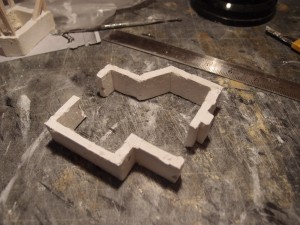
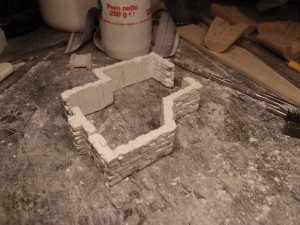
I left the cast to dry for a couple of hours, then the cardboard was basically the only wet part remaining. I peeled it off, scrubbing the plaster with a brush in order to remove the last paper films, and then I had my cast.
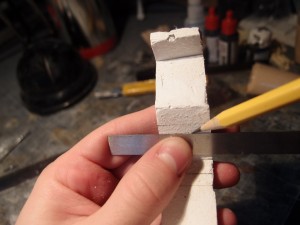
The next step was to decide where to place the wooden parts in the second phase. However, sculpting a plaster piece requires some pressure, and it’s a stress for the thin walls, so I avoided any unnecessary carving before the sculpting phase. Thus I just noted with a pencil where the beams will be placed, on both sides of the cast.
Since I have only two hands, in this picture I’m holding the pencil with my teeth.
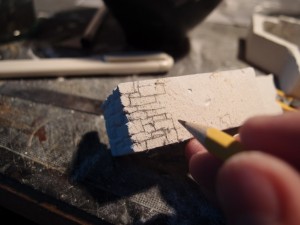
I started sketching the stonework. Actually I never meant to follow the drawings strictly, but still it’s a good thing to get an idea of the overall look.
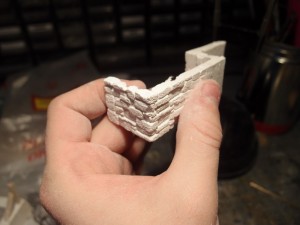
I then took a few tools: A flat large one, a conic arrow-shaped one, and a needle fixed in a precision scalpel holder. First I carved some deep reefs for the stone shapes, then I starting removing layers from some random rocks. With a metal brush I gave some texture, and with the needle I enhanced the separations between the rocks.
The second part was sculpted in the same way, tryingto keep an uniform style in the stone shapes and surface.
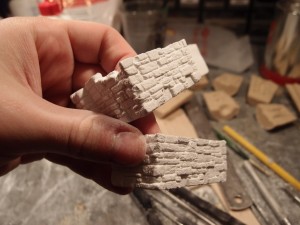
The two stone walls are then completed. It took me a few hours to sculpt the two, but expect to spend some more time at the beginning, most likely breaking several times the cast during the process. I’m quite used to this kind of work, even I’m always exploring new techniques.
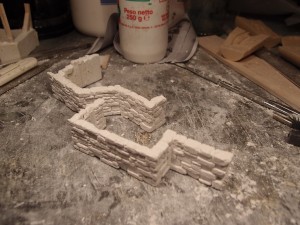
Other side:
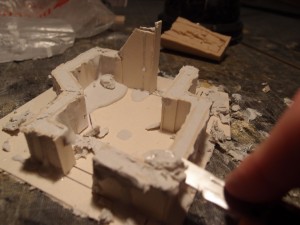
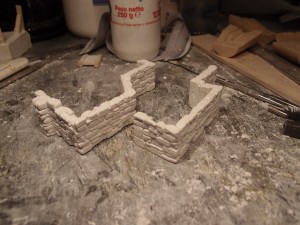
So here you can see the two parts in their final form. Each irregularity is now valorized to give more character to the overall look. I decided to put a kind of a colum on the front, and in my next works I’ll surely add more of those elements in my basements and walls.
Of course, this is only the first part of the tutorial, the second one is here and the next ones will follow. Somehow, however, it can be considered a tutorial itself, since it covers the whole process of plaster carving until the end. I learned a lot with this project, and I hope that this article will be useful for others.
Cheers,
The Lazy One

Very cool, interesting stuff and very craftsman like.
Thanks Adam! 🙂