The Burnin’ Rib – Part Two
- Tutorial Type Gaming Scenery, Master Sculpting
Hi everyone!
In this tutorial I’m continuing the step to step description started in the Part One, this time covering the woodwork and the brickwork required for the wall detailing.
The beaming
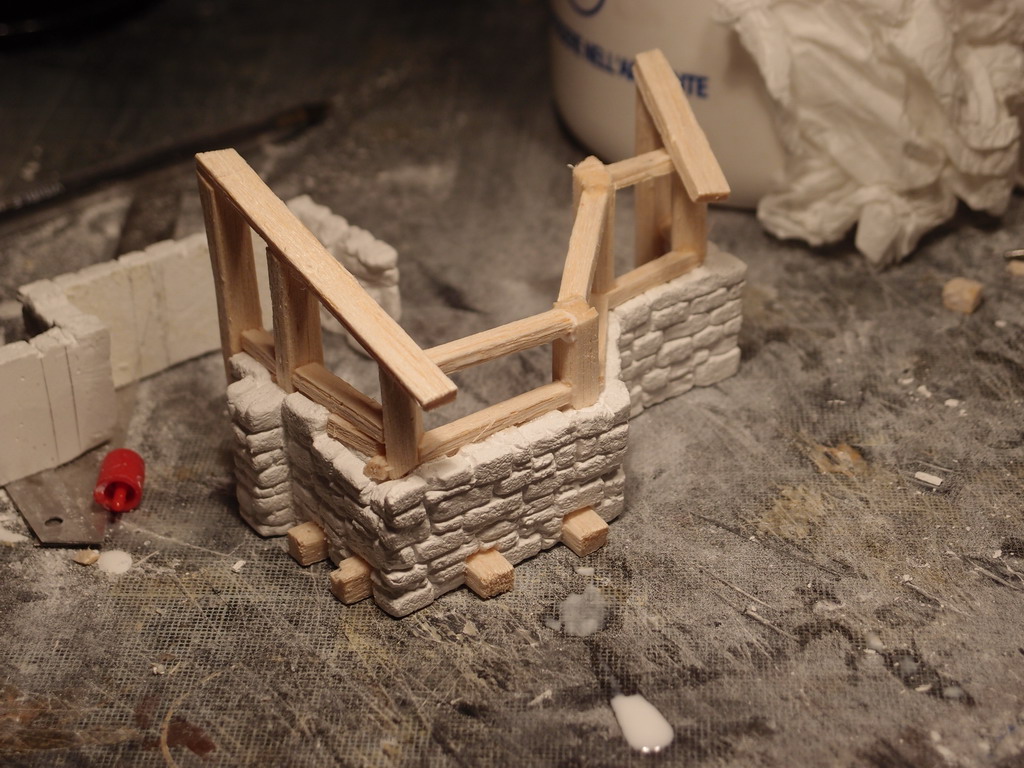
Let’s now resume where we left off, a completed stone basement:

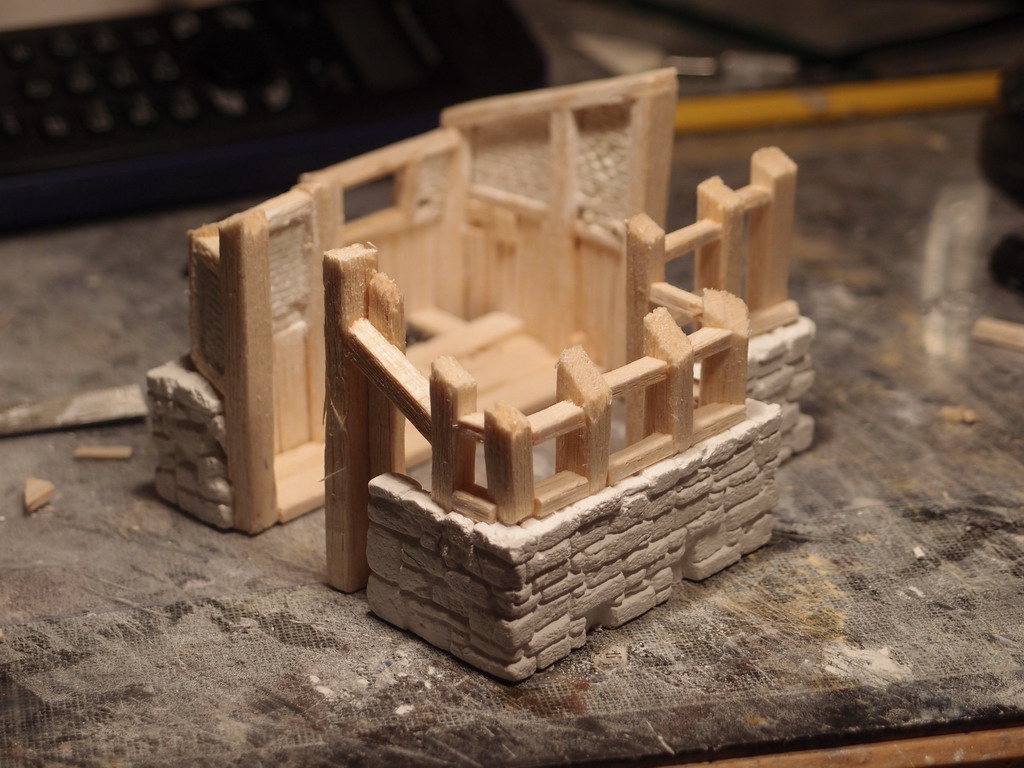
That obviously needed some wooden beaming, although usually real buildings had a sopraelevated flooring I choose to place the floor at the ground level, in order to simplify the future casting. I used a 5mm balsa wood, cut in 6-8mm width strips.
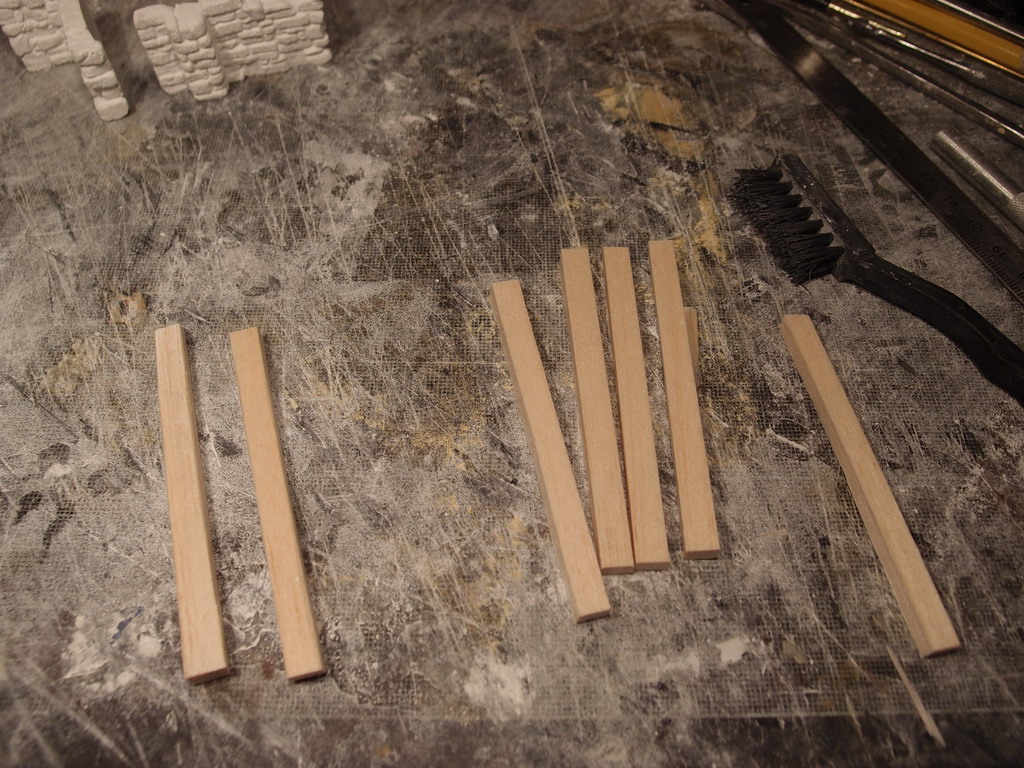
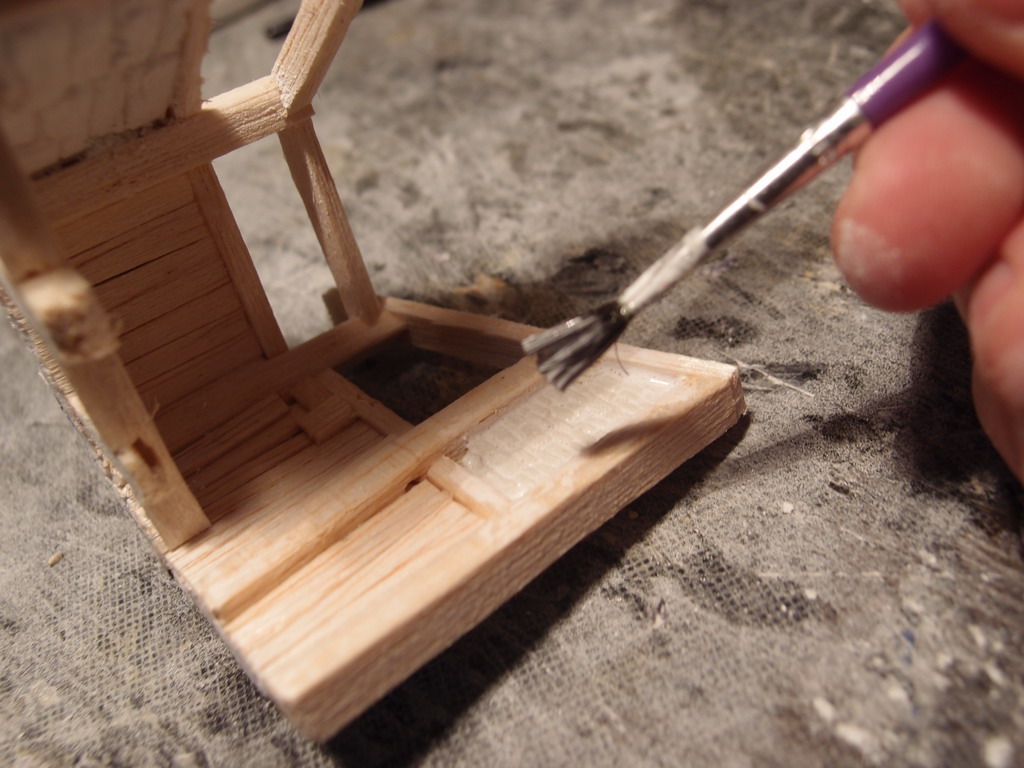
The first thing to do was to adapt the beams to the stonework. I did voluntarly sculpt the stones in a very irregular way, so i had to carve each wooden beam indipendently. Some were at the corner, and i had to cut them in various parts. That gave to the building more solidity, and quite a realistic feeling (even though in the reality the stones will bend around the wooden beam and not vice versa).
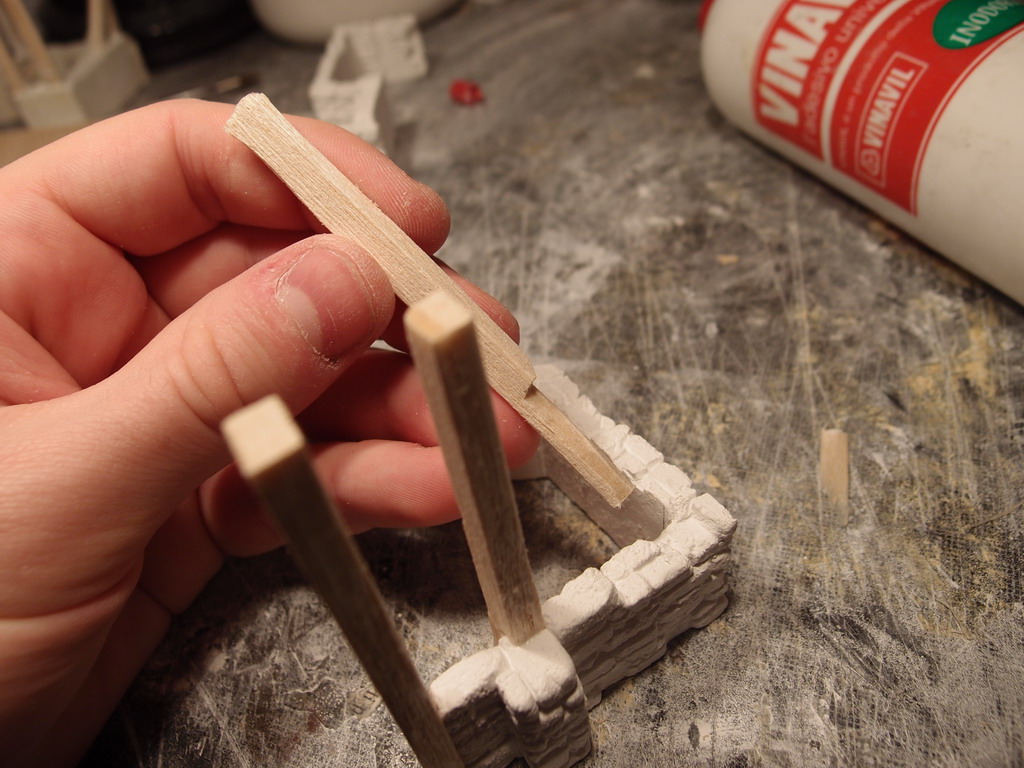
I didn’t care much about the beams heigh. I still didn’t have a clear idea of the roof size and shape, so I just kept a clearly oversized lenght for all the parts. Once the PVA is dried I just cut them at the desired lenght.
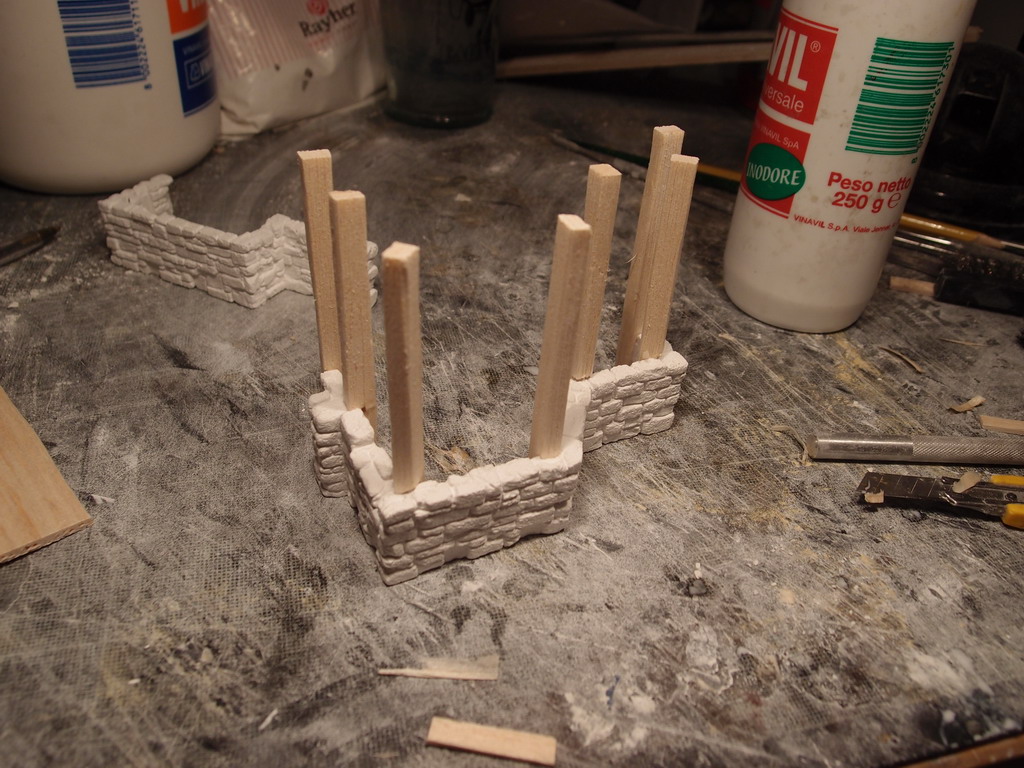
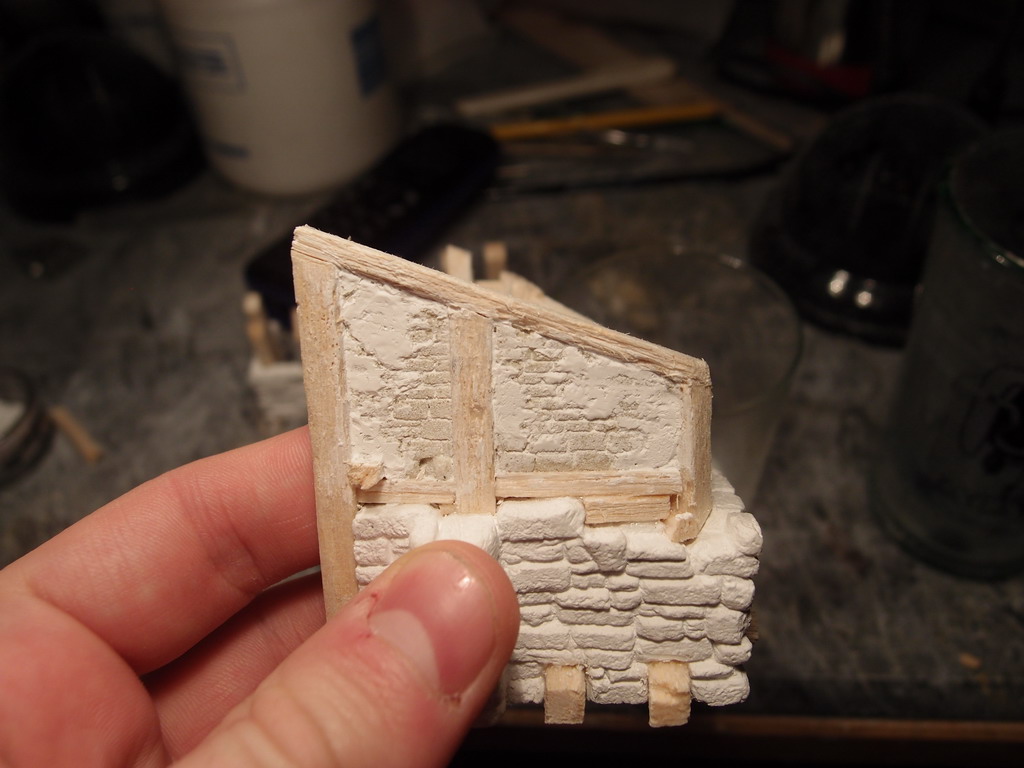
Before placing the bricks, i put some smaller wood sticks on the top of the stones, to have a flat base to start with.
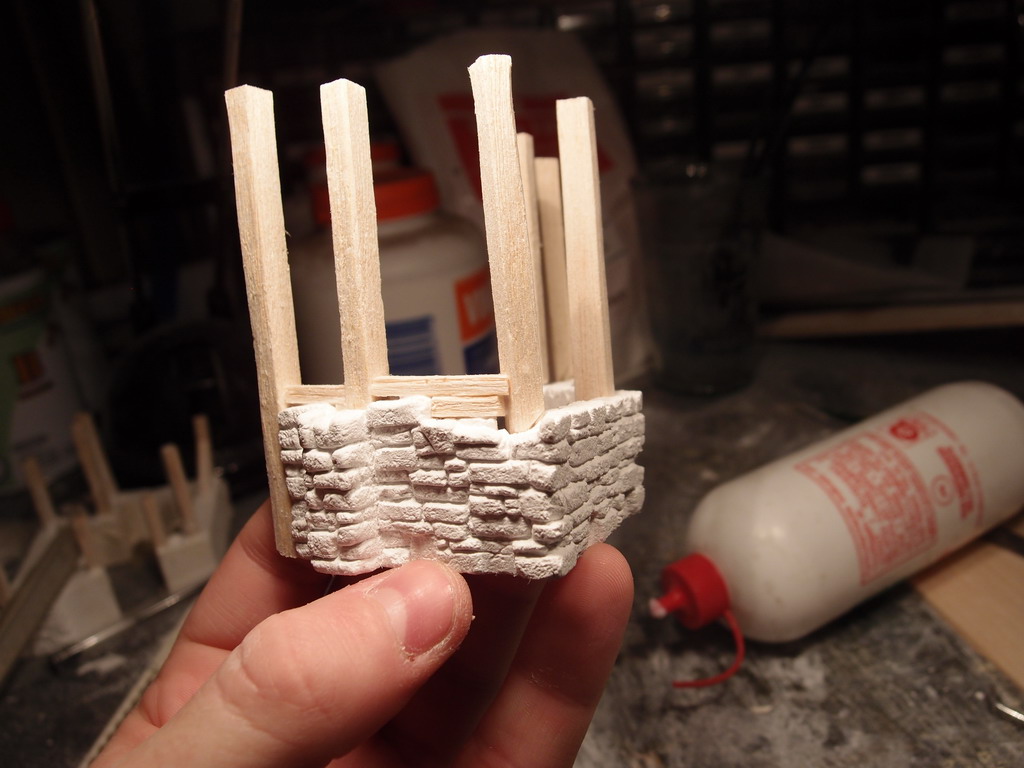
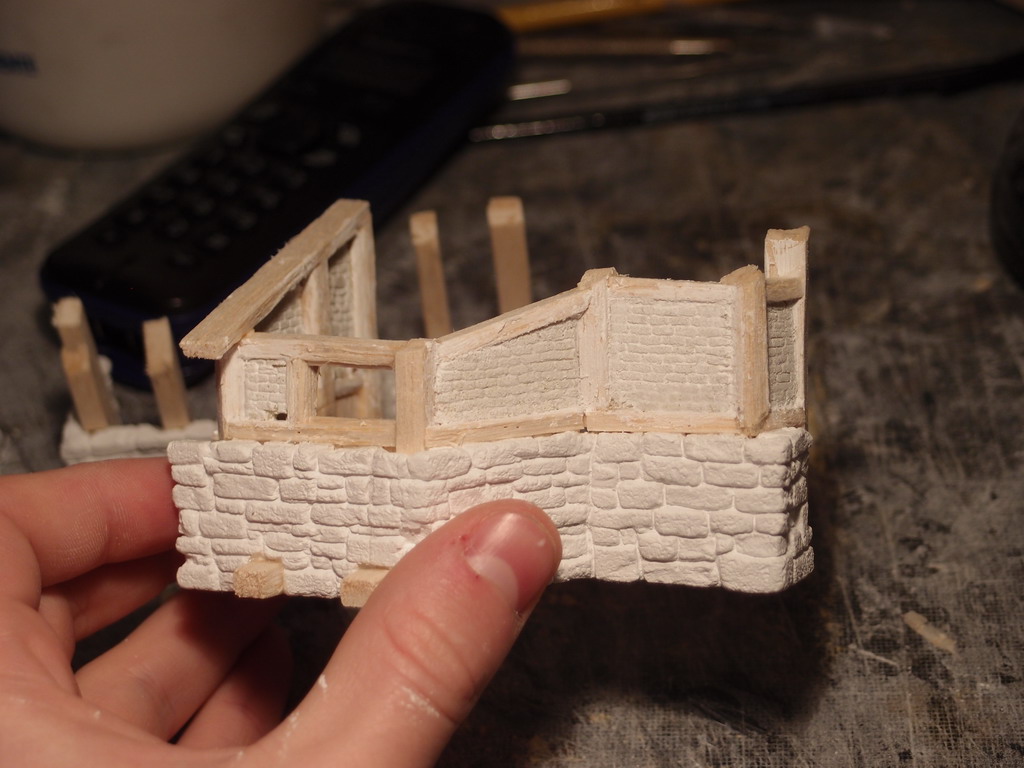
Then I cut the beams giving the roof a leaning orientation. Some more balsa defined several frames. Some could be used for windows, but old buildings didn’t have many.

I know that’s quite unrealistic, but I decided to place some beaming on the ground as well, in order to elevate parts of the structure for a fireplace.
Bricks and Filler
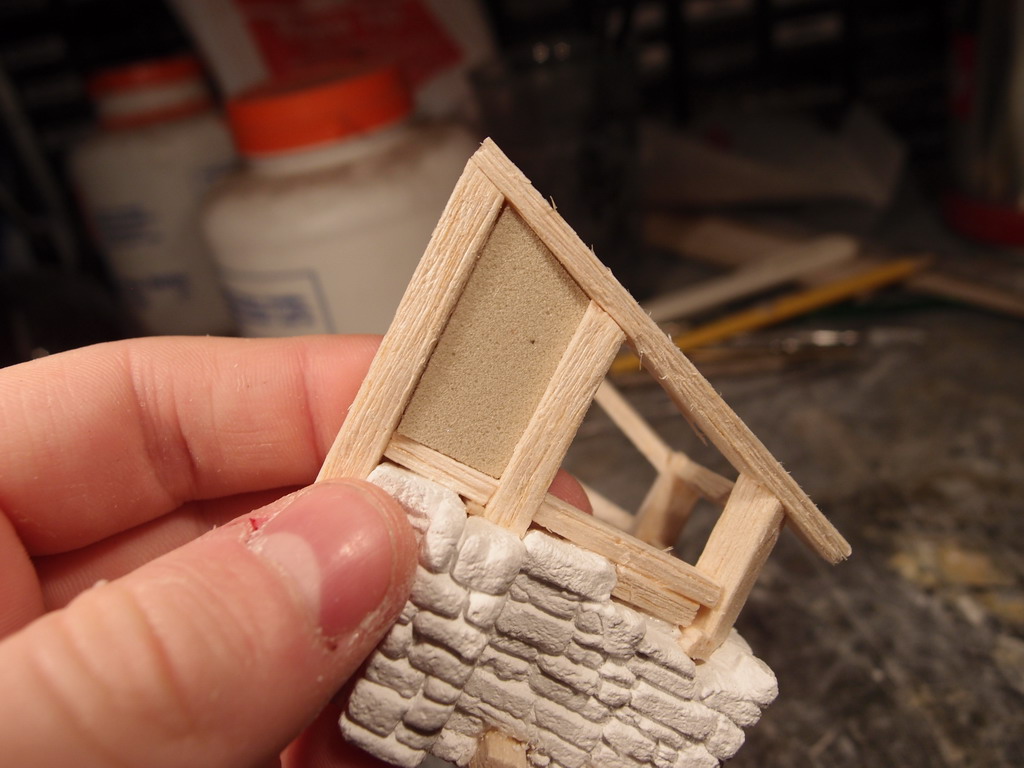
For the bricks, I used scrap parts of Eulithe. The specific description of the method I used for the texture is well described in another article, but here I needed to cut each panel to fit it in the corresponding frame.

I had to trash the panels several times, but eventually I managed to fit them with no gaps in the frames. Once every piece was fitting, I removed it and started carving.
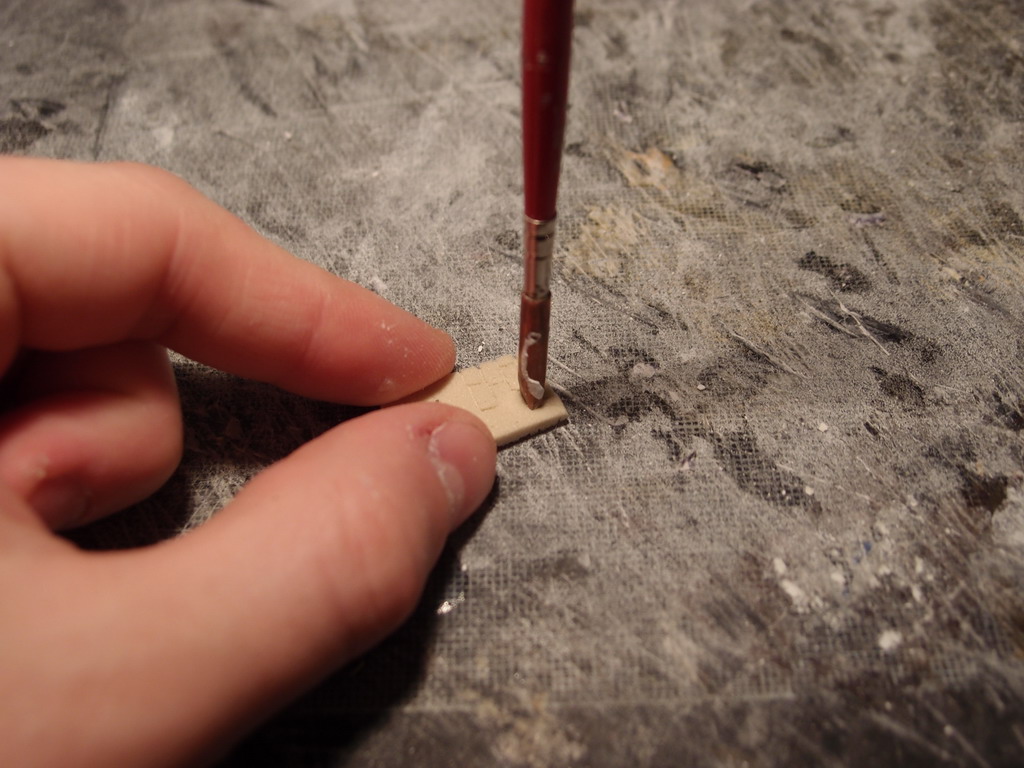
The method is pretty simple although it requires some practice. The tool is made from an old brush, with a copper tube shaped and sharpened in a rectangular punch (as explained in the other tutorial linked above).
A few drops of PVA are enough to fix the bricks permanently, merging them with the wood grain.
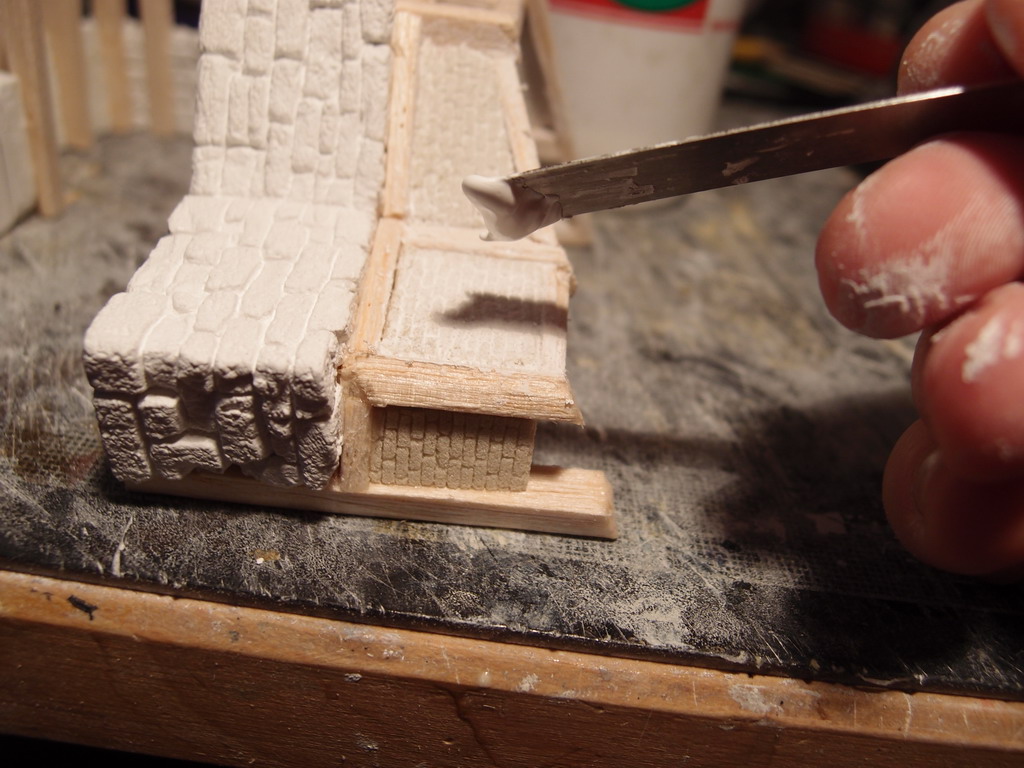
Once the panels are set, I applied some really diluited filler, to reduce the porosity of the surface.
Meanwhile, I started with the other half of the walls as well. I decided to keep them separated until the very end, for it’s much easier to handle half a building than a whole one for the detailing.

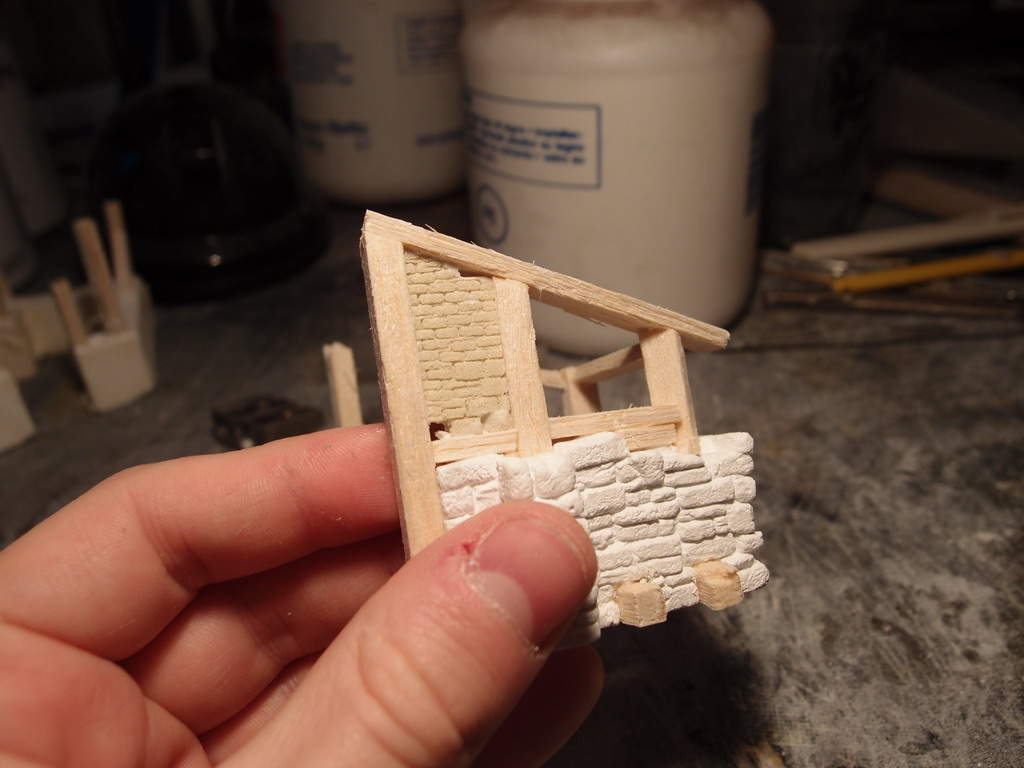
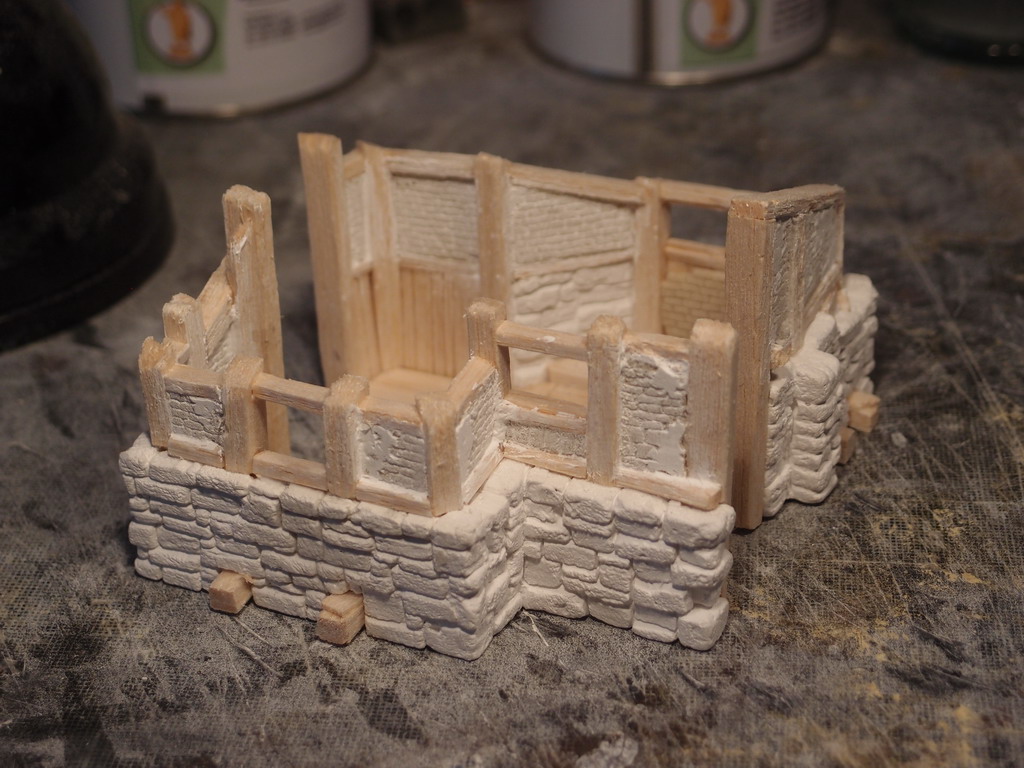
All the frames were then progressively filled. I used different tools to create different brick shapes, using some larger ones on the base.

The whole wall looked like this. You can see that I left a single window. I’m not sure I’ll cover it, but I’ll probably do anyways.
Then I covered with the same filler as before (but less diluited) some portions ofthe bricks. I know that it’s quite a waste to cover a sculpted part, but some cracked and aged plaster on the bricks might give more character to the building. I was not sure of what I was doing, you will judge.
I applied a generous amount of filler, then I removed it with a flat tool (a metal ruler, actually) when it totally dried. I left a very thin and flat surface, defining with the needle-tool the edges and enhancing some brick shapes.
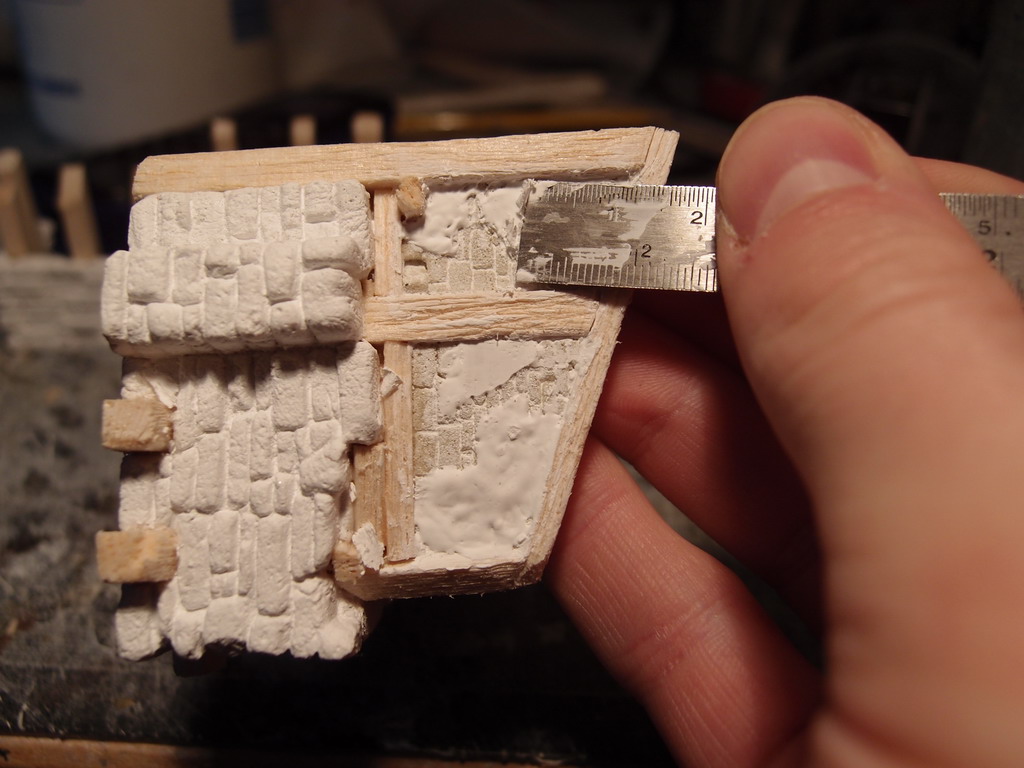
Once done, the bricks seemed even valorized by the flat components, leaving me satisfied.
I then started framing the other side. I decided to use more vertical beams on this wall, and i’m quite satisfied with its look. There are more smaller holes now, and the alternance of wood and bricks is really pleasing to the eyes.
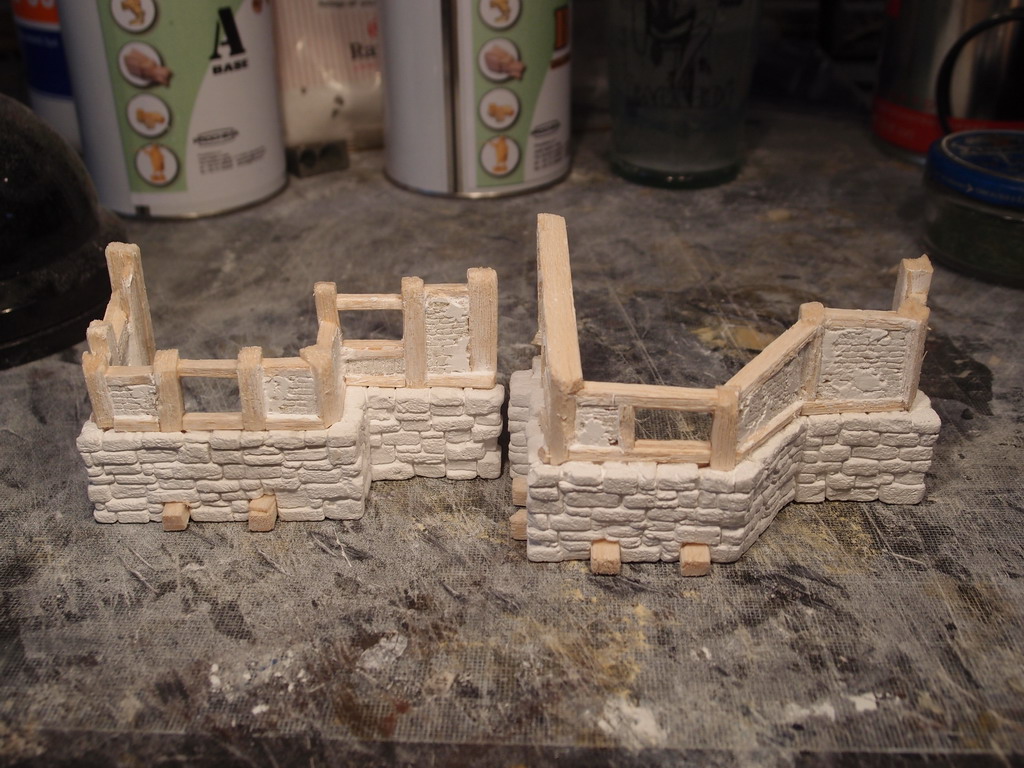
I’ll cover in a third section the detailing of the insides, as well as the floor and the roofing. That’s the look of the completed walls.
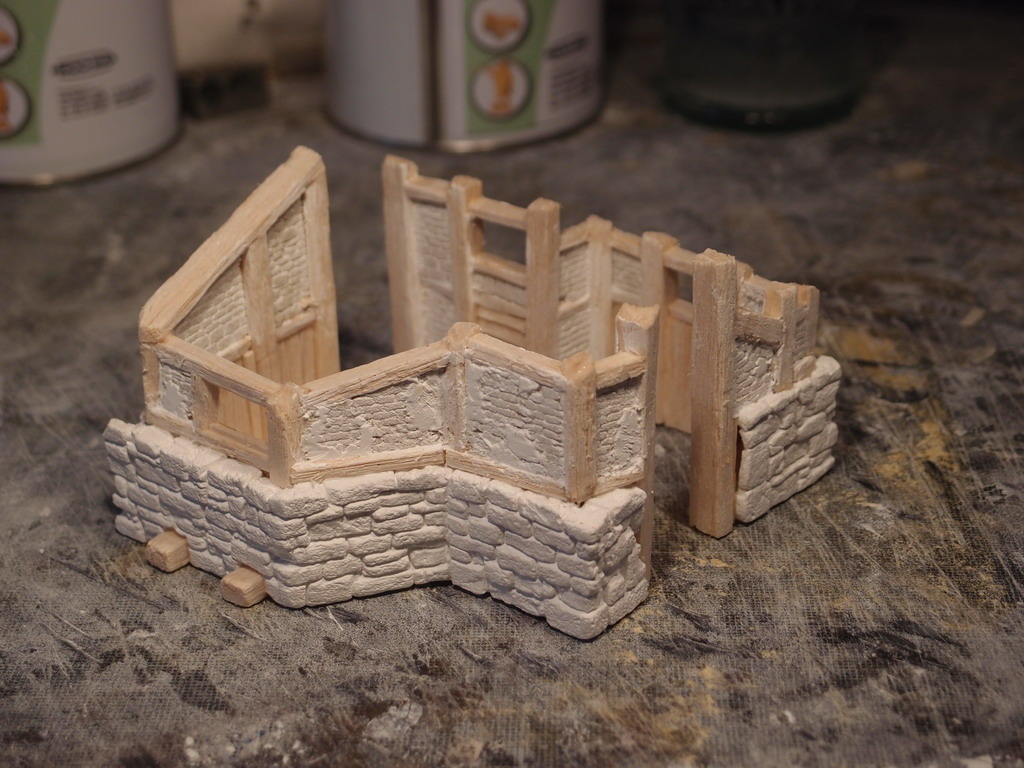
Both sides are completed, and now only a few touches await, like nails and some other metal parts.
Here’s a view of the two halves next each other.
 Now, stay tuned for the Third part, and who knows, maybe for a fourth one!
Cheers,
The Lazy One
Nice breakdown.
Thank you! Hopefully i’ll manage to publish part three! 🙂
The Burnin’ Rib – Part 3/4?
Fair point. The house is there, unfinished, since several years! 🙁
I’d love to finish that, it’s just always a step behind in the queue!