Wooden Lattices
- Tutorial Type Dioramas, Gaming Scenery, Master Sculpting, Techniques
Hello Everyone!
Recently, I’ve started working on some scenery for a Feudal Japan setting, while developing a skirmish card game. I’ll talk later about the game (which is in heavy developement right now), but in order to create my Japanese houses I really needed to find a way to recreate realistic lattices for the paper walls, as well as for any other kind of window.
The authority in this matter is of course Jim from Oshiro Terrain, and in this very neat project he used some lasercut lattices. Well, the result was pretty cool, but i wanted to do it in a more traditional way. Besides, I don’t have my own laser cutter. Lucky man.
The solution for grid-like patterns has always been to cut half-deep into each beam, making them join together in a solid structure with a bit of PVA glue. At this scale, however, I needed something more time-effective.
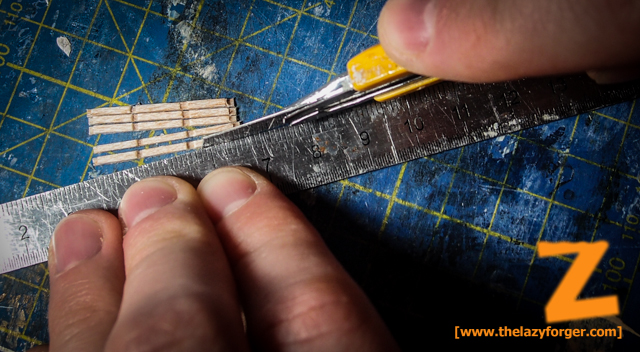
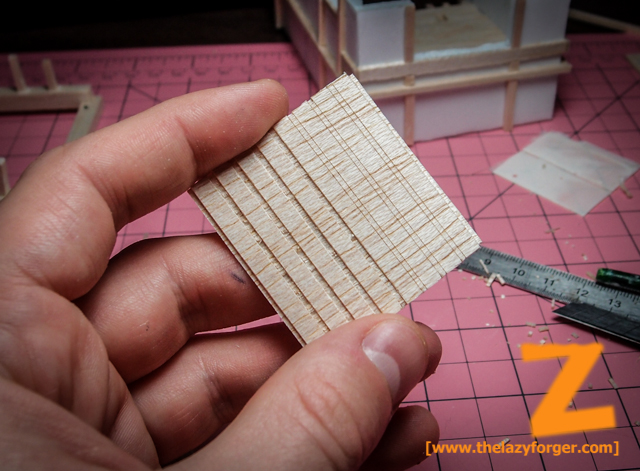
Then, I had an idea. I cut some trasversal lines on a balsa panel, removing half of the depht from the wood. This piece is 1/16 inch thick, which corresponds to approximately 1.5 mm. Apparently it’s the thinner balsa panel available overseas.

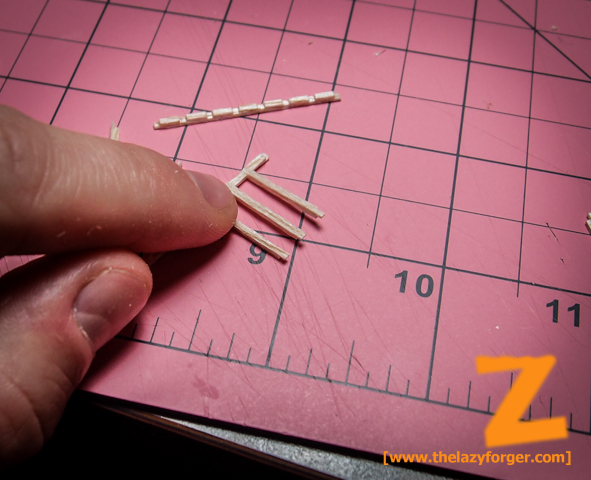
I paid a lot of attention in this step, since that determines the successive precision in the canvas. Then i started cutting some tiny beams from the wood.
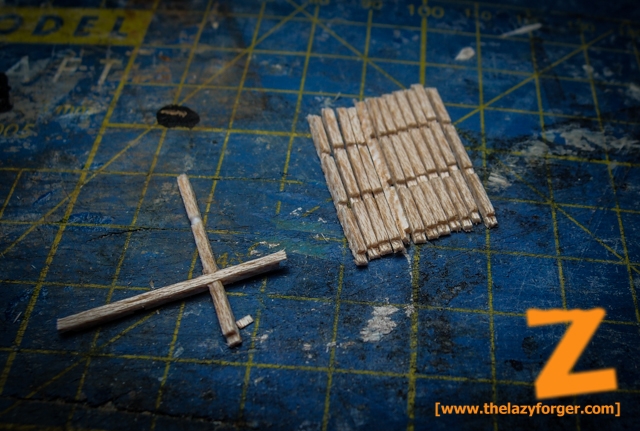
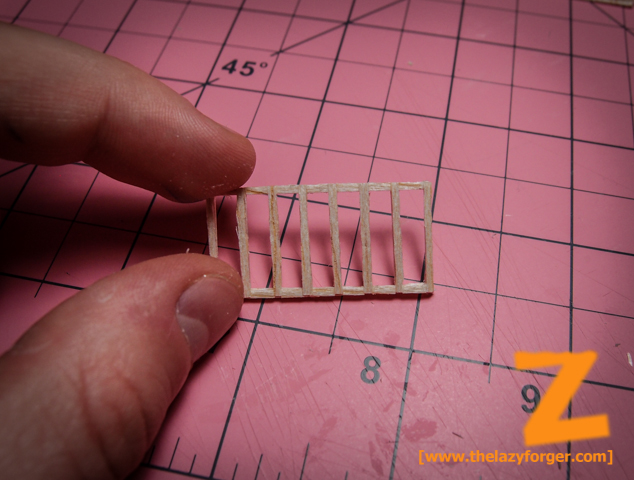
I cut 16 of those, enough for two square panels. Even without glue they join together easily. That allows to create really thin structures with a relatively good solidity.
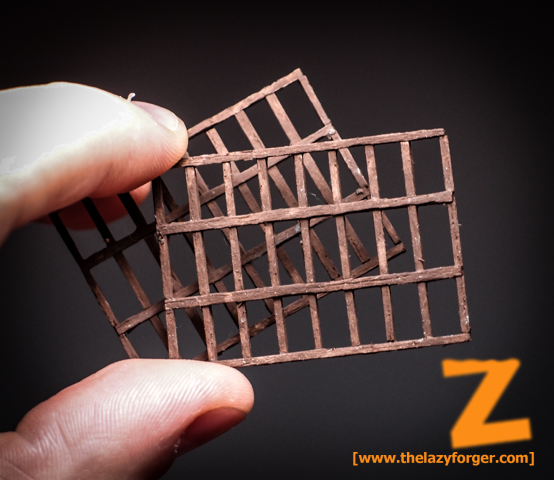
And here’s some examples!
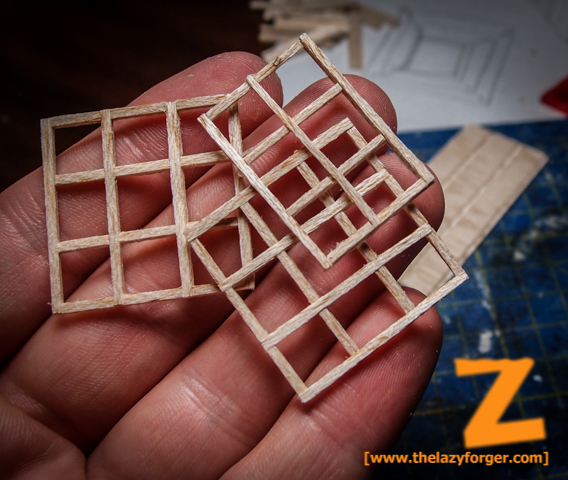
I’d strongly suggest to add the paper behind after the painting (if you want to add paper at all), and after the completion the piece is solid enough to be used in a gaming scenery too!
I then wanted to try something more: i started cutting out stripes 5mm afar.
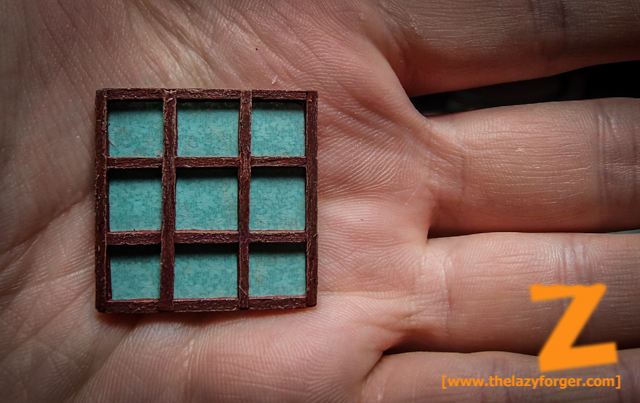
Using another strip with only the edges trimmed, i created a small window:
As above, once the glue was dried the piece was fixed and solid.
Using the same strips created above, I also made a couple of paper wall lattices. I still haven’t finished the original strip, after half a dozen windows! Even though preparing the strips might require a few minutes (maybe several), they last very long, and assembling the windows is quick and fun!

Just a better picture, with my fingers somehow pale white. Weird.
Well, that’s all for today! that was quick, but i hope someone will find this useful!
Cheers,
The Lazy One