Resin-Textured Bases
- Tutorial Type Gaming Scenery, Techniques
Hello everyone, and welcome to yet another tutorial about bases.
I will here try to sum up the technique I’ve used on some different kinds of bases in the last years, and that recently I had to adopt for a new batch in order to rebase ALL my modern-scifi figures to better match to a table I’m working on.
The overall idea behind this technique is to create a compound material, gaining advantage from all the mechanical feats of the round plastic bases (they might be simple, but they rock!) and the details and texture of a resin base. There are some companies that provide resin tops for bases, but they usually are kinda thick (raising the base level far too much) and/or warped. More importantly, gluing them to the plastic base required some filling in the gap, which is a lot of extra work and yet more thickness added.
Instead, I went with a hybrid technique. It requires you to be able to sculpt a fancy surface, to prepare a silicon (or lattice) mold, and to mix some bicomponent epoxy resin. None of the previous is overly complicated, but I can imagine that this won’t be feasible for everyone.
The resulting bases however are worth the process. And once you finish the initial mold, you can produce more bases pretty quickly. Of course, not as quickly as casting whole resin bases, but having the plastic bottom makes it for much more light, less warped and in general more uniform results.
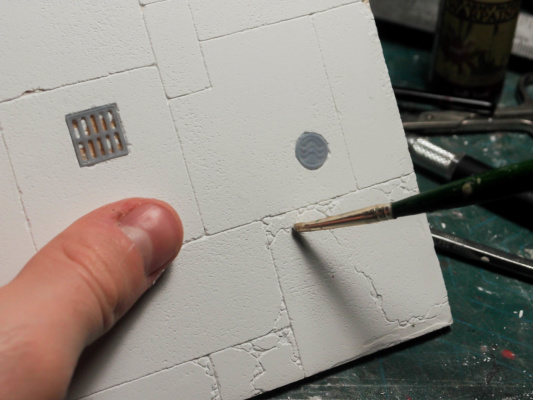
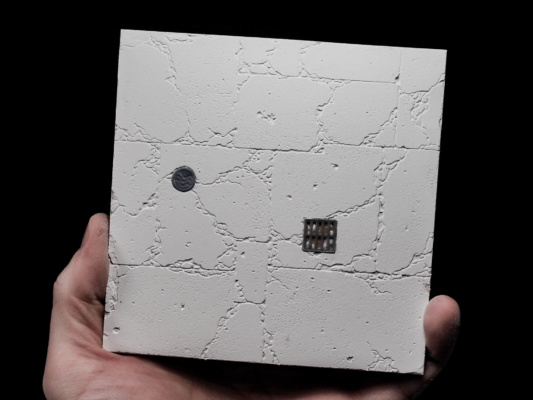
The whole process starts with a texture. I strongly suggest to sculpt the texture yourself, adding all the detail you need. I decided to use the very same technique I discussed in this tutorial, but it really would work well with any other kind of ground effect: rocky, sand, mud, paved stones, scify greeble… whatever.
Compared to the example of the tutorial, i went for a much more busy area: loads of cracks, panel lines and even 3d printed manholes. Since no miniature will have a large enough area, I wanted to include some kind of interesting detail no matter which part of the texture I used to impress the shapes.
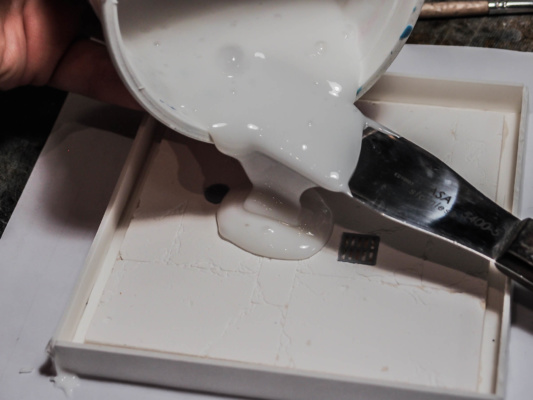
Once finished the sculpting, I poured some medium-quality silicone on this: I didn’t want it to tear after 2-3 casts, but since the shape is very simple and without undercuts a 25 euros / kg silicon is more than fit for the task.
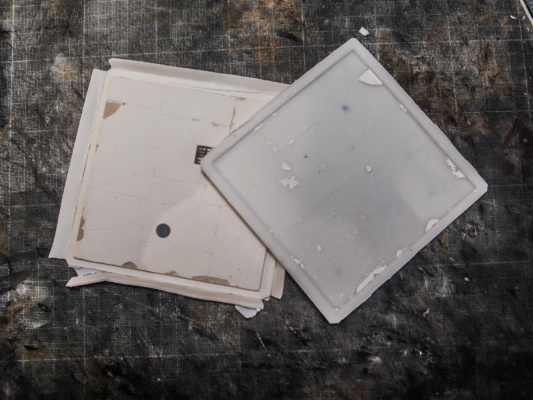
The extraction – as often is the case – is traumatic for the original sculpt. It served its purpose, it’s ok to “retire” it and focus on the cured silicon mold.
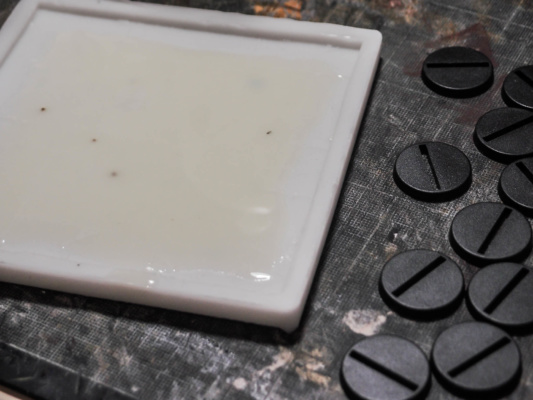
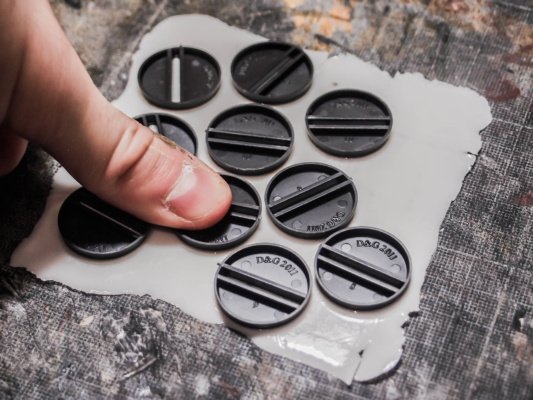
I then poured a tiny bit of bicomponent resin (about 12 grams) in the mold. The idea is to have a very thin layer – as thin as possibile without bubbles or holes. When half-cured the resin will have the consistency of an old chewing gum, and the bases can be covered in cyanacrilic glue and then placed on the resin. By gently pressing them, the excess resin will flow away, and a bit will instead get into the gaps of the base.
Now, you might expect the resin to change consistency a few time while curing. In most casting processes, you should wait for the resin to be completely cured before beginning the unmolding, but here it’s better to extract it as soon as it’s feasible.
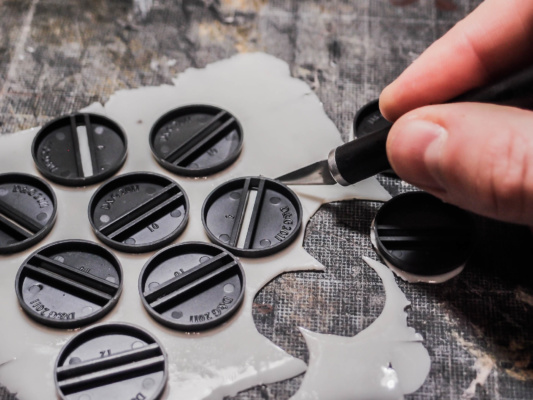
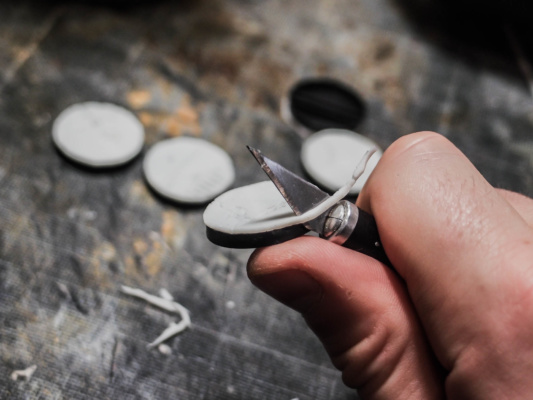
Soft resin will be MUCH easier to trim around the base. By the time you’ll have done 10 round cuts, the resin will be cured enough to produce small cracks when you’ll try to cut it.
After a first rough round cut it is important to proceed with a second, fine cut of the edges. If you manage to do that quickly enough the resin will be still slightly soft and you’ll probably save yourself a bit of suffering.
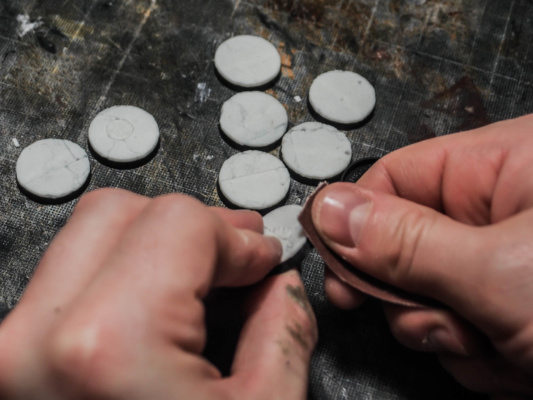
The last and the most tiresome step of the process is the sanding. You can’t go too rough on the bases because you want to keep the shape, so you’ll have to use fine (300) and then very fine (500) sandpaper for that. However, both the resin and the plastic will stick to the gritty paper, and that means that a lot of paper will be used for this job.
When you feel the edges of the base are smooth enough, you’re done. A final layer of black paint on the edges will be necessary anyways, which will hide the tinier imperfections remaining.
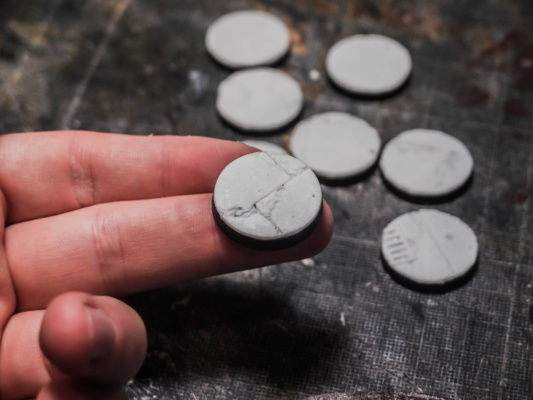
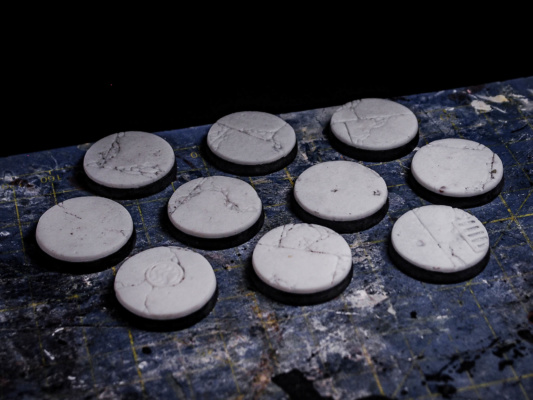
Here are some done…
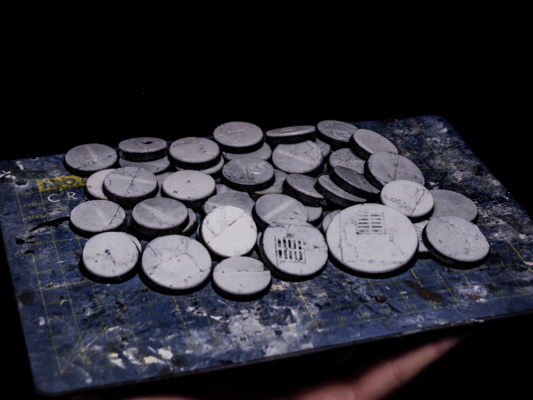
And here a LOT more.
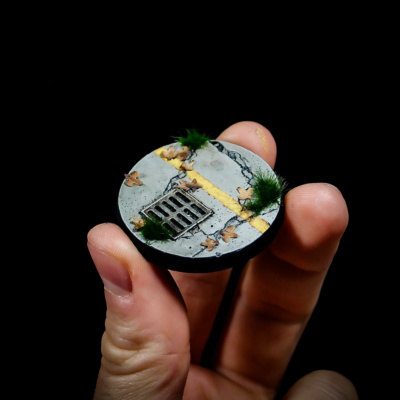
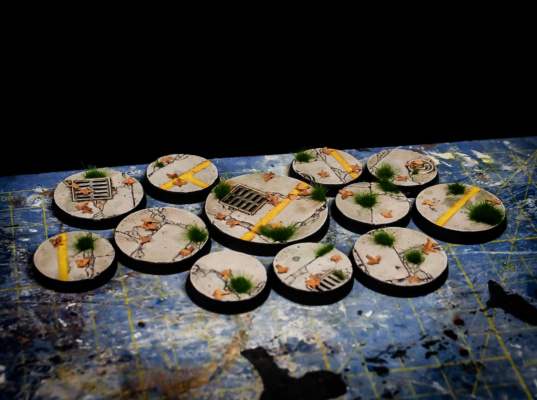
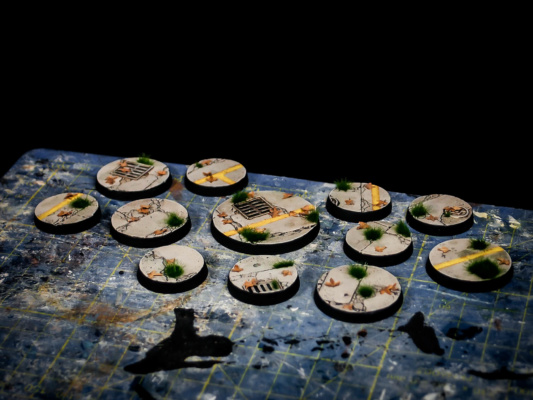
For the painting, I would recommend you the second part of the paved road tutorials if you’re going for this kind of style. If you have decided to use a different texture for the base to begin with, the painting will have to follow that, of course.
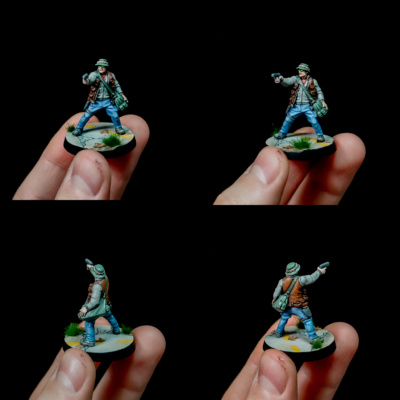
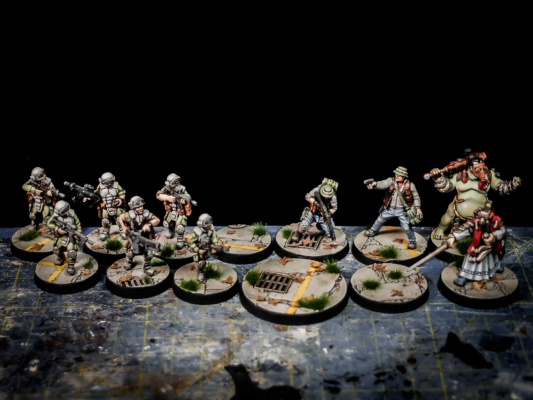
Here are some figures based on the freshly painted test bases. Now I have no more excuses, and I really have to paint more.
Cheers,
The Lazy One

Very nice! Love the effect. I’m always wanting this type of base for my miniatures.
Thank you! 🙂 By far the most convincing type of bases, whatever the texture I choose to use!
Do you need to use slotter bases for something like this?
Also, do you think this work works for slightly deeper textures, like cobblestones?
Would definitely work for cobblestones. Personally I went with non-slotted bases, since the resin can be glued on the base with cyanacrilate anyways. but it would definitely work great with the round-lipped slotted bases!