Shanty Lookout
- Tutorial Type Dioramas, Gaming Scenery
Cheers everyone!
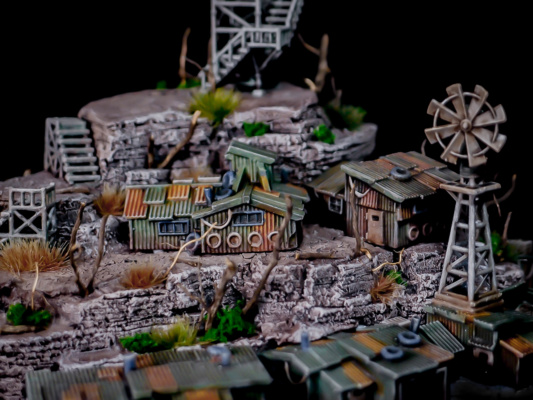
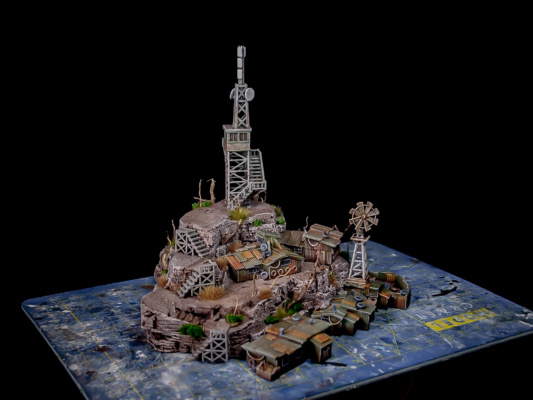
Today’s work follows the direction of my latest 6mm fever, in particular on the theme of Rocky Formations. However, compared to my previous article the techniques shown here are quicker and more suited for gaming terrain. Here’s a sneaky peek before we begin with the article.
The whole piece started as a showcase for my own Shanty Buildings, sold through my MMF webstore and through GameCraft Miniatures. I painted the shanties while waiting inbetween the hill construction steps but I didn’t keep track of the painting steps carefully. Hopefully i’ll write a simple tutorial for that in the future.
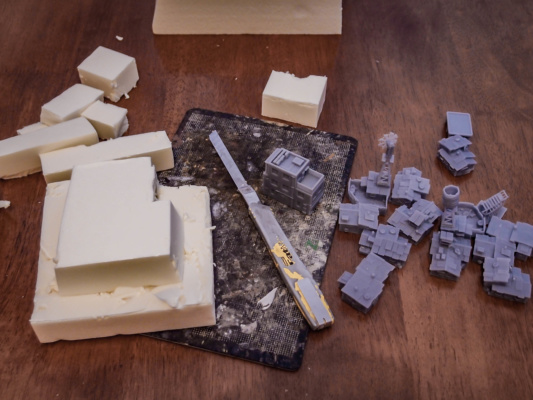
Compared to my older works, for the structure of the hill I decided this time to work with simple XPS. There are various densities of XPS, but usually they are not advertised as such. The only way I’ve found so far to gauge the density is by denting the surface with a fingernail: simple but effective.
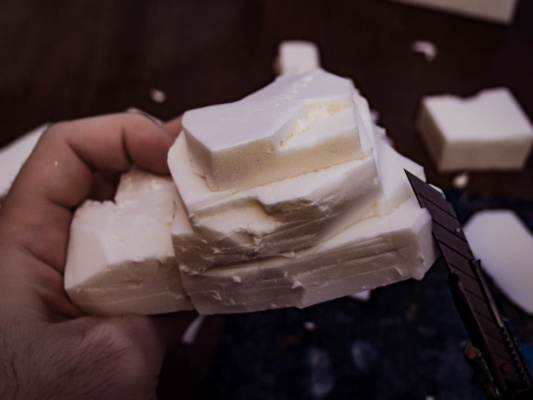
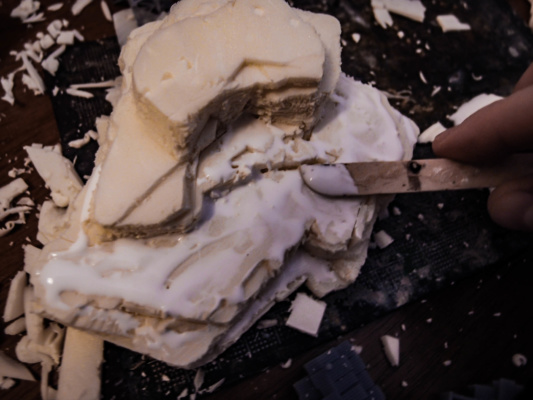
While i have a Proxxon Thermocutter, I decided to go with a quicker method for the initial volumes blocking. A method that involves a cutter knife and… well, pretty much nothing else.
Admittedly, I didn’t have a very specific shape in mind when I started blocking the volume. I tried to make it interesting and with enough flat areas to accomodate at least a couple of buildings. The broken edges – possibly through multiple cut lines on each face – were done with a new and sharp cutter blade, which ended up being unsharp pretty soon. A couple of blades will have to be sacrificed for each terrain piece of this size if you don’t want things to get sloppy and messy.
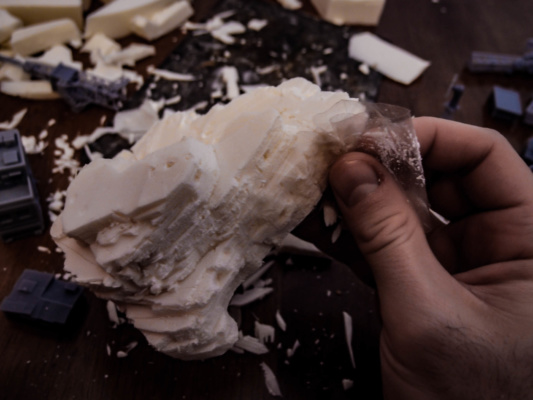
Even with a brand new blade, the cutting leaves several minor chips of XPS and the metal brush for the texturing (not in the pictures, sorry!) does a bit of a mess anyways. The use of plastic tape to rip them away helps removing some of the loose fragments.
Right after finishing the first hill shown in this article I started experiment by exposing the fragmented surface to an open flame for a fraction of a second. The texture changes a bit (details become softer) but the process also removes all the unwanted chips – or better it melts them back in position.
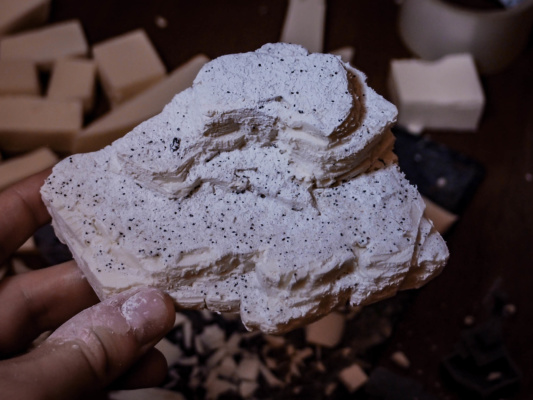
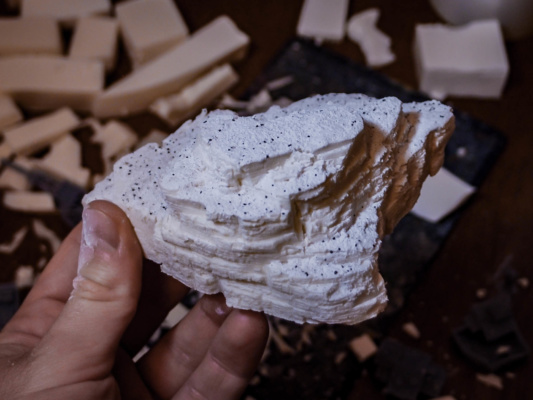
Once cleaned the XPS structure, adding some texture on the “flat” areas will give the proper look to the walkable surfaces. Consider to leave some flat areas to allow miniatures to sit on; all the rest can be detailed more with rocks or vegetation later on.
As a texture I use a mix of coarse sand, fine sand and plaster powder, which gives a smoother finish. It is particularly important to have a smooth surface when working with small scales, where each grain of sand is otherwise a small boulder.
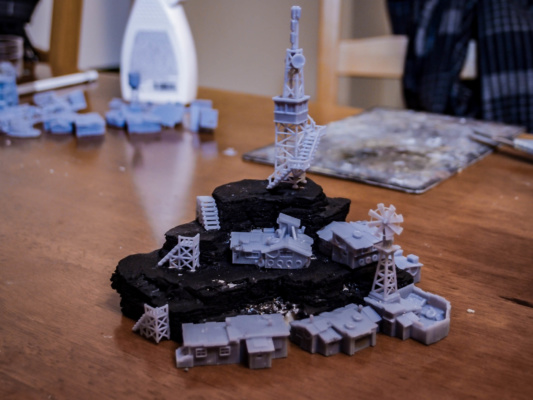
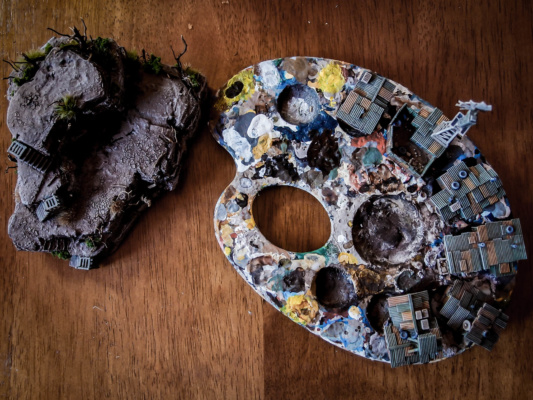
As a “dry fitting” test, I put the resin parts in their final positions. I also cut through the rock to “fit” some of the houses in.
To complete the texturing, I added additional gravel – rocks in all the spots where no building was meant to be placed.
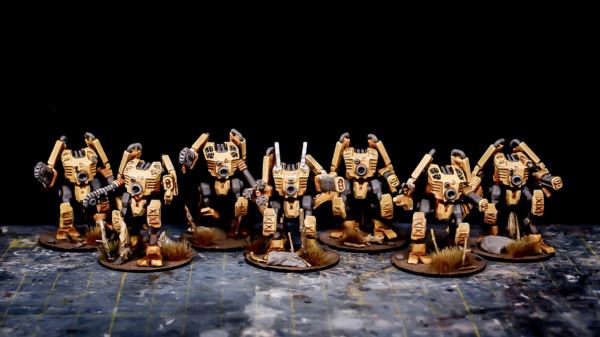
Nothing too fancy for the painting. My only constraint is to have the ground to look the same of my Robotic Army bases:
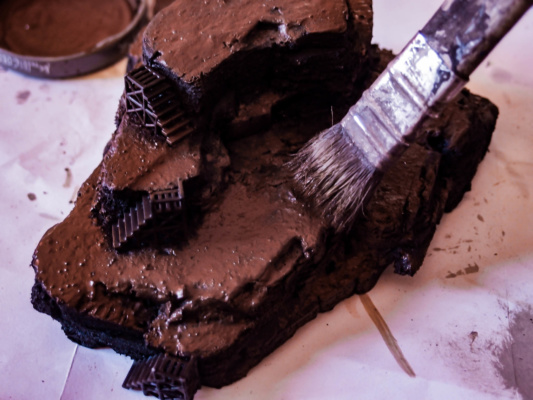
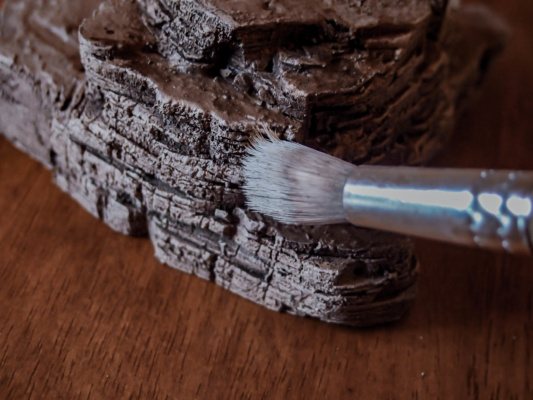
A reddish-brown base as a starting point, then lighter drybrushes for the rocky parts.
You’d notice that the stairs were glued in position during the painting. Well, that was not a smart move.
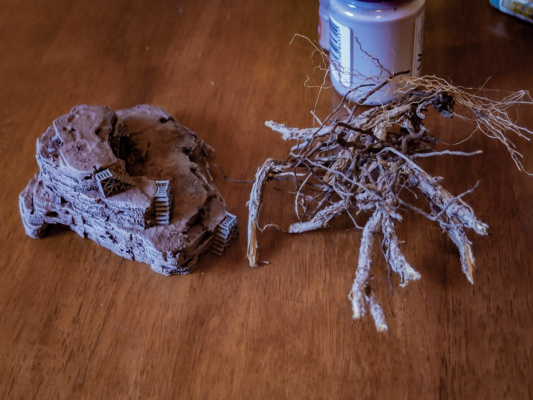
Anyways, for the vegetation (mostly dead trees) I decided to go with a recently extracted rosemary’s root. Pretty accurate for dead twisted trunks, if you ask me!
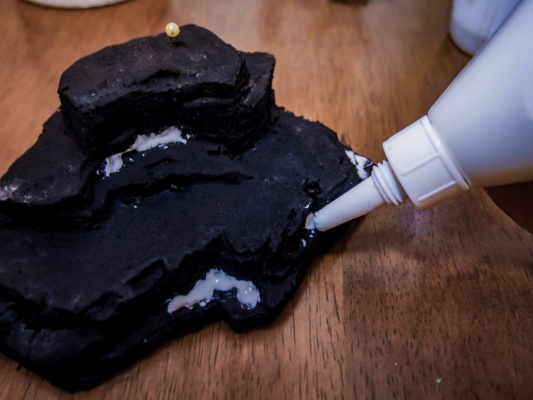
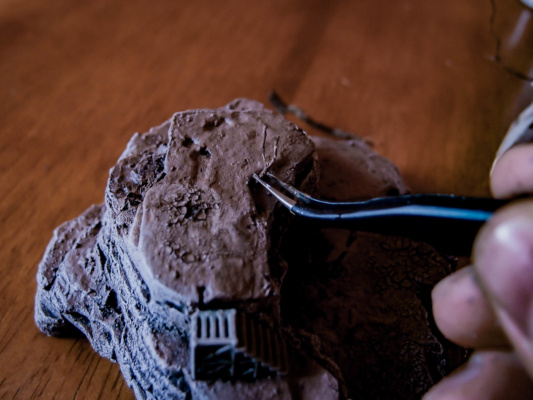
One clear advantage of working with XPS directly is being able to poke holes in the surface easily to glue the branches in. The drawback of course is the need of water-based glues to prevent horrible damages to the XPS core. So: don’t use cyanacrilic glues in any step of such a project.
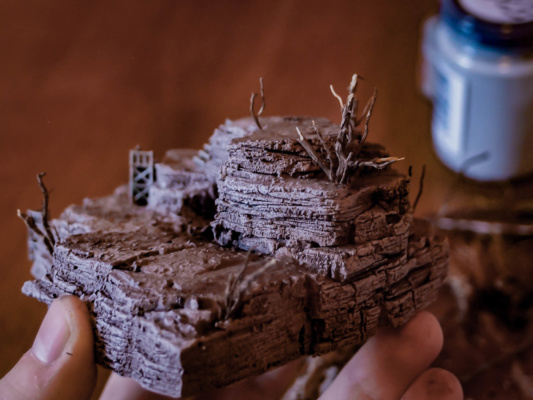
Since no model is supposed to actually climb on this terrain, I went berseker with the vegetation. Lots of time well spent.
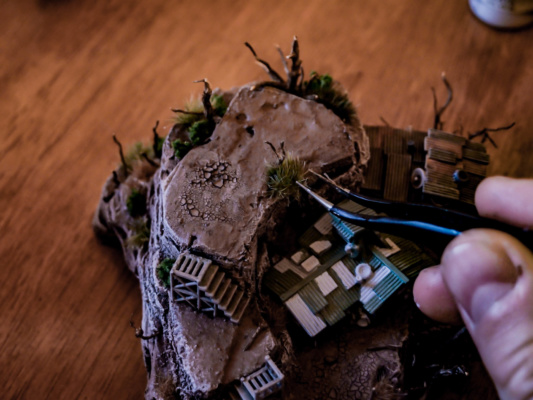
Once finished with the branches, tufts and turfs for the greener and tinier plants.
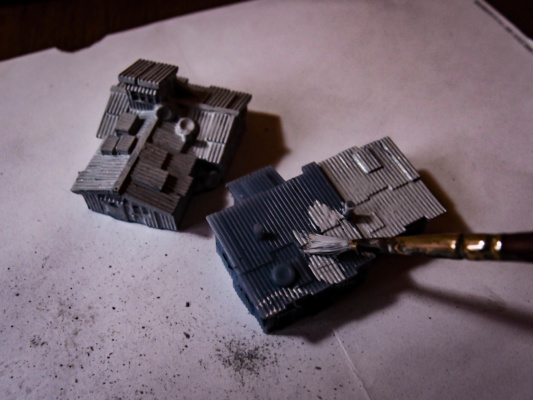
The buildings painting followed some simple steps:
- Undercoat with craft store light grey paint. No need to spray over the already fine details. Besides, one never knows the reaction of spray paints on 3D printed models in UV-reacting resin.
- Paint almost everything with a military green. Avoiding a few tiles will allow for a second color to be used.
- With the Iyander Yellow contrast paint, cover the remaining areas.
- Paint the remaining details. I used a blue-grey paint and a bone-white paint. Tech parts and doors in white, tyres and chimneys and other elements in dark.
- Add multiple layers of washes. Army Painted Soft Tone and Dark Tone (for the shadows) would do the trick. This also uniforms the colors a bit, dragging all towards a brown-ish tone.
- Add a final drybrush of beige and then white. Don’t overdo with this, but again it blends the colors together.
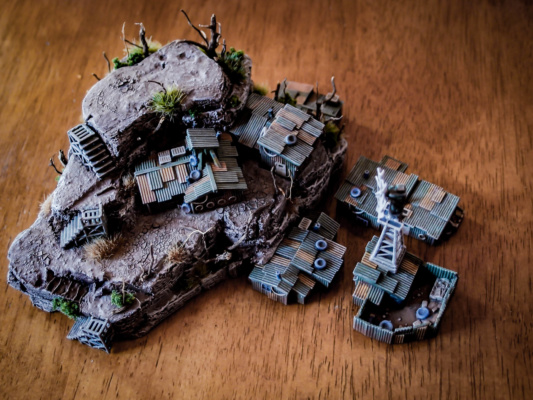
And the result is pretty consistent with the tones of the ground!
Before adding the tower, this is the result. Some more shading was required for the windmill in this picture.
Well, That’s about it. I didn’t take pictures for the painting of the lookout tower, but you can easily interpolate from the previous pointers.
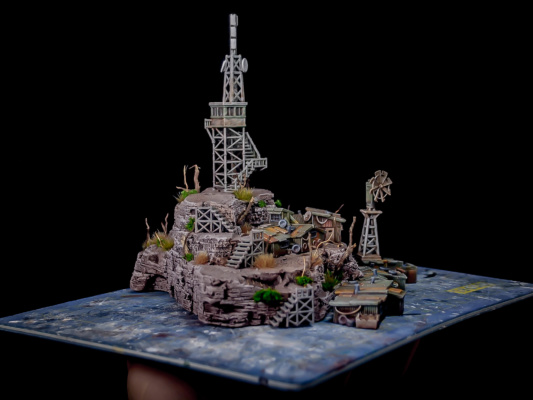
Here some shots of the finished piece!
Cheers, and remember to check the store: https://www.myminifactory.com/users/TheLazyForger
The Lazy One

Can you do a tutorial on how to paint the future Medina building thanks!
I probably should! Time is limited with the whole Full Spectrum Dominance project going on (https://fsd-wargame.com/) but I’ll try! =)