Shipping Container
- Tutorial Type Gaming Scenery, Master Sculpting
Hi everyone! Today’s tutorial is a step-by-step article of a shipping container. Back then I didn’t have access to any 3D printing facility, and since most of the container is made in corrugated metal, the idea of sculpting it by hand was tempting.
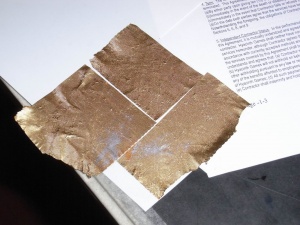
Of course, this process required a few more steps (since the fine copper sheets aren’t a good option for a master, as they could be damaged or bend during the molding).
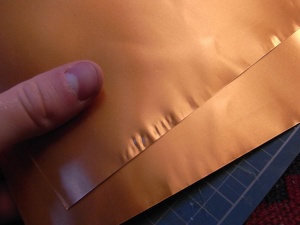
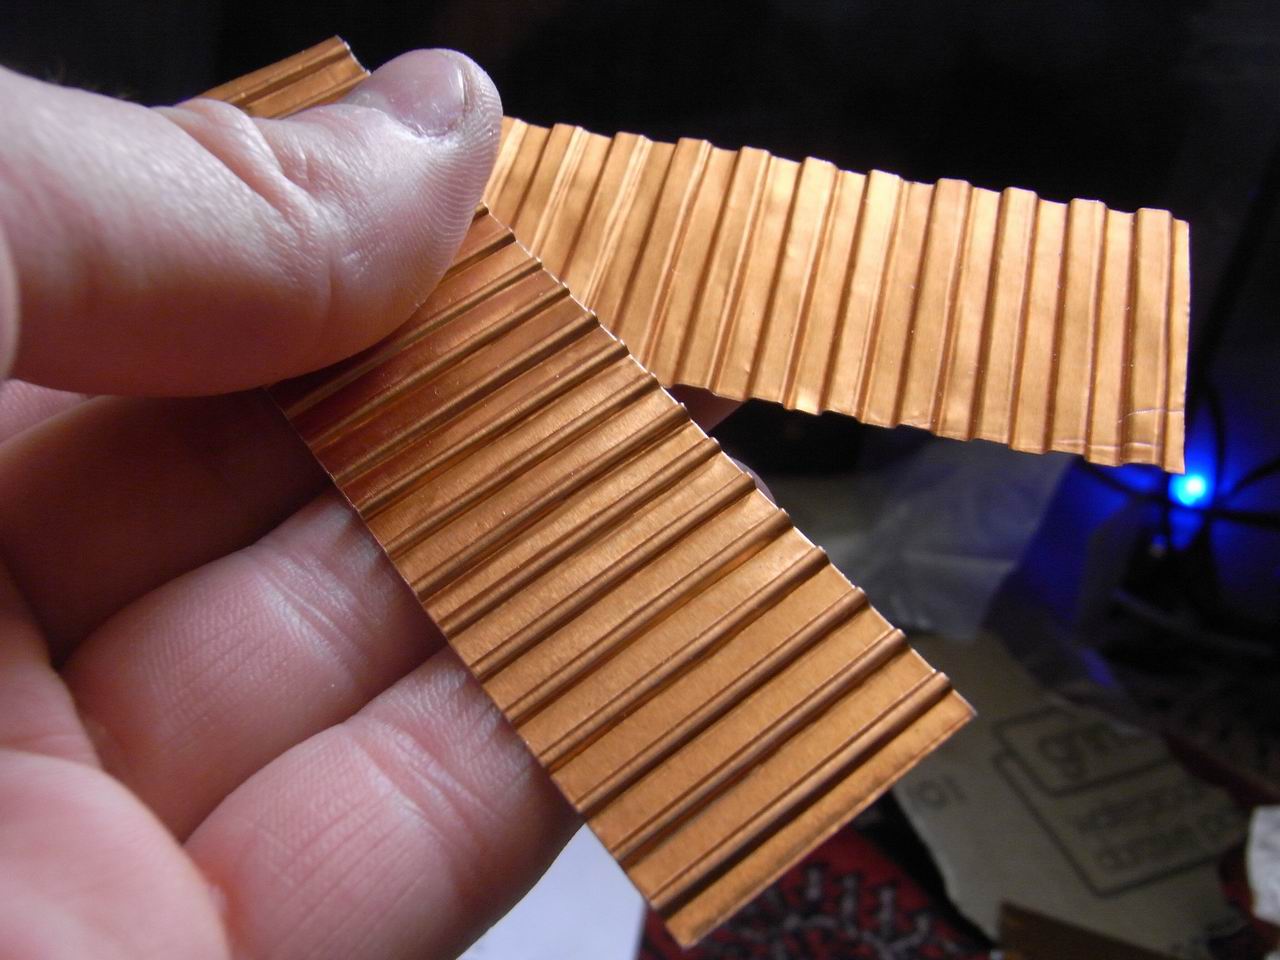
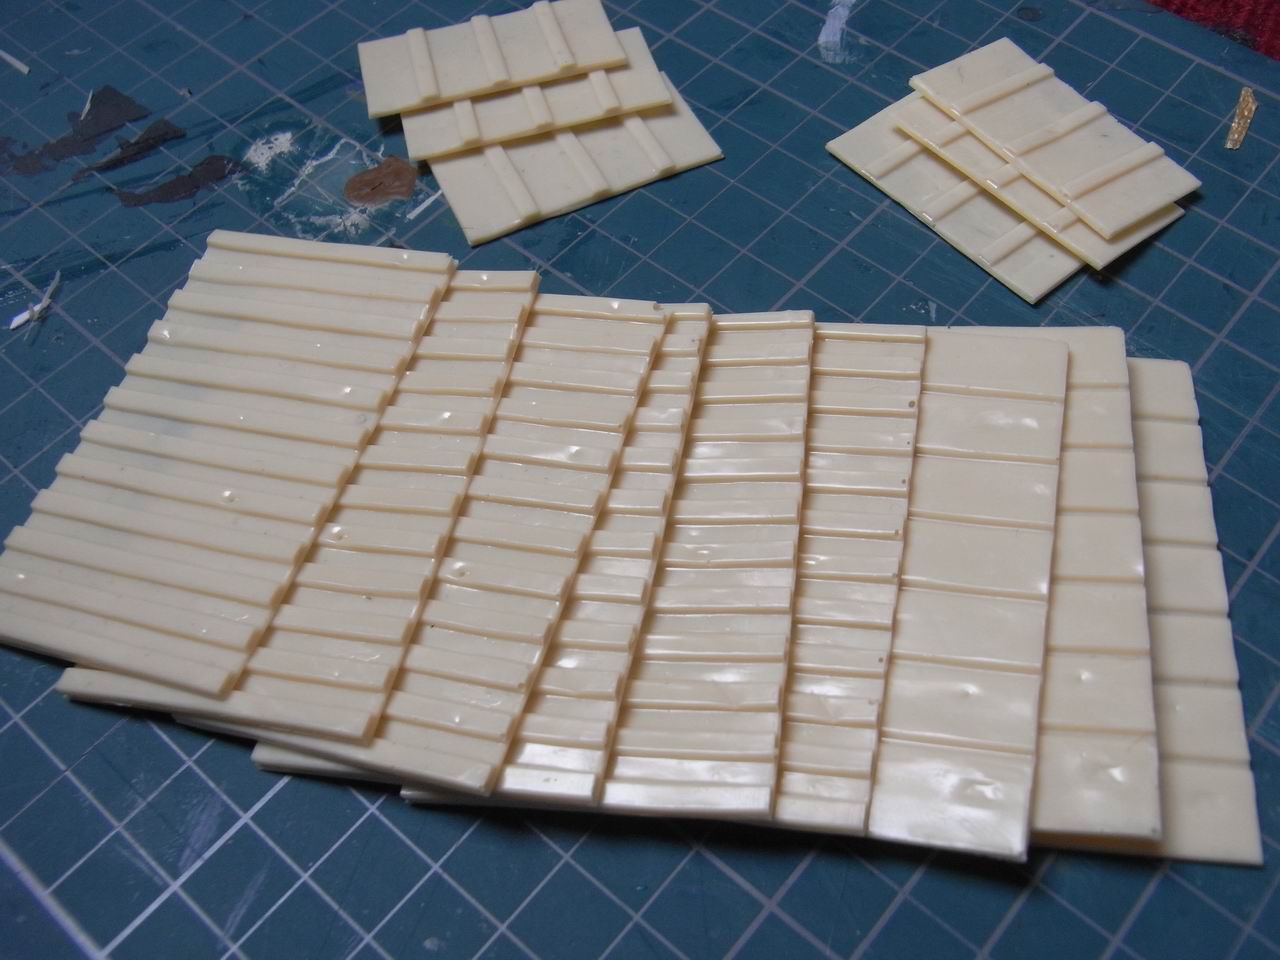
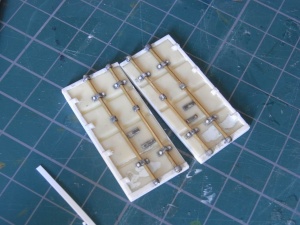
Using the technique I described in the corrugated meshes article on this site i prepared the four long faces and the two parts of the double doors of the container. All the parts start with a copper mesh, deformed to represent the aging and then molded. The resulting resin pieces are far easier to work with, as they can be sanded and cut, and additional details can be applied without the glue detaching after a few hours.
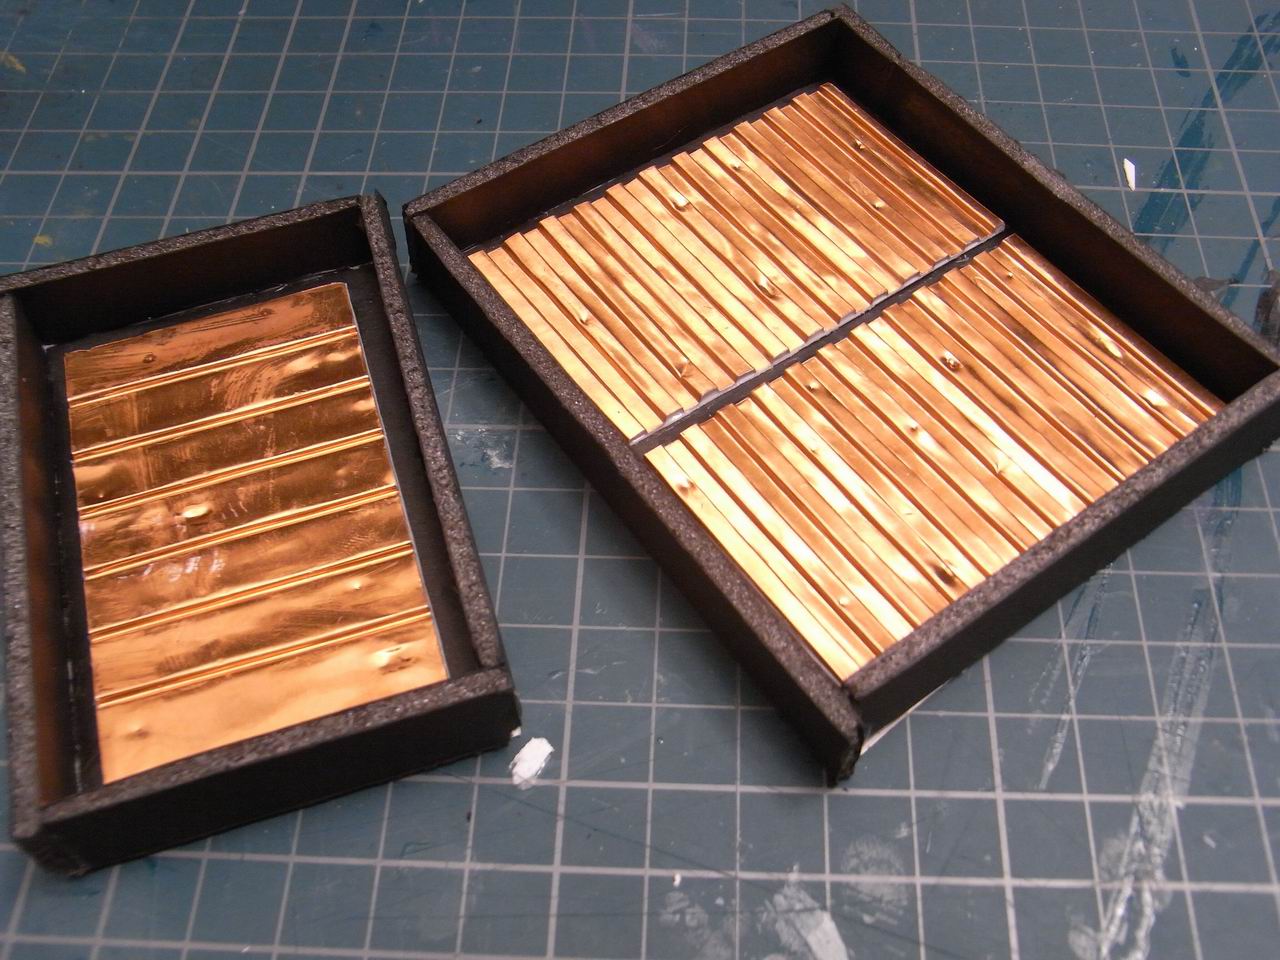
The resin parts had to be flawless and without bubbles, so I cast several copies of each part and chose the best.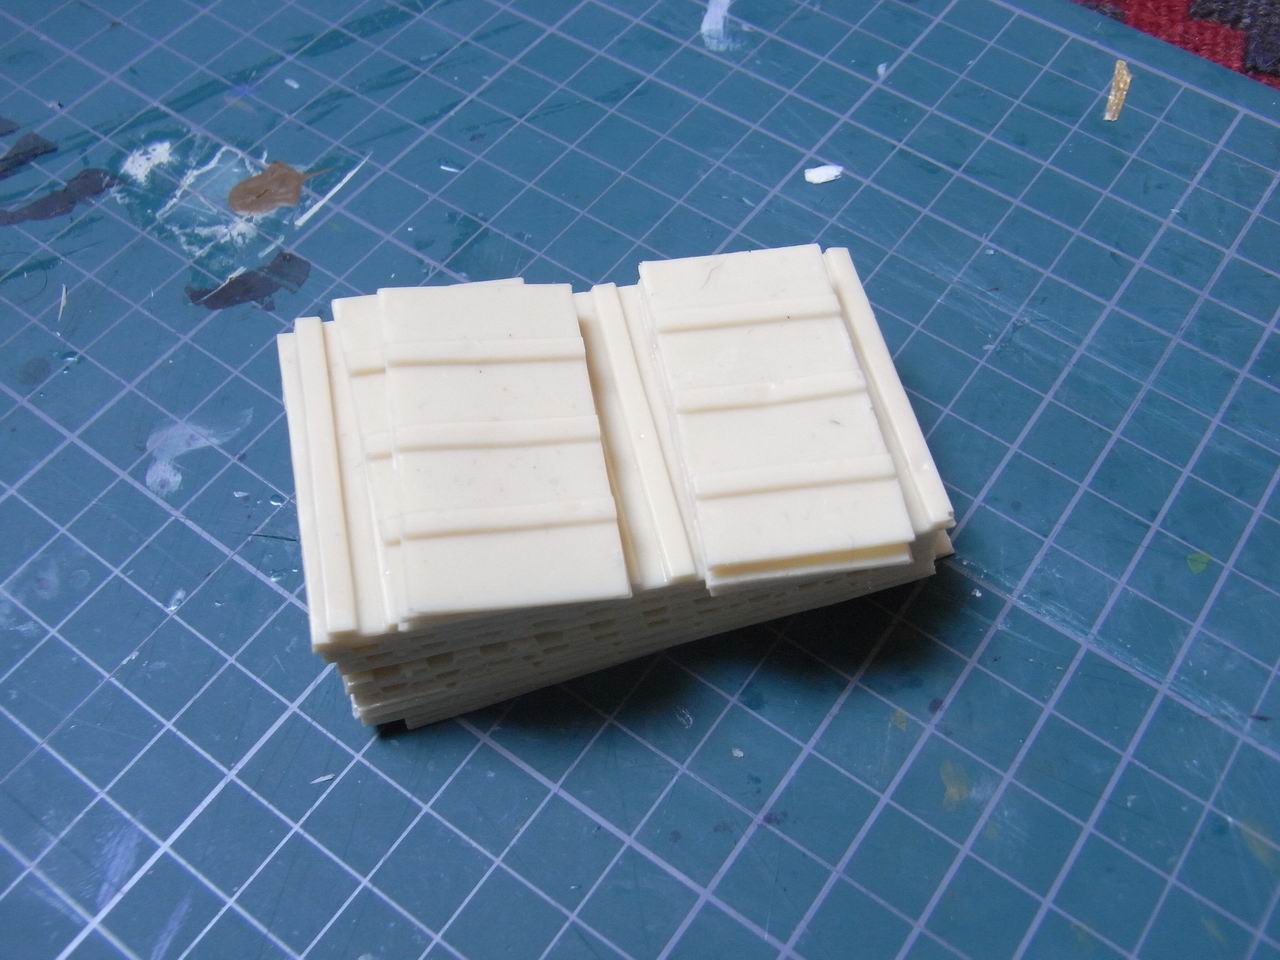
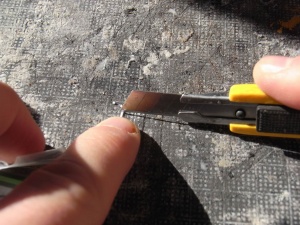
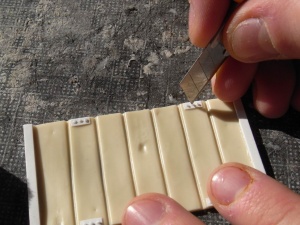
To detail the parts, I applied onto the resin casts of the copper parts several other materials, such as brass rods, lead strips and plasticard parts. The rivets were slices of a styrene rod glued and sanded to the desired heigth, and I added them abundantly even though not realistic, as I find that they really pop out nicely on a 28mm sculpt.
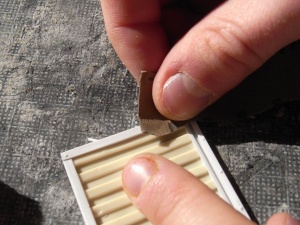
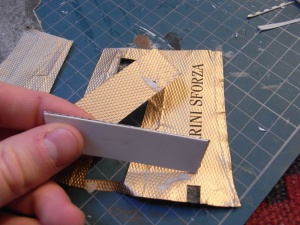
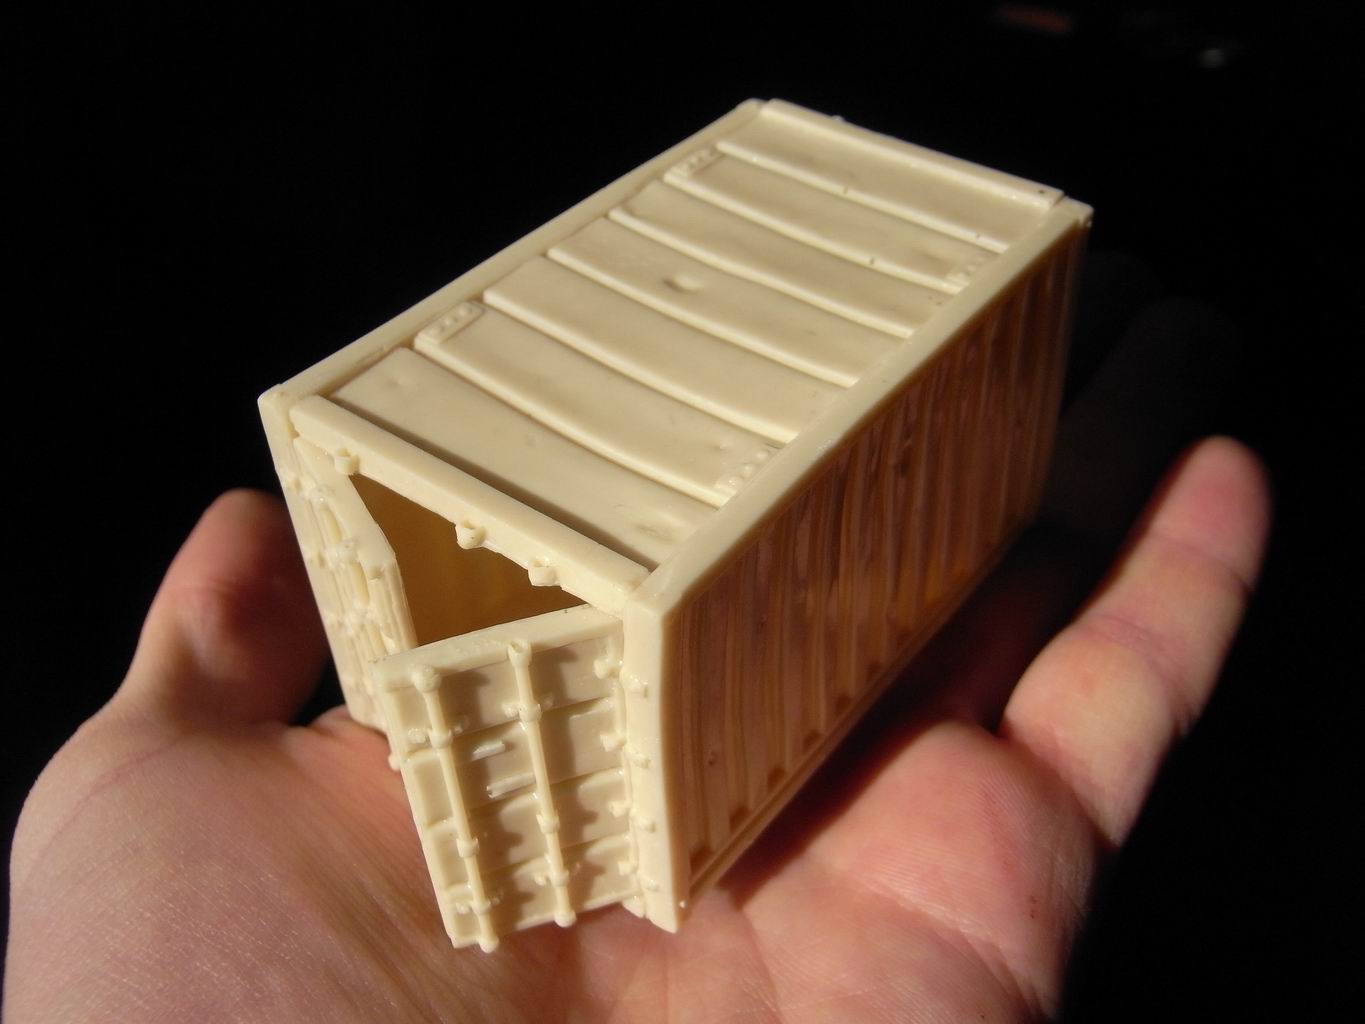
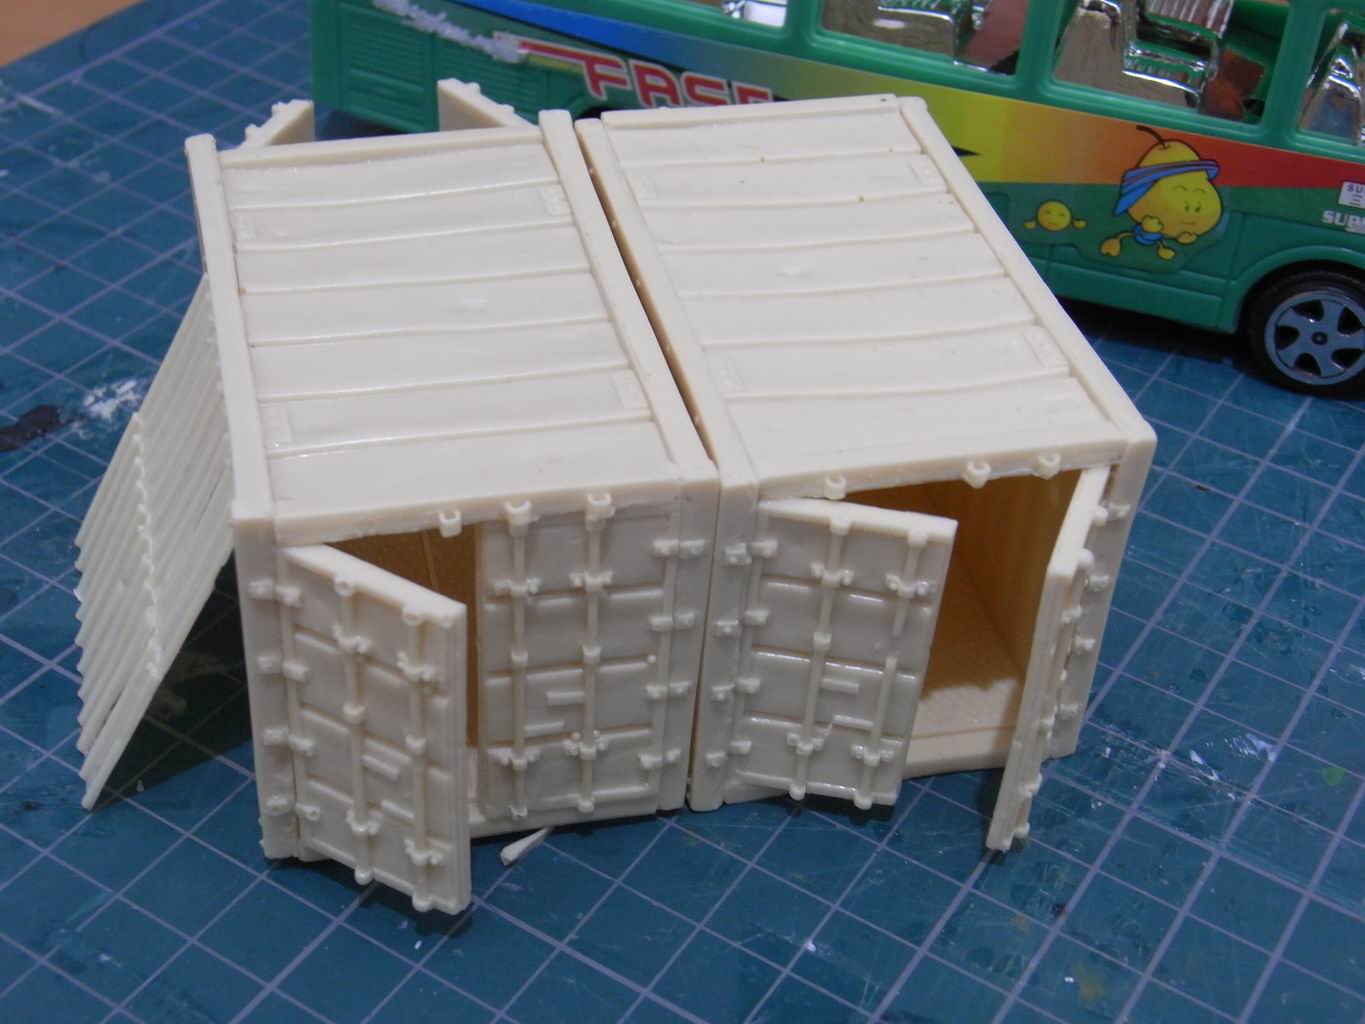
The resulting five parts composed the outer shape of the container. I then had to detail the interiors and build the base. Good textures are everywhere, and the metal sheets wrapping the wine caps have often interesting patterns. I flattened some parts and glued on plasticard, to obtain a gritty ground surface for the container.
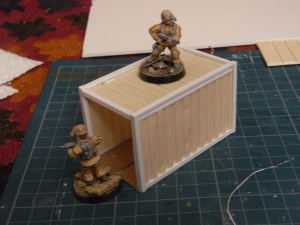
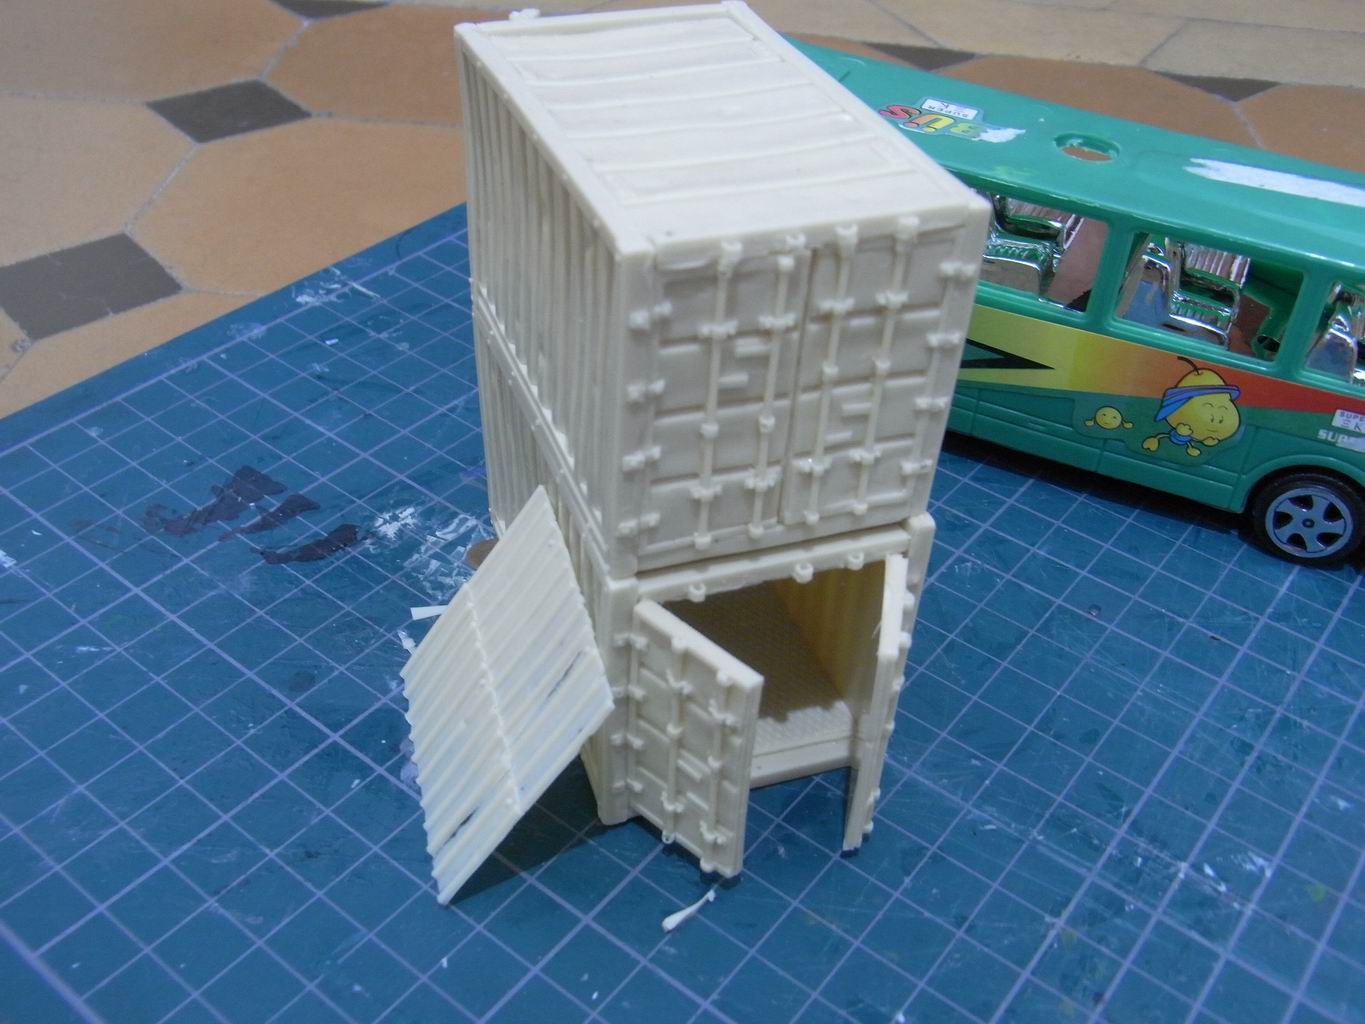
Glued in position temporarly with a slight amount of glue the container started to assume a definitve shape. At this point i prepared additional molds, to join together all the parts merged in a single solid piece. This was made mainly for the customer who commissioned it, and also to allow myself to cast my own containers for personal use.
The resulting container was indeed satisfying. Compared to what usually is shown in movies this has a cartoonish look, exaggerated shapes and a remarkable amount of bulges and other damages. But it works well for any kind of modern gaming in a wide range of different settings.
This article is the improved and grammatically corrected version of an older article I wrote and unfortunately went missing due to a badly synchronized format of the servers. The original article also contained a fair amount of bitterness regarding the company that commissioned this piece, as they paid with extreme delay and didn’t pay at all the next commission, which was both sad and deeply dishonest. The years passed, and although I still haven’t received what’s due, i feel i can leave most of the polemics out of this post.
Cheers,
Jack
I love your attention to details and clean work. They look amazing!!!
What resin do you use? Is it this color or do you add pigment? Looks very nice.
Thanks posting tutorials. Always good source of inspiration and tips!!!
marcineczek0
Thank you Marcin! This was an Italian resin (Prochima Syntafoam 1:1), which i would recommend for its sturdiness and detail, although a tad metereopathic.
I’m glad my tutorials are appreciated! As for now, there’s a good number of tuts still being reworked after the server crash a couple of years ago! Stay tuned!